Back to all guides

Guide 002 / Blank page layouts

What to put on a blank journal page when your mind goes blank.

Beginner-friendly page structures you can draw in under a minute when you want to journal but do not know where to put the first line.

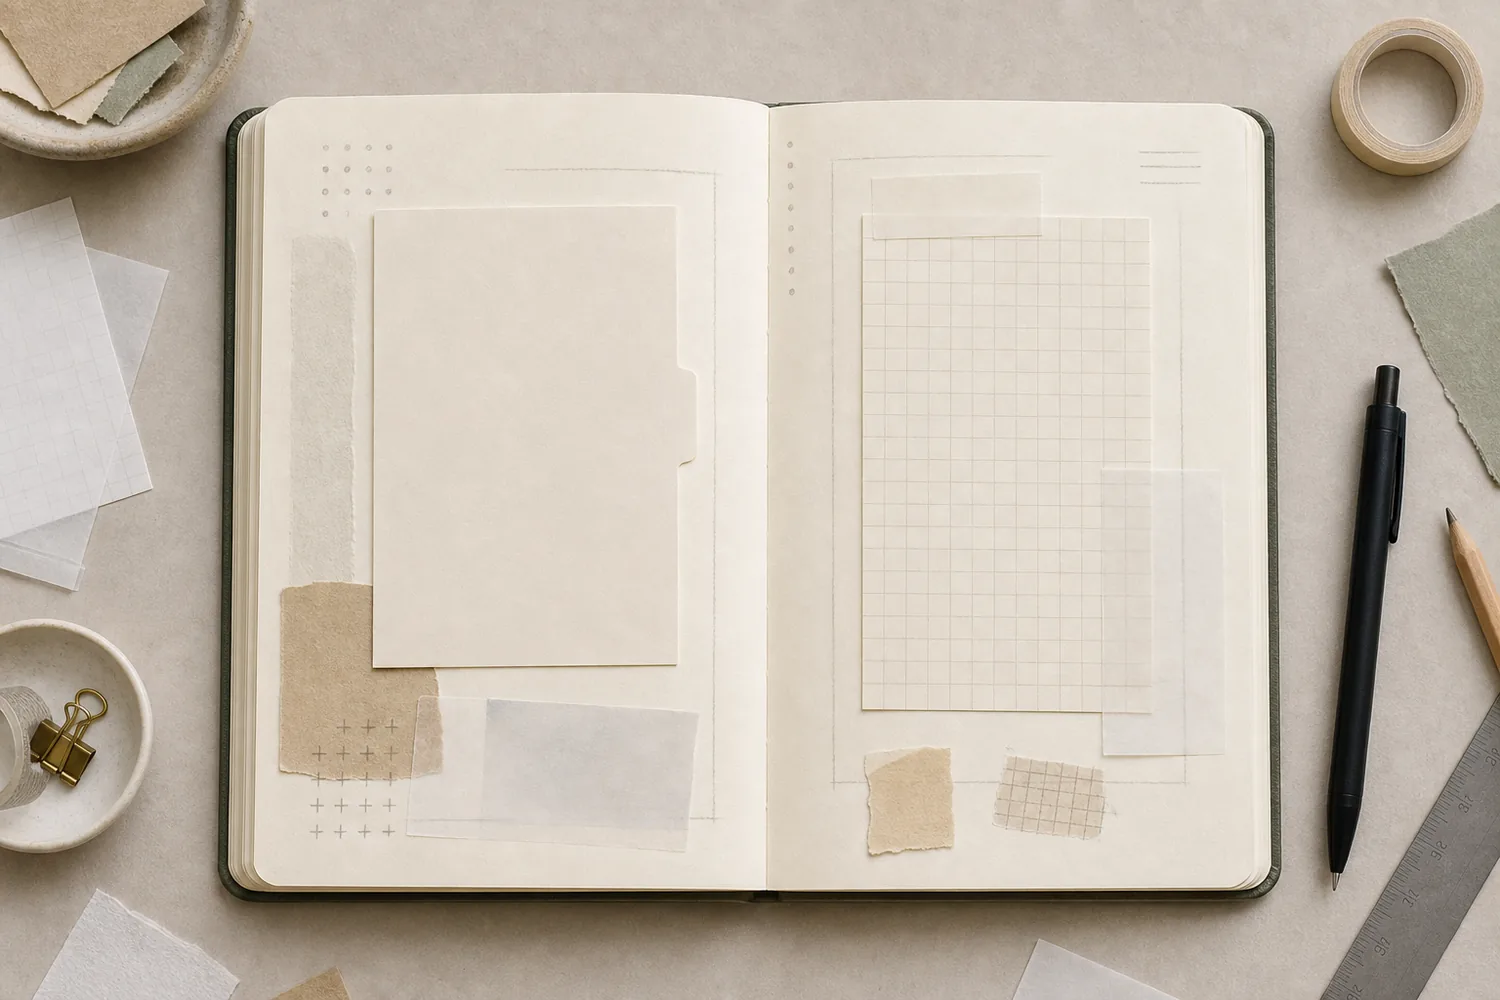
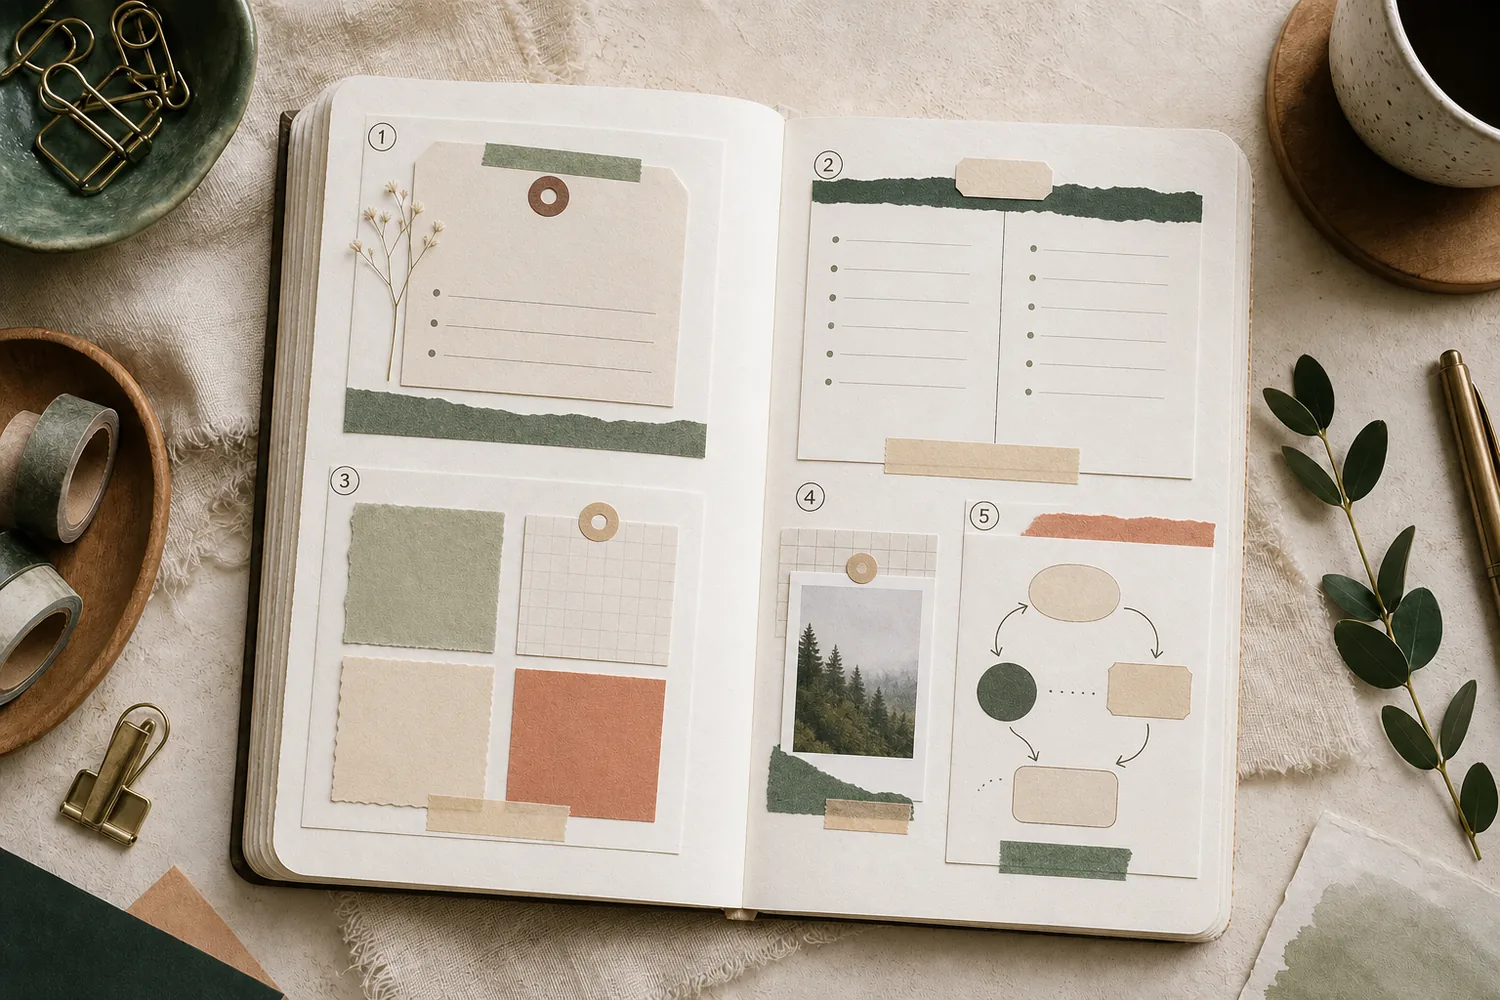
Open journal showing several simple blank page layout structures with boxes, lines, and arrows
A layout is not decoration first. It is a small container that tells your next sentence where to go.

A blank journal page can feel strangely loud.

You may want to write something, but the page asks for too much at once. A title. A theme. A pretty spread. A long entry. A drawing that looks intentional. Suddenly the easiest thing is to close the notebook.

The answer is not to become more artistic overnight. The answer is to give the page a simple structure before you ask yourself to fill it.

Experienced journalers rarely start from a completely open page. They use small containers: a date line, a margin, a box, a photo anchor, a time strip, a list, a tiny map of the day. The structure lowers the pressure because it tells you where the first mark belongs.

This guide gives you seven layouts you can draw with a pen, a ruler edge, or the side of a memo pad. Each one includes a filled example, so you are not left staring at an empty box after you draw it.

Pick a layout by energy, material, and memory shape instead of waiting for inspiration.

Use this when

Choose a simple page container before writing.

First build spec

Draw one date line and three short writing lines in the upper third of the page, then stop before adding decoration.

Avoid this when

When you already have a full finished spread plan.

Choose the layout by what you have, not by how pretty it looks.

If you are stuck, do not browse more inspiration. Pick the situation closest to your desk right now.

A journal page showing six small blank layout options made from lines, boxes, columns, and arrows
Six low-pressure page containers: list, columns, time strip, grid, anchor, and path.
Pick by energy. Low energy means fewer boxes, not a worse page. Pick by material. If you already have a photo, ticket, or label, let that become the anchor. Pick by memory shape. A sequence wants a path. A scattered day wants boxes or cues.
2 minutes

Date + three lines

Use when you only have enough energy for one small record.

Use this layout
A busy day

Time bar + notes

Use when the day had movement, appointments, errands, or many tiny moments.

Use this layout
Too many thoughts

Cue column

Use when you need prompts on the left and a safe writing area on the right.

Use this layout
No story yet

Four quiet boxes

Use when you can name fragments but not a full paragraph.

Use this layout
One scrap or photo

Anchor note

Use when one physical piece can hold the page together.

Use this layout
Want to draw

Sketch path

Use when arrows, boxes, and tiny icons feel easier than a clean paragraph.

Use this layout
If the page feels too empty Choose Date + three lines. First mark: write the date small in the upper left.
If the day had too many pieces Choose Time bar + open notes. First mark: draw a narrow vertical strip.
If your thoughts feel tangled Choose Cue column + writing area. First mark: draw one vertical line and add three cue words.
If you have nothing to say Choose Four quiet boxes. First mark: draw one large box and three smaller ones.
If you have one physical scrap Choose Photo or memo anchor. First mark: place the scrap before you write.
If you want the page to feel visual Choose Sketch path. First mark: draw three boxes connected by arrows.

When you still feel frozen, make only the first mark.

You do not have to commit to the whole spread at once. Use the first mark as a small door into the page, then decide the next step after your hand is already moving.

Write Put today's date, then write one unfinished sentence: "I noticed..." or "The small thing was..."
Draw Draw one box the size of a small photo. If nothing else happens, that box can hold three words.
Place Set down one ticket, photo, label, memo, or scrap without glue. Let it choose the page's anchor.
Divide Draw one vertical line to make a narrow cue column and a wider writing area.
Number Write 1, 2, 3 down the page. Each number only needs one short line, not a paragraph.

Make containers before content.

A beginner layout should do three things: give the page an anchor, divide the space into smaller zones, and leave enough blank area that the page can breathe.

01

Anchor the page

Add one obvious starting point: a date, title strip, photo, memo, sticker, or small box. The anchor tells your eye where the page begins.

02

Divide the space

Use lines, boxes, columns, or a side rail. Do not divide the page because it looks nice; divide it because each area has a job.

03

Stop early

Leave margins and quiet space. A full page is not automatically a better page, especially when you are trying to build a repeatable habit.

The advanced move

Good journalers do not decorate every inch. They repeat simple structures until the page feels familiar, then change one small detail when the day asks for it.

1. Decide the job 2. Place the anchor 3. Draw the zones 4. Write the easiest line first

Use tools that make the first mark easier.

You do not need a ruler-perfect page. You need a page structure that you can repeat when your energy is low.

One pen

Start with one black or dark pen. Add color only after the writing has somewhere to go.

Memo pad edge

Use the edge of a memo pad or scrap paper as a light guide for straight-ish lines.

One small scrap

A label, ticket, photo, or torn paper piece can become the anchor for the page.

Optional dot grid

Dot grid paper makes boxes and columns easier, but plain paper works if you keep the layout loose.

Keep a few first sentences ready before you draw the page.

A layout helps with space, but beginners often freeze again when it is time to write. Use a starter line that is small enough to answer without performing.

Memory

I want to remember the part when...

The smallest detail from today was...

This felt ordinary, but I liked...

Mood

The day felt...

I was carrying...

One thing that made the day softer was...

Place

I was sitting near...

The light looked...

This place made me notice...

Object

I saved this because...

This little paper came from...

The object says more than I can write today.

Copy this first page if you are fully stuck

Date at the top. Three lines in the middle. One tiny note at the bottom: "I opened the notebook today." That counts as a page.

Date + three lines

This is the smallest useful page layout. It borrows the spirit of rapid logging: capture the important pieces quickly instead of writing a polished entry.

Best for

  • Low-energy days
  • First page of a new notebook
  • Days when you only remember fragments
  • Building consistency without a full spread

Page structure

  • Date or tiny title at the top
  • Three short lines below
  • One small mark, dot, or label beside each line
  • Optional one-sentence reflection at the bottom

How to draw it

  1. Write the date small. Put it in the upper left or upper center. Do not make a huge title unless the title itself helps you begin.
  2. Draw three short writing lines. Each line should hold one small record, not a paragraph.
  3. Add three dots or tiny boxes. These marks make the page feel organized before you write anything.
  4. Fill only what you can. One line can be a task, one can be a memory, and one can be a feeling.

Filled example

Copy the size of this entry. It is deliberately small.

July 6 / cloudy morning Returned the library book before lunch. Saved the peach sticker because the color was nice. Felt less rushed after walking home.
Today I noticed One thing I did A small good thing I want to remember Tomorrow can start with

Use this when

You are trying to keep the notebook open, not make an impressive page. This layout is a habit builder.

Time bar + open notes

A time bar gives shape to a busy day without forcing you to write a full schedule. It is useful when the day had movement, but you only want to record the parts that mattered.

Journal page with a slim vertical time bar, short list area, and open note space
The side bar holds the shape of the day. The open area holds what you actually want to remember.
Left strip: only the useful time markers, not a full planner schedule. Middle notes: errands, arrivals, meals, or short events. Open space: the one sentence that makes the day worth keeping.

Best for

  • Errand days
  • Travel days
  • Workdays with small breaks
  • Days when time order matters

Page structure

  • A narrow vertical strip on the left
  • Small ticks or dots for time blocks
  • A list area for tasks or events
  • A blank area for one memory or note

How to draw it

  1. Draw a slim side bar. Make it narrow enough that it does not steal the page.
  2. Add only important time markers. Morning, afternoon, evening is enough. You do not need every hour.
  3. Write the practical things beside the bar. Appointments, errands, arrivals, or short events can sit near their time.
  4. Use the open area for the human part. Add what made the day feel like itself: weather, conversation, food, place, or mood.

Filled example

9 AM - coffee, answered the message I avoided 1 PM - quick market stop, bought tomatoes 6 PM - rain started on the way home Open note: The day looked ordinary on paper, but the rain made it feel slower.

Advanced variation

Use two marks on the time bar: dots for things that happened, small stars for moments worth remembering.

Cue column + writing area

This layout is inspired by the Cornell note-taking page: a narrow cue area, a wider note area, and a small summary zone. For journaling, it works because prompts can sit on the left while the right side stays open for writing.

A journal page with a narrow left cue column, wide writing area, and bottom reflection box
The left column holds prompts or labels. The right side holds the actual record.
Cue column: one-word prompts that keep you from wandering. Writing area: short answers, not a perfect essay. Bottom box: one sentence that names what the page is about.

Best for

  • Reflection pages
  • Processing a messy day
  • Comparing before and after
  • Writing when prompts help

Page structure

  • Left column: prompts, keywords, or times
  • Right area: short notes or paragraphs
  • Bottom box: one summary sentence
  • Optional line between zones

How to draw it

  1. Draw one vertical line. Put it about one quarter of the page from the left edge.
  2. Add two or three cues. Try "place," "feeling," "small win," "hard part," or "next."
  3. Write across from each cue. Keep the response short. The cue is there to stop the page from becoming too open.
  4. Add a bottom summary. One sentence is enough: what this page is really about.

Filled example

Place kitchen table, late evening Feeling scattered but calmer after tea Small win cleaned one drawer instead of the whole room Summary Today was not busy in a big way, but it got lighter.

Use this when

You want to write honestly, but a fully blank paragraph area feels too exposed.

Four quiet boxes

Four boxes turn one big page into four tiny surfaces. This is one of the easiest layouts for beginners because each box only needs one small thing.

Best for

  • Weekend summaries
  • Memory fragments
  • Small gratitude logs
  • Pages with no main story

Box ideas

  • One thing I saw
  • One thing I ate
  • One thing I heard
  • One thing I want to keep

How to draw it

  1. Draw four uneven boxes. They do not need to match. Slightly imperfect boxes feel more natural.
  2. Give each box one role. A word, a list, a doodle, a scrap, or a tiny caption.
  3. Leave one box almost empty. A blank box with a date or small mark can make the whole page calmer.
  4. Stop before filling every corner. This layout works because it makes fragments feel complete.

Filled example

Saw: orange light on the wall Ate: toast with too much butter Heard: someone laughing outside the shop Keep: the receipt from the small bookstore

Advanced variation

Make one box a little larger than the others. That becomes the focal point, and the smaller boxes support it.

Photo or memo anchor

If you have one photo, label, ticket, memo, or paper scrap, let it become the page anchor. You do not have to design the whole page first; the physical piece can decide the composition.

Best for

  • One strong memory
  • Photo days
  • Sticker or label scraps
  • Pages where writing feels hard

Page structure

  • Anchor piece in one corner or center
  • Short caption below or beside it
  • One small list in the remaining space
  • Optional date label

How to draw it

  1. Place the anchor before writing. Move it around the page until one position feels easy.
  2. Draw a small caption line. Put it close to the anchor so the page has a clear relationship.
  3. Add one support area. A three-item list, a tiny box, or one sentence is enough.
  4. Do not explain everything. Let the photo or scrap do some of the remembering.

Filled example

Anchor: small cafe receipt taped near the lower right corner Caption: "the table by the window" List: warm cup / quiet street / one page read Bottom note: I liked being there without needing the afternoon to become anything.

Use this when

You already have one object from the day, and you want the page to feel collected instead of composed from scratch.

Sketch path

Sketchnoting is not about drawing well. It combines handwriting, simple shapes, arrows, boxes, lines, and tiny visuals to make ideas easier to follow. For journaling, a sketch path is useful when your memory has steps or connections.

A beginner sketchnote-style journal page with boxes, arrows, dots, leaves, stars, and empty caption lines
Boxes and arrows are enough. You do not need polished illustrations to make a visual journal page.
Boxes: each one holds a moment, place, or thought. Arrows: they show order or connection. Small icons: use symbols you can draw badly and still understand later.

Best for

  • Idea pages
  • Travel routes
  • Before and after notes
  • Days with a clear sequence

Beginner marks

  • Boxes for moments
  • Arrows for movement
  • Dots for small details
  • Tiny icons for mood or place

How to draw it

  1. Draw three boxes. Put them in a loose path instead of a perfect row.
  2. Connect them with arrows. The arrows create movement and make the layout readable.
  3. Add one tiny icon per box. A cup, star, leaf, heart, house, or cloud is enough.
  4. Write one short caption in each box. Do not turn the boxes into essays.

Filled example

Box 1: left home late, drew a tiny clock Box 2: found the quiet street, drew a small leaf Box 3: wrote one note before dinner, drew a square page Path caption: The walk fixed the part of the day that felt stuck.

Advanced variation

Use line weight instead of color. Make the most important box slightly darker or thicker, and keep the rest quiet.

Side rail + open field

A side rail is a narrow strip along one edge of the page. It gives you a place for labels, mini prompts, or tiny scraps while leaving the rest of the page open.

Best for

  • Pages that need structure but not boxes
  • Short notes with small decorations
  • Material tests
  • Days when you want a calm margin

Rail ideas

  • Date strip
  • Three tiny prompts
  • Washi or paper scrap samples
  • Mini checklist

How to draw it

  1. Draw or tape a narrow strip. Keep it about one fifth of the page width or smaller.
  2. Put small information in the rail. Date, place, weather, mood, or a three-item list works well.
  3. Use the open field for one note. The main page can hold a paragraph, a photo, or one large memo.
  4. Keep the rail consistent. If you like it, repeat it for a week and only change the contents.

Filled example

Rail: July 6 / warm / low energy / one errand Open field: I did not have much to write, but the page felt easier once the left edge had a job. Finish: one small label at the bottom of the rail.

Use this when

You want a page that feels designed, but you do not want to draw boxes across the whole page.

Make a simple layout look finished without adding more work.

Use the same finishing formula for every beginner layout:

One anchor + Two zones + Quiet margins

Repeat one shape

If you draw one rounded box, use rounded boxes again. If you draw straight lines, keep the rest straight too.

Use one accent

One strip of tape, one label, or one color is enough. The writing should still be the main event.

Leave one blank area

Blank space makes a beginner page feel calmer and more intentional. It is not wasted space.

What experienced journalers are usually doing

They are not inventing a brand-new composition every day. They are reusing a familiar structure, changing the anchor, and letting the content decide how much of the page gets filled.

Common layout mistakes that make a page harder to start.

Do not choose the most complicated example first.

Start with the layout you can repeat when tired. Fix it by choosing the smallest structure that still gives the page a job.

Do not make every box the same size.

Equal boxes can look stiff. Fix it by making one box the main focus and letting the other boxes support it.

Do not add prompts you will ignore.

If a prompt makes you freeze, replace it with "noticed," "kept," or "next." A layout should reduce decisions, not add homework.

Do not decorate before giving the page a job.

Decoration is easier after you know where the writing, photo, or memory will go. Give the page a job first, then add one accent.

Make a blank page usable before you judge it.

  1. Minute 1: Pick one layout from the Quick Start list.
  2. Minute 2: Add the anchor: date, title strip, photo, or memo.
  3. Minutes 3-4: Draw the zones with light lines, boxes, or a side rail.
  4. Minutes 5-6: Fill only the easiest part first.
  5. Minute 7: Add one finishing mark, then stop.

If the page still feels unfinished, close the journal for ten minutes. Often the page only looks unfinished because you are still in the middle of making it.

Tonight's exact practice page

Use the Date + three lines layout. Write the date, draw three short lines, and answer only these: one thing I did, one thing I noticed, one thing I can leave unfinished. Stop there.

The first mark does not have to be brilliant.

A blank page feels big because it offers too many choices. A layout removes most of them.

Draw one line. Make one box. Add one date. Give the page a small job. Once the page has somewhere for the first sentence to land, the rest becomes easier.

You do not need to know your whole style before you begin. Start with a container. Let the page teach you what kind of journaling you can actually repeat.

Run the three-part finish check.

Does it work?

Open, lift, slide, or pull the structure five times before adding more decoration.

Does it stay flat?

Close the journal or press the page lightly. If it bulges, remove one layer or one insert.

Is the cue clear?

The reader should know where to lift, pull, slide, or look without guessing.

Sources used while expanding this guide

This guide adapts practical ideas from rapid logging, note-taking layouts, sketchnoting, and experienced minimalist bullet journal practice into beginner-friendly journaling page structures.

Make a Quiet Background Before You Add Anything Else

Start by softening the blank page before mapping the whole spread.

Continue reading qq{

Get the next guide when it is published.

Join the update list for new tiny journaling guides, field notes, and practical archive notes.

Join the Update List
}