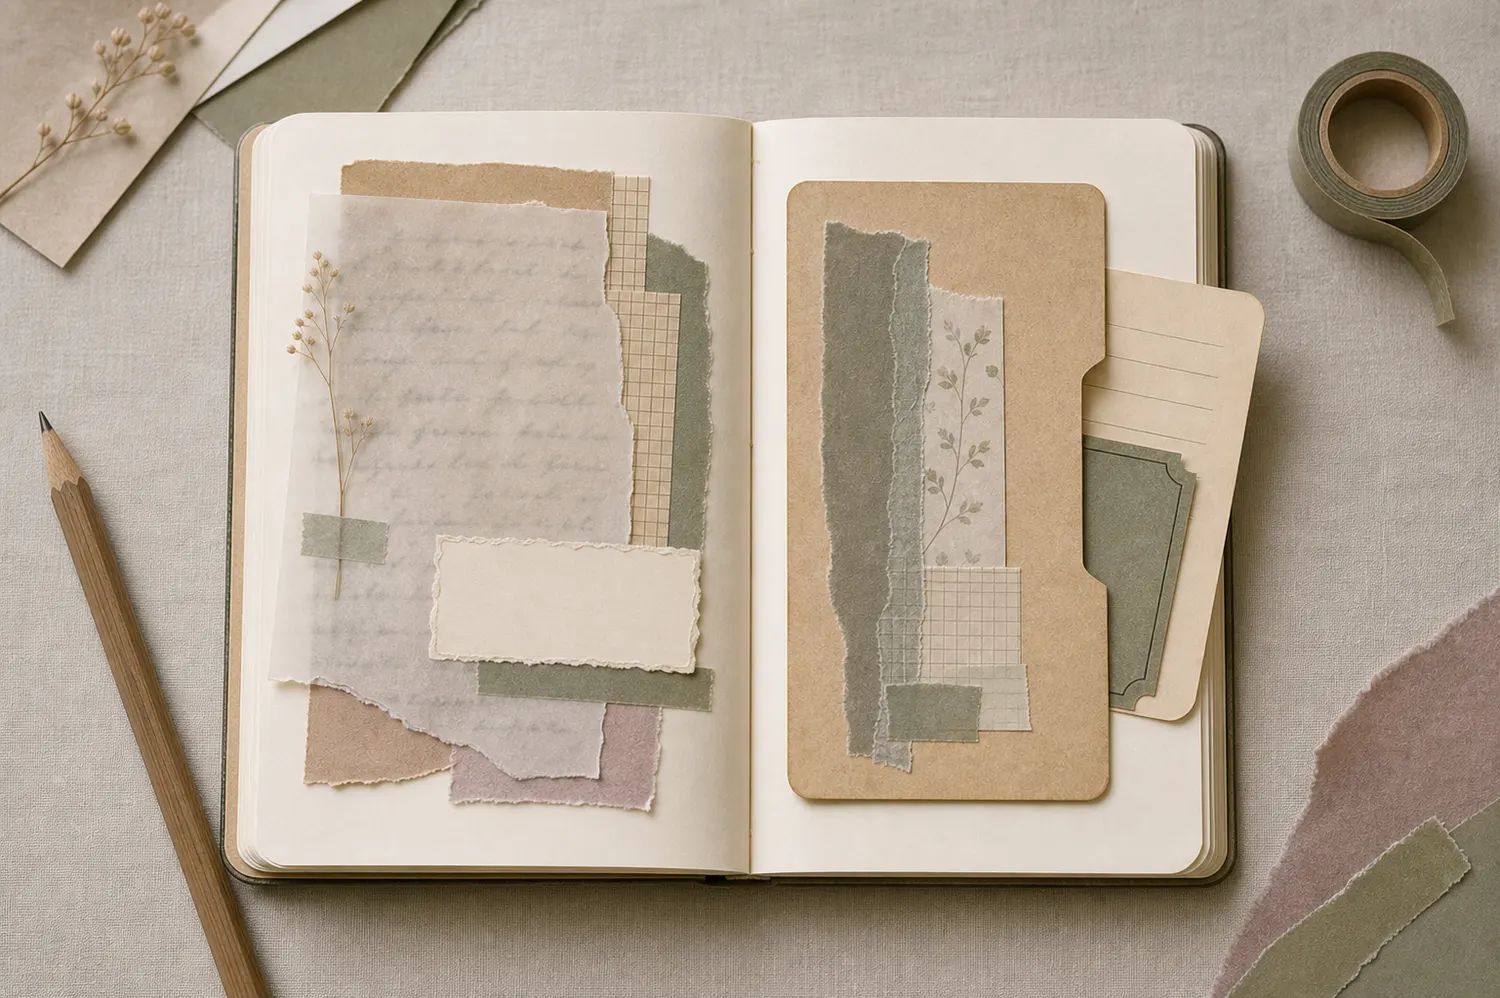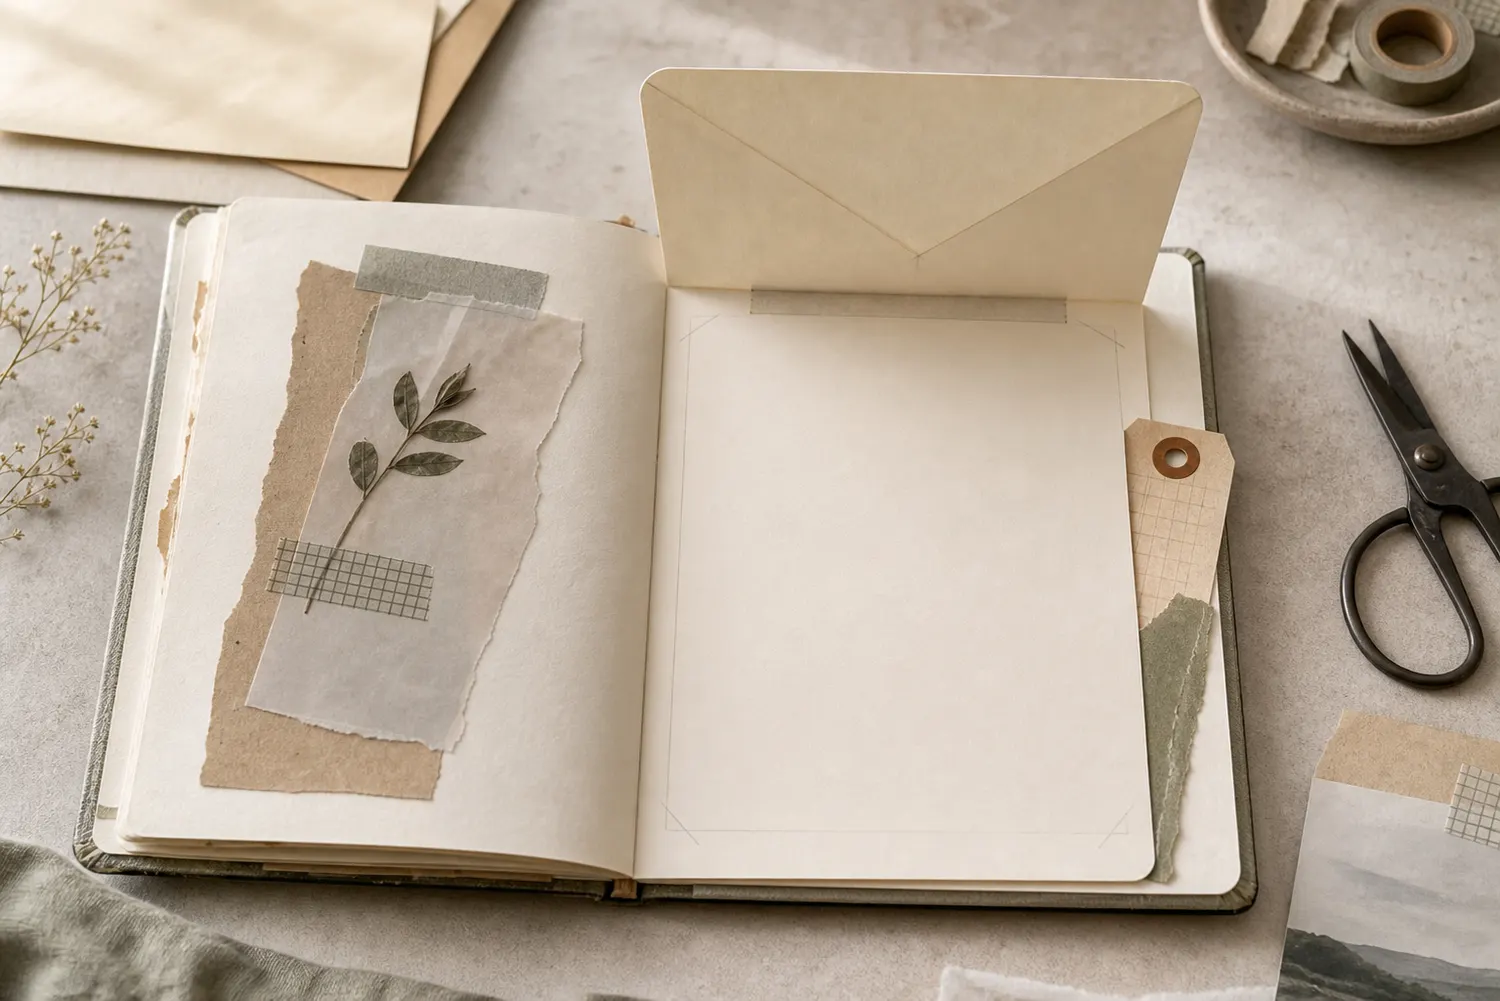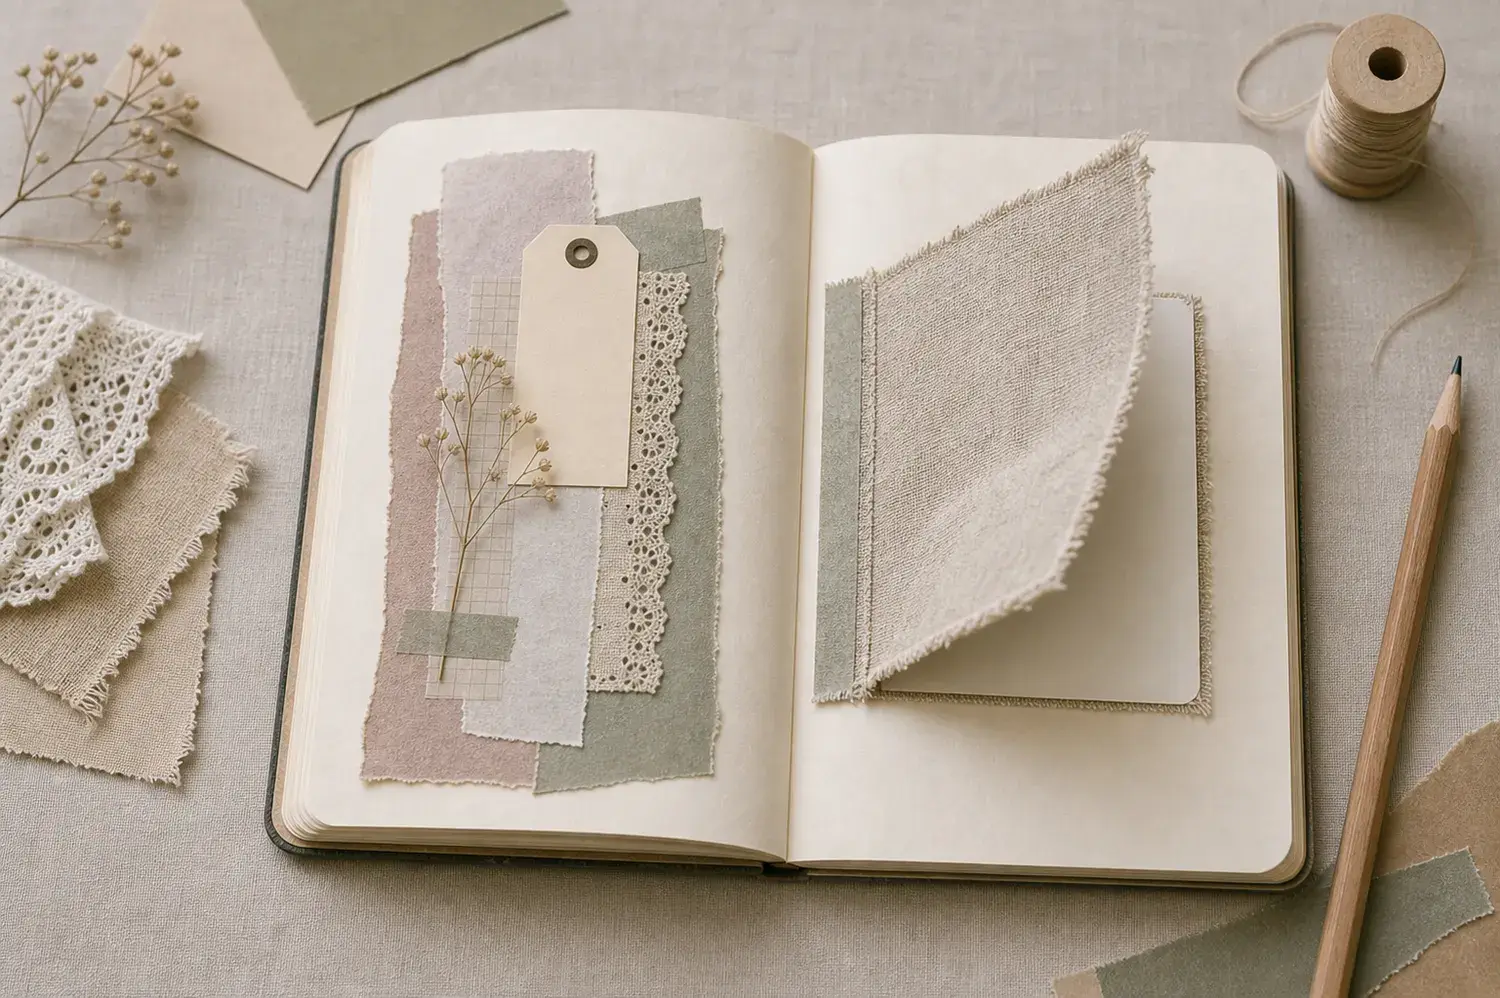
Gather a few things See what you’ll need
- Thin cotton, muslin, or lightweight linen scrap
- Paper for a 10–12 mm hinge strip
- Pen, ruler, and scissors
- Tested adhesive and clean white scrap paper
Choose an exercise 4 things to try as you read
Choose the scrap that feels good inside a book
Start with thin cotton, muslin, or lightweight linen. Rest the cloth between two clean paper scraps inside a closed book, then take it out. Does it stay fairly flat, or spring up in a ridge? Rub it on white paper too. If it leaves color, lint, or a waxy mark, choose another piece for this page.
Denim, felt, chunky lace, and stretchy knit make this first version harder to manage. A very special textile doesn't have to be cut or glued to be part of your journal: you can photograph it and use the print as a paper flap. The journal can keep the memory while the original stays intact.
Compare the optionsWhat did the fabric test tell you?
What did the fabric test tell you?
Choose what happened between clean paper scraps. Let the material decide its job.
Read the words in this example
- cloth
- your words
Try the small supported curtain.
Thin cloth that rests reasonably flat and leaves no color, lint, or waxy mark is a useful candidate for the trial. Test your adhesive on a second offcut before joining it to a paper hinge. The free fabric face can then keep the softness you liked.
ONE WORKED EXAMPLE
A muslin curtain over a summer note
You have a thin muslin offcut and a short note about laundry drying by the window. You want the fabric to lift from the bottom without pulling the journal page.
Before
Glue spread across the cloth’s upper face has made a stiff patch, so the material bends in the wrong place instead of using the hinge.
After
A fresh offcut is attached along its top back edge to one half of a folded paper strip. The crease and 1–2 mm bending space remain clear; after the tested bonds dry, the other three cloth edges hang loose.
What changed—and what to check
The paper strip supplies a defined attachment while leaving the cloth free to settle. Keeping adhesive out of the crease preserves the intended bending space.
Try this check. Lift from the bottom, release the cloth, and check that the base page stays still as the curtain settles.
Keep the little curtain little
Mark a writing field about 50 × 70 mm and cut the fabric around 60 × 85 mm. That gives you a small border around the writing without leaving a long edge to sweep across neighboring pieces. Write your note now and let the ink dry.
Write the detail that belongs under this particular cloth: a line about sheets at an open window, for example, or the moment after a photograph. Keep any photo flat and replaceable. Check the fabric over the actual dry entry; sheer cloth and lace may leave words readable. This is a visual cover, not secure privacy.
“That keeps the needle holes in a replaceable piece of paper rather than your bound page.”
Give the cloth a paper edge to hold onto
Cut a paper hinge strip 10–12 mm wide and slightly shorter than the fabric edge you'll attach. Fold it lengthwise. Attach one half to the back of that fabric edge, using a very thin application of an adhesive you've tried on an offcut. Let the bond dry and check for darkening or stiffness.
Keep adhesive on that supported edge, not across the fabric face. Leave the hinge crease and a little 1–2 mm bending space free. With loose or fraying cloth, you can stitch it to the paper strip before attaching the strip to the journal. That keeps the needle holes in a replaceable piece of paper rather than your bound page.
Try a what-ifA keepsake you want to keep intact
A keepsake you want to keep intact
Choose a reveal that respects the original material.
The fabric you love is an irreplaceable piece with stitching on both sides. You want its memory in the journal but do not want to cut it or add adhesive.
Compare the three choices
Which version meets both aims?
- Attach it with several small glue dots instead of one continuous seam.
Smaller adhesive areas still alter the original, and their removability has not been established.
- Trim only the stitched edge needed for a smaller curtain.
That makes a smaller flap by changing the piece you wanted to keep intact.
- Photograph it and use a replaceable print as a paper flap.
The journal can carry its appearance and memory while the original remains separate and unchanged.
The memory can join the page through a copy when the original should remain intact.
What would you try?
Choose an option to see what it would do. You can explore all three.
Put the fixed edge where the cloth can open freely
The quick start uses a top hinge: attach the top and lift from the bottom. This works nicely for a small note near the bottom half of a page. Bond the free half of the hinge to the journal, keeping the adhesive at least 3 mm away from your writing. The other three fabric edges stay loose.
Prefer a sideways curtain? On a right-hand page, attach the fabric's right edge so it swings outward to the right; lift from its left edge. Reverse those directions on a left-hand page. Keep the flap clear of the center fold so the cloth doesn't pull against the binding.
Try the exampleChoose the curtain’s fixed edge
Choose the curtain’s fixed edge
Change the hinge edge to plan which free edge you will lift.
Read the words in this example
- Fold projection
- Your words
- Wine = fixed hinge
- Side profile
- 60° from closed
Right hinge stays fixed; the flap lifts 60° from closed.
Lifting the flap can reveal small memory beneath its closed footprint. Gold is the moving flap and wine is its attached edge. The side profile shows the lift angle; the upper view is an oblique geometric projection. These are rigid-paper schematics, not predictions of bending, clearance, or collisions. Try the motion: supported edge. This is a rigid-panel projection used only to plan attachment direction; it does not simulate fabric drape. A right-edge attachment opens outward on a right page. Keep the actual cloth’s other three edges loose.
- Lift angle
- 60°
- Fixed hinge
- Right edge
- Model
- Oblique projection + side profile
GO A LITTLE FURTHERTrim what catches and leave what feels soft
Trim what catches and leave what feels soft
A lightly frayed edge can be lovely. Long thread loops are less helpful because they catch your finger or the opposite page. Trim loops longer than about 5 mm, particularly near the page edge or binding. You don't need to seal every edge with glue; that can turn soft cloth into a stiff patch.
Try the plain fabric before adding trim. If the opening is hard to spot, a small flat tab or a visible free corner may be enough. Hold a proposed button or knot between two paper scraps in the closed book before attaching it: its thickness will still be there when the curtain is shut.
Lift it, then take your hand away
Open the cloth with one finger and let it settle. If the base page moves with it, the hinge may be too tight, too close to the binding, or carrying fabric that's too heavy. If glue has soaked through the cloth, let it dry separately and remake the edge with a paper support; rubbing the wet patch usually spreads it.
Close the journal gently, then inspect the facing page where the flap rested. Remove a thick under-layer or extra trim if it makes a bump. Keep the small cloth test with a note about the adhesive if you want to repeat it. A thin paper flap remains an option when this fabric will not settle without tugging.
Compare the optionsHelp the cloth settle without covering it in glue
Help the cloth settle without covering it in glue
Choose what remains troublesome after the supported edge has dried.
Read the words in this example
- cloth
- your words
Trim the long loops at the free edge.
A softly frayed edge can stay soft without keeping every long loop. Trim loops longer than about 5 mm, especially near the binding or outer page edge. Try the page turn again before sealing the edge with glue, which can turn the curtain into a stiff patch.
Something for a future page?
The Washi Tape ShopAffiliate links: we may earn a commission if you buy through these links.
Where this idea began
The maker sources support the flip format and the Roben-Marie Smith example. The CCI note describes a formal wet colourfastness test; it informed the choice to look for visible transfer on white material, not the dry journal check itself.
Want to explore the techniques a little further? Here are the maker tutorials and references behind this guide.
- Construction referenceRebecca E. Parsons: Decorative Flip Flaps
Rebecca E. Parsons’s decorative flaps provide a maker reference for a fabric or paper flip.
- Construction referencePoppiwinkle: Hidden Journaling Spots
Hidden journaling formats provide related lifting, folding, and concealed-writing examples.
- Maker exampleRoben-Marie Smith: Slow Stitching and Collage in Art Journaling
Roben-Marie Smith’s fabric and slow-stitching journal supplies the named fabric-flip example.
- Material careCanadian Conservation Institute: Testing for Colourfastness
CCI describes a formal wet colorfastness test; it does not validate the guide’s simple dry transfer check.