Gather a few things See what you’ll need
- A lightweight envelope, about 7 × 10 cm
- A narrow dry adhesive strip or controlled paper glue
- A pencil and pen
- Scrap paper for a trial
- Optional: a tiny flat tab or label
Choose an exercise 4 things to try as you read
Try the crease before you decorate
Try a light envelope around 7 × 10 cm before decorating it. Open the flap and bend the existing crease gently. If it cracks, whitens, or keeps springing back, that paper is asking too much of the fold. Choose a more flexible envelope now, while the first version is still a loose test.
Use an opaque body if you want the words covered, or a translucent envelope if you like a hint of the note showing through. This hides writing from an immediate glance; it doesn’t make the page secure. If the envelope itself is irreplaceable, save it separately and build with a copy or a fresh paper version.
Try the exampleChoose a soft glimpse or a covered sentence
Choose a soft glimpse or a covered sentence
Change the translucent layers to see why an attractive envelope may still reveal the words.
Read the words in this example
- Writing below the sheets
- One sentence
- worth keeping.
- 1 sheet at 45% each
- Digital opacity, not measured vellum.
The writing sits below 1 sheet; combined digital opacity is 45%.
In the shared overlap, combined opacity is 1 − (1 − 0.45)^1, or 45%. Increasing opacity or adding sheets hides more of the words in this digital model. Actual vellum varies with material, lighting, and ink; this diagram does not establish readability or privacy. This is a digital concealment sketch, not a test of envelope opacity. Hold the actual body over dry writing. Use an opaque envelope for a fully covered view; a lifting cover is not secure storage.
- Sheets
- 1
- Each sheet, digital opacity
- 45%
- Overlap, digital opacity
- 45%
- Writing position
- Underneath
ONE WORKED EXAMPLE
A museum ticket above a quiet note
You want the museum name and ticket visible but a short personal note covered on the same page. A light envelope is large enough for the sentence.
Before
Holding the envelope shut against itself leaves no fixed flap on the journal page. The whole piece would lift away rather than turn at its existing crease.
After
The open flap lies above the body and is attached beneath that flap only, with the crease kept dry. The body lifts from its bottom edge. The note starts about a finger’s width below the hinge and dries before the envelope lowers.
What changed—and what to check
The stationary flap makes the body the moving cover. A lower first line remains readable without forcing the envelope into an awkward angle.
Try this check. Hold the page partly open and check that the body lifts before the journal sheet starts to pull upward.
Lay the flap above the body
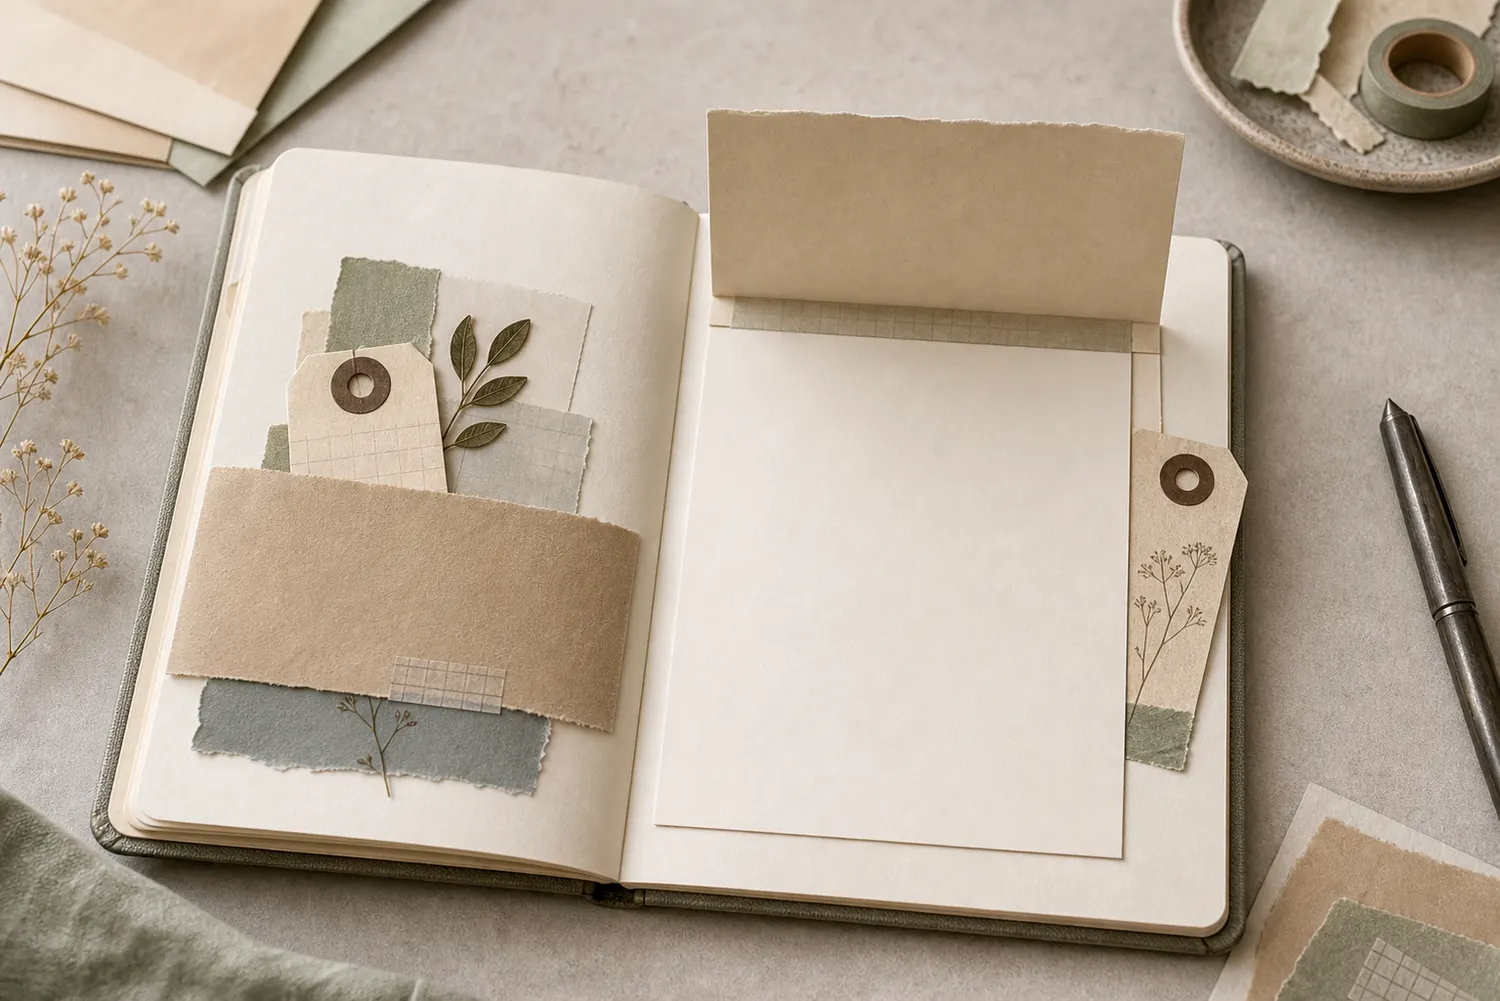
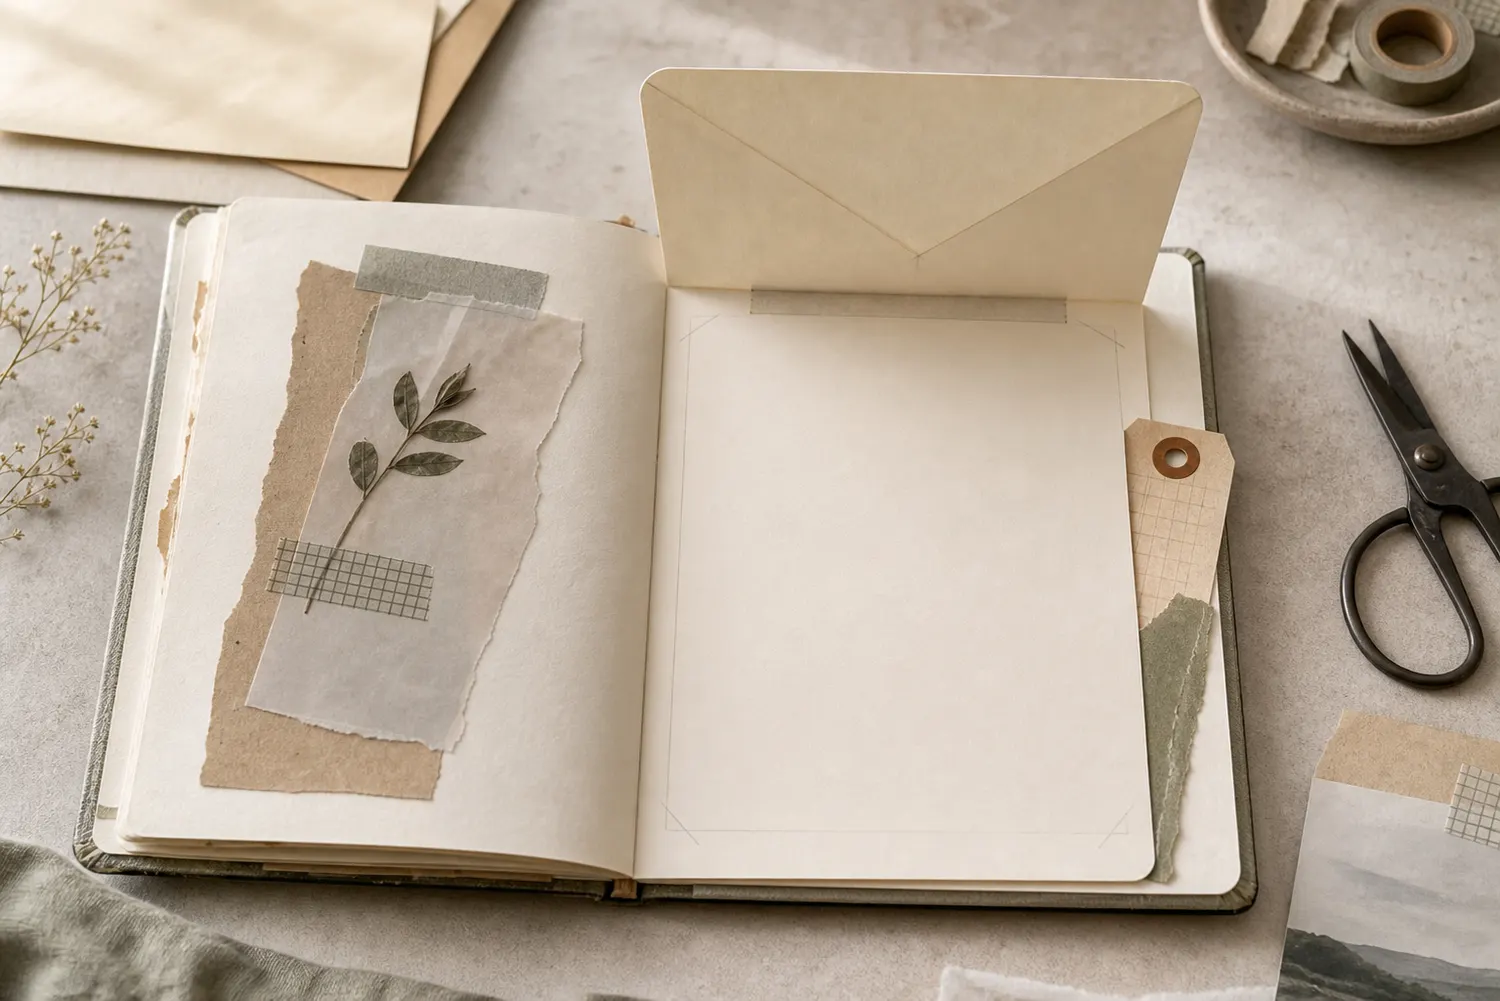
Open the flap fully and place the envelope flat on the page, with the flap extending upward and the rectangular body below it. Position the body over the area where you want the note hidden. Leave room between the structure and the curved center fold of the journal.
Hold only the flap against the page with one finger. Lift the bottom edge of the body upward, rotating it at the crease that joins body and flap. The flap stays flat; the body moves. Don’t fold the flap shut against the envelope’s own back for this trial. It needs to lie separately above the body so it can be the fixed part.
Put adhesive under the flap alone
Mark the position lightly while the pieces are still dry. Apply one narrow adhesive strip to the underside of the flap—the surface that touches the journal page—stopping just short of the crease. Press the flap into place without sticking down the crease, body, bottom edge, or side seams.
Let the adhesive set according to its instructions, then lift the body from the bottom again. If the journal page comes up with it, check whether adhesive crossed the crease or reached the body. Don’t pull a stuck envelope apart inside your finished spread. Try a fresh flap-only attachment on scrap first, using less adhesive and a little more clearance.
Try the exampleThe body lifts; the open flap stays down
The body lifts; the open flap stays down
Move the cover through a lift and notice the hinge line above the writing.
Read the words in this example
- Fold projection
- Your words
- Wine = fixed hinge
- Side profile
- 60° from closed
Top hinge stays fixed; the flap lifts 60° from closed.
Lifting the flap can reveal note on page beneath its closed footprint. Gold is the moving flap and wine is its attached edge. The side profile shows the lift angle; the upper view is an oblique geometric projection. These are rigid-paper schematics, not predictions of bending, clearance, or collisions. Try the motion: envelope body. The rectangle models only the envelope body’s movement. Its open envelope flap lies separately above the body and bonds to the journal; the existing crease and the entire body remain unglued. This is not a new three-edge pocket.
- Lift angle
- 60°
- Fixed hinge
- Top edge
- Model
- Oblique projection + side profile
Leave the first line below the hinge
With the envelope closed against the page, lightly mark a writing area slightly smaller than its body. Lift it and begin the note about a finger’s width below the hinge, leaving small margins at the sides and bottom. Your first line should be visible without holding the envelope at an uncomfortable angle.
On a museum page, leave the date and gallery name visible beside the ticket and put the more personal sentence beneath the body. A short list or a few lines are enough. Let the ink dry fully before lowering the envelope: a hinge can work perfectly and still press wet words onto its back.
If you want more room than the envelope covers comfortably, use a larger flap or a foldout. Shrinking the handwriting until it disappears into the crease makes a reveal much less pleasant to revisit.
Try a what-ifThe flap moves, but the ink copied onto it
The flap moves, but the ink copied onto it
Separate the moving-paper test from the drying test.
The envelope lifts easily and no adhesive touches its body. After lowering it onto a freshly written note, reversed letters appear on its back.
Compare the three choices
What should change before another finished note goes underneath?
- Add a second hinge to hold the body farther away
That changes the structure and adds bulk. The transfer came from contact with wet words, even though the existing hinge worked.
- Press the body down more firmly so it closes evenly
More contact can spread wet ink. First separate the drying question from whether the cover lies comfortably.
- Let the note’s ink dry fully before lowering the body
Free movement does not mean wet ink is ready for contact. Test drying with the same pen on spare paper first.
Check ink and adhesive drying separately from whether the paper moves.
What would you try?
Choose an option to see what it would do. You can explore all three.
GO A LITTLE FURTHERYou can turn it sideways or cover a photo
You can turn it sideways or cover a photo
The upward lift is the simplest version. For a side flip, rotate the whole arrangement so the flap sits beside the body. Fix that flap only and lift the opposite free edge like a little door. Keep the hinge out of the gutter, and dry-fit the full swing before attaching it.
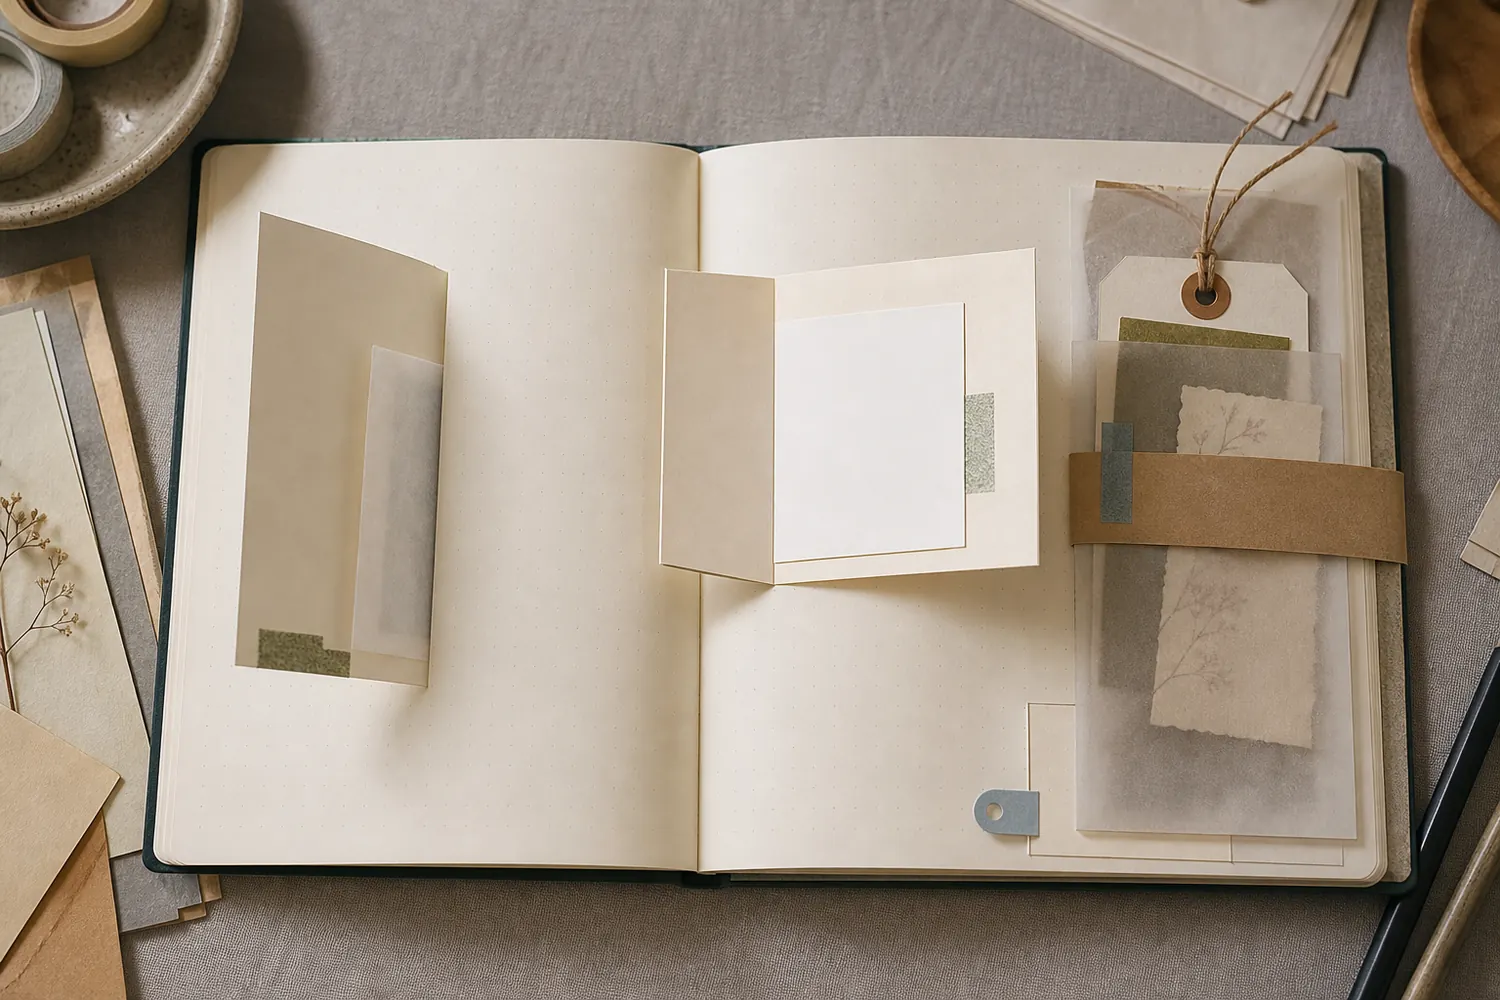
A small photo print with a caption can sit under either version instead of a written note. You can also put one very thin slip inside the envelope itself, provided its opening stays accessible and the loaded body still lifts easily. For several loose scraps or heavier cards, make a separate pocket; the hinge doesn’t need to carry your whole collection.
Add one small clue, then close the book
A flat label, a little paper scrap, or a tiny tab near the free lower edge can show where to lift. Keep thick decoration away from the crease. If the body is heavy enough to pull the page when held upright, remove a layer or choose a lighter envelope.
Lift, read, lower, then close the journal slowly. Check the first line, the moving crease, and the facing page. If the envelope adds a springy bulge, take out the optional slip or reduce decoration before trying again. Without an envelope, a light rectangle on a folded-paper top hinge can make a similar reveal.
Try the exampleWhat is the lifting body carrying now?
What is the lifting body carrying now?
Include the envelope paper, any insert, and decoration in a nominal layer count.
Read the words in this example
- Position on facing pages
- 3
- Left page
- Right page
- Spine
- Nominal section
- Gold: left page
- No facing stack
- 0.6 mm added
3 layers add a nominal 0.6 mm at the outer edge.
3 × 0.2 mm = 0.6 mm for one stack.Changing the position moves the addition but does not change this arithmetic. A matching stack on the facing page would double the nominal addition at that position. The section adds only the selected paper layers at a fixed drawing scale of 10 pixels per millimeter; page stock, glue and fasteners are excluded. Real compression, binding and closure vary, so test the assembled journal without treating this total as a safe limit. The layer count is an approximation of paper at one spot, not a weight or hinge-strength calculation. A lined envelope, a folded seam, and a tag can create different local stacks. Remove a layer if the loaded body tugs the page.
- One stack
- 0.6 mm
- Added layers at this position
- 3
- Nominal combined addition
- 0.6 mm
- Position
- Outer edge
Something for a future page?
The Washi Tape ShopAffiliate links: we may earn a commission if you buy through these links.
Where this idea began
These sources support the flap-only attachment, hidden-writing examples, and paper-hinge movement used above.
Want to explore the techniques a little further? Here are the maker tutorials and references behind this guide.
- Paper mechanism contextSmithsonian Libraries: Paper Engineering, Fold, Pull, Pop and Turn
A museum paper-engineering overview supplies fold, pull, and turning vocabulary; guide dimensions are adaptations.
- Construction referenceMad Paper Crush: How to Add Tip-Ins to Your Journal
Journal tip-in methods inform one-edge attachment and leaving a paper flap free to move.
- Construction referenceKelly Byrne / Kelly's Crafty Corner: 8 Easy Interactive Journal Elements
Kelly Byrne’s interactive journal elements supply a maker reference for lifting and hidden-writing formats.
- Creator attributionLulu: Kelly Byrne's author profile linking Kelly's Crafty Corner
Kelly Byrne’s author profile links to Kelly’s Crafty Corner and supports the maker attribution.