Gather a few things See what you’ll need
- One smooth, clean paperclip about 50 mm long
- Paper strip about 45 × 110 mm
- Narrow adhesive and release paper
- One small note, scissors, pencil, and scrap paper
Choose an exercise 4 things to try as you read
Start with a smooth clip and ordinary paper
Start with a clean, smooth clip around 50 mm long and run it over scrap paper before making a sleeve. Reject rusty wire, rough ends, bent clips, flaking coatings, or a clip that catches or leaves shine. Covering the front does not repair the metal behind it.
Use everyday pages and replaceable notes for this temporary holder. Fragile letters, brittle tickets, and original photographs do not need clip pressure. A clip can seem gentle in an open book and still leave a mark when the pages close.
Try a what-ifThe rear entry is glued shut
Make a little folded cover around the long loop
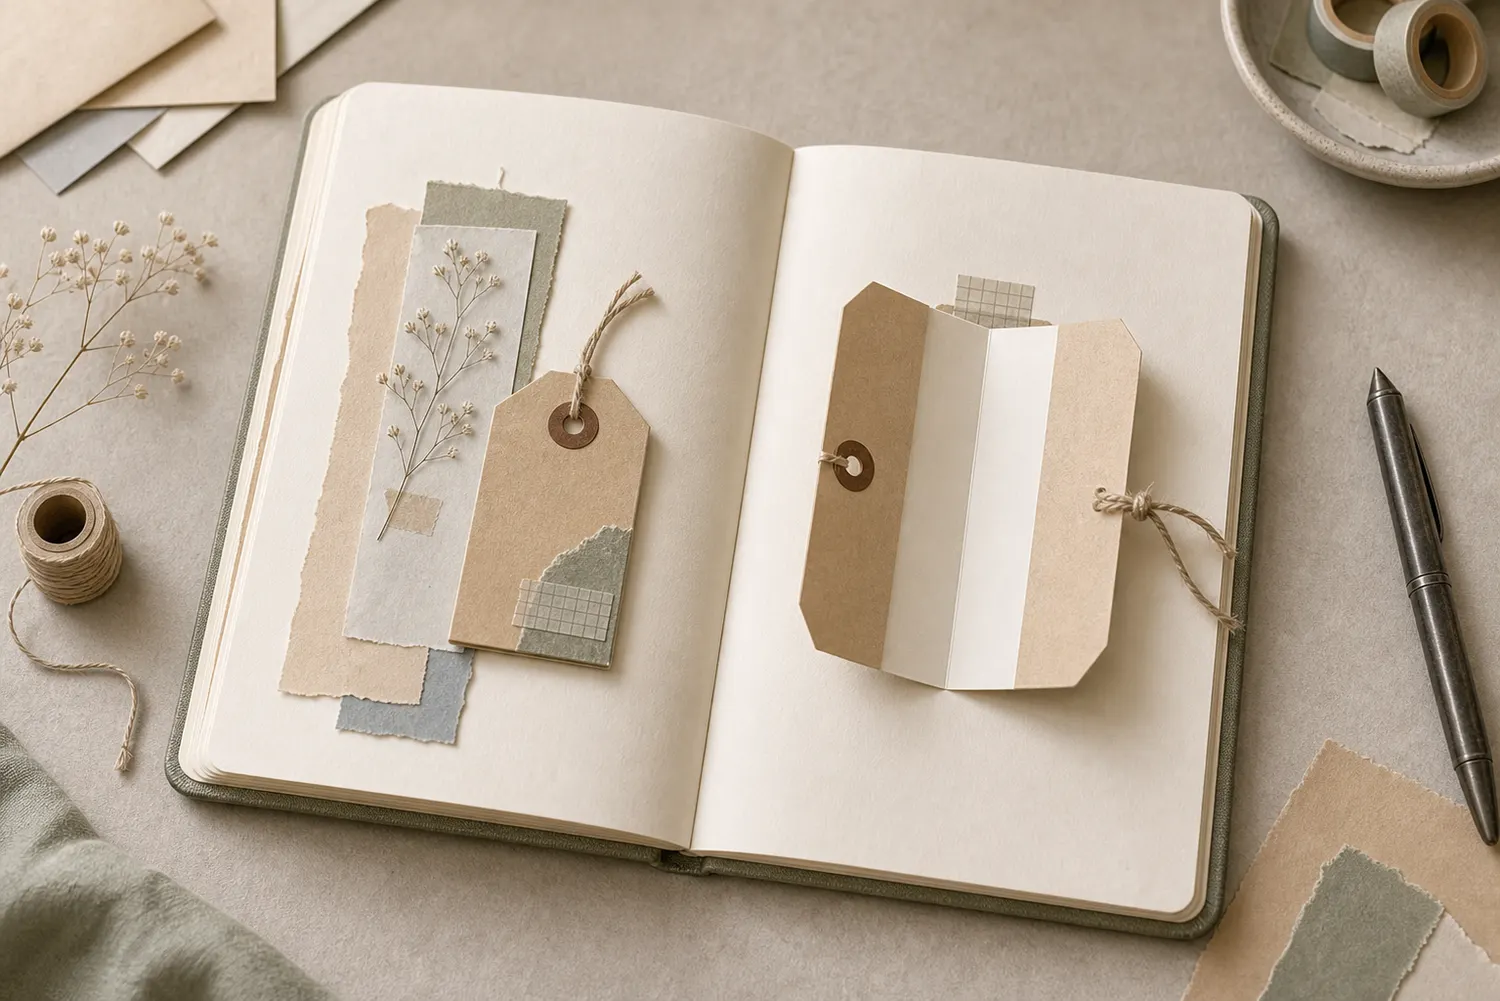
Cut a strip about 45 × 110 mm and bring its short edges together. The folded piece is now 45 × 55 mm. Hold it with the crease at the bottom and the two free edges at the top. Open the front leaf and slide the clip over the rear leaf's free top edge, with its long loop facing inward and its shorter loop at the back.
Close the front leaf over the long loop. Before gluing, try it on scrap paper: the page edge must still enter between the rear sleeve surface and the free gripping loop. If paper blocks that route, reposition the clip. Your removable note belongs against the journal page, not inside the folded sleeve.
Put the steps in orderHide the long loop and preserve the rear grip
Mark the route the page has to use
Open the sleeve without moving the clip and mark the page-entry route in pencil. Glue the paper faces together around the long loop, staying outside that route and leaving the rear gripping loop free. The page must still be able to enter behind the sleeve.
Keep adhesive thin, protect nearby surfaces with release paper, and let the sleeve set. Do not close the remaining route merely to hide more metal. The sleeve conceals the front hardware; it does not remove the back loop’s contact or pressure.
Let one light piece travel with it
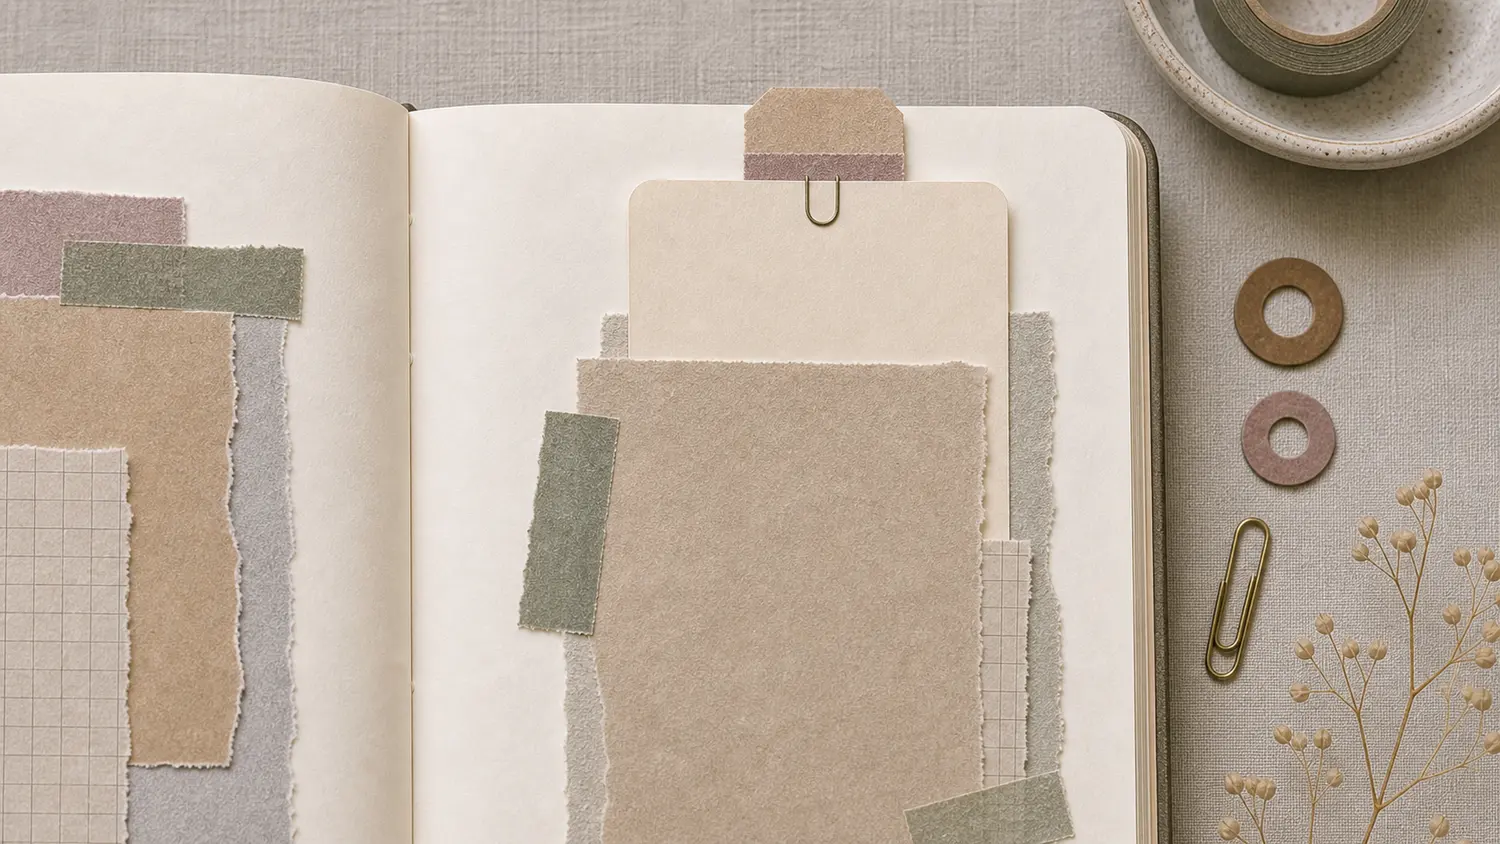
Slip one small card beneath the visible sleeve face, against the page, and clip both together. Try a prompt, a color swatch, or a note saying 'Maybe add the photo from the walk.' Keep it light and centered under the clip so the sleeve doesn't twist sideways.
If you want the card to live inside an actual pocket, use an altered paperclip pocket instead. This plain sleeve is a cover for the clip, not a storage compartment. Feeding a card into the glued fold is likely to jam the grip. Let a small card edge remain visible so you can find and remove it.
See the differenceThe note goes against the journal page
GO A LITTLE FURTHERA small label is usually enough
A small label is usually enough
Add a thin label, a stamped scrap, or a short handwritten word to the front. You can decorate the back lightly if it shows. Avoid thick fabric knots, charms, and stacked card: all that weight ends up hanging from one small place on the page edge.
Place the holder at the top or outer side of the page, away from the binding. A short tab can mark your current spread. If the sleeve leans or falls off, narrow the paper cover and lighten the note before trying a larger clip. Don't bend the wire open and closed repeatedly to make an overloaded holder behave.
Remove the holder before deciding it works
Turn the page, close the journal gently, then reopen it and take the clip off. Look at both the page and facing sheet for dents, shine, scraped fibers, or a hard outline. Stop using that combination if it leaves a mark; a loose paper guard is no guarantee of protection.
If the test stays comfortable and clean, use the holder temporarily and remove it before shelving the journal. If it does not, put the note in a loose pocket or under a folded paper corner while you decide its final home.
Compare the optionsLook at the page after the clip comes off
Something for a future page?
The Washi Tape ShopAffiliate links: we may earn a commission if you buy through these links.
Where this idea began
These sources support the covered-clip construction and Sirpa Kutilainen's documented rusty-paperclip example.
Want to explore the techniques a little further? Here are the maker tutorials and references behind this guide.
- Construction referenceila and alice: Easy Hidden/Altered Paper Clips for Your Junk Journal
An illustrated hidden-paperclip method supplies a maker reference for covering the clip.
- Construction referenceMad Paper Crush: Altered Paper Clips - 14 Different Ways
Altered-paperclip variations supply related covered-clip construction examples.
- Material careSirpa Kutilainen: Rust damage from a steel paperclip
Sirpa Kutilainen’s documented rusty-paperclip example supports the warning about corrosion marks.