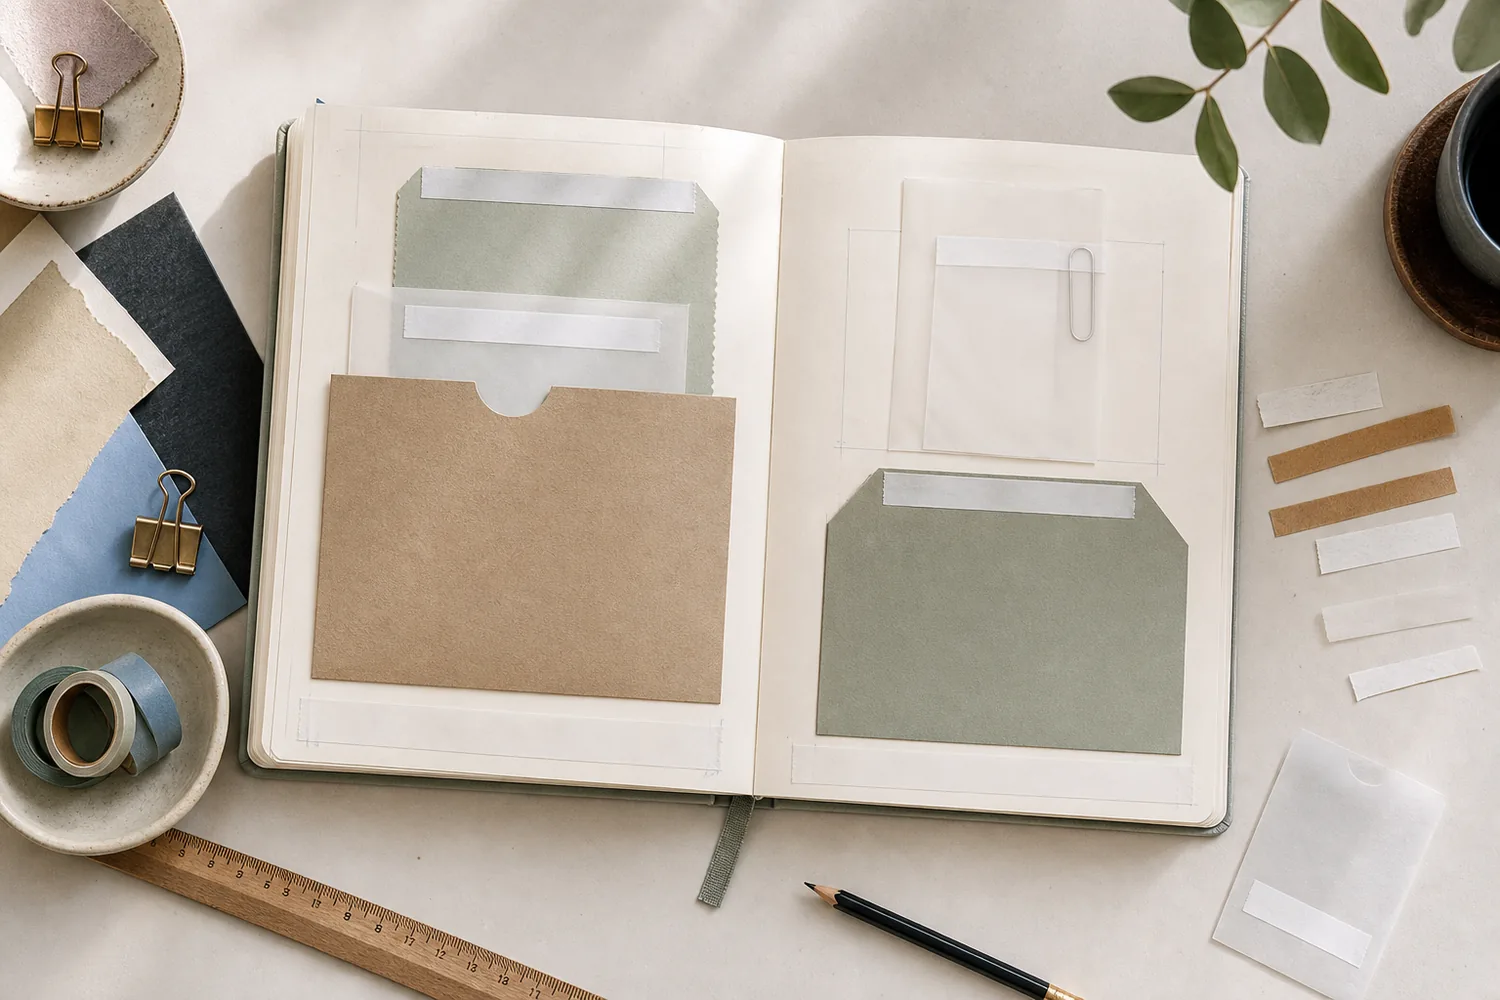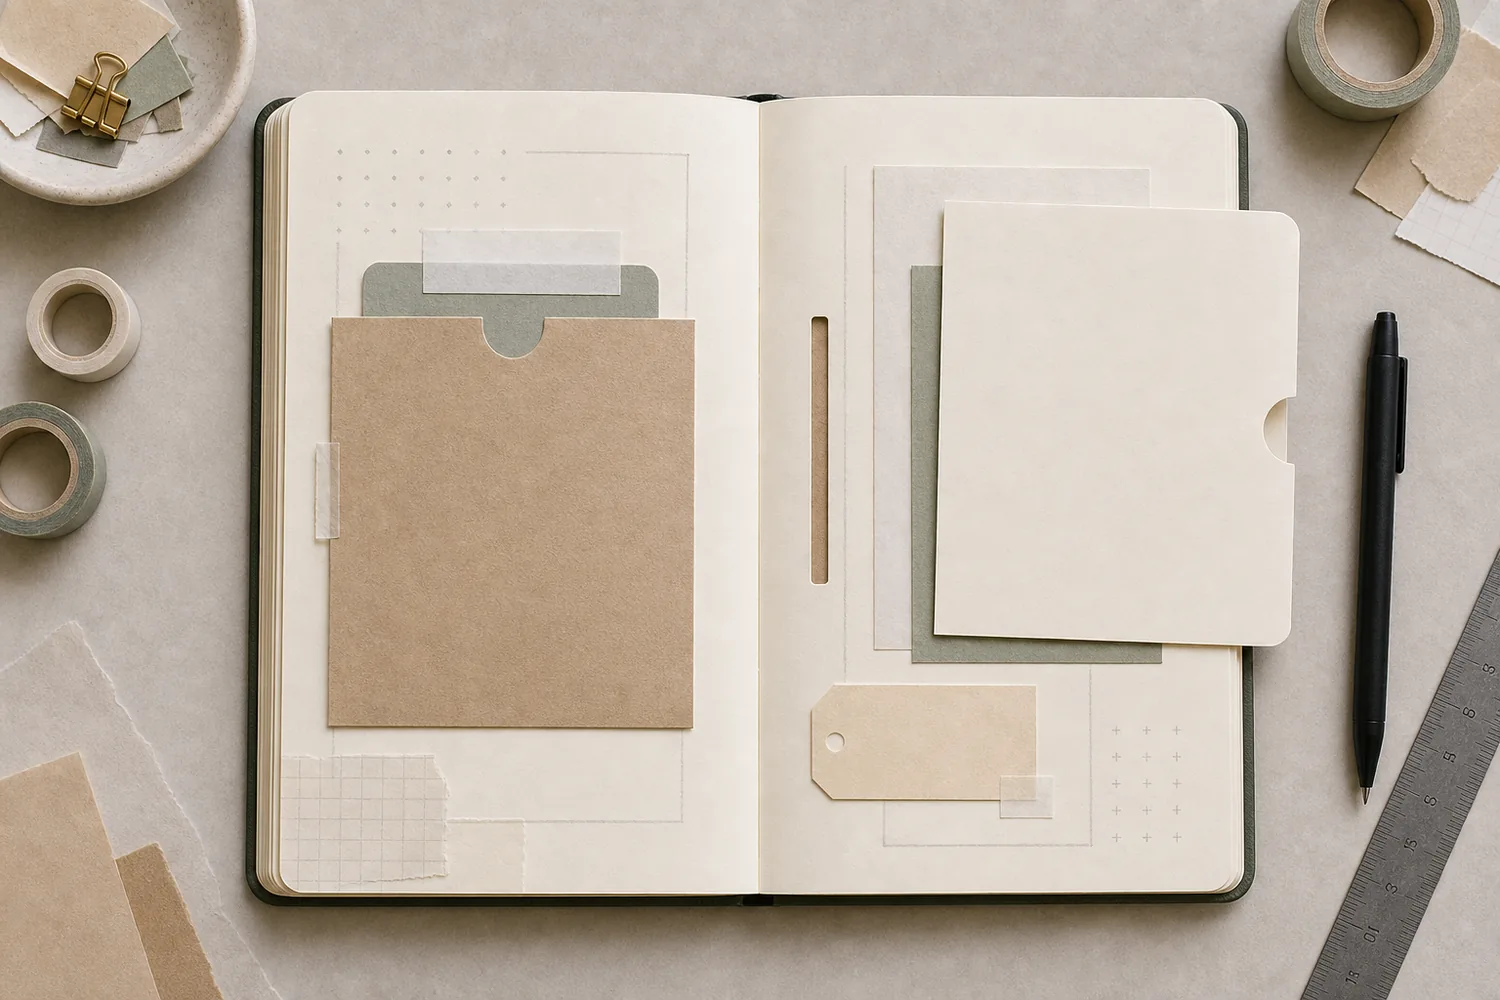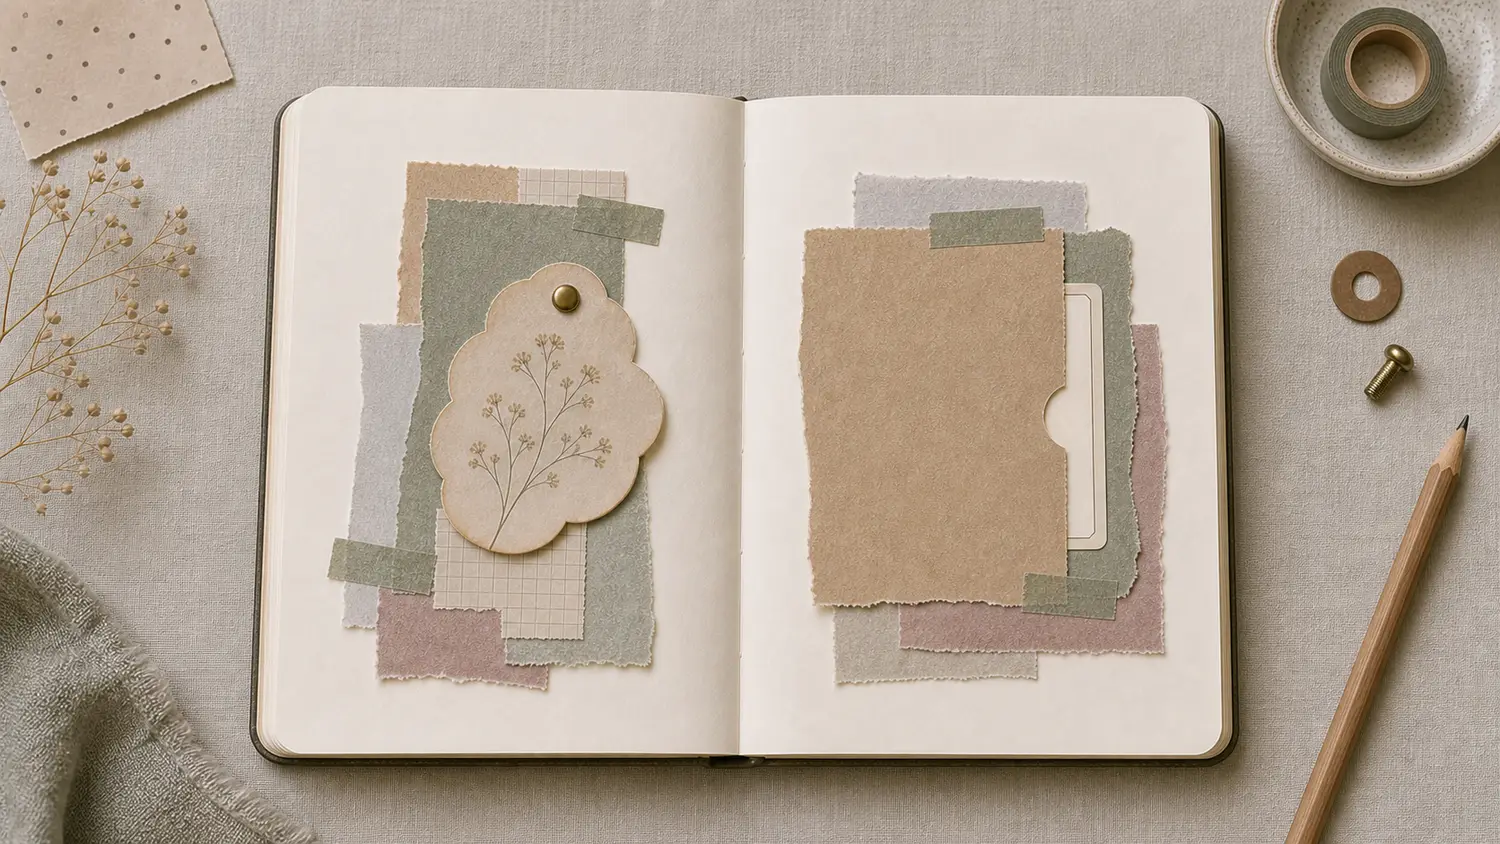
Gather a few things See what you’ll need
- Light card for a 60 × 80 mm pocket front
- One thin card, about 50 × 70 mm
- Narrow adhesive
- Pencil, ruler, scissors, and optional notch punch
Choose an exercise 4 things to try as you read
Cut the pocket around the note you mean to keep
For a first try, use a front 60 mm wide and 80 mm tall with a card 50 mm wide and 70 mm tall. Those measurements assume a portrait card entering from the side. Lay the pieces together and mark the actual card position before deciding how wide your adhesive seams can be.
Allow roughly 2–3 mm of sliding clearance beyond the card's travel path, as well as room for the seams. A folded or deckled note needs more room than a clean, flat card. If your paper is soft enough to buckle as you push it, use a slightly sturdier insert or a more open pocket.
ONE WORKED EXAMPLE
The birthday sentence behind the photograph
A birthday photograph already has a date and place. You want one extra sentence nearby, with most of its card hidden behind a plain pocket front.
Before
The card disappears completely when inserted, and the tiny tab measured during assembly is no longer visible at the closed end.
After
The right-opening pocket holds the 50 × 70 mm card against its left seam. A thin tab now shows 4 mm in that resting position. The card says, “I had forgotten mentioning that cake, but everyone else remembered.” Its grip area stays clear of the sentence.
What changed—and what to check
Measuring the tab at the card’s resting position makes the quiet opening usable. The card adds a detail the visible photo caption does not carry.
Try this check. Insert the card fully, release it, and check that the tab still provides a comfortable grip.
Something for a future page?
The Washi Tape ShopAffiliate links: we may earn a commission if you buy through these links.
Leave the opening on the side your hand approaches
On a right-hand journal page, a right-side exit lets you pull outward. Seal the left, top, and bottom edges. On a left-hand page, reverse the two sides. For a top-opening version, seal the left, right, and bottom instead. The opening edge stays dry from end to end.
Cut a shallow half-circle notch deep enough to grip a fully inserted card, or add a thin tab that shows 3–6 mm. Check with the card resting against the closed seam. A tab measured while the card is halfway out can disappear once the card reaches its actual resting place.
Try the exampleHide the card without sealing its exit
Hide the card without sealing its exit
Choose a single opening edge, then notice which three edges can hold the front.
Read the words in this example
- Front attachment
- Paper front
- Open
- Attached
- Free edge
Right-opening pocket: 3 attached edges.
Three edges are attached and the right edge is free. That free edge is the mouth for slim card. This diagram describes the attachment, not adhesive strength or a guarantee that an insert will fit. This is the single pocket-front-to-page or pocket-front-to-separate-backer interface. A right-side exit uses top, bottom, and left seams; the entire right edge remains dry. The article’s 60 × 80 mm portrait trial is side-loading.
- Attachment
- Right-opening pocket
- Attached edges
- Left, Top, Bottom
- Open edges
- Right
“If the mouth itself feels sticky or sealed, remake the plain pocket rather than forcing the card through it.”
End the glue before the place you’ll pull
Put narrow adhesive on the three closed edges, outside the card's marked path. For a side exit, stop the top and bottom seam lines 6–10 mm before the opening. This leaves a clean lead-in where the card and your fingers enter. Don't carry a glue line around the notch.
Press the front onto the page or a separate backer, concentrating on the sealed edges. If you're using wet glue, place release paper inside the channel while it sets and let it dry fully. Remove that liner before inserting your note. A real card left beside a damp seam can become part of the pocket permanently.
See the differenceEnd the seams before the fingers arrive
End the seams before the fingers arrive
Switch from seams reaching the side mouth to seams that leave a clean lead-in.
Read the words in this example
Seams reach the mouth
- front
- card
Seams reach the mouth
Seam ends at the mouth bring sticky edges close to the entering corner and your grip.
GO A LITTLE FURTHERLet the visible page and the note say different things
GO A LITTLE FURTHERDecorate the closed edges, then leave the mouth alone
Decorate the closed edges, then leave the mouth alone
Choose a front that echoes the page: plain kraft, a pale grid, or a small piece of the same patterned paper. A flat label or torn scrap on the fixed face can help it belong. Leave the opening and notch clear of lace, sticker edges, thick tape, and any decoration that catches the returning card.
A little contrast at the tab can be useful even when the rest blends in. You don't have to disguise every sign that the pocket exists. This hides writing from the first glance; it doesn't keep the contents secure from someone who can open your journal.
Try putting the card back without looking for the gap
Pull it out normally and slide it back. If it catches, round the leading corners or trim a little from the card's height for a side-loading pocket. Check the seams for a glue ridge. If the mouth itself feels sticky or sealed, remake the plain pocket rather than forcing the card through it.
Load the one intended card and close the journal. If the pocket bulges, remove a second insert or thick decoration before changing its seams. Choose a more open pocket or belly band for frequent daily use. This quieter version earns its place when the card can return without bowing and its small opening remains findable.
Try a what-ifThe insert catches only when returned
The insert catches only when returned
Consider this page before choosing your next move.
Your side-loading card comes out easily but its leading corners catch as you slide it back. The mouth is dry and the seam has no glue ridge.
Compare the three choices
What is a sensible small adjustment?
- Round the leading corners slightly and retest the return.
This can ease the card into a clear mouth without changing which edges hold the pocket.
- Seal more of the opening to guide the card.
A narrower mouth would reduce the available entry rather than address the catching corners.
- Add a second card behind it for stiffness.
That increases the load and can create a new clearance problem in a pocket intended for one card.
Test the return path as carefully as the removal path.
What would you try?
Choose an option to see what it would do. You can explore all three.
Where this idea began
These sources support the hidden-pocket construction, exit cues, and Ali Edwards slit-pocket example used above.
Want to explore the techniques a little further? Here are the maker tutorials and references behind this guide.
- Construction referenceMosaic Moments: Creating a Hidden Journal Pocket
A hidden journal pocket provides a maker reference for a concealed opening.
- Maker exampleAli Edwards: December Daily 2019 Story Five slit-pocket process
Ali Edwards’s Story Five process supplies the named slit-pocket example.
- Paper mechanism contextSmithsonian Libraries: Paper Engineering, Fold, Pull, Pop and Turn
A museum paper-engineering overview supplies fold, pull, and turning vocabulary; guide dimensions are adaptations.
- Paper mechanism contextRobert C. Williams Museum of Papermaking: Movable Mechanisms
A museum overview explains movable-paper mechanisms; practice dimensions and clearances are editorial.
- Design principleNielsen Norman Group: Signifiers Articles and Videos
A broad signifier topic page provides context for visible cues; it is not a paper construction tutorial.