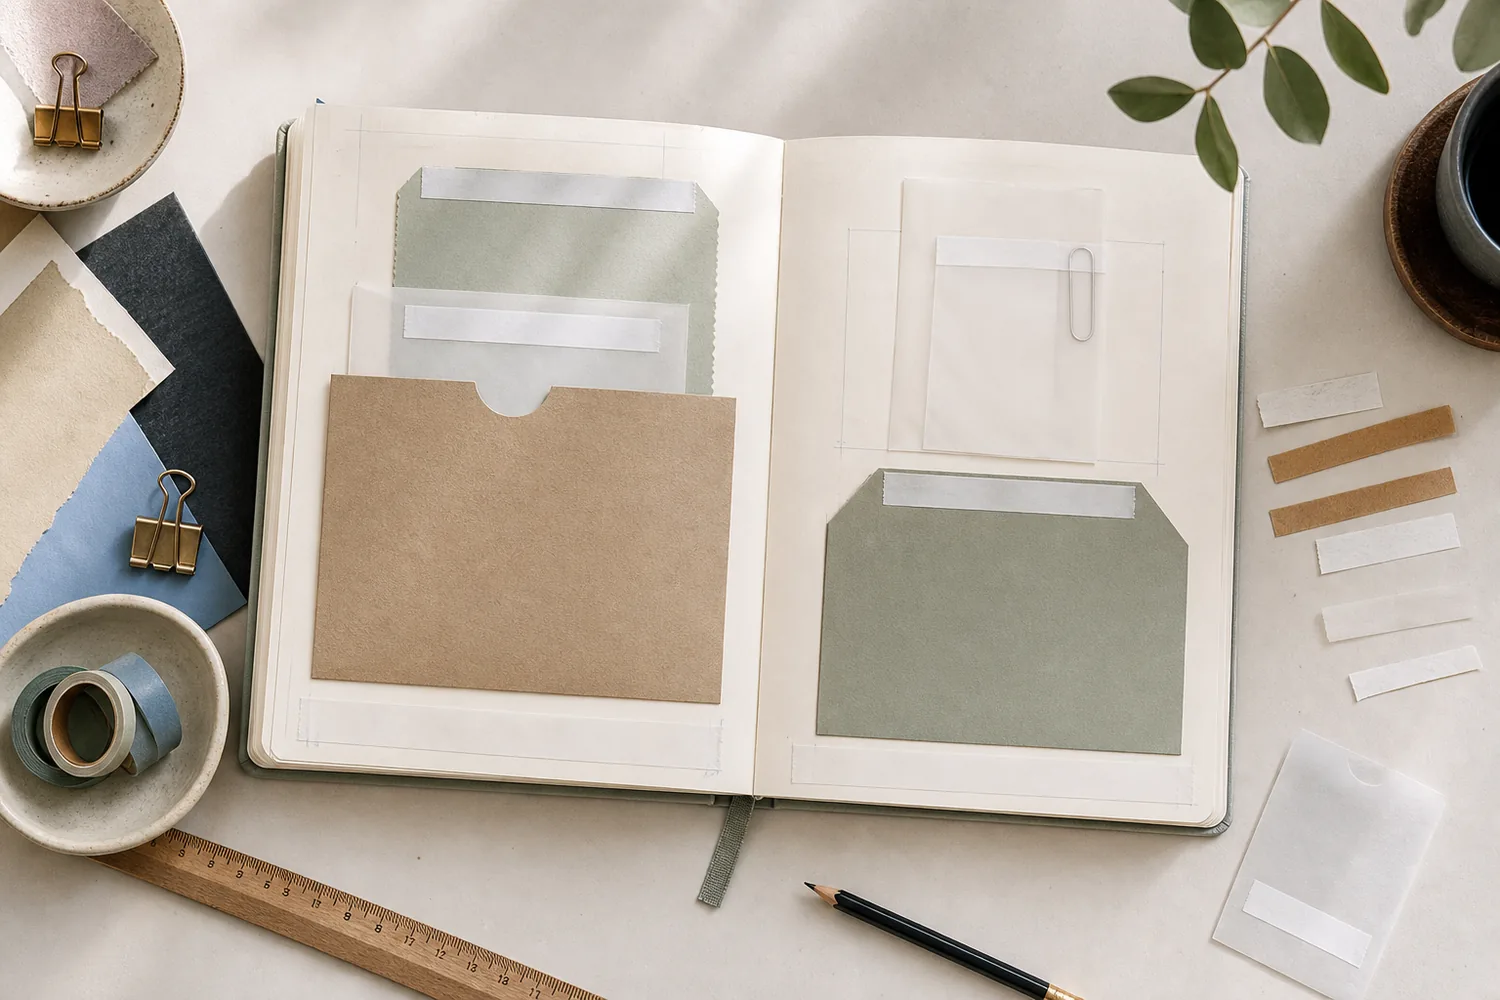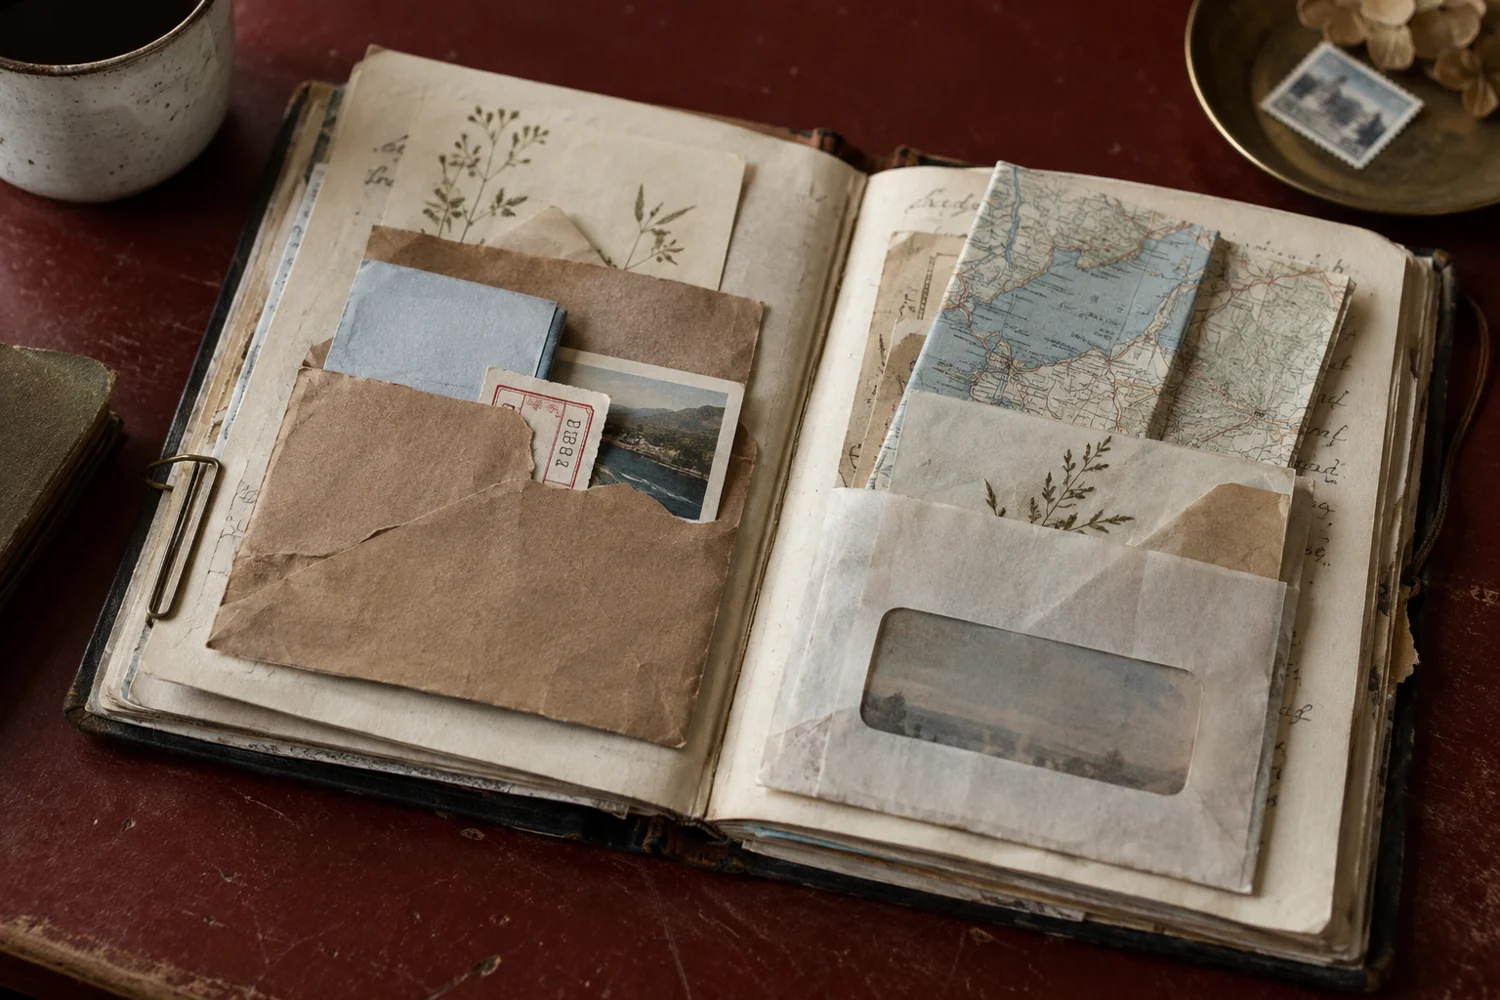
Gather a few things See what you’ll need
- One clean paper scrap, envelope, bag, wrapper, or sleeve
- A thin note or tag
- Scissors
- Narrow double-sided tape or a little paper glue
Choose an exercise 4 things to try as you read
Let the note help you choose
Start with one lightweight insert. Make the finished interior about 5–10 mm wider than it, and let the top peek out by 3–5 mm. A pocket around 7 × 9 cm is a useful first experiment, but check it against your notebook before cutting.
Choose a clean, dry scrap that bends without cracking; leave greasy, damp or strongly scented packaging out of the book. Use a copy of an irreplaceable ticket, photograph or letter. Thermal receipts can fade, so a receipt-shaped slip with the useful details copied onto it may keep the memory more reliably than the original print.
Try the exampleThe panel is wider than the space inside
The panel is wider than the space inside
Change the side seams as well as the front width. Watch what remains for the note.
Read the words in this example
- Two side seams
- Panel 70 mm
- 55 mm
- Insert
- Usable 64 mm
- Total clearance 9 mm
9 mm total clearance is within the practice range.
Usable width = 70 − 2 × 3 = 64 mm. Total clearance = 64 − 55 = 9 mm. If centered, that divides into 4.5 mm on each side. The practice starting range is 5–10 mm of total extra width, not a fit guarantee. Test the actual insert, paper thickness, and adhesive before finishing. This models the plain rectangular pocket front attached along two sides and the bottom. The article suggests 5–10 mm of total extra interior width, shared between both sides; existing bags and envelopes must be measured inside.
- Usable width
- 64 mm
- Total clearance
- 9 mm
- Practice range (total)
- 5–10 mm
ONE WORKED EXAMPLE
An envelope front needs a new back
You have cut a window panel from an envelope and want it to hold a short memory note. The original envelope back is no longer attached to that piece.
Before
Only a glue strip across the bottom has been planned, so the note could slip out through either side of the loose window front.
After
The journal page becomes the back. Narrow bonds attach the front’s left, right and bottom edges, leaving the top completely open. Before attachment, the note’s date is aligned with the window and then removed until the adhesive sets.
What changed—and what to check
The three bonds create storage between the front and the journal. An intact envelope would already have that space and would attach by its existing back.
Try this check. Trace the three bonded edges and slide a dry test note through the one intended open edge.
A little tape for your next page?
The Washi Tape ShopAffiliate links: we may earn a commission if you buy through these links.
Give one line a little window
Find the window you like and leave a generous paper border around the clear panel. You can keep an intact envelope section, or cut out just the front and let the journal page become its back. Put your note behind the window before attaching it: does the date or sentence sit where you can see it?
If you’re using only the front, tape its left, right, and bottom edges to the page, leaving the top open. Keep the narrow tape lines outside the insert’s path. An intact envelope already has a back, so attach that back without sealing its mouth. Turn either version sideways if a side-opening note fits your page better.
Compare the optionsDoes your envelope already have a back?
Does your envelope already have a back?
Choose the piece you kept. The surface you attach changes, even when the window looks the same.
Read the words in this example
- front
- window
The journal becomes the back.
Attach the cut front along its left, right, and bottom edges, leaving the top open. Those three bonds create a new pocket between the front and the journal. Place the note behind the window first so the useful line appears in it.
GO A LITTLE FURTHERKeep the bag’s folded bottom
Keep the bag’s folded bottom
A small paper bag can hold a tag with more body than a flimsy wrapper can manage. Cut from the bottom when possible, preserving its existing base and side folds. Trim the height until the pocket takes up roughly a third to half of your page, leaving useful writing room above it.
Check and repair loose seams before attaching the bag by its back. Keep the mouth free. If your fingers cannot find the tag, a shallow semicircle or V in the front lip can expose a grip; make that cut while the bag is loose. Test the real insert before adding a label, and leave the extra depth unfilled if one tag is enough.
GO A LITTLE FURTHERSave a tiny note with your tea
Save a tiny note with your tea
Open a clean tea wrapper along one edge and leave its other sealed edges intact. That open edge becomes the pocket mouth. Trim only the ragged bits, press the empty wrapper flat, and repair a split seam with a narrow piece of tape.
Slip in one small phrase: ‘rain at the window,’ a café name, or the date you tried the tea. Keep a little paper visible so you can retrieve it. Coated and foil-lined wrappers may resist adhesive; test a spare area first. If it won’t hold reliably, keep the wrapper as decoration and make the actual pocket from plain paper.
GO A LITTLE FURTHERLet the insert show through softly
Let the insert show through softly
A glassine sleeve gives you a hazy view of what’s inside. Choose the insert first, because its colors and edges will remain part of the page. One pale photo print or a simple handwritten card usually reads more clearly than several overlapping patterned scraps.
Keep the sleeve’s existing seams and opening. Attach it from the back with small, discreet adhesive areas; tape may show through translucent paper. Put a tiny folded-paper tab on the insert if its edge is hard to find. Leave a flap loose for a lift, or rotate the sleeve for a side opening. This is a soft reveal, so use opaque paper if you want the words fully hidden.
Try a what-ifThe saved receipt is already fading
The saved receipt is already fading
Choose what the pocket needs to preserve.
A thermal café receipt is losing its print, but the date and café name still matter to your entry. You want those details readable later.
Compare the three choices
What is the most useful step before storing it?
- Copy the useful details onto a plain slip or make a readable copy now.
The pocket can hold the copy and your context. It does not need to rely on the fading print to preserve those details.
- Put the original in a translucent sleeve so you can see it continuously.
Visibility helps you notice the receipt, but does not establish that its print will remain readable.
- Make a deeper pocket so less of the receipt is exposed.
Changing the pocket depth does not capture the information that is already disappearing.
Preserve the information you need before relying on a saved paper to keep carrying it.
What would you try?
Choose an option to see what it would do. You can explore all three.
Turn a map corner into a place to tuck
Cut a triangle from a map or brochure, keeping the place name or route you want visible. Set it in a bottom corner of the page. Attach only the horizontal bottom edge and the vertical side edge. The long diagonal must remain completely open.
Slide your note down behind that diagonal edge. This is a corner tuck, so it holds part of the insert rather than enclosing the whole thing. If the note tips out, use a larger triangle or a smaller, lighter insert. Add the missing context nearby: ‘where we stopped for lunch’ might be all the page needs.
For a sized version of this diagonal opening, follow the corner-tuck guide.
Try the exampleLeave the route into the map corner open
Leave the route into the map corner open
Toggle the two straight attachment edges. The diagonal is the entrance and stays free.
Read the words in this example
- Front attachment
- Insert
- Open
- Attached
- Free edge
Corner tuck: 2 attached edges.
The left and bottom edges are attached; the diagonal remains an opening for map note. This is a general attachment diagram, so test the actual paper and adhesive. This is the lower-left map triangle, not a full pocket. It holds only one corner of a light insert. The lower-right version mirrors the straight side attachment.
- Attachment
- Corner tuck
- Attached edges
- Left, Bottom
- Open edges
- Diagonal
Give the opening the last word
Try the note in both directions, then close the journal. If it catches, look for adhesive in the channel or trim a sliver from the insert. If the page bulges, remove an extra note before strengthening every seam. Keep any decorative strip away from the mouth.
If none of these scraps suits your note, a plain rectangle attached at left, right and bottom gives you the same simple storage job. After the seams dry, remove the note while holding the book normally. Put its date or a short title where you can find it again without opening every pocket.
If the insert catches near a seam, check the glue placement guide before adding more adhesive.
Let’s take a closer look
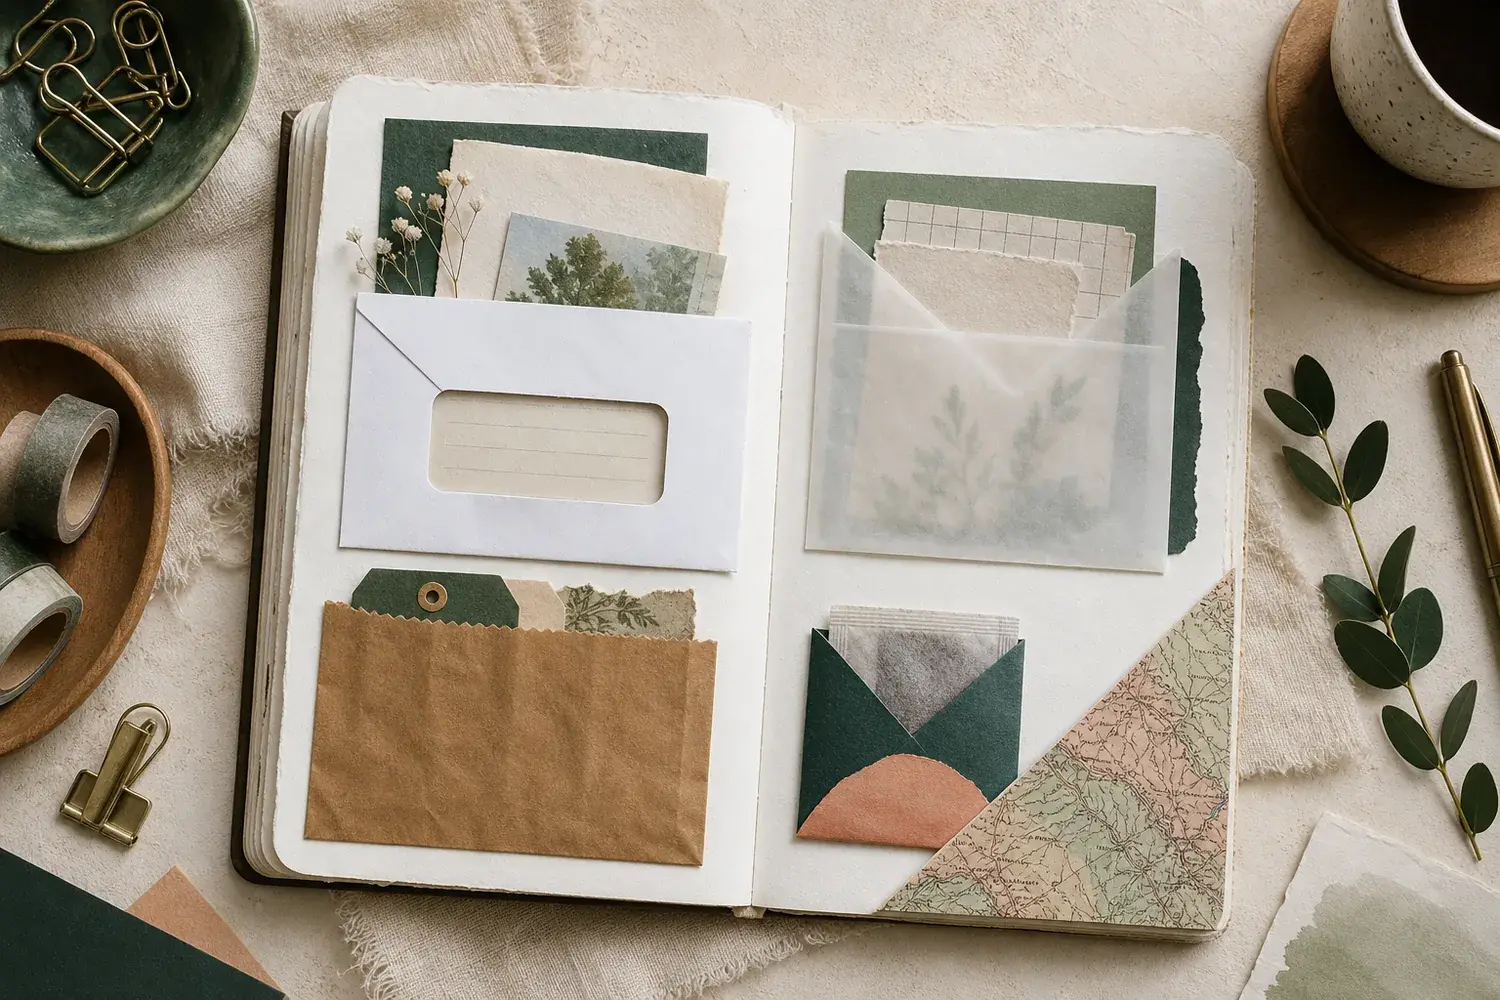
These examples show how the pieces can sit together. Follow the written instructions above for the exact attachment and opening direction.

Where this idea began
The maker links below support the pocket constructions and Victoria Calvin example. The two material-care links support the single exception for thermal receipts and irreplaceable photographs.
This guide grew from our original Instagram post. The examples and explanations here expand on that idea so you can try it at your own pace.
- Original Tiny Systems Co. postour original Instagram post
The original Tiny Systems Co. post establishes where this guide began. The expanded instructions, examples, and practice measurements are editorial additions unless separately credited.
Want to explore the techniques a little further? Here are the maker tutorials and references behind this guide.
- Material careUniversity of Illinois PSAP: Office Copies (Thermal)
Thermal office-copy guidance supports keeping a copy of unstable printed information.
- Material careLibrary of Congress: Care, Handling, and Storage of Photographs
Photograph care informs the caution about attaching an irreplaceable photograph with craft materials.
- Construction referenceMad Paper Crush: Junk Journal July Day 22, Pockets
Pocket examples provide a maker reference for journal storage openings.
- Construction referenceMad Paper Crush: Library Card and Pocket Freebie
Sharon Coughlin’s library-card tutorial supplies the credited card-and-pocket example.
- Maker exampleVictoria Calvin: Pocket Perfection layout process
Victoria Calvin’s Pocket Perfection layout is the named pocket-making example.