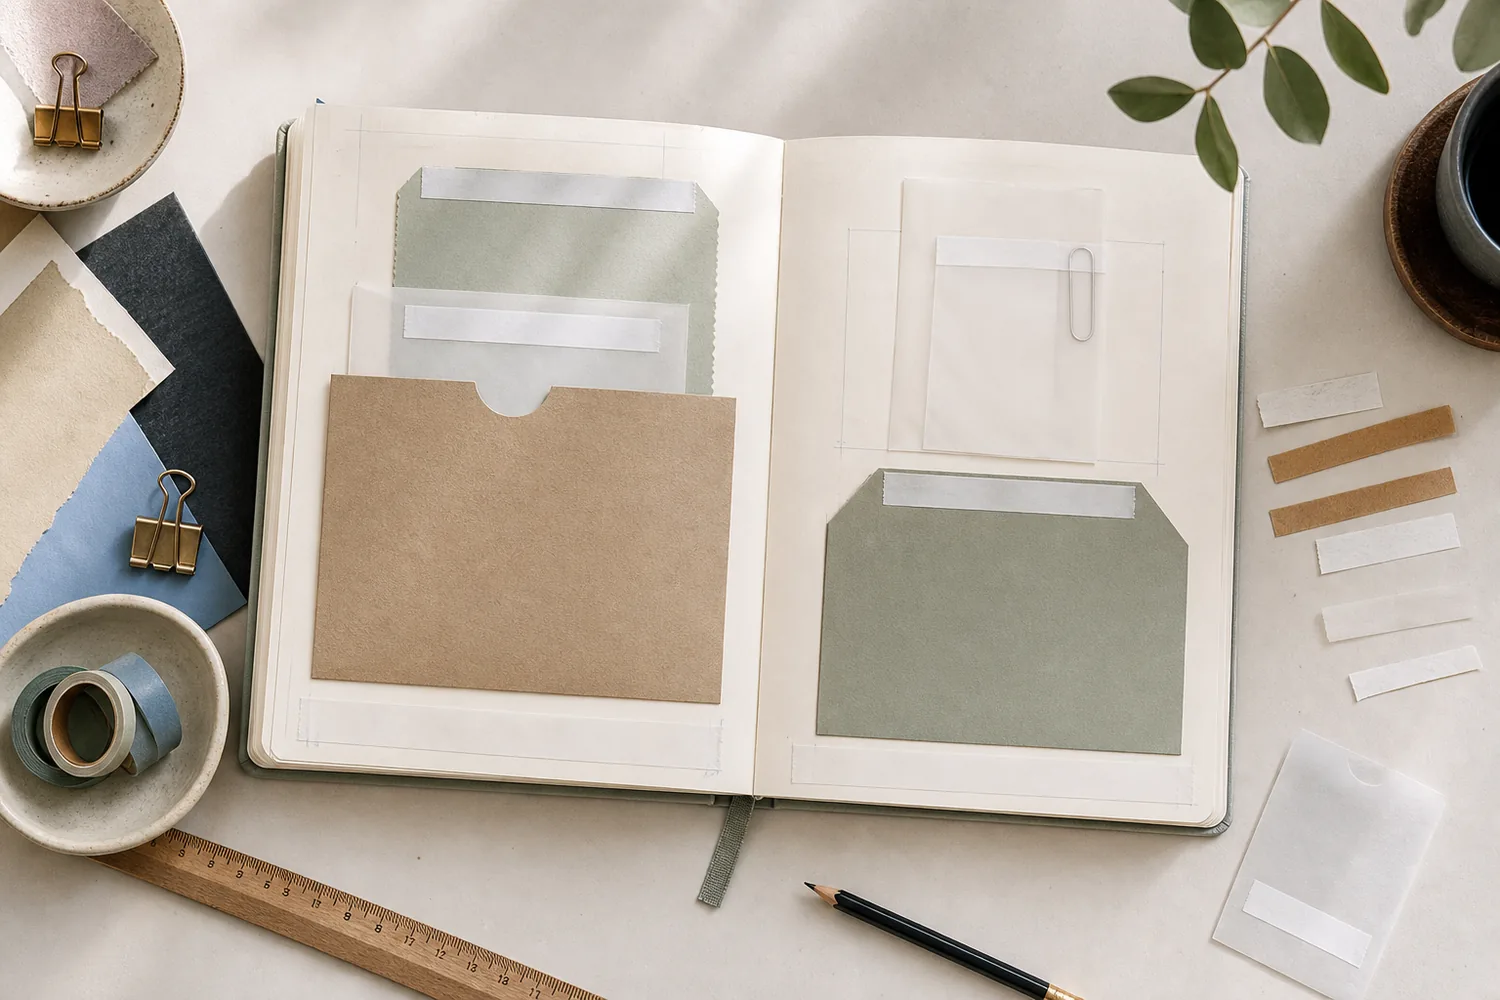
Gather a few things See what you’ll need
- Scrap paper and the actual insert you want to use
- Pencil
- Your usual paper adhesive
- Release paper or clean release liner
- Scissors and ruler
Choose an exercise 4 things to try as you read
Put the actual card on the table
Put the finished insert beside the loose pocket front: folded note, backing, tab, fuzzy corners and all. A thin blank can slip through a space that catches the real piece. If you need a practice substitute, give it the same finished shape and thickness before you trace its route.
Trace the space that item needs as it enters and leaves. For a small flat tag, allow roughly 2–3 mm of sliding clearance as a starting point, beyond the adhesive seams. Folded, fibrous, or fabric-backed pieces need more. Mark the opening with an arrow and keep the glue outside the moving space.
Compare the optionsWhat does your actual insert add to the blank?
What does your actual insert add to the blank?
Choose the material feature the first dummy may have missed.
Read the words in this example
- folded note
- tab
Trace the finished shape and thickness.
The fold adds thickness and the tab changes the outline that approaches the opening. Test that complete combination, not a single flat sheet of the same width. Keep adhesive outside the moving space and check that the tab remains reachable when the note is fully seated.
ONE WORKED EXAMPLE
A clean entrance on the right
You are making a side-opening pocket for a small flat tag. The front and backer are still loose, so you can test the tag’s full route before attaching anything.
Before
Glue marks run right to both mouth corners. The tag’s leading edge would immediately meet those seams instead of entering through a short clear space.
After
An arrow marks the right mouth. The left, top, and bottom bonds stay outside the traced tag path, with roughly 2–3 mm sliding clearance. The top and bottom lines stop 6–10 mm before the mouth, leaving a clean entry.
What changed—and what to check
The opening includes its approach, not just one unglued edge. Stopping the adjacent seams early gives the card a less obstructed place to enter.
Try this check. Slide the actual tag along the pencilled route and check that every intended bond stays outside its moving space.
Leave the whole pocket mouth open
For a top-opening pocket, glue the left, right, and bottom edges. The top stays dry from corner to corner. For a right-side opening, glue the top, bottom, and left edge; reverse the sides for a left opening. Leave a clean 6–10 mm lead-in near a side mouth by stopping the adjacent seam lines early.
A diagonal corner tuck needs glue on the two straight edges that meet the page corner. Its diagonal edge stays open. If you're stacking pockets, finish and try the rear pocket first. The next layer must stop below its mouth so your fingers and insert can still get into it.
Try the exampleOne edge change gives the note a different route
One edge change gives the note a different route
Try a top pocket, side pocket, and two-edge rectangular tuck. Follow the opening after each change.
Read the words in this example
- Front attachment
- Insert
- Paper front
- Attached
- Free edge
Top-opening pocket: 3 attached edges.
Three edges are attached and the top edge is free. That free edge is the mouth for your note. This diagram describes the attachment, not adhesive strength or a guarantee that an insert will fit. This is a single rectangular front against a page or backer. A triangular corner uses only its two straight sides and leaves its diagonal free; use the corner-tuck article for that different shape.
- Attachment
- Top-opening pocket
- Attached edges
- Left, Right, Bottom
- Open edges
- Top
Let the middle of a band stay free
A belly band holds a card beneath its middle span. Glue only the two short ends or end tabs to the page, leaving the whole central area unglued. Lay the real card under it while deciding where the ends belong; a band pulled tightly against an empty page may be too snug once the card arrives.
For a sleeve, keep adhesive on the exterior joining tabs rather than the inside surface the insert touches. With vellum, put those seams behind a label or at a folded edge if you don't want the adhesive showing. The hidden surface should feel smooth and dry when you slide a scrap through it.
See the differenceA central glue dot takes away the band’s useful space
A central glue dot takes away the band’s useful space
Reveal the version with only the band ends attached.
Read the words in this example
A bond through the middle
- card
- band
A bond through the middle
A glue dot, seal, or fastener through the center makes a new obstruction in the space intended for the card.
A fold and a paperclip need room for different reasons
On a paper hinge, glue the attachment flanges while leaving the crease free to bend. Fold the strip before attaching it, then check that it opens without lifting the journal page. Spreading glue across the moving fold can make it stiff even when the surrounding bond is strong.
For a covered paperclip, try sliding the journal page under the gripping loop before adding the wrapper. That is the route the glue must leave open. Glue the wrapper around the fixed part. If the clip carries a tiny pocket too, mark a second opening for the tag; the page grip and tag mouth do separate jobs.
GO A LITTLE FURTHERGive the adhesive less room to wander
Give the adhesive less room to wander
Apply glue to the back of the loose piece when possible, where you can see its borders. Use a narrow, thin line rather than a wide bead. Press the bonded seams gently without rubbing glue toward the open channel. A little release paper inside a nearby opening can catch accidental squeeze-out; remove it once the bond is dry.
Dry tape avoids wet squeeze-out, but an exposed sticky edge can still catch a card. Glue stick is handy for light collage, while a frequently pulled pocket may need a more reliable edge bond for your particular paper. Try the combination on scrap and follow the adhesive's drying instructions. Keep the real insert away from damp seams.
Try a what-ifDry tape still catches the card
Dry tape still catches the card
Dry does not mean every sticky surface is covered.
You assembled a pocket with double-sided tape. There is no wet glue, but the card catches at one side and comes out with a tacky patch where the tape projects into the channel.
Compare the three choices
What needs attention before another pull?
- Leave the pocket overnight to dry
This tape does not lose its intended tack by waiting for wet glue to dry. Its exposed edge can keep catching the card.
- Remove the card and inspect the tape projecting into its route
The adhesive edge needs to stay outside the channel. If the bonded seam cannot be corrected cleanly, remake that holder rather than pulling the card repeatedly through it.
- Add a heavier backing to the card
A stiffer card may push past resistance, but the exposed tape would still meet its surface and the extra thickness could tighten the fit.
Dry adhesive can still obstruct movement when a sticky edge is exposed inside the route.
What would you try?
Choose an option to see what it would do. You can explore all three.
Let the plain version show you what needs changing
Once everything is dry, slide the card out and back, lift the flap, or move the clip as you normally would. If resistance increases or a corner comes out shiny, stop. Trim an oversized insert, round its leading corners, or rebuild a seam that has sealed the opening. Don't force a card through a glue ridge.
After the movement works, close the journal and feel for a thick seam or raised lump. Add decoration clear of the moving edges, then repeat the same pull or lift once. Keep the successful scrap labelled with its paper and adhesive; it gives you a useful starting point when the next little holder needs making.
Something for a future page?
The Washi Tape ShopAffiliate links: we may earn a commission if you buy through these links.
Where this idea began
References used for adhesive placement, pocket openings, hinge masking, and the short scan-first limit for irreplaceable material.
Want to explore the techniques a little further? Here are the maker tutorials and references behind this guide.
- Construction referenceKristie Sloan, My Artful Adventures: Envelope Tuck Spots Without Bulk
Kristie Sloan’s envelope tuck example informs low-bulk attachment and keeping an entry open.
- Material careNational Archives: How to Preserve Family Archives
Family-archive storage guidance informs keeping valuable originals separate from ordinary craft attachment.
- Construction referenceUniversity Products: Book Repair, Tipping-In Loose Pages
A loose-page tipping-in example informs narrow-edge attachment; this is not a guarantee for every binding.
- Material behaviorPapercraft Panda: How to Stop Paper from Wrinkling in Bookbinding After Gluing
Bookbinding discussion of paper wrinkling after gluing; exact adhesive and paper combinations still vary.
- Construction referenceMad Paper Crush: Mini Pocket Altered Paperclips
A mini pocket on an altered paperclip supplies a related removable storage form.