Gather a few things See what you’ll need
- Postcard image or sturdy paper, about 100 × 70 mm
- Thin paper or light card for a matching back
- One thin writing card
- Narrow adhesive, pencil, ruler, and scissors
Choose an exercise 4 things to try as you read
Start with the edge you’ll actually reach
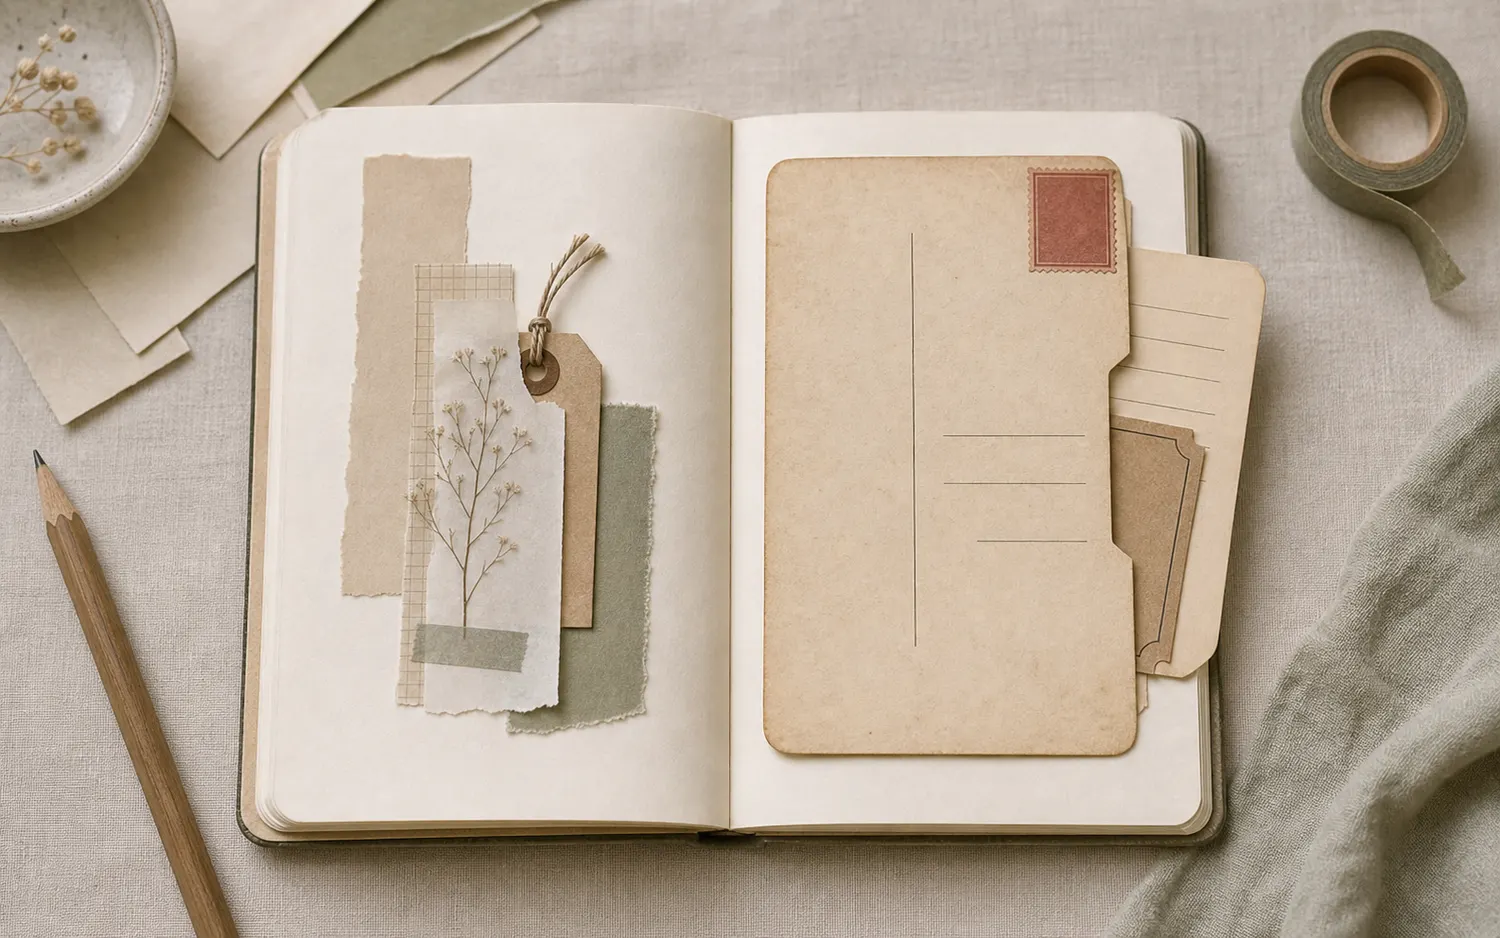
Lay the postcard on your open journal before making the pocket. On a right-hand page, leave its right edge open so the card pulls toward the outside of the book. On a left-hand page, leave the left edge open. Your hand shouldn't have to pull the card into the center fold.
A panel about 100 mm wide and 70 mm tall is a manageable first size. Cut a thin backer the same size, or just 1–2 mm smaller if you don't want it showing. If the original postcard matters to you, use a printed copy and keep the original separately.
Try the exampleLet the postcard card leave toward your hand
Let the postcard card leave toward your hand
Change which edge stays open. Think about which side of the journal will hold the finished unit.
Read the words in this example
- Front attachment
- Paper front
- Open
- Attached
- Free edge
Right-opening pocket: 3 attached edges.
Three edges are attached and the right edge is free. That free edge is the mouth for writing card. This diagram describes the attachment, not adhesive strength or a guarantee that an insert will fit. This map models the postcard-front-to-separate-backer interface. The postcard and backer become a complete pocket before its outside back attaches to the journal. A right-page version opens right; mirror it for a left page.
- Attachment
- Right-opening pocket
- Attached edges
- Left, Top, Bottom
- Open edges
- Right
ONE WORKED EXAMPLE
The bakery was closed
You have a town postcard from a day out and one sentence about what happened after the walk. A removable note can keep the detail behind the picture.
Before
The image shows the town but gives no hint of the closed bakery or the biscuits you ended up sharing on a bench.
After
The loose 100 × 70 mm pocket has a right-side opening and a short insert with a projecting tab. On the card: “The bakery was closed, so we shared the emergency biscuits on the bench.” The date and place sit above the sentence.
What changed—and what to check
The postcard keeps its picture while the insert adds a particular scene. Testing the empty, dry channel first keeps the finished note out of adhesive.
Try this check. Pull the tab, read the note, and return it without bending its corners or lifting the postcard from its backer.
Something for a future page?
The Washi Tape ShopAffiliate links: we may earn a commission if you buy through these links.
Make room for the card and its pull tab
With a right-side opening, the card travels horizontally. The top and bottom seams reduce the available height, so measure the clear gap between them. Cut the card body 3–4 mm shorter than that gap. That clearance stops its corners rubbing both seams at once.
Measure depth from the mouth to the inside of the closed side seam. Make the card body 8–10 mm shorter than that depth, then add a thin tab that still shows 5–8 mm when the body is fully inside. A shorter body prevents it bottoming out; the projecting tab gives you a grip. Changing one does not automatically fix the other.
Compare the optionsWhich measurement is making the card awkward?
Which measurement is making the card awkward?
Separate travel height, pocket depth, and tab reach. They solve different problems.
Read the words in this example
- card
- Height clearance
Measure the clear height between those seams.
For a side pull, the top and bottom seams reduce the card’s available height. In a practice 70 mm-high panel with two 3 mm seams, 64 mm remains; a 60 mm-high card has 4 mm total clearance. Measure your actual seams before cutting that height.
“Try writing one thing the postcard image doesn't tell you.”
Join the layers while you can still see the seams
For a right-side opening, put narrow adhesive along the postcard's top, bottom, and left edges. Leave the entire right edge dry. Reverse left and right for the other page. Keep the adhesive outside the space you measured for the card, and stop the top and bottom lines a little before the mouth.
Press the postcard onto its backer. If you're using wet adhesive, protect the channel with release paper and let the seams dry fully before trying the real card. Remove the release paper, then slide the card in and out while the pocket is still loose on your desk. It's much easier to fix now than after attaching it to the journal.
GO A LITTLE FURTHERGive the hidden card a detail worth keeping
Give the hidden card a detail worth keeping
Try writing one thing the postcard image doesn't tell you. 'We took the long way back because neither of us wanted the afternoon to end.' Or: 'The bakery was closed, so we ate the emergency biscuits on the bench.' A date and place help that sentence find its way back to the day.
If you have another small detail, add one narrow paper slip for a route, café name, or list of stops. Let its tab sit slightly behind the main card's tab so you can choose between them. Start with one card, though. A postcard pocket has room for a little discovery, not every scrap from the trip.
Write your versionWrite the part the postcard cannot show
Write the part the postcard cannot show
Keep the place easy to identify, then add what happened outside the picture.
ContextAugust afternoon, the harbor
What happenedWe missed the boat and ate our sandwiches on the steps.
Your words have a place now.
Use this as sample wording. Keep the pull-tab area mostly free of writing that repeated handling would rub.
- Words on this card
- 18
Let the postcard stay the picture
Close the journal gently around the loaded, still-loose pocket. If it fits, remove the card and attach only the pocket’s outside back to the page. Keep adhesive away from the mouth. Let that second bond dry before returning the card: a unit that slid well on the desk can still be blocked during attachment.
The front may need nothing else. If you're starting with plain card, a stamp-shaped scrap or a few address lines can give it a postcard feeling. You can also keep the whole pocket loose inside a larger tuck. A top hinge is another option, but only add it if you actually want the entire postcard to lift as well as hold a card.
A stubborn card needs more room, not a harder pull
If a corner catches, trim a little from the card's height and round its leading corners. Check for a visible glue ridge near the opening. If the insert still drags, rebuild the pocket with narrower seams. Pulling harder can peel the postcard off its backer and bend the very note you wanted to save.
If a second slip makes the pocket bulge, remove that slip and try the original card again. If the card falls out during ordinary page turns, consider a fresh top-opening unit with left, right and bottom sealed. Choose the opening for this placement rather than making every pull tighter. Keep the loose trial as a size reference once the finished book closes naturally.
Try a what-ifThe loose pocket worked before it reached the page
The loose pocket worked before it reached the page
Locate the new obstruction before trimming the note again.
The card slid easily in the dry pocket on the desk. After attaching the unit to the journal, it catches at the mouth; its size has not changed.
Compare the three choices
What should you inspect first?
- Cut the card much narrower immediately
That changes a card that fitted before attachment. It may not solve a mouth blocked by the new bond.
- Add a stronger tab so the card can overcome the catch
A stronger grip does not remove an obstruction and can transfer more force to the pocket seams.
- Check whether the new attachment adhesive reached the open side
The new step may have changed the channel. Stop forcing the card and inspect the mouth; remake a damaged practice unit if needed.
When a working piece fails after one new step, inspect what that step changed.
What would you try?
Choose an option to see what it would do. You can explore all three.
Where this idea began
These sources support the side-pocket, postcard, and mail-art choices used above, including Sharon Coughlin's fitted journaling card.
Want to explore the techniques a little further? Here are the maker tutorials and references behind this guide.
- Maker exampleSharon Coughlin / Mad Paper Crush: Vintage-postcard journaling card in a side pocket
Sharon Coughlin’s vintage-postcard journaling card supplies the named side-pocket example.
- Construction referenceMad Paper Crush: Sharon Coughlin's credited library-card tutorial
Sharon Coughlin’s library-card tutorial supplies the credited card-and-pocket example.
- Construction referenceCreative ArtnSoul: Trifold Tags with Pockets
A trifold tag with pockets is a related folded insert and hidden-writing form.
- Construction referenceRebecca E. Parsons: Folded Peek-a-Boo Spots
Rebecca E. Parsons’s folded peek-a-boo form is a reference for concealed writing.
- Construction referenceCreative ArtnSoul: Easy Layered Junk Journal Pockets
Layered junk-journal pockets provide a related front-and-back storage arrangement.
- Construction referenceMad Paper Crush: How to Make Clusters from Scraps
Scrap-built clusters supply a maker reference for grouping small leftover pieces.
- Maker exampleMargarete Miller: Another Mail Art Junk Journal
Margarete Miller’s mail-art journal supplies a named example of using incoming paper in a journal.