Gather a few things See what you’ll need
- A paper insert and its pocket
- A small scrap for a tab
- Glue or narrow double-sided tape
- Scissors
- A ruler
- Optional: a circle punch and release paper
Choose an exercise 4 things to try as you read
Decide which way the note comes out
Place a blank insert in the pocket and try the intended movement: upward, sideways, or lifting as a flap. Put the cue on the part that actually moves and on the edge your fingers pull.
Repeat with the journal partly open, when the binding curve may leave less finger room. If the insert already scrapes or folds, solve the fit before adding a handle; a better grip should not be used to force a tight channel.
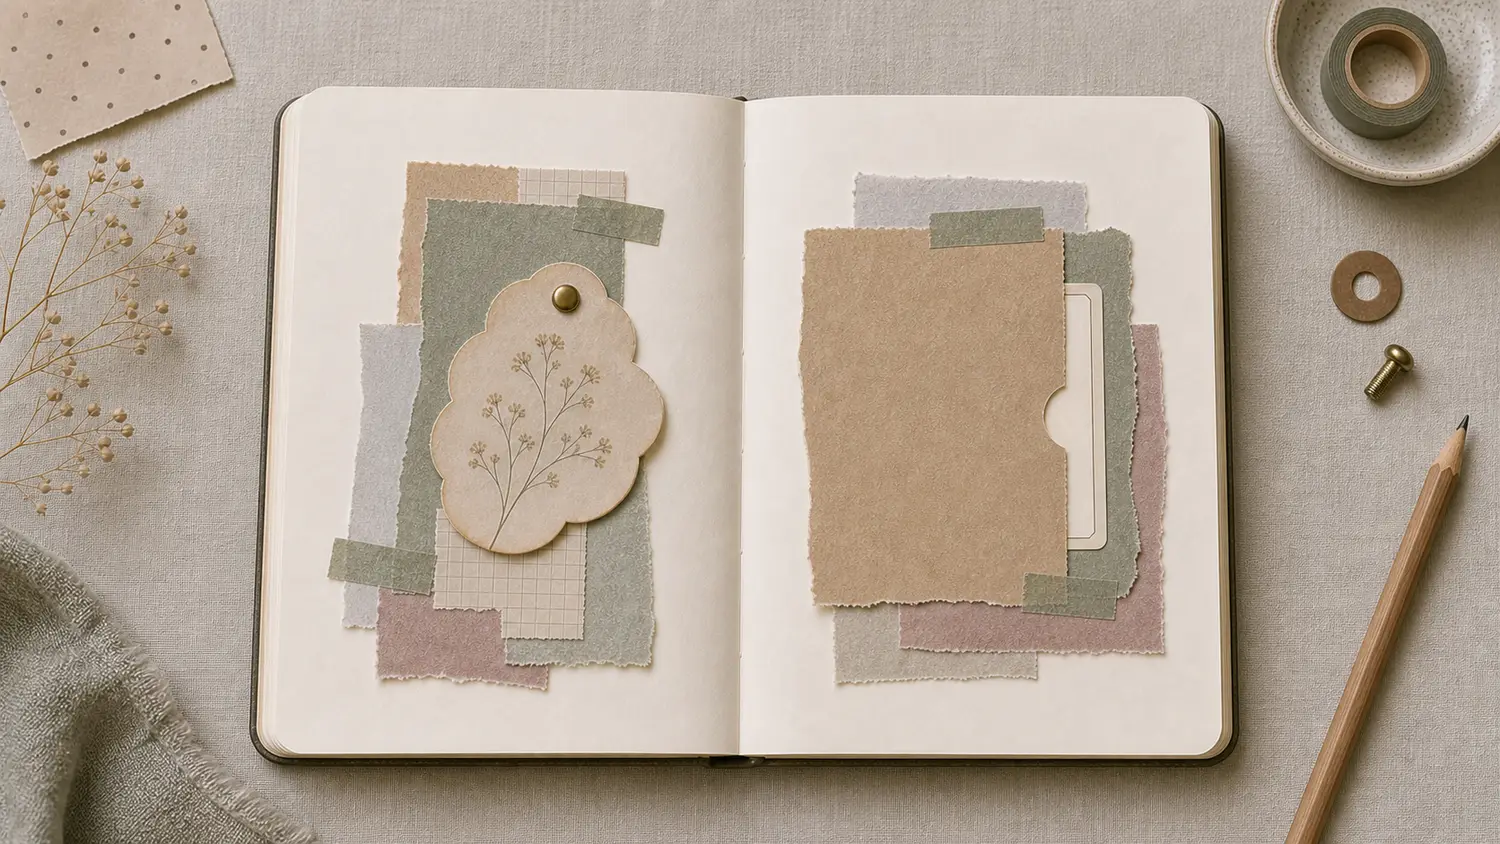
Compare the optionsPut the cue on the part your hand should move
A little tape for your next page?
The Washi Tape ShopAffiliate links: we may earn a commission if you buy through these links.
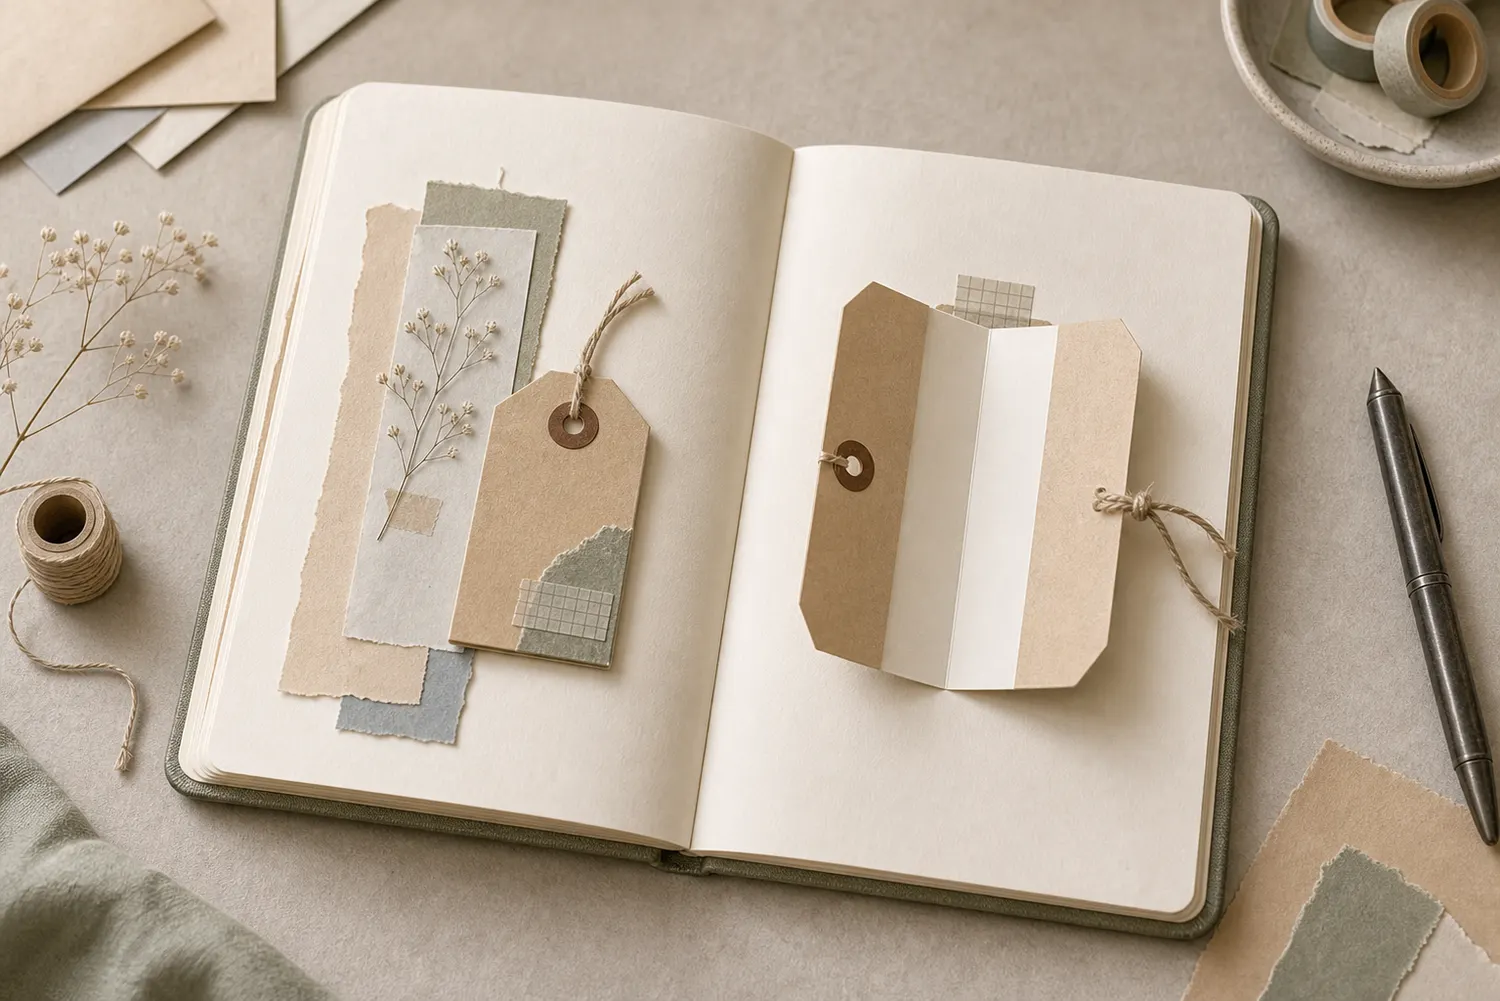
Fold a small tab around the insert edge
For a first tab, cut a paper strip about 8–12 mm wide and roughly 20 mm long. Fold the length in half. Slip that folded piece over the insert edge, leaving the folded end projecting about 3–5 mm beyond it. Glue the two ends to the front and back of the insert.
This wraps the grip around the paper rather than leaving one weak little flap attached to one face. Let the glue dry before pulling. Use a slightly larger tab if your fingers find the small one difficult; visibility and comfort matter more than keeping it almost invisible.
See the differenceA folded tab holds both faces of the insert
Give your fingers a little space at the opening
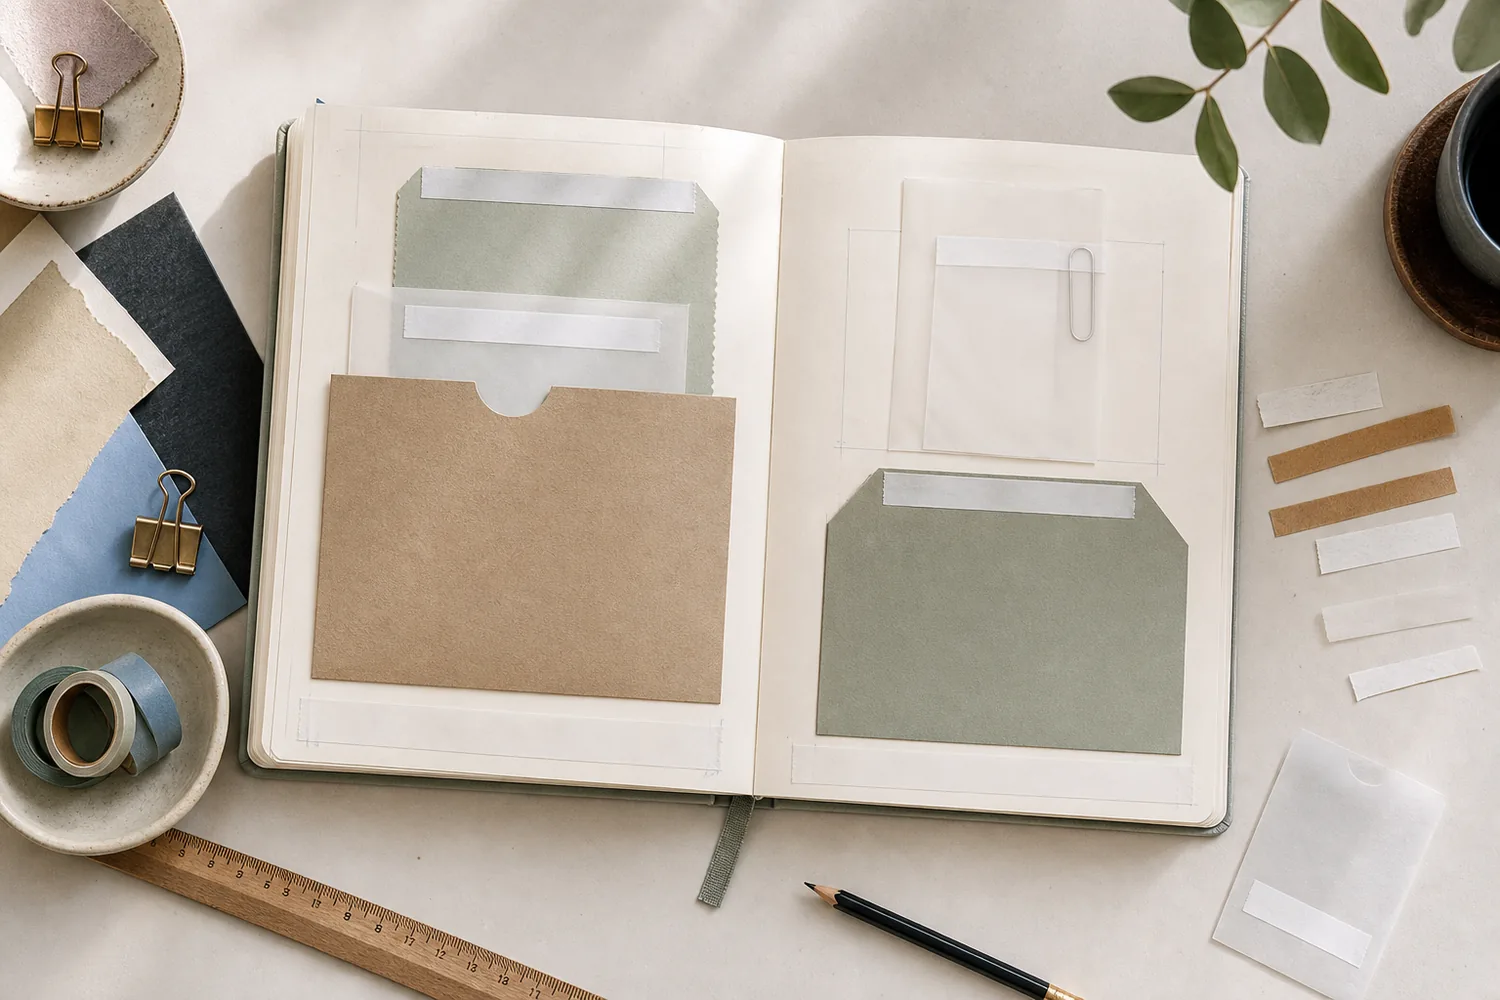
If the pocket front still blocks your grip, cut a shallow half-moon notch in its top edge before attaching that front to the page. Center it where you’ll reach for the insert, away from the glued side seams. You can draw around a small round object and cut it with scissors.
Keep a clear area around the entrance. Leave about 6–10 mm free of adhesive and raised decoration near the pull path, adjusting that space to your paper and pull angle. Don’t cut through an assembled pocket toward the page underneath; remake the front if you can’t reach it safely.
Put the steps in orderCut the finger space while the front is still loose
A visible corner can work too
A very light note may need only a visible corner extending a few millimeters. A contrasting edge or clipped corner can identify the moving piece without another layer. Round a traveling corner if it repeatedly catches inside.
For a sideways insert, keep the pulling side visible and put the tab there. Move decorative labels or ribbon tails away if they look equally graspable. After a day away from the page, you should still be able to tell which piece to pull.
GO A LITTLE FURTHERDecide whether the note should come all the way out
Decide whether the note should come all the way out
A removable note usually needs no travel stop. It only needs a pocket shallow enough that the grip stays visible when the note reaches the bottom. If the pocket is too deep, shorten its usable depth with a thin bottom stop while the front is still unattached, or use a taller insert.
A pull-out that must stay attached needs a different arrangement: a wider end inside the pocket that catches behind a narrower opening. Build that on scrap first and assemble it with the insert already inside. Place the catch so the whole message is readable before it stops. If that feels unnecessarily fiddly for this page, use the removable version.
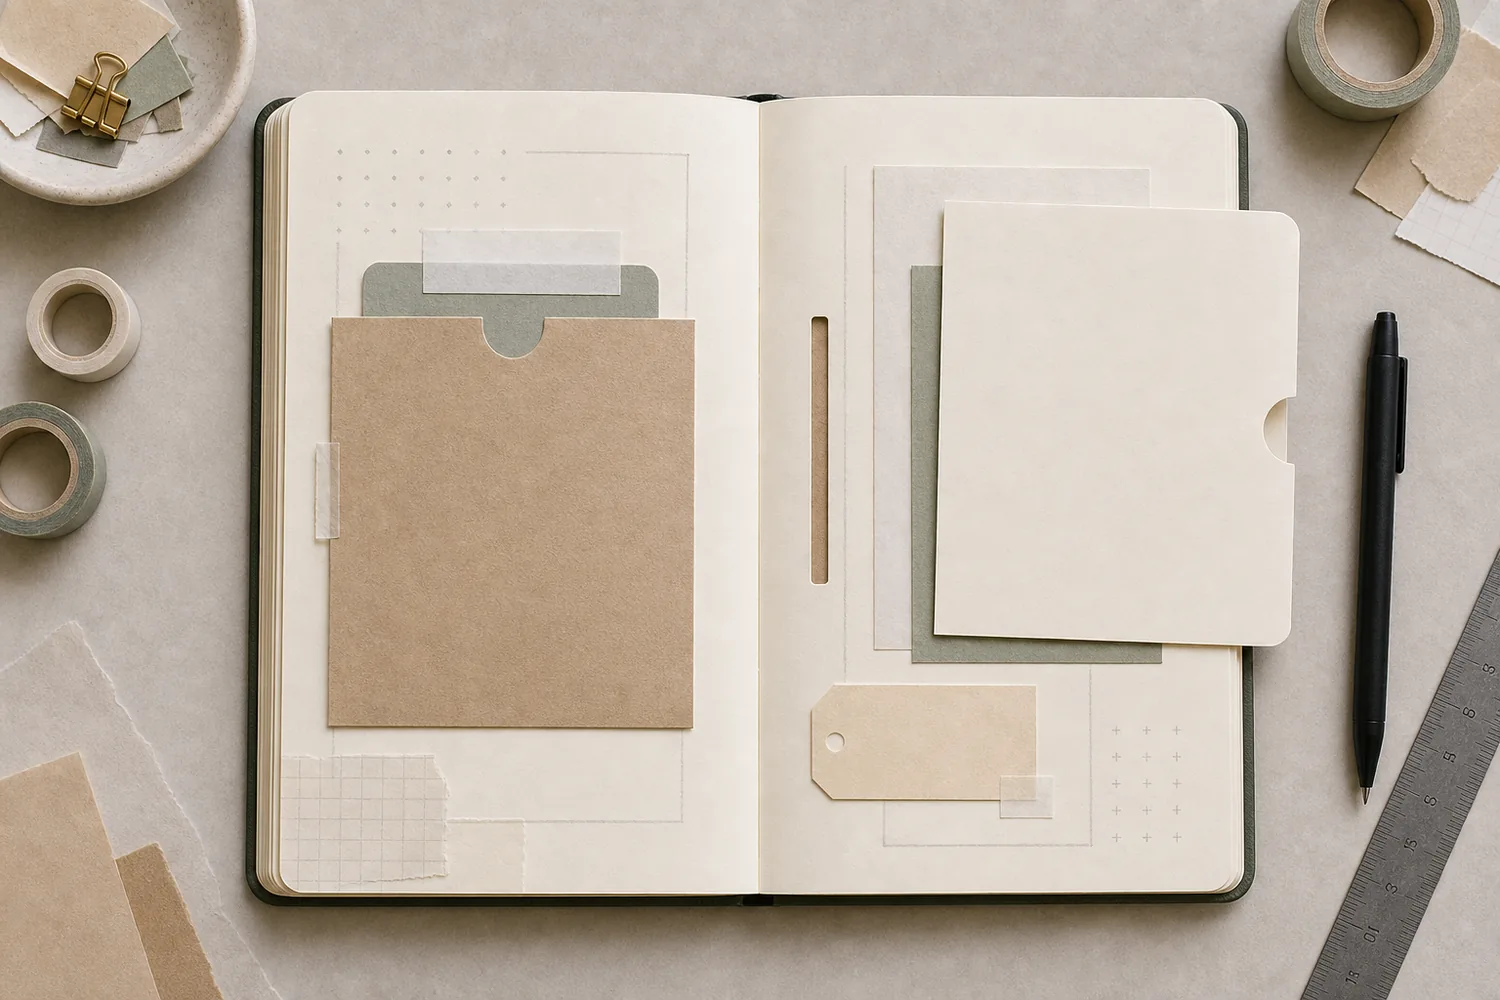
Try a what-ifWhat should you change before assembly?
Pull it, return it, and try again tomorrow
After the adhesive is fully dry, use the tab to remove and return the insert. Try the other hand too. A bending tab may need one thin reinforcing layer or a stronger location; catching paper calls for checking side seams and dried glue.
Close and reopen the journal, then find the grip without lifting the pocket front. Stop when the note slides smoothly and returns with the grip still reachable. Keep later decoration outside that working entrance.
A little tape for your next page?
The Washi Tape ShopAffiliate links: we may earn a commission if you buy through these links.
Where this idea began
These references informed the paper pull mechanism, tab visibility, stop points, and the way a visible cue signals the intended movement.
Want to explore the techniques a little further? Here are the maker tutorials and references behind this guide.
- Construction referencePepper Tan at Sahin Designs: 3 Ways to Use Labels and Tabs in Pocket Page Scrapbooking
Pepper Tan’s labels and tabs supply a practical reference for identifying and pulling an insert.
- Construction referencePoppiwinkle: All About Junk Journaling Tabs
Journal tabs provide a maker reference for a visible, graspable page or insert cue.
- Paper mechanism contextSmithsonian Libraries: Paper Engineering: Fold, Pull, Pop and Turn
A museum paper-engineering overview supplies fold, pull, and turning vocabulary; guide dimensions are adaptations.
- Design principleNielsen Norman Group: Making Clickable Elements Recognizable
A digital-interface signifier principle is adapted to a visible paper pull cue.
- Design principleDon Norman: Signifiers, not affordances
Don Norman’s signifier distinction informs visible pull cues; the paper tabs are editorial adaptations.