You remove the marker from last month's spread and find two bright dents exactly where the wire sat. The note moved. The pressure stayed.
That is the paperclip bargain: quick placement in exchange for concentrated force at the page edge. A folded sleeve can hide the office hardware and spread some contact, but it cannot make the metal neutral.
Cover the wire with a folded paper sleeve, keep the grip channel free of glue, and add one light insert. Turn the page twice, remove the clip, and inspect the edge; if a dent or shiny line remains, use a loose pocket instead.
Guide Promise
Cover the wire, buffer the page edge, and remove the clip before storage.
You need one movable note, page marker, or keepsake card on an everyday page without exposing bare wire to the page edge.
Wrap a 50 mm smooth clip in a 45 x 110 mm folded sleeve, mark the no-glue channel, press with release paper, and slide-test on scrap before it touches the journal.
The clip is rusty or rough, the insert twists the sleeve, or the test leaf keeps a dent after removal.
Quick Start
A pretty wrapper can still leave the same dent.
Start with one large smooth clip, one folded paper sleeve, one thin insert, and one cue. Decoration waits until the covered clip can travel across scrap without pressure shine, torn fibers, a new ridge, or adhesive drag inside the throat.
Make this first
- For a common 50 mm paperclip, cut a paper strip about 45 x 110 mm. Fold it short edge to short edge to make a 45 x 55 mm sleeve.
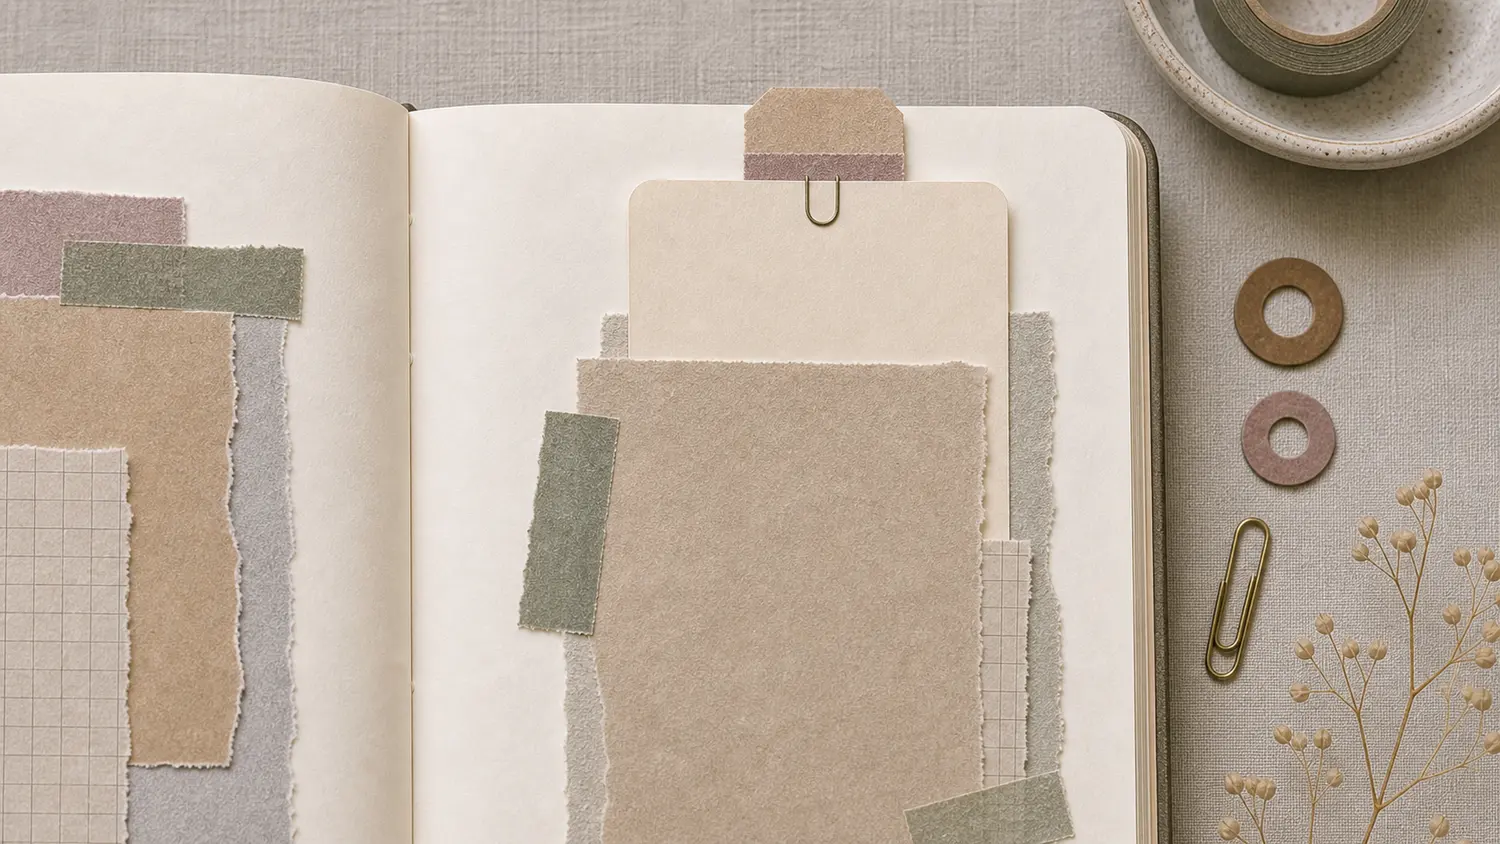
- Slide the clip over the fold before any glue appears. One loop sits inside the sleeve; the open gripping channel must still accept the page edge.
- Mark that channel in pencil, add adhesive only outside it, and press the sleeve between release paper so squeeze-out cannot seal the mouth.
- Place the note under the visible sleeve face or behind it on the page. Do not feed it into the glued fold, where it would jam the clip channel.
Decision Check
Ask whether the note truly needs to travel.
That answer chooses the structure before the craft begins: clip for a temporary traveler, pocket for a resident, folded tag for a tiny self-contained note, band for frequent access.
Use Cases
One traveler is all this little holder should carry.
A single small piece can move as the spread changes without twisting the sleeve. Naming the job first keeps the holder narrow, the pressure modest, and the page edge free of a decorative lump.
Park one thought on the page while you decide whether it deserves a permanent pocket, a caption, or nothing at all.
Hold one slim card with the part of the story you do not want printed across the surface.
Use the tab edge to mark a spread you are still rearranging, then take it off before the journal goes back on the shelf.
Move one color swatch, prompt, supply note, or small list between the spreads where it is useful.
Expert variations to try later
Once the plain version works, the same structure can become a top bookmark, side tab, folded-page closure, two-sided decorative clip, micro-pocket, or clip with one thin dangle.
Keep the base rule: flat sleeve, clean channel, unforced page edge, removal before storage. Two inserts or a heavy charm mean the idea has outgrown the clip.
Placement
The open spread lies; close the journal before choosing the edge.
A removable clip still concentrates thickness in one zone. Scatter temporary placements instead of stacking them at a favorite corner, and keep beginner versions away from the spine. Hardware that feels harmless on an open page can press a small bruise into its neighbor when the book closes.
Closed-journal test
Clip it on, add the real insert, close the journal gently, and run your hand over the opposite page. If you feel a hard bump, see the page tent upward, or notice a shiny pressure line after reopening, move the clip to an outer edge, lighten the insert, or use a pocket instead.
Anatomy
Slide the covered clip on before calling it hidden.
The metal still has to grip, the paper has to buffer, and the channel has to release without scraping. A lovely sleeve cannot rescue a glue ridge or a clip that has already been bent too tight.
Grip
The metal clip still does the holding. Use a clip large enough for the paper panel and the insert weight. A tiny clip inside a wide panel will twist and fall off.
Buffer
The folded paper sleeve covers the office-looking metal and spreads some pressure so the clip feels like a paper tab, bookmark, or small decorative holder instead of bare wire. It buffers; it does not erase the pressure.
Release
The page channel stays clear. Slide the clip on and off a test page without pinching or coaxing it. Any scrape, bend, catch, or polished line means the channel has failed.
Signal
A small pull cue tells the reader where the removable note is. It can be a label edge, fabric sliver, tiny tab, or visible card top.
Materials
Judge materials by the thickness they reach after folding and gluing.
A top bookmark can tolerate a taller tab; a side holder needs a flatter face because it rubs the next leaf. Choose supplies for that exact contact.
Every layer lands on the page edge, where the clip concentrates it against the neighboring sheet. A scrap that feels thin alone may become a hard stack once folded, backed, and decorated.
Use a large, smooth, clean paperclip for everyday decorative journals. Avoid rusty, sharp, bent, coated-flaking, or rough clips. A 50 mm clip is easier for beginners than a small office clip. Even clean metal is pressure-based and temporary, especially in humid rooms, tightly packed journals, or journals stored under weight.
Use medium-light cardstock, scrapbook paper, kraft paper, ledger paper, book page backed with thin paper, or a sturdy paper scrap that folds cleanly. If the paper cracks at the fold, it will shed fibers into the channel and make the clip drag.
Use one thin note, tag, photo print, date card, prompt card, or receipt-shaped memory. The insert should be lighter than the page edge that holds it; if the card pulls the clip downward, twists the sleeve, or needs two hands to remove, the holder is already too ambitious.
Use narrow double-sided tape, dry adhesive, or a tiny line of PVA. Keep it away from the clip channel and press the sleeve flat between release paper while it dries.
Use a small paper tab, label scrap, folded washi edge, thin fabric sliver, or a visible card top. One cue is enough.
Hot glue, thick glue dots, foam tape, heavy charms, bulky lace knots, wet glue inside the clip path, and any rusty or rough clip.
Rust is an automatic no
While reviewing James Gardner's plans, drawings, and sketches, paper conservator Sirpa Kutilainen found a rusty steel paperclip holding two sheets. Her photographs show tears and discoloration around it. Discard any rusty, rough, or flaking clip before starting.
Build Routine
Let the page, not the decorated sleeve, pass judgment.
Labels and fabric can change later; a glued-shut channel cannot. Finish the mechanics first. The build passes only when the page survives it, not when the holder looks convincing in your hand.
The trace-free test
Attach, remove, and replace the covered clip the way you would move a page marker. A new dent, torn fiber, shine, scrape, or glue drag ends the test; a clean pass is about unchanged paper, not reaching a number.
Control Rules
The sleeve can hide the wire, so watch the paper instead.
A new shine, dent, or pulled fiber is the page reporting too much pressure. Thin the sleeve, relocate the holder, or remove it; appearance has no vote in that decision.
Mistakes
A mark is evidence, not patina.
This is temporary holding hardware, not a heavy embellishment with wire hidden inside. It should behave quietly through opening, closing, and removal—and leave no new trace behind.
Practice Page
Make the first sleeve too plain to distract from the evidence.
Fold scrap cardstock around one large clip and press it between release paper. Once the adhesive has set, slide it onto a test leaf from the angle your hand naturally chooses. Remove it immediately if the edge catches, shines, or changes shape.
Add one thin label or paper tab and clip a small blank card behind it with the note “This note can move.” Turn the page twice, close and reopen the journal, then remove the clip. Any pressure mark means the real journal needs a lighter version or a loose pocket.
Final Thought
A temporary clip can leave when the page is settled.
Keep the note nearby while the spread is changing. Once its place is decided, give it a pocket or take the clip away.
Before You Close the Page
Confirm the covered clip is temporary, flat, and easy to remove.
Attach and remove it once at the natural reading angle, then repeat only while the paper remains unchanged. A scrape, bend, dent, polished line, or pulled fiber ends the trial.
Close the journal with the real insert in place. If the edge rises, remove one layer, lighten the insert, or use a pocket.
Use one tab, visible card edge, label, or fabric sliver so the removable note is found without exposing the metal.
The page-grip channel is free of glue, loose fibers, rough corners, and bulky seams.
No pressure shine, dent, rust mark, or hard bump appears after a closed-page test.
The paper sleeve clears the page edge without peeling, catching, or leaving a hard outline behind.
Research Notes
Sources used while building this guide
These sources support the covered-clip construction and Sirpa Kutilainen's documented rusty-paperclip example.
Construction examples
- ila and alice: Easy Hidden/Altered Paper Clips for Your Junk Journal
- Mad Paper Crush: Altered Paper Clips - 14 Different Ways
Rust case
Continue Reading
Glue the Wrong Edge and This Tiny Clip Pocket Is Dead
Next, add a real mini-pocket to the covered clip when one loose tag needs its own mouth.
Continue reading