Gather a few things See what you’ll need
- One pale highlighter
- Dark pen
- Spare paper from the same notebook
- Optional plain memo
- Dry adhesive if attaching a memo
Choose an exercise 4 things to try as you read
Find the order your pen and marker like
On spare paper from the same notebook, try marker alone, pen over fully dry marker, and marker over fully dry pen. Let every sample dry and check for smearing, feathering, bleed-through and transfer to another sheet. Keep the order that stays crisp with your exact materials.
A dry-looking sentence can still smear when a wet marker passes over it. Keep the three samples beside one another so you can see which order suits this pair. If both layered samples bleed badly, put the colored heading on a separate tested memo. One light pass is kinder to the paper than scrubbing for a deeper shade.
Try a what-ifThe heading is dry, but the next page is marked
The heading is dry, but the next page is marked
Look beyond the front of the stripe.
Your test heading looks crisp on the front. A yellow mark is visible on the next sheet before the notebook has been closed.
Compare the three choices
What should you check before marking the journal?
- Inspect the reverse and try a separate memo
The color may have passed through the paper. Check the reverse; a tested memo lets you keep the heading without repeating that mark on the next leaf.
- Wait longer before closing the book
Extra drying helps with transfer from wet surfaces, but this mark appeared while the sheets were still open. First check whether the paper let the ink through.
- Use the pen before the highlighter
Changing order can help a smeared word. It does not necessarily stop the highlighter itself passing through this paper.
A crisp front is only part of a useful material test; check where the ink went as well.
What would you try?
Choose an option to see what it would do. You can explore all three.
ONE WORKED EXAMPLE
A date that survives the marker
You want a pale yellow date above a note about coming home late. Your usual black pen is already on the desk, but you have not used it with this highlighter.
Before
The black date drags into a gray streak when the yellow marker passes over it, although the writing looked dry before you began.
After
On matching scrap, yellow first and black after the stripe dries stays crisp. The page gets “Wednesday evening” in that order, with one short yellow edge visible beyond each end of the date.
What changed—and what to check
Changing the order follows the result on this paper. The color still gives the date a place without dragging the writing into it.
Try this check. Read the dried date and check the reverse and a clean sheet for transferred ink.
“One imperfect stripe can stay on a page that still reads beautifully.”
Add a layer without another piece of paper
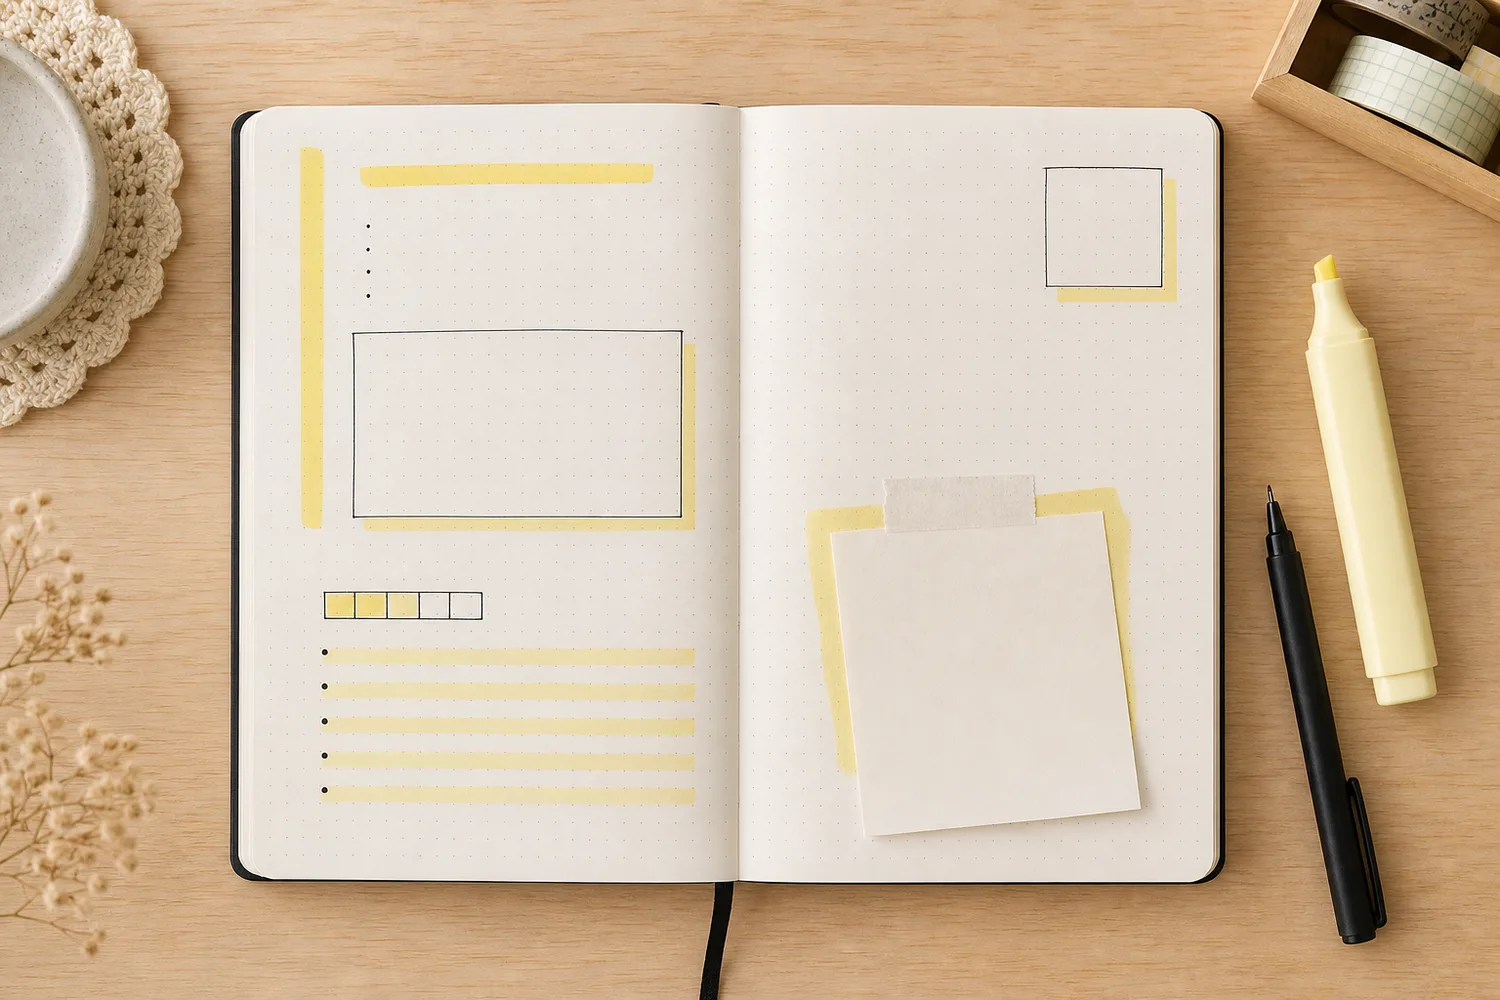
For a drop-shadow box, outline a small note or date box in pen and add highlighter just outside the right and bottom edges. Leave the inside plain. A tiny offset makes the colored strokes read as a shadow; putting them directly beneath the black outline can muddy it.
For an under-memo glow, try the memo's position first, lift it and make a colored patch that will peek from one side or a lower corner. Let the ink dry completely before attaching the memo. A narrow visible edge is enough to distinguish cream paper from a cream journal page.
Try the exampleCan you still read the words?
Can you still read the words?
Change the gray values for paper and ink, then try a pale backing. Notice how clearly the sample words stand out.
Read the words in this example
- Ink against paper
- Keep one small
- memory.
- Words on the paper
- Digital samples; test your actual pen.
Ink and plain paper have a digital contrast ratio of 14.46:1.
Sample text: “Keep one small memory.” With no pattern, the words sit on one uniform background tone. The ratios use actual sRGB sample colors. They cannot predict paper texture, ink bleed, handwriting, or individual vision. This is a digital value demonstration, not a test of highlighter ink. A drawn shadow belongs outside the memo outline; a glow only needs to peek from an edge.
- Ink color
- #1f1f1f
- Background under words
- #f0f0f0
- Plain patch ratio
- 14.46:1
- Two-tone ratio range
- 14.46–14.46:1
Keep the tracker as small as the habit
For soft tracker lines, make three pale horizontal rows and label them with three dates. Put “Reading” above them, then leave room on each row to write how many minutes you read that day. Use one light pass with the marker rather than scrubbing the paper. If you only want to remember whether you read, add a small empty circle beside each date and fill it afterward.
For mood-meter blocks, draw five tiny boxes and color the number that matches a feeling's intensity. Write the feeling beside them: “3/5 calm” says more than an unlabeled row. This is a personal shorthand, not a score you need to improve. Use one word and leave the rest of the page for whatever matters tonight.
Let a sentence be the whole decoration
For a memory strip, draw one horizontal mark in a quiet area and write a short sentence over it, following your tested pen order. Try “I almost forgot…” or “The room sounded like…” if the words need a beginning. No photo or paper scrap is required.
Make the detail specific enough to bring the day back. “The bus arrived empty” has more shape than “a nice trip.” If the sentence grows longer than the colored strip, let it continue in plain writing. You don't need to extend the color under every word.
Write your versionMake a stripe worth finding again
Make a stripe worth finding again
Replace the sample with one sound, sight, or small interruption from your day. The words can continue beyond the colored strip.
Waiting at the bus stop
The bus arrived empty.
Your words have a place now.
A place or action can locate the sentence without requiring a longer story.
- Words on this card
- 9
GO A LITTLE FURTHERUse little chips for things you will look for
Use little chips for things you will look for
For category chips, press a short mark with the broad tip and write a small label inside or beside it. Home, idea, food, walk and memory are possible labels. Choose two or three that actually help you find notes again rather than inventing a color for everything.
Once you have two pages marked “Walk,” flip between them. Can you spot both chips without reading every heading? That is a useful reason to repeat the mark. Let a smear dry without rubbing, and write beside an over-dark stripe. One imperfect stripe can stay on a page that still reads beautifully.
Something for a future page?
The Washi Tape ShopAffiliate links: we may earn a commission if you buy through these links.
Where this idea began
Dani Manning moves highlighter ink to a blending palette and applies it with a water brush in the linked project. The remaining sources informed hierarchy, note structure, and product-specific marker behavior. Test the exact marker, pen, and paper before committing to the page.
Want to explore the techniques a little further? Here are the maker tutorials and references behind this guide.
- Maker exampleDani Manning: How to Create a Lightsaber Journal Spread
Dani Manning’s project applies highlighter color from a palette with a water brush.
- Design principleNielsen Norman Group: Visual Hierarchy in UX
Visual hierarchy supplies a background principle for clear focal content and supporting details.
- Method referenceUNC Learning Center: Highlighting
Highlighting guidance informs selective emphasis instead of covering every line.
- Method referenceUNC Learning Center: Annotating Texts
Annotation guidance informs making a brief note about why a passage matters.
- Method referenceCornell Learning Strategies Center: Cornell Note Taking System
The Cornell note-taking system supplies the cue-column and main-note layout concept.
- Method referenceBullet Journal: What is the Bullet Journal Method?
Official overview of logs, collections, indexing, and review; original decorative cues are separate.
- Product referenceBullet Journal: Edition 2 page design notes
Edition 2 notebook design notes give a particular product example, not a requirement to buy it.
- Product referenceSTABILO: BOSS ORIGINAL Pastel highlighter characteristics
Manufacturer characteristics apply to BOSS ORIGINAL Pastel highlighters, not all markers.
- Product referenceedding: 344 highlighter product characteristics
Manufacturer characteristics apply to the edding 344; other markers can behave differently.