Gather a few things See what you’ll need
- One dark pen
- Journal or plain memo
- Optional duplicate photo print
- Spare matching paper for an ink test
Choose an exercise 4 things to try as you read
Draw a label or a strip of tape
For a label, write a short date, place or title and surround it with a loose rounded rectangle, leaving room at both ends. Add a dot or dash outside one corner if you like. Plain square corners are fine too; don't keep retracing the outline until it becomes the darkest part of the page.
For drawn washi, make a long narrow rectangle across a memo corner, continuing onto the page. Give the ends small uneven angles and choose one light pattern: diagonal lines, dots or short stripes. The overlap makes it look attached. Draw over a replaceable print rather than an irreplaceable original.
Compare the optionsWhich stationery job does this page need?
Which stationery job does this page need?
Choose a problem, then look at how a small drawn shape gives the words or memo a place.
Read the words in this example
- Wednesday
Draw the label around the date.
Write the actual date first, then leave open paper between the letters and a loose outline. The box only needs to gather the words. Repeatedly tracing its corners can make the frame more prominent than the date you wanted to find.
ONE WORKED EXAMPLE
A memo with a convincing clip
You have written a short lunch memory on a loose memo and drawn a clip across its top edge, hoping the page will feel like a little noticeboard.
Before
The clip looks attached in the drawing, but the memo shifts when the journal tilts and could fall out when carried.
After
The memo is secured with a suitable real attachment first. The thin drawn clip crosses its top edge, and the sentence remains clear: “Soup at the kitchen counter; we stayed until the rain eased.”
What changed—and what to check
The physical attachment carries the memo. The drawing supplies the visual idea without being asked to hold paper in place.
Try this check. Tilt the open journal gently and check that the memo stays put before you add another drawn detail.
Try a paperclip or a ticket
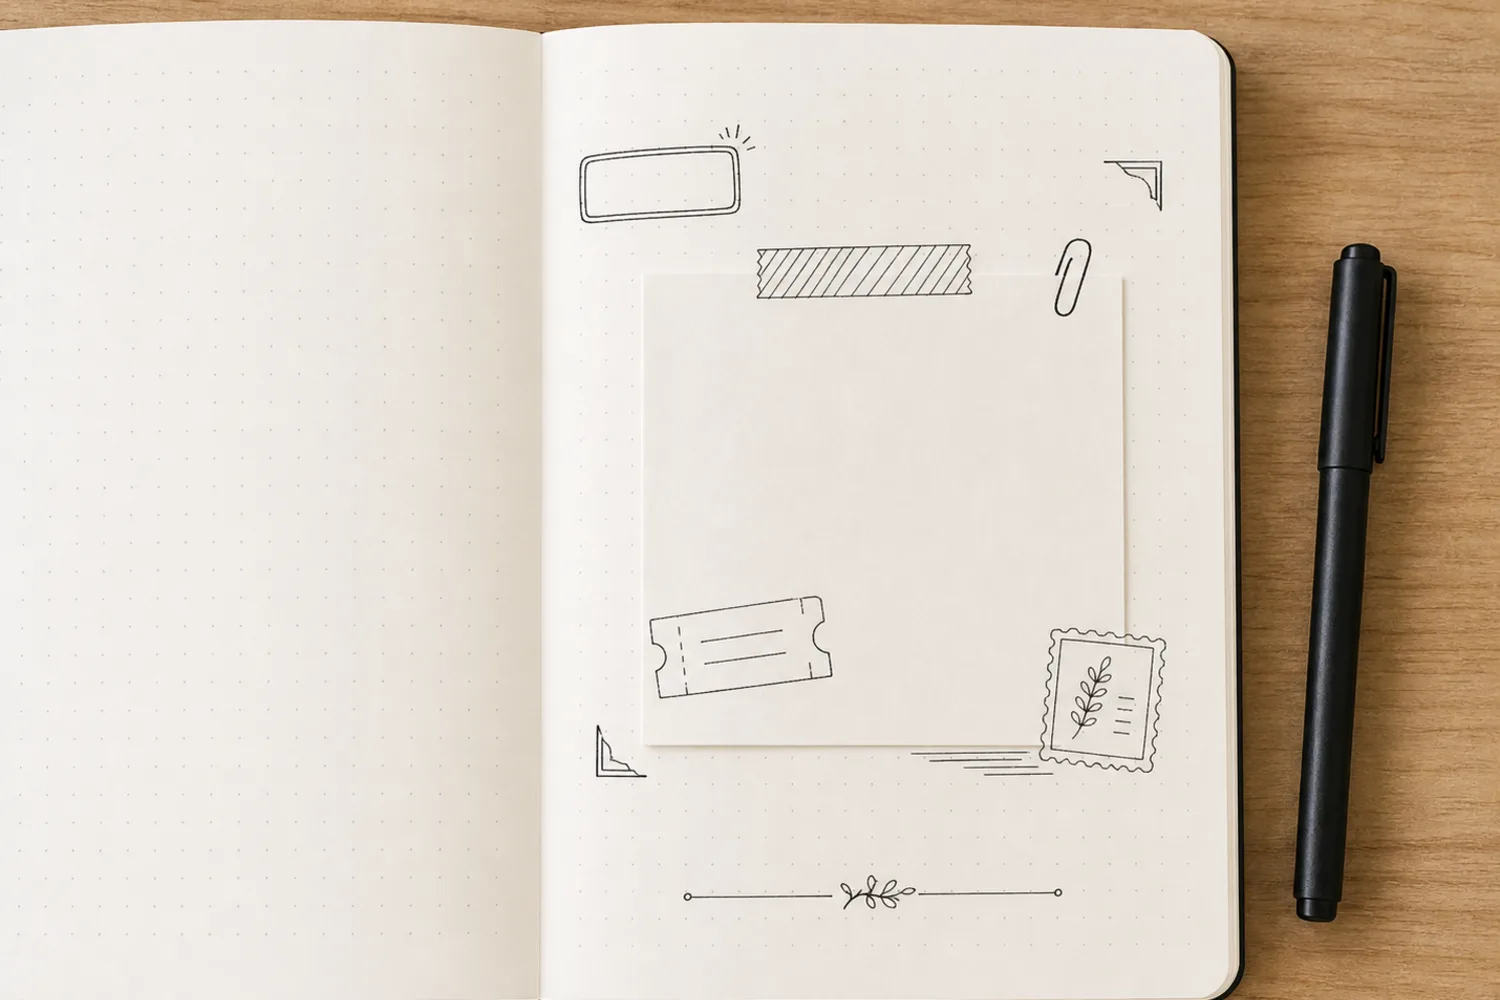
For a paperclip, draw a tall narrow U over the memo’s top edge, with a smaller U inside and a little opening below. Let the drawing cross from memo to page; that overlap helps it read as a clip.
For a ticket, use a rectangle with an inward half-circle notch on each side. Leave room for date, place, and a tiny event. A dashed line near one end suggests perforation; put it where it will not divide a word.
Give a small memory a stamp or a frame
For a stamp, draw a slightly wobbly square with little waves or dashes around its edge. Put one simple icon inside—a cup, star, cloud, leaf or house—and a word beneath if helpful. If the icon doesn't quite work, the word can carry the meaning without another attempt at the drawing.
For corner brackets, place short L-shapes a little outside a photo or memo. Four can frame a photo; two may be enough for a small note. Leave gaps rather than joining them into a box. Try to keep their distance from the corners similar, but let a minor mismatch stay light.
Try the exampleHow much space does the drawn stationery need?
How much space does the drawn stationery need?
Switch between a ticket, clip caption, and torn label. Change their size and side while protecting a separate place for the entry.
Read the words in this example
- A drawing beside words
- Your words
- 06
- A GOOD DAY
- Separate drawing and writing areas
- Dashed box shows the drawing footprint.
The drawing footprint stays clear of the reserved writing area.
The longer side of “Date Ticket” uses 35% of the inner page width; its proportions stay intact. The reserved area still contains four sample writing rules. The dashed footprint includes empty space around the strokes; it flags layout overlap, not an exact ink collision or handwritten capacity. These finished drawings are related stationery examples. Practice around the real date or caption before enclosing words; the placement diagram does not measure their interior writing capacity.
- Drawing, longer side
- 35%
- Drawing footprint width
- 35%
- Gap across inner page
- 6.3%
- Reserved sample rules
- 4
GO A LITTLE FURTHERAdd a little depth or a pause
Add a little depth or a pause
A shadow needs only three to five short parallel marks outside the right and bottom edges of a memo or ticket. Keep their angle and length similar. Step back before adding them to a piece that already has patterned tape.
For a change of subject, leave a gap and add a few dots, leaves, or alternating dashes. Stop before the page edge so the divider separates these notes without turning into a frame for the whole page.
Try a what-ifWhat tells you the drawing is ready to close?
What tells you the drawing is ready to close?
The slowest-drying mark may be the one your first pen test missed.
A thin test line has dried, but the filled dot on your drawn stamp still transfers to spare paper. You want to close the journal without marking the facing page.
Compare the three choices
What tells you the drawing is ready to close?
- Test the densest marks and wait until they stop transferring
Filled or doubled marks may behave differently from one thin line. Check the actual ink-heavy part of this drawing.
- Use the dry thin line as the drying reference
That test does not yet describe the filled dot, which is still transferring ink.
- Blot the filled dot once, then close the book.
Blotting may lift some wet ink, but it does not establish that the dot will no longer transfer. Test again with a fresh scrap before closing.
Use the slowest-drying mark in your actual drawing as the transfer check.
What would you try?
Choose an option to see what it would do. You can explore all three.
Put two small drawings together
A Corner Passport pairs a tiny ticket with a stamp beside it and the date below. Try it for an ordinary outing rather than waiting for a grand trip. Keep the event in the ticket brief enough that both shapes stay readable.
A Label Bridge puts a short label between a photo and a sentence, with one thin line extending toward each. A Negative-Space Tape treatment draws only the little tape ends at opposite memo corners and leaves the middle empty. Both connect pieces while leaving most of the page untouched.
GO A LITTLE FURTHERLet one familiar mark return
Let one familiar mark return
A Shelf Line is simply a thin horizontal line beneath a memo, stamp or small title. Place the little pieces above the same line so they look comfortably grouped. An Echo Motif repeats one dot, leaf, dash or star at a label corner, after a sentence and once in a divider.
A Tiny Legend gives three little icons written meanings at the bottom of the page: cup for food, cloud for mood, star for something to remember. Reuse them beside short notes. Choose one of these six combinations when it helps; you don't need to demonstrate all of them on one spread.
Write your versionGive one repeating mark a meaning
Give one repeating mark a meaning
Make one entry for a tiny legend. Replace the sample with a mark you already recognize and a meaning you will use consistently.
A small cup
meansFood memories
Use itbeside a meal note I want to find again.
Your words have a place now.
A single clear legend entry is enough to begin. Add another only when it helps you find a different kind of note.
- Words on this card
- 17
Let the writing have the last word
Test the pen on matching spare paper, including a filled dot and a doubled line. Wait until the ink stops transferring before closing the book. Secure any loose memo with a real attachment; drawn clips and tape provide no hold.
Read the entry with the drawings in place. If a dark strip catches your eye before the date, use it as a title tab or keep the next strip lighter. Save the smallest version you could comfortably draw beside tomorrow’s words.
Something for a future page?
The Washi Tape ShopAffiliate links: we may earn a commission if you buy through these links.
Where this idea began
Joanna Brooks explains why her pen-and-marker page is easy to leave and return to, and why she likes it partly colored. The remaining sources informed the simple symbols, visual hierarchy, and pen behavior used in these recipes.
This guide grew from our original Instagram post. The examples and explanations here expand on that idea so you can try it at your own pace.
- Original Tiny Systems Co. postour original Instagram post
The original Tiny Systems Co. post establishes where this guide began. The expanded instructions, examples, and practice measurements are editorial additions unless separately credited.
Want to explore the techniques a little further? Here are the maker tutorials and references behind this guide.
- Maker exampleJoanna Brooks: Abstract Doodle Page Tutorial
Joanna Brooks’s partly colored doodle page provides the named pen-and-marker example.
- Method referenceBullet Journal: Rapid Logging, bullets, and signifiers
Official meanings for tasks, events, notes, status changes, and signifiers; decorative variants remain optional.
- Maker exampleHobonichi Techo: How to use the Hobonichi Techo
Hobonichi’s use examples provide possible notebook applications, not measured benefits.
- Method referenceRohdesign: What are Sketchnotes?
Mike Rohde’s sketchnote explanation supplies the broad combination of words and simple drawings.
- Product referenceSakura of America: Pigma Micron pen characteristics
Manufacturer notes describe Pigma Micron ink; test the actual pen, paper, and overlaid materials.
- Design principleNielsen Norman Group: Visual Hierarchy in UX
Visual hierarchy supplies a background principle for clear focal content and supporting details.
- Maker exampleA Pen and a Purpose: Easy Bullet Journal Doodle Ideas
Small doodle ideas as a practice reference; the guide’s drawn stationery shapes are editorial.