Gather a few things See what you’ll need
- Plain paper
- Pencil and ruler
- Colored pencil or stamp and ink
- Scissors
- Glue stick
- Low-tack paper for a mask
Choose what the small label will remember
Pick one specific thing: a café cup, the green door you liked, a train-window color, or a piece of patterned wrapping. The label should point to a memory that your writing can expand. A small border cannot make an unrelated picture meaningful on its own.
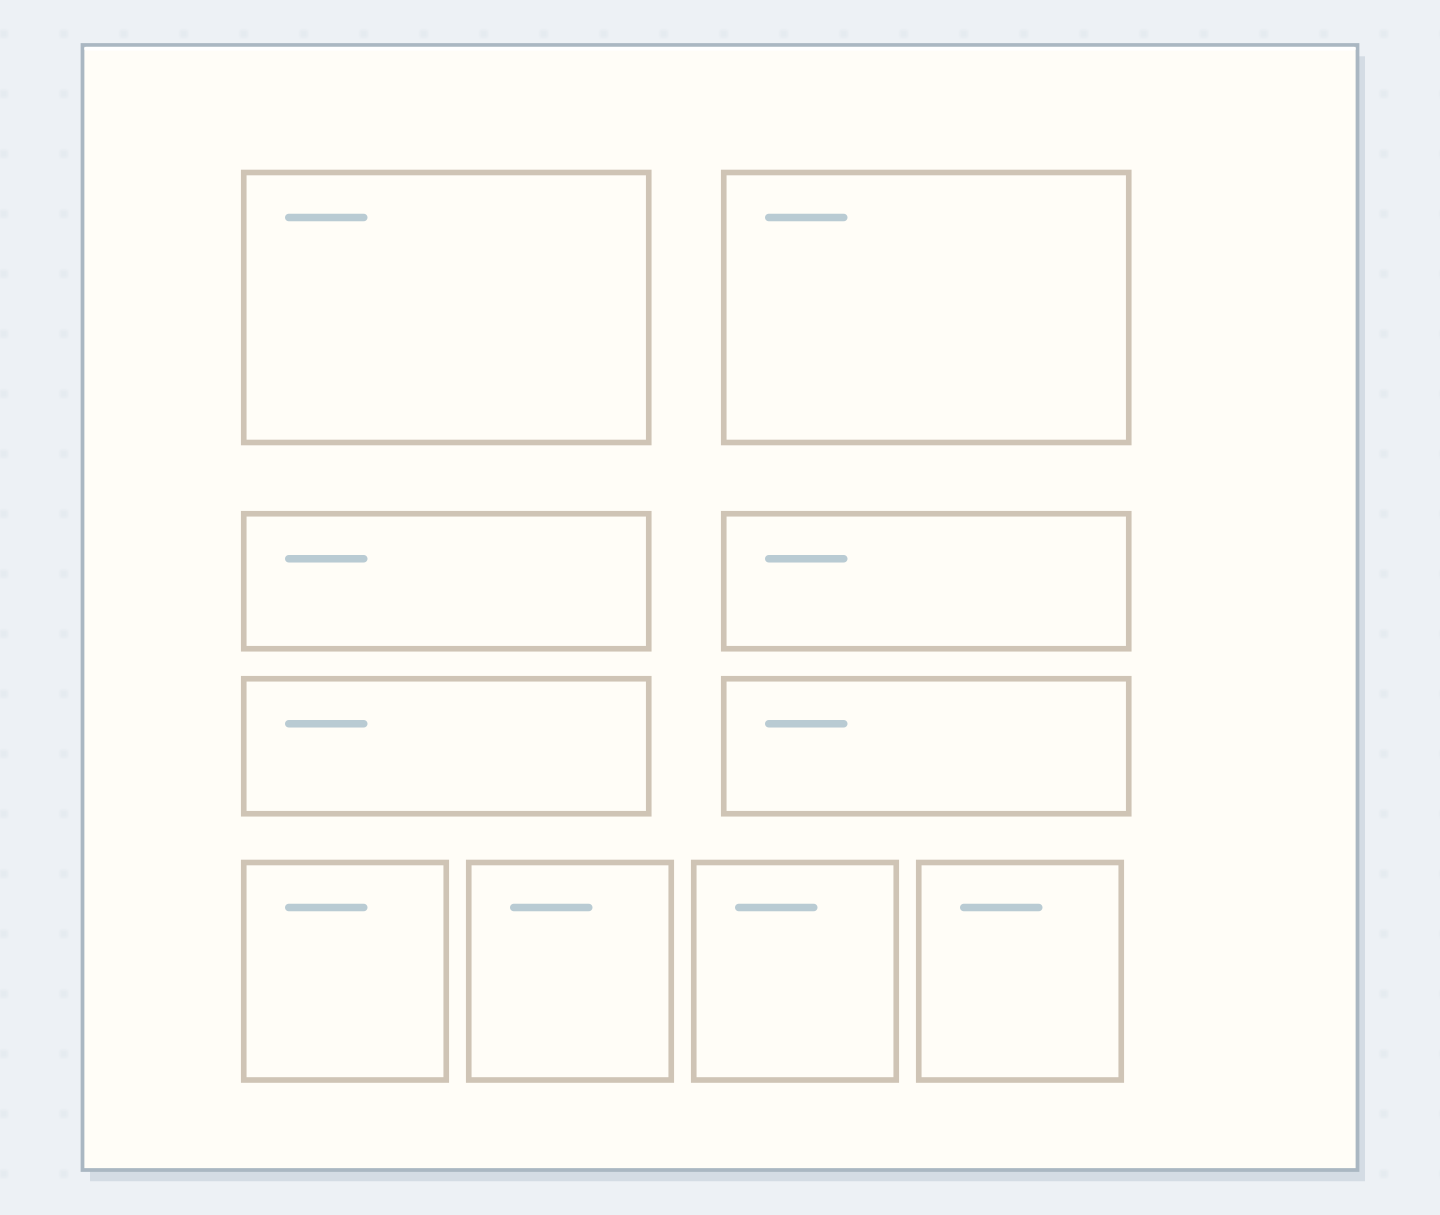
Start with a 3 × 4 cm rectangle. Reserve about 3 mm around the edge and a shallow caption space at the bottom. These are comfortable example proportions, not standardized stamp dimensions. If your handwriting needs more room, enlarge the label before shrinking the words.
Reserve the light edge before adding color
Draw a faint inner rectangle to mark the image area. For a dry-pencil version, simply keep your coloring inside it. For an inked background, lay low-tack paper strips over the outer border so the center remains exposed. Test the adhesive on an offcut of the same paper first.
The reserved border is the important part of the postage effect. You can suggest perforations later with small pen dashes or dots. Ordinary scissors are enough; a decorative edge is optional. Keep the outside shape straightforward so the tiny object doesn't become difficult to cut or attach.
Make Little Memory Labels With a Postage-Style Border
Reserve the border and caption before the tiny label becomes crowded with color.
Leave a light edge and a caption area.
Reserve a border and a caption zone. Use the article measurements for the physical version; the drawing is a schematic.
“The label should lead you toward the memory, not replace the words that explain it.”
Keep one clear image inside the frame
Add a small drawing, one stamp impression, or a cut image that fits the inner rectangle. If you stamp, make a trial impression first and let the ink dry before placing a mask over it. If you collage, use one thin piece instead of piling several small scraps into the same confined area.
Leave the caption zone readable. A short phrase such as “Blue door” or “Market morning” usually works better than a miniature paragraph. Write with the label resting on flat scrap paper; once it is attached to a textured page, the small lettering may be harder to control.
Order the steps: draw the inner border first
Check the physical dependencies in this faux postage example. Reorder the actions before trying the paper version.
One workable order
- Draw the inner borderThe inner border defines the area that should remain light.
- Mask the outer edgeThe mask protects that reserved border.
- Color the centerColor is applied while the border is covered.
- Remove mask when readyRemoving the mask reveals the finished light edge.
Which check needs to come first?
The example shows one workable order. Removing the mask reveals the finished light edge.
Three labels from the same afternoon
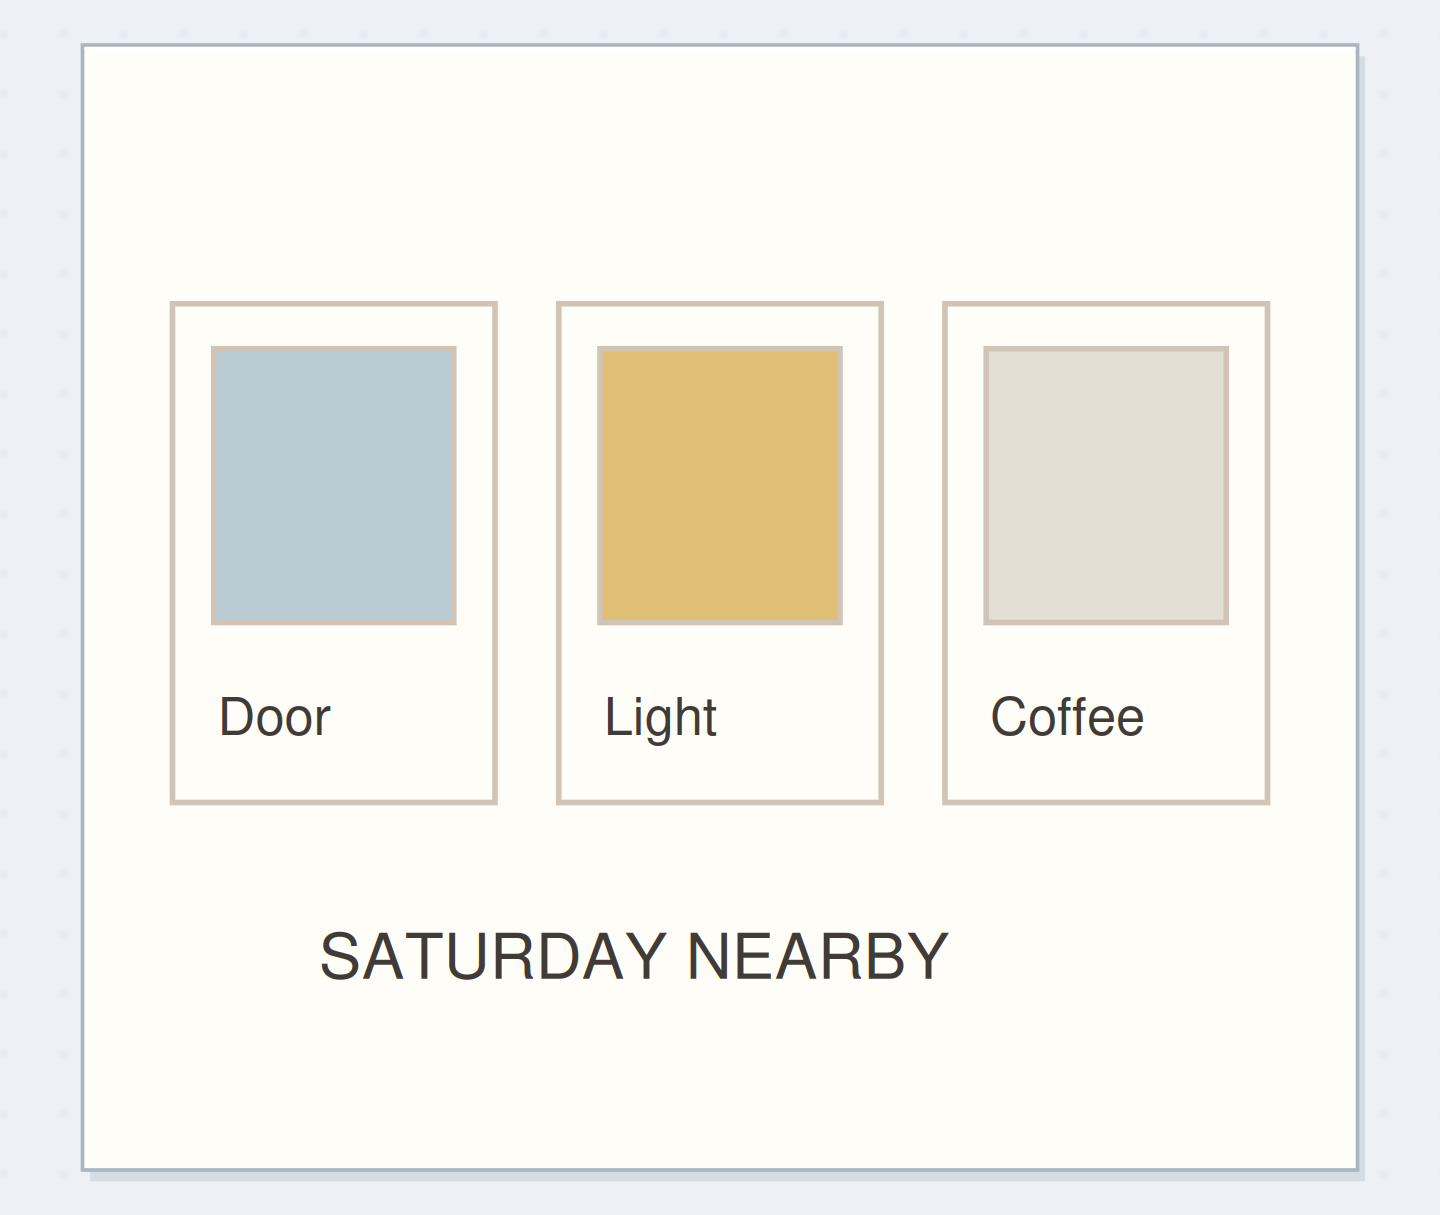
Make a set called “Saturday nearby.” On the first label, draw a simple blue rectangle and caption it “Blue door.” On the second, use a small strip of yellow paper above “Warm light.” On the third, place a brown pencil circle above “Last coffee.” Add the same small date on each reverse before gluing.
Use one label beside each part of an ordinary journal entry. They share dimensions and borders, but the centers differ. This creates a recognizable family without pretending all three moments were equally important. Leave the largest writing space for the memory that needs the most explanation.
Plan label caption
Draft a tiny label caption and the fuller sentence it will point toward on the page.
Label caption:Blue door.
Sentence it points toward:We took the longer route because that street was so quiet.
Your words have a place now.
Draft a tiny label caption and the fuller sentence it will point toward on the page.
- Words on this card
- 19
Rescue a border that isn't perfectly clean
If color slips across one edge, redraw the inner frame slightly smaller or mount the whole label on a thin plain backing. You don't need to add another border to all three labels just to hide a single mark. A small irregularity can remain if the center and caption still read clearly.
If a mask lifts fibers, stop peeling upward and remove it slowly back over itself. Let damp paper dry before touching it again. For the next label, use a pencil-only border or a less tacky mask. Changing the technique is more useful than repeatedly damaging the same delicate paper.
Keep the tiny words readable
Read the caption at normal distance; simplify the center image if the words are lost.
Mask
A mask temporarily hides the caption area while you color.
Use different materials without changing the scale
A scrap of your own photograph, a stamped shape, and a colored-pencil drawing can share a label set if the borders and caption positions stay consistent. Choose one or two repeated colors to connect them. Avoid making every label a miniature version of the whole page; the set needs simple centers.
You can also leave several labels blank and finish them when a memory appears. Store those blanks flat rather than sticking them to a surface that may not release them. A modular label kit uses a wider range of sizes when your main need is practical headings rather than these tiny framed memories.
Use the label as a pointer into the entry
The label should lead you toward the memory, not replace the words that explain it. Place one beside its sentence, check that the border remains visible against the page, and attach it with a thin layer of adhesive. Keep it clear of a fold that would crease the little caption.
Stop when the label is legible at normal reading distance and the entry tells you why it belongs there. Save the remaining pieces together. A three-label set is already enough for several pages; you don't need a whole sheet of finished labels before you can use the first one.
Where this idea began
Want to follow the idea further? These community discussions and maker references are a good place to start.
- Faux postage instructions discussion
The indexed discussion describes a reusable mask that leaves a margin around decorative postage images.
- Faux Postage
The tutorial demonstrates reserving borders with a mask when making decorative stamp-like panels.