Gather a few things See what you’ll need
- Plain paper offcuts
- Ruler and pencil
- Scissors
- A pen or simple stamp
- Glue stick
- One small envelope
Measure the labels you actually use
Open two recent pages and look for places where a plain label would help. A date might fit a narrow strip; a photograph may need a wider caption. Measure those spaces with a ruler before cutting a collection of attractive blanks that might be too large.
For this example, make three compatible modules: a 6 × 2 cm date strip, a 6 × 4 cm caption card, and a 3 × 4 cm small note. They share either a width or a height, making them easy to align. These dimensions are convenient choices, not a universal label standard.
Divide one sheet before adding decoration
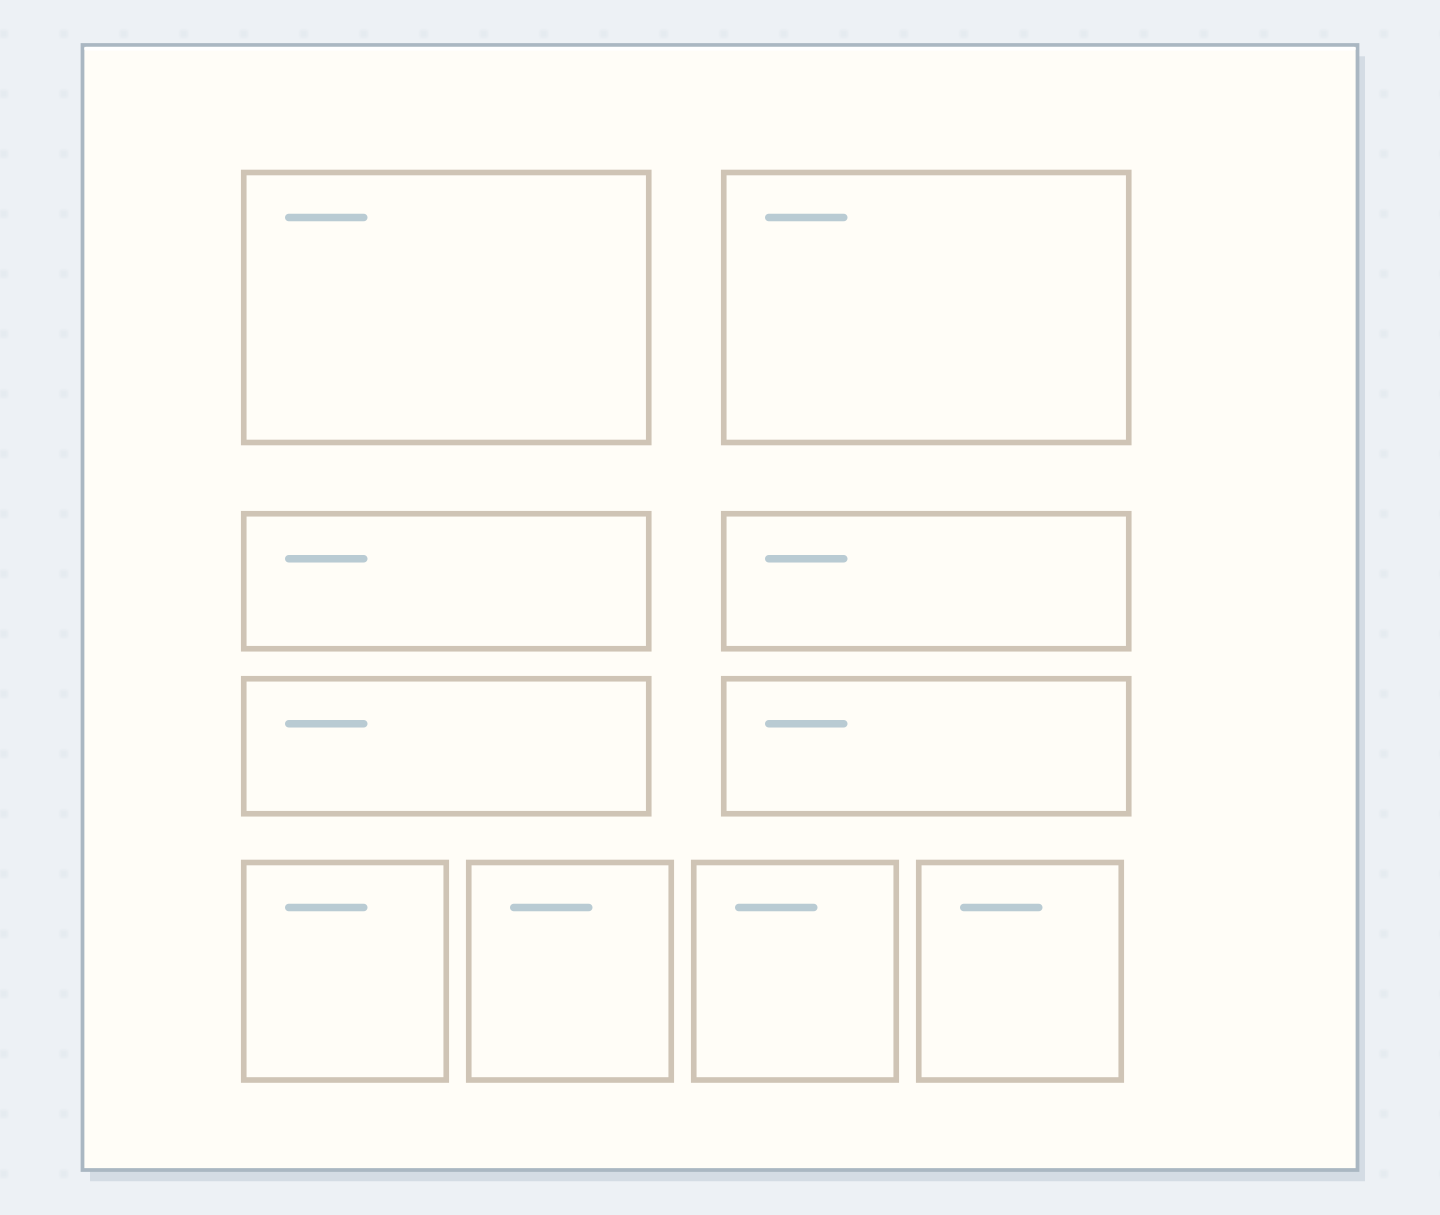
Mark a 12 × 12 cm plain sheet into three horizontal bands, each 4 cm high. Divide each band vertically at 6 cm. You now have six 6 × 4 cm rectangles. Keep two whole, split two horizontally into four date strips, and split two vertically into four small notes.
This plan makes ten labels without internal waste. Mark the cutting map lightly on the reverse, then cut along it with scissors. If measuring every blank is awkward, use the first accurate rectangle as a template. A larger label kit is unnecessary until you know which of these three shapes you actually reach for.
Make a Small Label Kit That Fits Your Actual Pages
Follow one measured sheet into three label sizes that share useful dimensions.
The first division makes six identical rectangles.
Divide the 12 cm sheet into six 6 by 4 cm rectangles. Use the article measurements for the physical version; the drawing is a schematic.
“The next batch should follow use rather than ambition.”
Give the blanks one shared feature
Choose one small visual feature for the whole batch: a short blue line, a pencil border, or a tiny stamped mark. Put it in the same relative corner while leaving most of each label clear. Work through the ten blanks in one operation before changing tools.
Keep the mark away from the writing space and let wet ink dry before stacking. You can leave half the labels completely plain if your notebook already has strong printed patterns. A family resemblance helps the pieces work together, but it doesn't require decorating every available edge or making every label identical.
Order the steps: measure page spaces first
Check the physical dependencies in this labels example. Reorder the actions before trying the paper version.
One workable order
- Measure page spacesPage measurements determine whether the modules will fit actual entries.
- Cut the matching blanksThe blanks must exist before their shared mark can be tested.
- Test one shared markOne test prevents repeating a crowded or smudged mark across the batch.
- Repeat the checked markRepeat only the mark that left sufficient writing room.
Which check needs to come first?
The example shows one workable order. Repeat only the mark that left sufficient writing room.
A kit for three ordinary library visits
Use a date strip for “Tuesday, after lunch,” a caption card for two sentences about the table by the window, and a small note for the title of the book you want to find again. Align the 6 cm edges of the strip and caption if they sit together.
Keep the remaining labels blank for the next visit. Don't prewrite a month of imagined outings just to complete the set. The module is the paper shape and its quiet shared mark; the useful information comes later. One kit can support a photograph today and a text-only entry next week.
Plan first date strip
Use a date strip and a caption card for a real visit, leaving the other blanks unwritten.
First date strip:Tuesday, after lunch.
Caption-card destination:Under the photograph of the library table.
Your words have a place now.
Use a date strip and a caption card for a real visit, leaving the other blanks unwritten.
- Words on this card
- 15
Change the template before multiplying a problem
If the first border leaves too little writing room, simplify it before marking the other nine pieces. Test your usual handwriting on one spare blank. Large letters may need the caption card where a narrow strip seemed sufficient; that is a reason to change the shape, not squeeze the words.
If several cuts are uneven, group the pieces by approximate size and trim a small stack only if your scissors handle it cleanly. Don't force a thick stack. A slightly narrower family is still useful when its edges align. If a stamped mark is smudged, use the reverse or cut that blank into a smaller module.
Check the kit before adding words
Count two caption cards, four strips, and four small notes; test one of each beside the spaces you measured.
Four strips
The intermediate cutting map has not yet created the complete set.
Separate the tasks into comfortable portions
Cutting all the blanks in one sitting is optional. You can mark the sheet now, cut one band later, and add the shared line when the pen is already out. The efficiency comes from repeating a simple operation, not racing through the kit or producing a large number.
A plain commercial scrap of suitable size can also become a module without being recut. Keep the system flexible enough to accept those pieces. Store the kit in one shallow envelope with the dimensions written outside, placing the least decorated faces together so loose ink or graphite won't mark the neighboring blanks.
Let an empty compartment tell you what to make
The next batch should follow use rather than ambition. When the date strips are gone, make more date strips; don't rebuild every shape merely to restore a matching set. If the small notes remain untouched, try one as a caption or stop making that size.
Finish when the ten labels are dry, together, and one has been used on a page. Write its final words before attaching it, then check the fit beside the entry. The kit has done its job when it saves a small decision without becoming another collection you feel obliged to maintain.
Where this idea began
Want to follow the idea further? These community discussions and maker references are a good place to start.
- Suggestions for making a batch of cards
A maker asks how to prepare a useful batch without spending too long on each individual card.
- Assembly Line Stamping
The tutorial separates cutting, stamping, and assembly into batches and highlights accurate sizing.