Gather a few things See what you’ll need
- Journal
- Pen
- Ruler or the straight edge of a memo pad
- Optional memos or duplicate photo prints
Choose an exercise 4 things to try as you read
Put down two dots before you draw the line
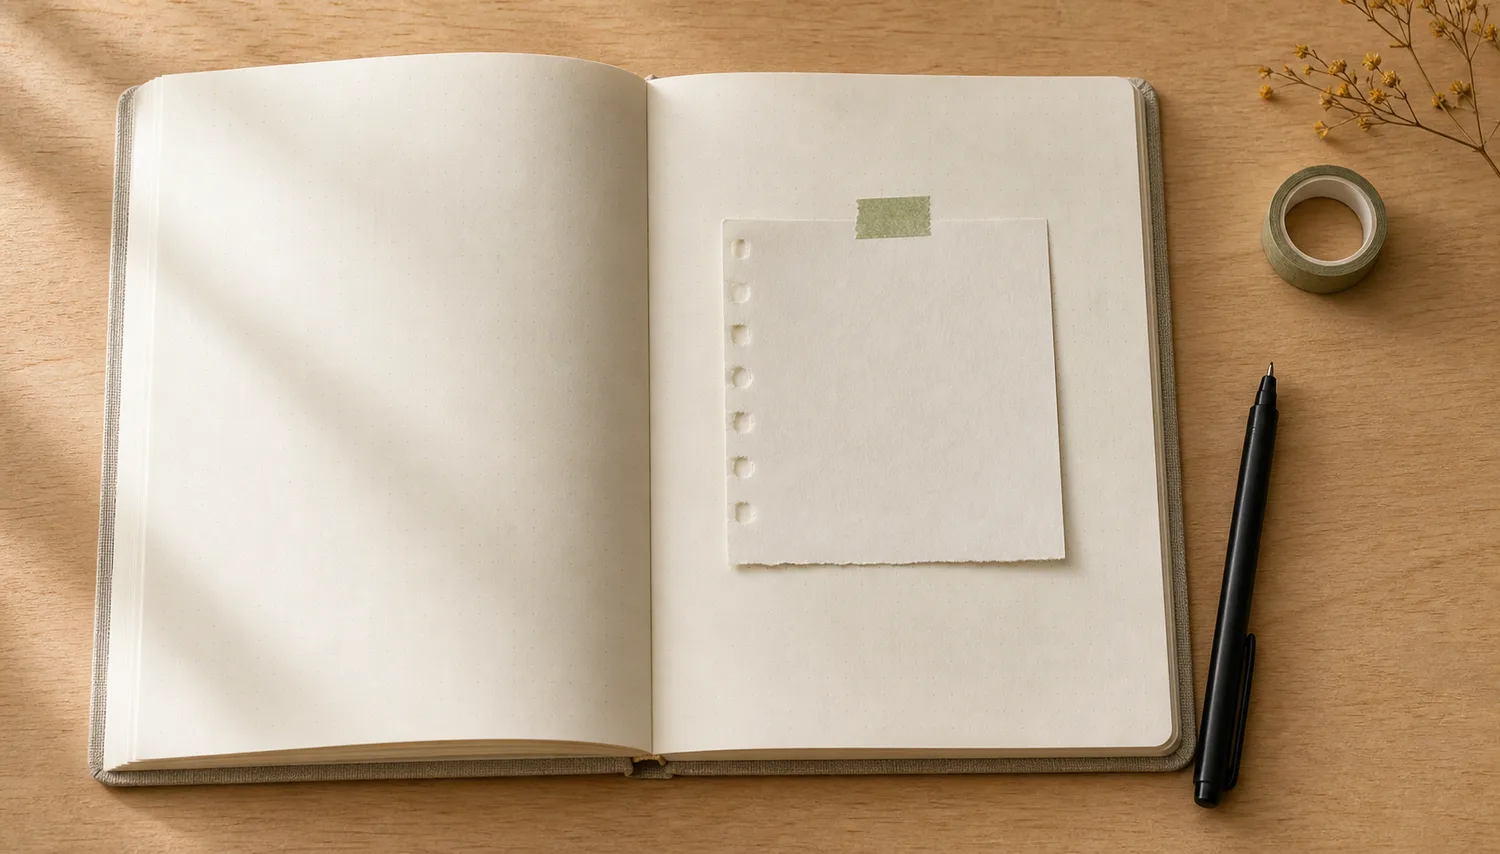
Lay the photo or memo down without attaching it. Choose the one guide that would settle your next decision: an outside margin, a date strip, or a division between words and pictures. Mark its two endpoints lightly before connecting them. If the contents need to move, the dots are easier to change than a finished frame.
If you're using dot-grid paper, count the spaces instead of reaching for a measurement every time. Leave enough room near the binding to write comfortably. Use a light hand, too; pressing hard against a ruler can make the line much darker than you meant it to be.
Put the steps in orderMake only the guide that helps the next placement
Make only the guide that helps the next placement
Put the positioning decisions before the permanent line.
One workable order
- Place the photo or memo without adhesiveIts real size shows which edge or divider could help.
- Choose one useful margin or divisionDecide the line’s job before marking the page.
- Mark the two ends lightlyTwo endpoint marks let you check position before drawing the line.
- Join the marks with a light lineConnect after checking that the guide leaves room for writing and the binding.
Which check needs to come first?
The example shows one workable order. This sequence is for drawing one permanent guide; pencil trials can remain provisional.
ONE WORKED EXAMPLE
A date strip starts the memo
You have one small note from an afternoon walk and want to begin the page without arranging a full collage. A narrow strip can provide the starting edge.
Before
The memo sits in the middle of the page while you keep trying different positions. There is no visible date or shared edge to settle it.
After
A shallow date strip holds the date and place on one line. The memo begins beneath its left edge, with the walk sentence written at normal size. No extra frame is needed; the common starting line connects the two pieces.
What changed—and what to check
One alignment decision settles the page without dividing all the available space. The note can grow below the strip as you write.
Try this check. Check that the date and first sentence are easy to locate before adding another ruled shape.
Something for a future page?
The Washi Tape ShopAffiliate links: we may earn a commission if you buy through these links.
For a page that needs a little order
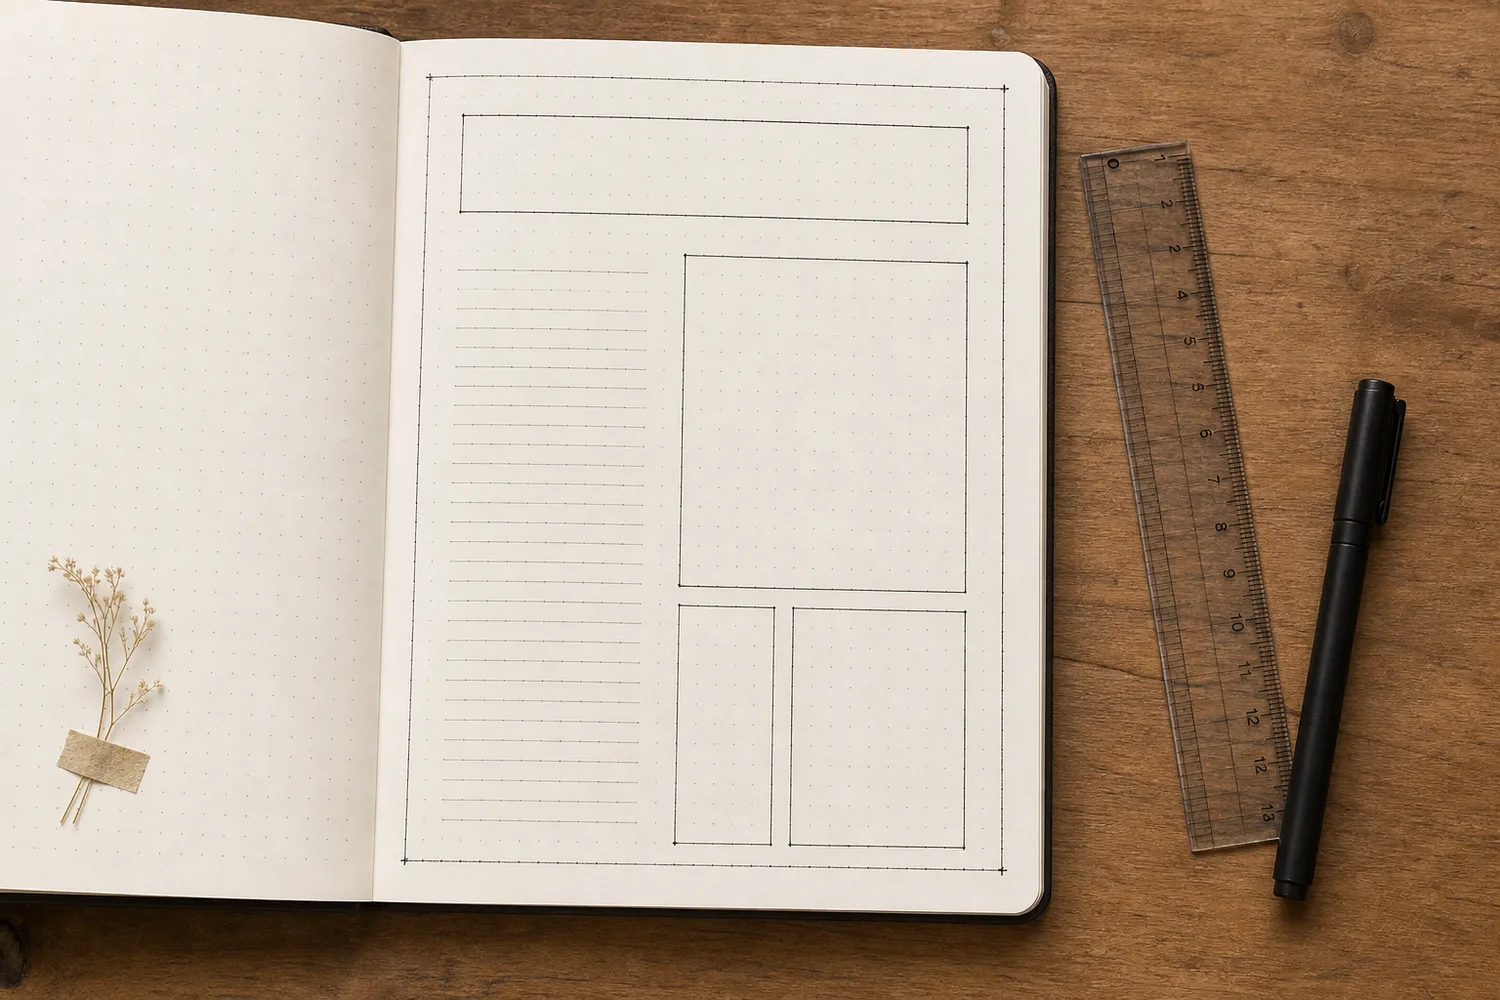
The margin frame is the easiest place to begin. Mark roughly 1 cm inside the outside edges and join the marks with a thin line. In a small notebook, two or three grid spaces may feel better. Write and paste inside the frame, leaving the border mostly empty. You can leave the binding side open if a complete rectangle feels cramped.
The two-column page gives words and pictures their own space. Draw one vertical line, with a wider column for writing and a narrower one for a photo or scrap. Leave a small gap on either side of the divider. Start the picture and the first written line at about the same height; that shared top edge often does more than extra decoration would.
See the differenceLet the photo and first line share a starting edge
For a day you can remember in pieces
The three-box day works when you've got a few moments but no diary entry forming. Draw three boxes with similar gaps between them. Stack them for morning, afternoon, and evening, or label them 'what happened,' 'what helped,' and 'what stayed with me.' Put one memory in each. 'Cold floor, warm socks' is plenty to begin with.
The date strip is even smaller. Draw a narrow rectangle across the top of the page and write the date, place, and perhaps the weather inside. Keep it shallow enough for one line. If a full box looks too formal, draw just the top and bottom. Underneath, place one memo against the strip's left edge and start writing there.
For a photo or a day that kept moving
A photo slot saves you from shuffling the print all evening. Measure a duplicate print, then draw a rectangle with about 2–4 mm of space around it. Paste the print inside and write a caption beside it. If you haven't printed it yet, label the empty box 'photo from the walk' and carry on. Keep an irreplaceable original away from craft adhesive.
A tiny timeline is a vertical line with three to five dots. Beside each dot, jot one moment in order: 'missed the bus,' 'found the little bakery,' 'walked home.' Add times if they matter. Keep the notes short enough that you can follow the day with your eyes. A longer story can sit underneath the timeline.
Compare the optionsChoose the line that helps this kind of record
Choose the line that helps this kind of record
Change the record and see why it asks for a different guide.
Read the words in this example
- photo
- caption
Draw a slot from the real print’s dimensions.
Measure a duplicate print and allow the article’s small border around it before drawing the slot. Leave a separate caption area nearby. The rectangle should accommodate the picture you own; it is not a reason to cut away the image’s important detail.
GO A LITTLE FURTHERFor loose notes and things you haven't finished
For loose notes and things you haven't finished
An aligned memo board lets mismatched scraps belong together. Lay three memo pieces across the page, put the ruler along their top edges, and nudge them into place before attaching them. Repeat roughly the same gap between pieces. They can be different heights and colors; one shared edge is enough. Give each memo a moment, a quote, or a small list.
An empty box is useful when it reserves something specific. Label it “ticket from the walk” or “ask Mum about the date,” then continue elsewhere on the page. If the missing item’s size is unknown, keep the surrounding arrangement loose enough to adapt. Unlabeled white paper needs no explanation when you are simply leaving room.
Try a what-ifThe print is bigger than its reserved box
The print is bigger than its reserved box
Treat the guide as something the page can outgrow.
A duplicate photo arrives slightly larger than the slot drawn earlier. Cropping it would remove the person’s hand that the caption describes.
Compare the three choices
What should you try before cutting the print?
- Lay the print across the frame and check the caption space
The line can act as a partial border. Keep the important image detail if the page still reads comfortably.
- Trim the print to preserve the exact rectangle
That would preserve the guide but remove a detail the story needs. Check a looser placement before making that cut.
- Shrink the caption until both fit inside the old arrangement
Smaller writing may save space, but it could make the story harder to revisit. The frame itself is still available to change.
Let a guide adjust to the real contents when its first estimate was wrong.
What would you try?
Choose an option to see what it would do. You can explore all three.
Let one little decision repeat
For a slightly fuller page, combine a date strip with a photo slot, or put a short timeline in the narrow column beside your writing. Repeat the same gap between two elements and then put the ruler away. That's enough to make the arrangement feel connected.
If a duplicate print is larger than its penciled slot, set it across the line and see whether the caption still fits. The frame can become a partial border. Move the loose print or extend the writing area before trimming away a detail you wanted to keep. Once the next sentence has a clear place, put the ruler away.
Where this idea began
Marisa Porter's linked guide supplies the long-used three-part daily example. The other references informed the margins, repeated gaps, proximity, and blank space used throughout these recipes.
Want to explore the techniques a little further? Here are the maker tutorials and references behind this guide.
- Maker exampleMarisa Porter / Owl Paper: My Insanely Simple Daily Bullet Journal Layout
Marisa Porter’s three-part daily page supplies the named layout example.
- Design principleNielsen Norman Group: Using Grids in Interface Designs
Interface grid guidance supplies an alignment analogy for ruled notebook layouts.
- Design principleNielsen Norman Group: What is Whitespace?
Whitespace supplies a background principle for leaving readable space around content.
- Design principleNielsen Norman Group: Proximity Principle in Visual Design
Proximity supplies the principle of grouping related content with smaller gaps.
- Design principleJohn Muir Laws: Journal Page Composition
John Muir Laws’s journal composition guidance informs placing text and images on a page.
- Method referenceBullet Journal: How to Start a Bullet Journal for Beginners
Official beginner guidance supplies broad Bullet Journal setup context.
- Maker exampleHobonichi Techo: 100 Tips for Using Your Hobonichi Techo
A collection of Hobonichi use ideas offers optional page arrangements and recording examples.