Gather a few things See what you’ll need
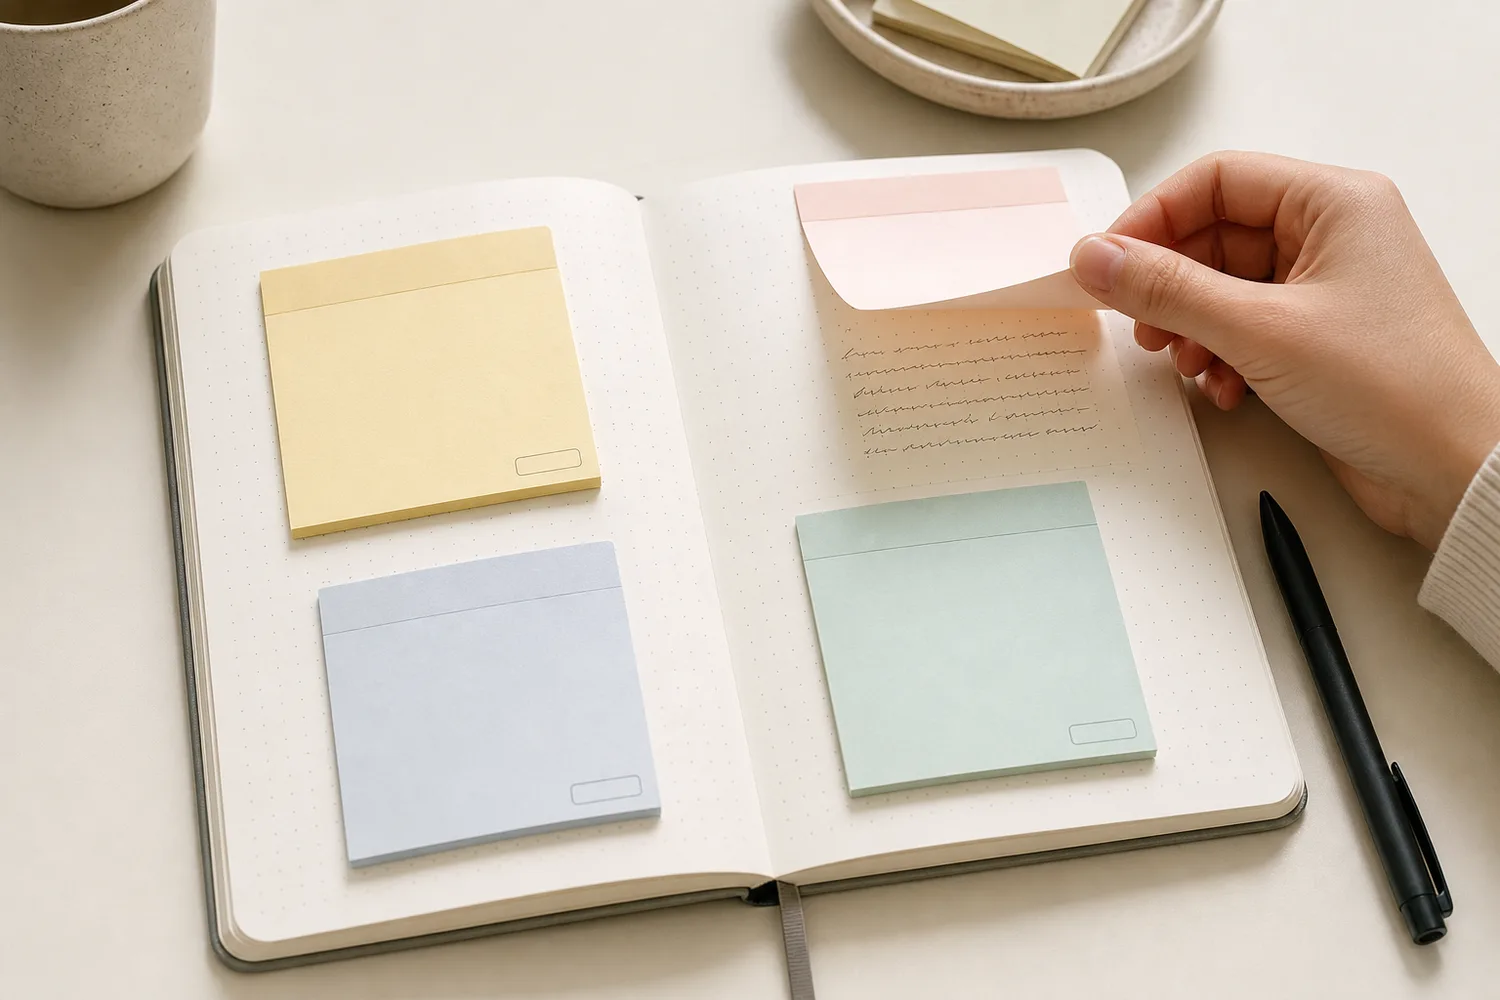
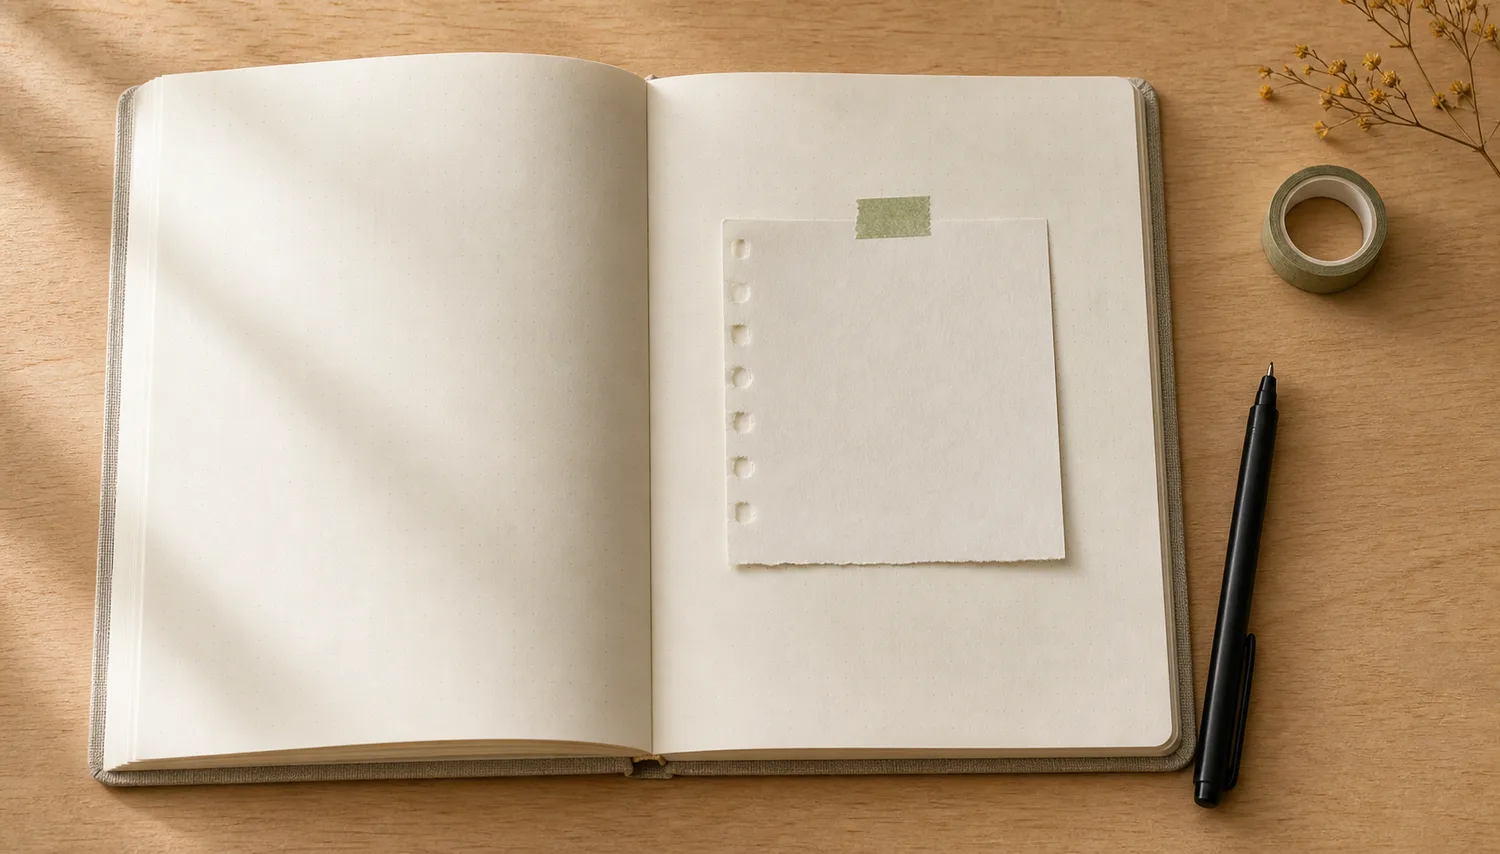
- One memo sheet, sticky note, or small piece of plain paper
- A pen
- Optional: one scrap, sticker, or piece of tape
- Optional: glue
Decide what this little page is holding
Choose one moment, thought, or useful note before decorating. “Coffee by the open window” is plenty. You could also record something you want to try tomorrow or a phrase somebody said.
Estimate how many lines it needs at your normal handwriting size. Keep that much paper clear as you arrange the layout. If you need a longer entry, use a larger sheet or write on the back. Tiny writing isn’t a requirement for tiny stationery.
Know the note before choosing its small decoration
Keep one moment or useful thought, then decide whether it needs an extra line.
Coffee by the open window.
The room was cool for the first time all week.
Your words have a place now.
The filled card is a sample. Replace any part with your own words; leave a field empty if it does not help.
- Words on this card
- 15
“One finished memo is enough for today; you don’t have to make all eight.”
Use a side strip or a simple heading
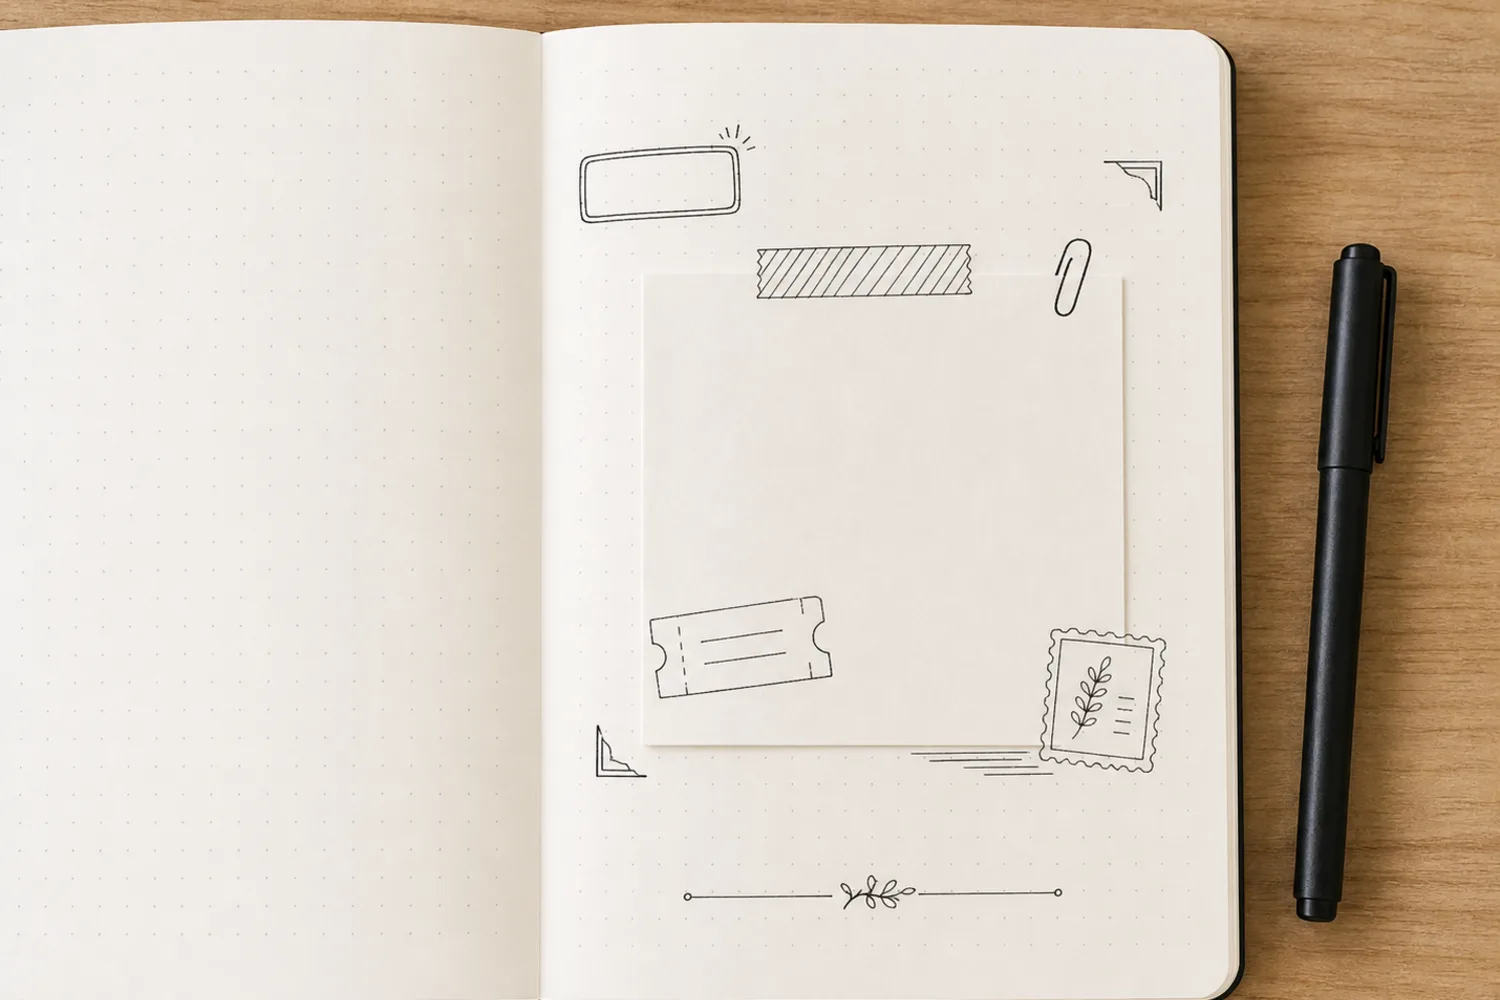
3. The side strip. Place a narrow scrap along the left edge, leaving a little margin between it and your writing. A strip about a finger’s width or less is enough on a small memo. If you only have a pen, draw two close lines instead.
4. The small heading. Write one short word near the top, such as “Today” or “Noticed,” and underline it lightly. Put your note below. A tiny dot or short line beside the heading is enough decoration. You can leave the other edges completely plain.
Give it a loose frame or a paper label
5. The unfinished frame. Draw a light border inside three edges of the memo and leave one corner open. Put a little mark near the opening, then write inside the border. Sketch lightly enough that an uneven line feels relaxed rather than something you need to repair.
6. The paper label. Place a small rectangle near the top for a date or place name. If the scrap is patterned, write on its plain reverse or draw the label directly on the memo. Leave the middle and lower part for the moment itself. Avoid making the label larger than the note it introduces.
Keep the label smaller than the thought it introduces
Switch from an oversized heading area to a compact label and a larger note.
Label dominates
The large label supplies a strong beginning but leaves only a shallow area for the actual thought. Tiny stationery does not require tiny handwriting.
Split a thought, or add one tiny picture
7. The two-part note. Draw one short dividing line across the memo. Use the upper area for “What happened” and the lower area for “What I want to remember.” You can skip writing those headings once the idea makes sense. One sentence on each side of the line will do.
8. The tiny picture and caption. Draw a small object in the upper half: a mug, a leaf, a pair of shoes. Write a caption underneath. A simple outline is enough to suggest the object. If drawing stalls you, write its name in a little box and keep going with the memory.
Separate what happened from the part you want back
Use the two halves to add meaning instead of repeating the event twice.
What happened:We took our coffee outside.
I want to remember:The first cool air came through the gate while we sat there.
Your words have a place now.
The filled card is a sample. Replace any part with your own words; leave a field empty if it does not help.
- Words on this card
- 23
Let it be small and finished
Write your note before adding any more decoration. If it reads comfortably and the little detail feels connected to the words, you can stop. The empty paper is doing a useful job: it makes the note easy to see.
If the memo feels crowded, remove a loose embellishment or move the longer thought to the back. If a pen mark goes wrong, a small plain label can cover that spot, provided it doesn’t steal the writing space you still need.
Keep the memo loose, tuck it into a pocket, or attach it to a larger journal page. A sticky note may need extra adhesive if you want it to stay there. One finished memo is enough for today; you don’t have to make all eight.
Where this idea began
This guide grew from our original Instagram post. The examples and explanations here expand on that idea so you can try it at your own pace.