Gather a few things See what you’ll need
- Fresh sticky notes
- Pen
- Journal
- Optional duplicate photo print
Choose an exercise 4 things to try as you read
Decide which way you'd like it to open
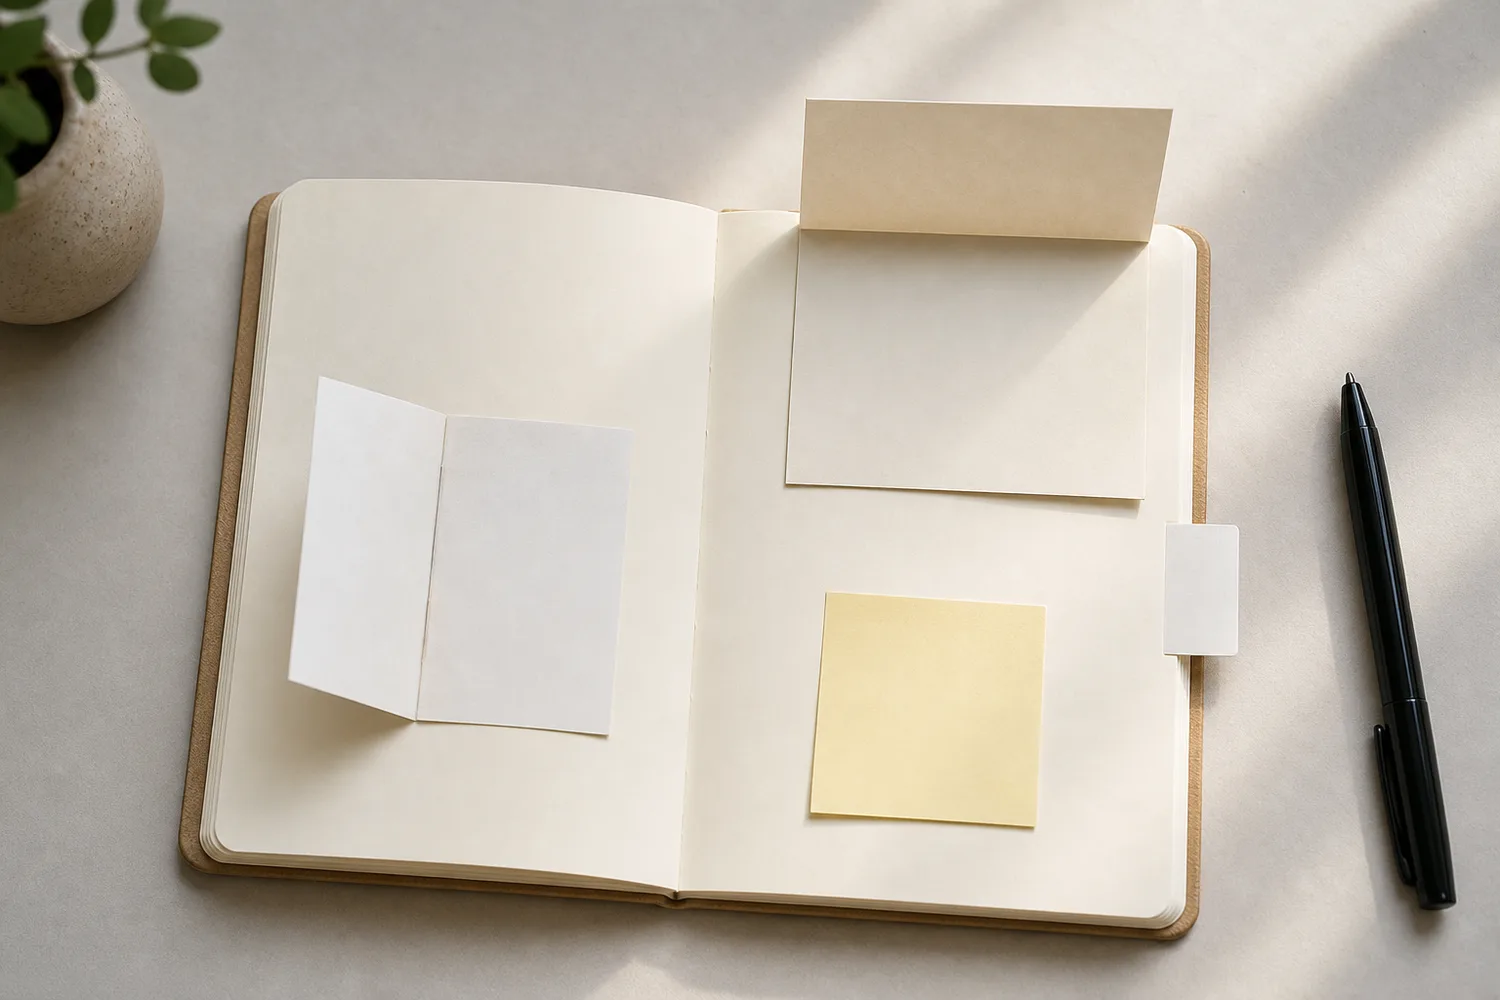
Start with a fresh note on clean, dry journal paper. Press the adhesive strip and leave the rest free. With the strip at the top, it flips upward. Turn the note so the strip is on the left and it opens like a book. Try the movement before writing.
Try the opening with the journal resting as it normally would. If your fingers have to reach into the binding to find the loose edge, move the note before writing. Leave reading room beside the hinge. If peeling lifts paper fibers, use a separate backing card instead of repeatedly testing that journal leaf.
Try the exampleChoose the edge that makes the little door easy to open
A little label outside, a fuller thought underneath
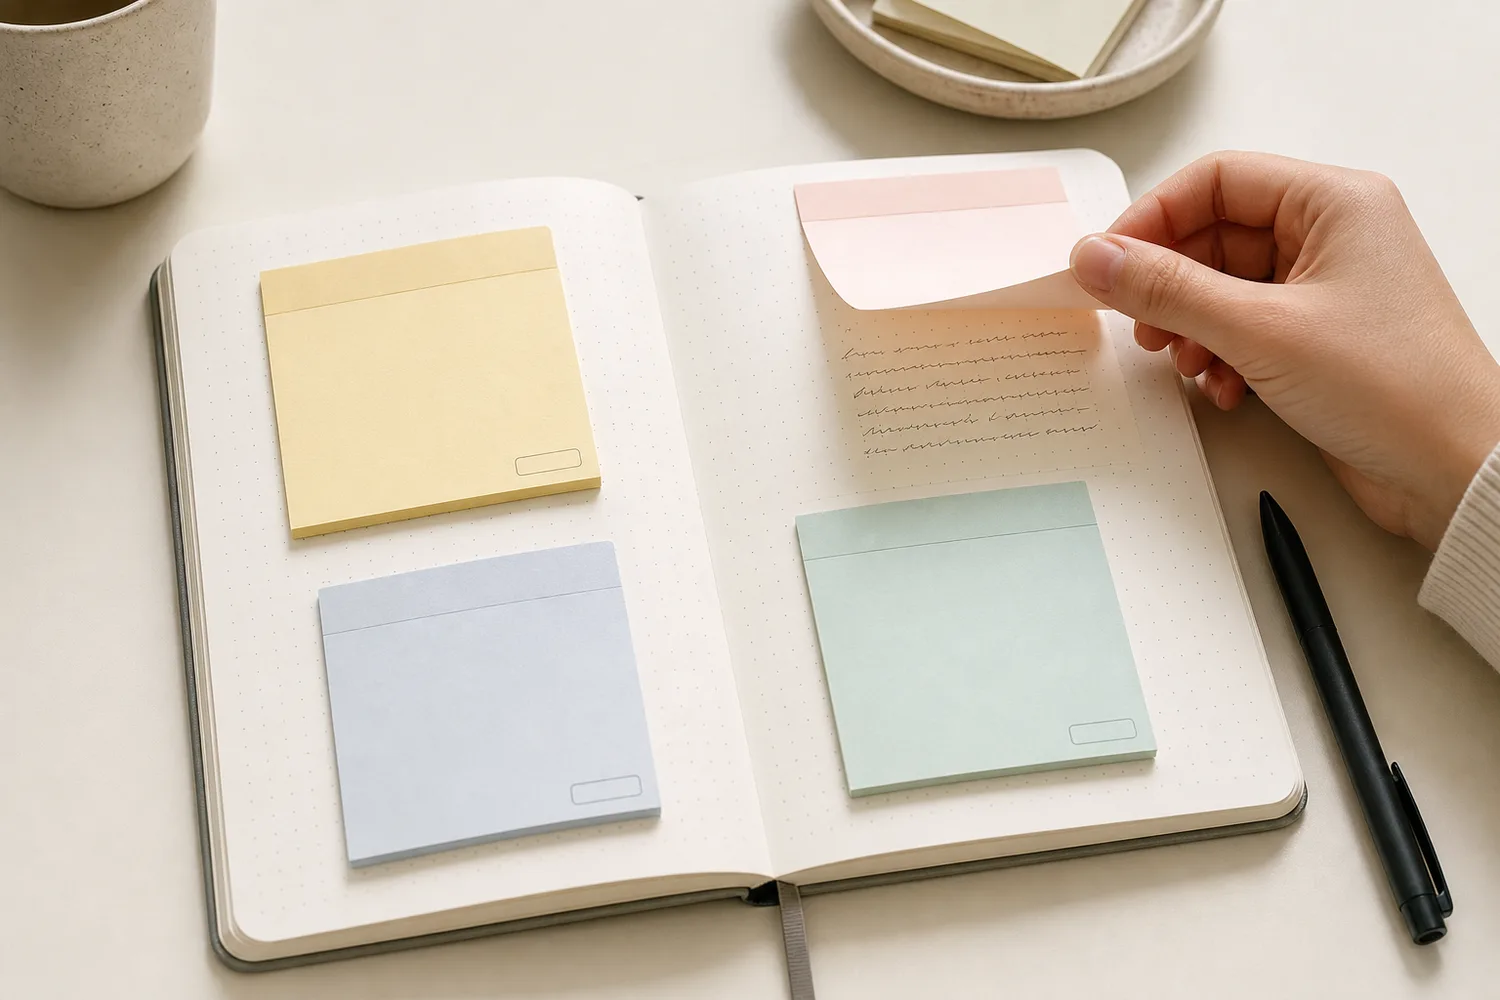
For the top-opening version, write a short label on the note: 'after the visitors left,' for example. Lift the bottom edge and write the extra sentence on the journal page underneath: 'I ate the last slice standing at the counter.' Close the note. The label keeps the page simple, while the little detail is still there when you return.
For a side-opening door, turn the adhesive strip to the left. Write a place or person on the front and the memory on the page beneath it. 'The phone call' could open to 'We talked about nothing, which was exactly what I needed.' A tiny arrow near the right edge makes the opening easy to find.
Write your versionLet the label introduce a fuller thought
Let the flap say what the picture can't
A question flap starts with one small prompt on the outside. Try 'What helped?' or 'What happened next?' Lift it and answer underneath. 'Putting my shoes on and going outside' is an answer. You don't have to turn a small question into a whole evening of reflection. If the thought grows, continue on the next page.
A photo-feeling flap belongs beside a duplicate photo print. Keep the note smaller than the picture, and attach its sticky edge to the journal paper where the flap can still open. Put the place on the front. Underneath, add what was outside the frame: the noise, the conversation, or the fact that you'd just stopped laughing. Don't bury the opening under the photo.
Compare the optionsGive the lift a reason beyond hiding words
For a rough thought, or a memory with a second part
A peel-away draft lets you try the words without writing them directly into the journal. Put 'rough version' on the front, then write your sentence on the back of the loose part of the note. Before you finish, choose whether to copy it into the journal, soften the wording, or remove it. If you want the sentence to last, don't leave its only copy on a note that's losing its stick.
For a double reveal, place two notes with their adhesive strips at the top and offset the lower edges so each can be picked up separately. Keep it to two. Put the title on the first, a detail on the second, and the complete sentence on the page; then try opening just the upper note without carrying the second one with it.
GO A LITTLE FURTHERSomething kind, or something that makes you smile
Something kind, or something that makes you smile
A gratitude flap can look like an ordinary date label. Write today's date outside and one small thank-you underneath: 'She remembered how I take my tea.' It can sit along the top margin of a page that already feels finished. There's no need to explain why the kindness mattered if the sentence already brings it back.
A playful flap gives later you something unexpected. Write 'open when bored' or 'a very small confession' on the front. Underneath, put a bad joke, an odd dream, or the snack you ate before dinner. Add a little lift arrow if you like. A teasing label encourages people to open it, so keep this version for things you're comfortable having read.
Make it pleasant to open again
Lift the note, close it, turn the page, and close the journal. If a corner catches or keeps curling, use a smaller fresh note or move it farther inside the page. If you need to trim it, take it off and cut it separately. Taping every loose edge down would take away the opening you just made.
A more opaque note can reduce show-through, but a flap is still easy for another reader to lift. Choose its words with that in mind. Copy anything you want to keep onto the page when the adhesive tires, then replace or remove the note; the useful record need not depend on a temporary layer staying attached.
Try a what-ifWhen a temporary note holds the only copy
Something for a future page?
The Washi Tape ShopAffiliate links: we may earn a commission if you buy through these links.
Where this idea began
Kristi Nazzaro documents a card taped into the binding with journaling lines behind it. The remaining sources informed the one-edge hinge, temporary note behavior, and visible lift cues used here.
This guide grew from our original Instagram post. The examples and explanations here expand on that idea so you can try it at your own pace.
- Original Tiny Systems Co. postour original Instagram post
The original Tiny Systems Co. post establishes where this guide began. The expanded instructions, examples, and practice measurements are editorial additions unless separately credited.
Want to explore the techniques a little further? Here are the maker tutorials and references behind this guide.
- Maker exampleKristi Nazzaro: Dina Wakley Media Art Journal Tip-In
Kristi Nazzaro’s art-journal tip-in is a named removable-surface example.
- Product referencePost-it: product categories for notes, flags, tabs, and page markers
Post-it product categories distinguish notes, flags, tabs, and page markers.
- Product referenceHobonichi Techo: Add-on Sticky Notes
A particular add-on sticky-note product illustrates the format; the guide does not require that brand.
- Material careNational Archives: Paper-Based Records and Self-Stick Note Risks
Paper-preservation guidance informs copying unstable thermal information before creative use.
- Construction referenceMad Paper Crush: How to add tip-ins to your journal
Journal tip-in methods inform one-edge attachment and leaving a paper flap free to move.