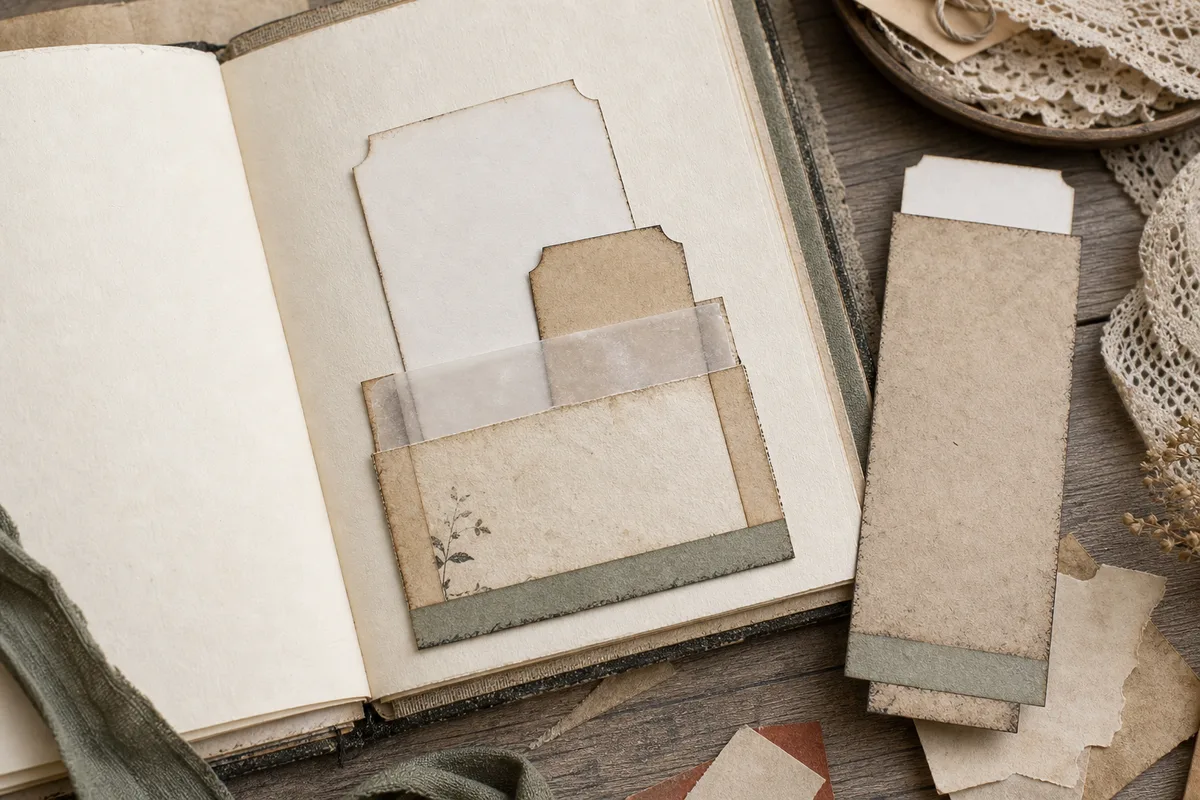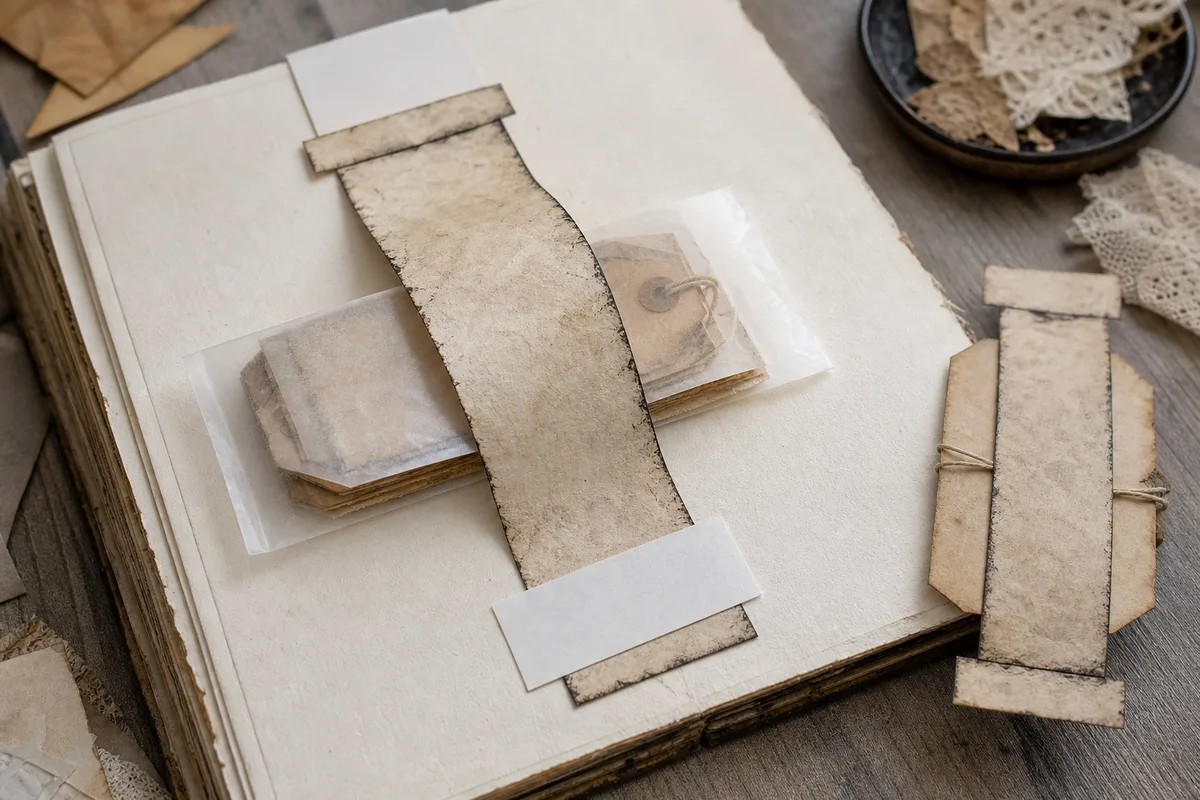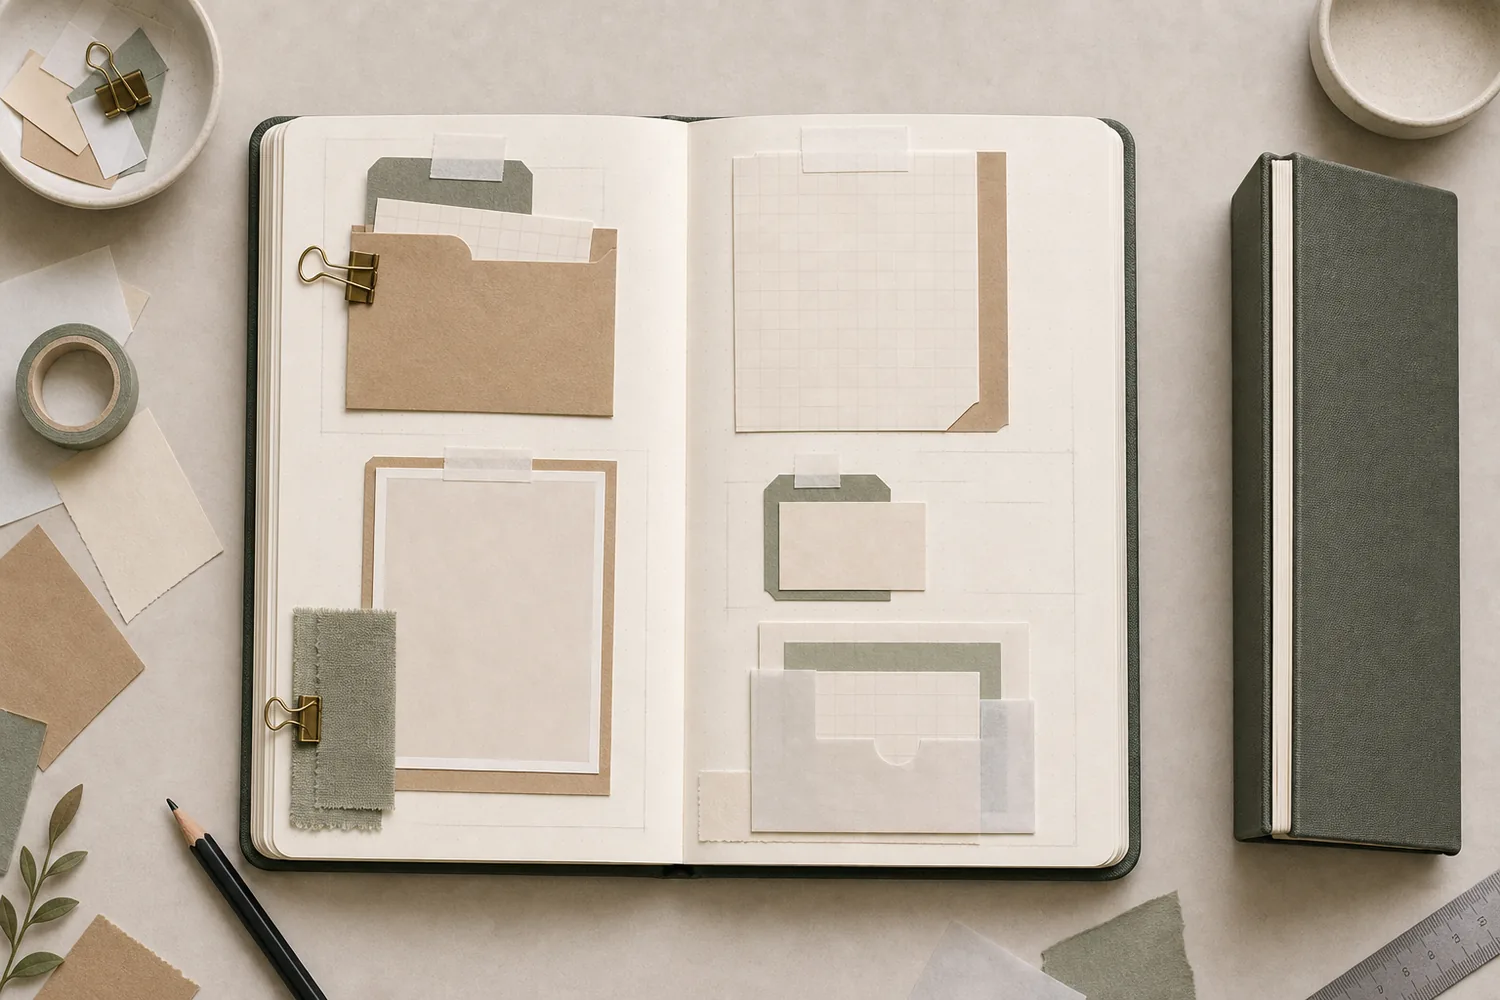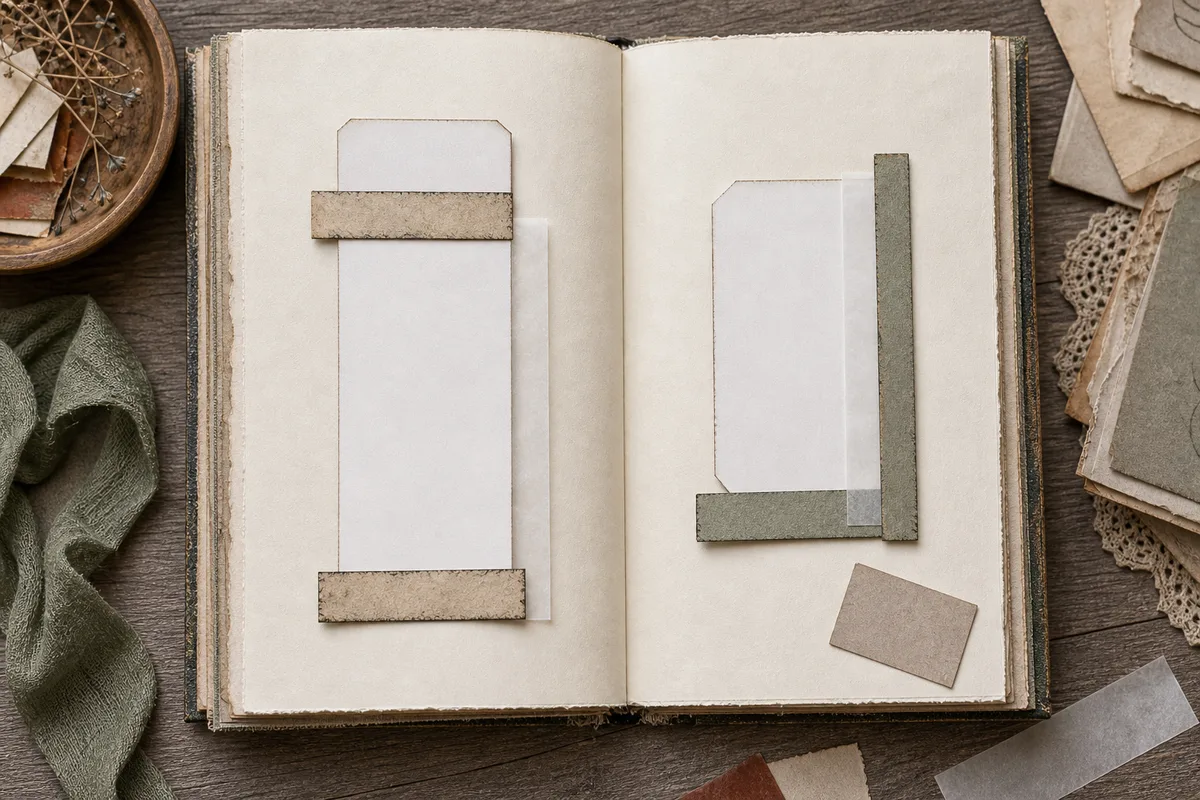
Gather a few things See what you’ll need
- A tall lightweight card, tag, or bookmark
- Sturdy paper for a strip
- Scissors and ruler
- Glue or narrow double-sided tape
- A blank test insert
- Optional: silicone release paper
Choose an exercise 4 things to try as you read
Cut a strip that leaves room to grab the card
On a page around 5 × 8 inches, try a strip 1½ inches wide and 5½ inches tall. Strips roughly 1¼–2 inches wide and about 60–80 percent of the page height are useful starting sizes. Adjust the height around the insert you actually want to use.
Lay the actual card behind the strip. Cover about a third to half of its width, leaving a fingertip-width on the pull side. Then look at the entire loaded shape, including any tab: it needs to stay inside the page with some outer margin. A ¼-inch gap is only a starting allowance if a curled corner still catches.
ONE WORKED EXAMPLE
The tag line stays visible
You have a tall tag with a useful title near its top and a longer note on the reverse. It belongs on a right-hand page and should pull toward the outside edge.
Before
A broad strip hides most of the title and leaves too little exposed card to pinch. The complete tag still fits inside the page, so the holder is the part to adjust.
After
A narrower strip covers about a third to half of the card’s width, leaving a fingertip-width exposed on the right. Its left long edge and bottom short edge attach to the page; the right and top remain open.
What changed—and what to check
The strip now supports the card without hiding the reason to choose it. The closed left and bottom edges give the outward pull a clear direction.
Try this check. With dry seams, pull the tag right without bending it and return it while the page is held upright.
A little tape for your next page?
The Washi Tape ShopAffiliate links: we may earn a commission if you buy through these links.
Choose the band or the side-and-bottom version
For a side band, glue only the strip’s top and bottom short ends. Both long edges remain open, and the card slides behind the strip. This gives a light hold, but the card can still shift sideways because neither long edge stops it.
For the side-and-bottom version, glue the bottom short edge and the long edge opposite the opening. On a right-hand page with a card that pulls outward to the right, glue the left long edge and the bottom. Leave the right long edge and the top open. Mirror the arrangement for a card that pulls left.
Try the exampleThe same strip can be a band or a side tuck
The same strip can be a band or a side tuck
Start with top and bottom attached. Change to bottom and left to give a rightward-pulling card a side stop.
Read the words in this example
- Front attachment
- Paper front
- Open
- Attached
- Free edge
Paper band: 2 attached edges.
The two attached edges are opposite each other. The left and right edges remain open, so tall tag can pass under the band; there is no attached stop at either of those openings. This map is the strip-to-page interface. Top and bottom make a vertical band with both long edges open. Bottom and left make a two-edge holder opening right and top; bottom and right mirrors it.
- Attachment
- Paper band
- Attached edges
- Top, Bottom
- Open edges
- Left, Right
Feel how the paper bends and slides
Slip your test card behind the unglued strip and try the intended movement. Medium scrapbook paper or backed book paper can work, provided the inside surface is smooth enough. A soft, long strip may sag; a very stiff one can bend a thin journal page.
Gently bend an offcut in both directions and compare how it feels. Machine-made paper often bends more easily one way, but a sideways pull doesn’t automatically run across the grain. Test the actual strip and card together. If the strip fights the motion, rotate a practice piece or choose another paper before attaching it.
See the differenceLeave enough card outside the narrow strip
Leave enough card outside the narrow strip
Compare a strip covering most of the tag with one covering only part of its width.
Read the words in this example
Too little side grip
- tag
- strip
Too little side grip
A wide strip can bury the very illustration and grip that made you choose a side holder.
Mark the opening before you turn the strip over
With the card in place, point to the long edge it will pull past and mark that opening lightly. Turn the strip over and mark only the bonds your chosen holder needs: top and bottom for a band, or bottom and closed long side for a tuck. A narrow, flat adhesive line leaves more smooth travel room than a thick bead.
Set the strip on the page and press the attachment edges through clean scrap paper. You can use a release-paper guard to check for squeeze-out while the glue is still workable. Remove the guard before it gets trapped, then let the holder dry without the finished insert inside.
Try a what-ifThe same tuck moves to the left page
The same tuck moves to the left page
Mirror the closed side when you change the pull direction.
For a left-hand page, you want the card to pull outward to the left. Your loose trial still follows the right-page sample, with adhesive planned on the left long edge and bottom.
Compare the three choices
Which bond plan gives this card its intended exit?
- Keep the planned bonds and move the holder farther left
Relocation changes the holder’s page position, but the planned left seam would still close the desired exit.
- Keep the left seam and use a narrower card
Extra clearance cannot make a bonded edge into an opening. Set the pull direction before choosing adhesive edges.
- Bond the right long edge and bottom, leaving the left open
This mirrors the side-and-bottom holder. The right side becomes the stop, while the outward left edge stays free.
The closed long side belongs opposite the direction in which the card will leave.
What would you try?
Choose an option to see what it would do. You can explore all three.
Try it flat, upright, and during a page turn
Slide the blank card in and out, then hold the page upright and repeat. The strip should stay attached, and the page shouldn’t bow with each pull. Check the outer edge as you turn the page. Move the arrangement inward or shorten a replaceable insert if it catches beyond the page; move it outward only when the binding is the obstruction.
If a band lets the card drift too far sideways, try the side-and-bottom version instead. If the card curls or crumples during the pull, give it more room or choose a top-opening holder. A limp receipt and a firm tag may prefer different arrangements.
Compare the optionsChoose the change that matches the direction of trouble
Choose the change that matches the direction of trouble
Decide whether the obstruction is the book edge, the gutter, or the kind of hold.
Read the words in this example
- tag
Move the loaded arrangement inward.
Check the full card and tab outline as you turn the page. If the outer edge is the obstruction, shift the holder inward or shorten a replaceable tag. Moving it outward would make this particular catch worse, even though outward movement helps a gutter obstruction.
GO A LITTLE FURTHERFinish with a visible edge or a small tab
Finish with a visible edge or a small tab
Once the card moves comfortably, decide whether its exposed side is obvious enough. A tiny tab or slightly rounded corner can make it easier to grip. Keep decorative strips and dangling lace away from that edge so your hand finds the real insert first.
If you accidentally glued the opening shut, remake the strip. Cutting into an attached seam can leave a rough edge that keeps catching the card. If the strip tears during normal use, back a new one with thin paper or choose a holder with more support.
Read the exposed line, pull out the card, and turn it over. If that short movement feels easy, let the card itself be the final detail. You can enjoy the tall piece on the page and still reach the part you chose to hide.
A little tape for your next page?
The Washi Tape ShopAffiliate links: we may earn a commission if you buy through these links.
Where this idea began
These references supported the side-channel glue map, the two-edge variations, and the grain-direction check.
Want to explore the techniques a little further? Here are the maker tutorials and references behind this guide.
- Construction referenceLinda Matthews, Creative Art'nSoul: How to Make a Basic Printable Junk Journal
Linda Matthews’s printable-journal tutorial supplies a side-pocket construction example.
- Creator attributionAbout page
The creator’s About page supports attribution to Linda Matthews, not a construction claim.
- Construction referenceJustine Jenkins, House of Mahalo: 10 Easy Junk Journal Pockets
Several pocket formats illustrate top or side access; match the opening to the intended insert.
- Material behaviorCornell University Library: Testing Paper Grain Direction
A library tutorial on identifying paper grain direction for folding decisions.