Back to all guides

Guide 042 / Desk supply journaling / Part 6 of 12

Hide One More Sentence Under a Sticky Note

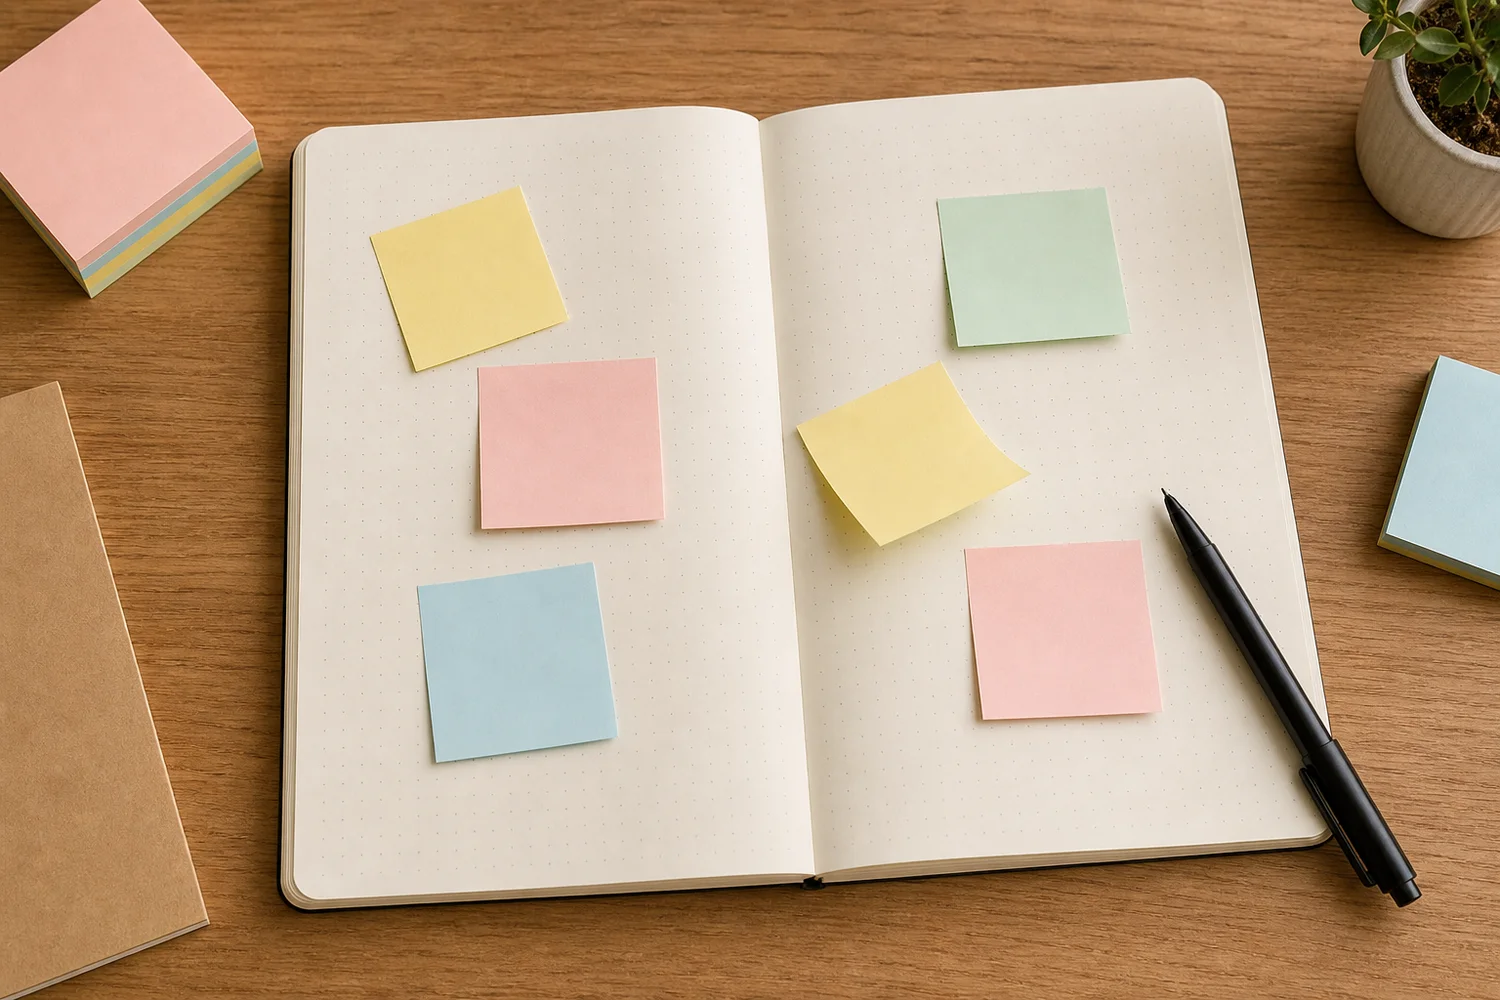
Start With What's on Your Desk, Part 6: use one sticky note as a top hinge, side door, photo tuck, peel-away draft, stacked reveal, gratitude layer, or playful hidden note.

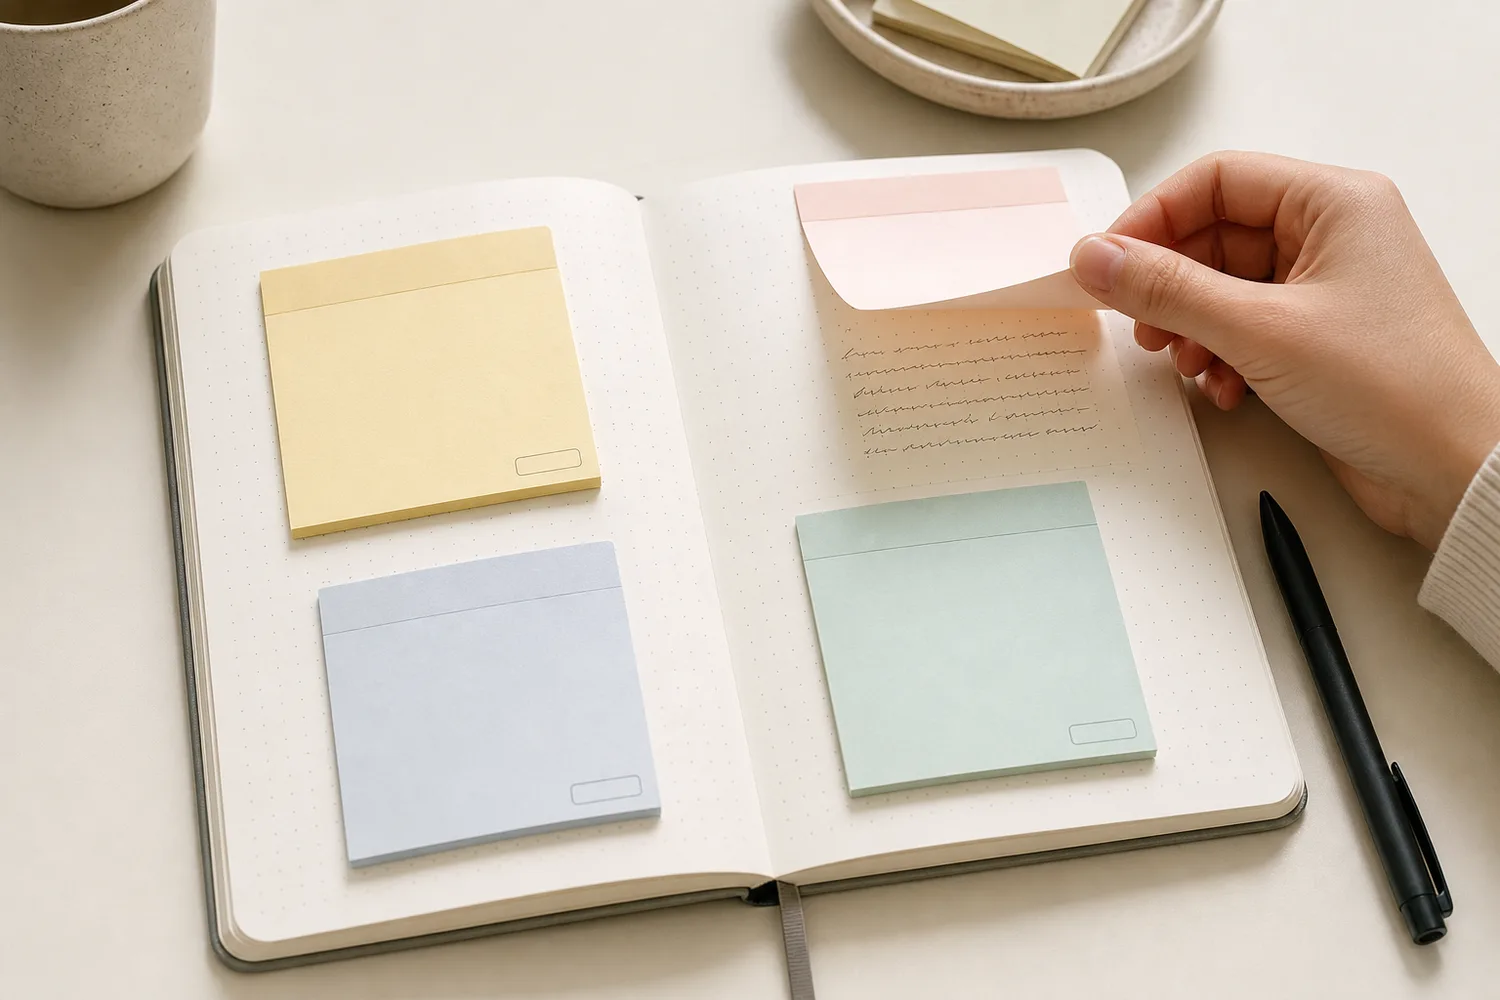
Open journal with pastel sticky notes, one lifted to reveal hidden handwriting underneath
A lifted corner can hold the extra sentence you did not want visible at first glance.

The sticky note is already lifting at one corner.

Good. That lifted corner is the whole trick.

Some writing does not need to sit in the middle of the page, announcing itself to anyone who passes by. It can wait under a top hinge, open from the side, peek out from under a photo, or sit behind a date that looks ordinary until you lift it.

This is not a lock. It is a first-glance layer: a way to keep the page simple on the outside while it holds one more sentence underneath.

One sticky note is enough. The trick is choosing which edge gets to stick.

Hide one sentence, not your whole journal.

If eight ideas feel like too much, make one top-hinge flap. Place a sticky note on the page. Stick only the top edge. Write a tiny outside line on the note. Lift it and write the extra sentence underneath.

One-flap example

outside:
today looked normal

underneath:
but I was trying very hard

Keep it light

Use it for a thought you want off the surface, not for anything that needs real privacy. The sticky note is a soft cover, not a safe.

Edge choice

top edge = flip up
left edge = open like a door
bottom edge = lift from above
one corner free = playful peek

You want the easiest hidden layer Stick the top edge and let the note flip upward.
The page needs a tiny door Rotate the adhesive strip to the left and open the note sideways.
You do not know what to write Put the question outside and let the answer live under the flap.
The photo needs one extra feeling Slide the note partly under the photo so the image still leads.
The thought is messy Use a peel-away draft that can stay, soften, or leave later.
You want a slow reveal Offset two notes so each lift reveals a smaller next line.
The page looks simple but needs meaning Turn the date into a small cap that lifts open.
The spread feels too serious Leave one free corner with a tiny warning or joke.

Choose the edge before you choose the words.

A sticky note changes job when the stuck edge changes. Before you write, hold the note over the page and test one opening motion with your finger. If the motion feels natural, the hidden layer will probably work.

Top edge

Best for one extra sentence, quick feelings, and prompts that lift upward.

Left edge

Best for side doors, photo labels, and memories you want to open like a tiny book.

Bottom edge

Best when the page has a title above it and the note needs to lift from the top.

One free corner

Best for playful reveals because the lifted corner tells the reader where to touch.

Offset stack

Best when you want title, detail, and memory to appear one layer at a time.

Partly under a photo

Best when the photo should stay first and the writing should feel like a small afterthought.

Top-Hinge Flip-Up

This is the simplest hidden sticky note. Use the sticky note in its normal direction, with the adhesive strip at the top. Press only that top edge. Let the bottom edge lift.

Place it where your thumb naturally wants to lift: near the outer half of the page, not buried in the notebook gutter. A flap that is easy to touch will actually be opened later.

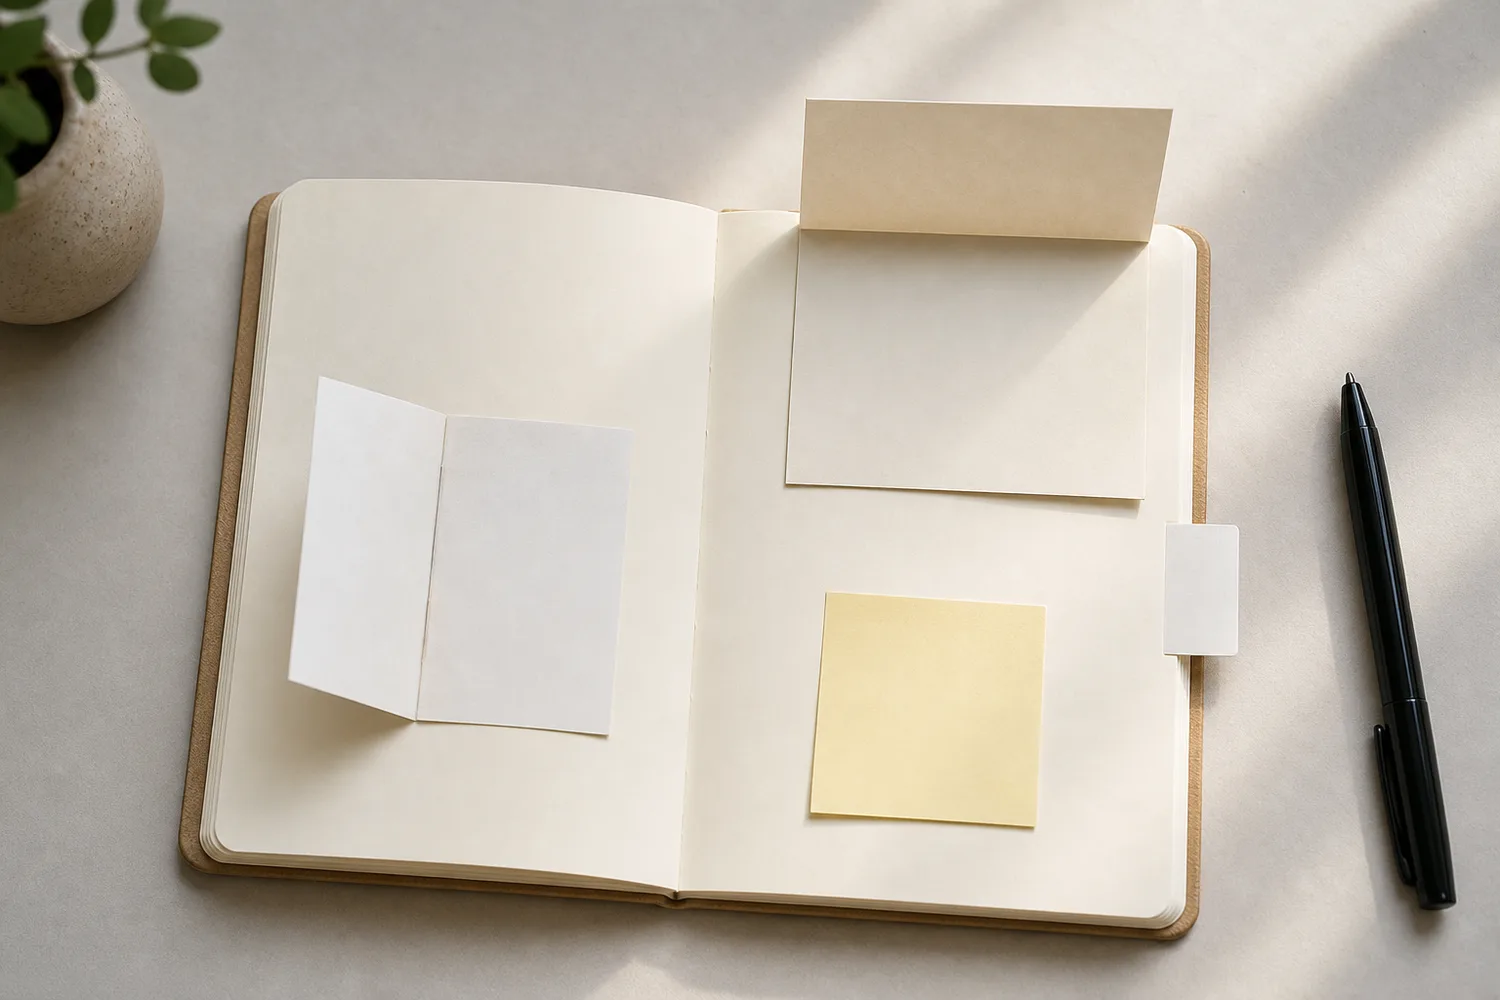
Open journal showing a sticky note lifted upward and another opened sideways like a door
A sticky note becomes a flap when only one edge is doing the holding.

Write a title on the outside. Keep it short:

  • what I meant
  • small detail
  • after dinner
  • note to later me

Lift the note and write the longer thought underneath on the page. The outside stays clean. The underneath gets to be more specific.

Fast version

outside: quiet evening
underneath: I finally felt my shoulders drop

Run one finger under the loose edge before you call it done. If your finger catches, move the note inward or trim a little from the bottom. Do not write too close to the hinge. Leave a small blank strip under the sticky edge so the writing does not disappear into the fold.

Side-Door Note

For a side-opening door, rotate the sticky note so the adhesive strip runs along the left edge. Now it opens like a tiny book cover.

The outside gets a small label. The exposed page underneath gets the longer memory.

  • outside: kitchen
  • inside: the room smelled like toast and rain
  • outside: phone call
  • inside: I did not know I needed to hear that voice

This recipe works well near the outside edge of the page, away from the notebook gutter. If you put a door too close to the spine, your hand has to fight the fold every time you open it.

Door check

rotate note
adhesive edge left
short label outside
open right edge
write the longer memory

Make the opening edge obvious. Draw one tiny bracket, dot, or half-arrow on the right edge so the page says "open here" without needing instructions. If the sticky note keeps swinging open, press the hinge again or use a smaller note. Do not tape all sides. A door still needs to open.

Question Outside, Answer Inside

A prompt feels less like homework when it is hiding its own answer. The outside asks. The page answers. That tiny interaction is enough to make a plain spread feel alive.

Write one question on the outside of the sticky note. Choose a question small enough to answer in one breath:

  • What changed today?
  • What did I leave out?
  • What helped?
  • What do I want to remember?

Lift the flap and answer underneath. One sentence is enough. The point is not to produce a big entry. The point is to make the page ask and answer itself.

Small answer

outside: what helped?
inside: opening the window before I answered the message

For a calmer page, put the prompt near the top margin like a title. For a quieter answer, place it lower on the page and let another memo or photo sit nearby. If the answer becomes too long, stop after three lines. A hidden layer feels special because it is small. When it turns into a full page, it stops feeling like a reveal and starts feeling like a folded essay.

Hidden Photo Feeling

A photo can show the place and still miss the feeling. Put a sticky note near the photo, slightly under one edge, or beside it like a small label.

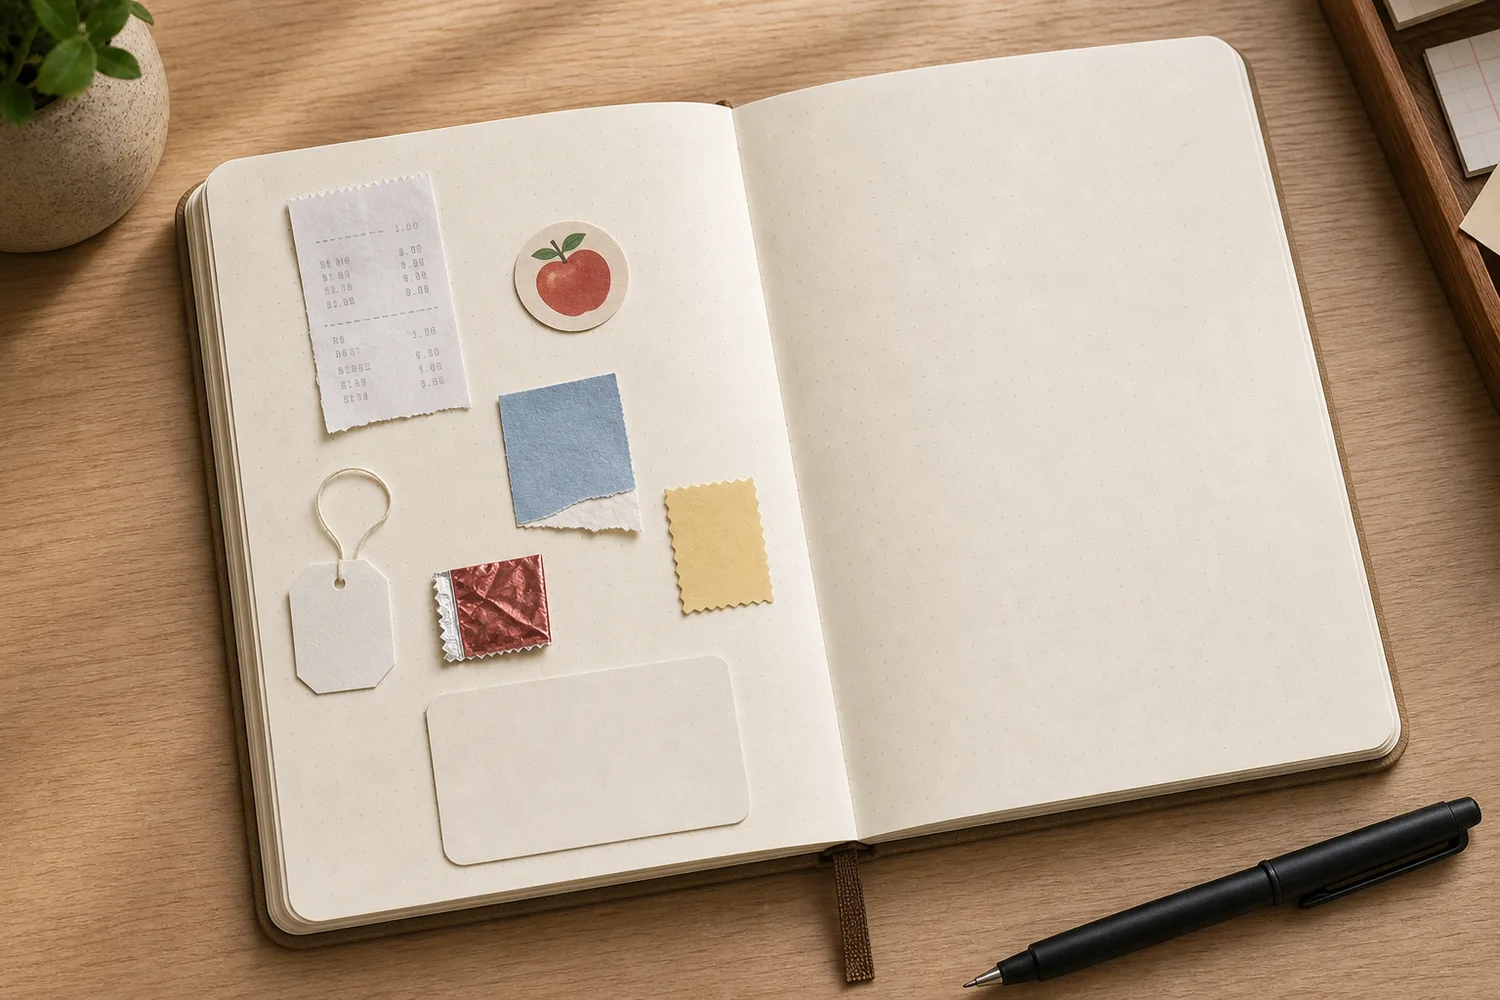
Open journal with a small photo and a sticky note flap lifted to reveal hidden writing
The photo stays visible. The feeling waits under the flap.

Outside, write the simple title:

  • cafe corner
  • walk home
  • before dinner
  • the quiet room

Inside, write what the photo does not show:

  • I was tired, but this corner helped.
  • This was five minutes after the kitchen got loud.
  • The room looked bright, but I needed quiet.

Use one of three placements: under the lower edge of the photo, beside the photo like a label, or overlapping one quiet corner. Keep the flap smaller than the photo. The photo should still lead. The sticky note is the whisper beside it.

Photo rule

photo first
sticky note smaller
one feeling only
leave one lift corner visible

Peel-Away Messy Draft

Some pages get stuck because the neat version arrives too early. Use the sticky note to hold the rough draft first, before you decide whether it belongs on the page forever.

Outside, write something plain:

  • note to self
  • rough version
  • not polished
  • let this be messy

Inside, write the version you would not turn into a caption yet. It can be short, blunt, uneven, or unfinished. Close the flap when you are done.

Peel-away limit

one sticky note
three to six lines
no rewriting
close it

Come back later and choose one of three endings: leave it closed, rewrite one calmer sentence on the page, or peel the note away. That choice is the point. The sticky note lets the page hold a draft without forcing the draft to become decoration.

Double Stack Reveal

Layer two sticky notes with a small offset. The top note gives the title. The second note gives a detail. The page underneath holds the full memory.

Open journal with two offset sticky notes layered over hidden handwriting on the page
Three levels are plenty: title, detail, memory. More layers usually start to fight the page.

Make the stack look deliberate by showing a little stair step. Let the second note peek out by about a finger width. If both notes sit perfectly on top of each other, the reader will not know there is another layer.

Try this order:

  • top note: the easy title
  • second note: one short detail
  • page underneath: the longer memory

Example stack

top: Thursday rain
second: the bus window fogged
underneath: the quiet ride felt better than expected

Open the top note first, then the second, then read the page underneath. Stop at two sticky notes. A double stack feels intentional. A pile of sticky notes feels like the page is carrying a bulky little stack.

Hidden Gratitude Note

This is the quietest recipe. Put the date on the outside. Hide three small gratitudes inside.

  • warm rice
  • clean socks
  • the text that came at the right time

Use this when the page looks simple but you want it to hold more meaning. Place the note at the top corner or along the upper margin so it reads like a date tab first. Under it, the day keeps a small thank-you list.

Three-line rule

date outside
three gratitudes inside
no explanation
close the flap

Do not make the gratitude list impressive. If the first thing you think of is clean water, a quiet bus ride, or someone saving you the last peach, write that. The best hidden gratitude note usually looks almost boring from the outside.

Do Not Read Layer

A hidden layer can be playful, not heavy. Write a tiny warning on the outside and leave a note for later you.

Try:

  • do not read this
  • tiny secret
  • for later me
  • open when bored
  • small confession

Inside, write the note. It might be a joke, a tiny irritation, an odd dream, a small wish, or one sentence that makes the page feel alive.

Make it physically playful too. Leave one corner slightly lifted, draw two fake tape marks on the closed edges, or add a tiny "open" dot where the finger should go. Remember: playful warning labels invite curiosity. Use this for light notes, not anything you would worry about later.

Make the hidden part easy to find and easy to close.

The hidden layer works when the reader can tell what to lift, where it opens, and how it goes back down. You do not need more supplies. You need one clear cue and one clean motion.

Leave a lift corner

Let one corner stay slightly free, or draw a tiny arrow near the opening edge.

Keep the hinge quiet

Do not write right under the adhesive strip. Give the fold a little blank breathing room.

Use the outside as a label

The outside should name the layer without explaining everything.

Test with one finger

If one finger cannot find the opening, the cue is too hidden.

Check the page turn

If the sticky note catches the facing page, move it inward or use a smaller note.

Replace tired notes

Dusty adhesive and curled corners are a sign to rewrite the useful part on a fresh note.

Keep it easy to remove

If the note feels too loaded for the page, write it on a loose sticky note you can peel away.

Make one hidden sticky note before the page becomes a project.

If you only do this section, the guide has done enough. One flap can change the whole page.

  1. Pull three things: one sticky note, one pen, one open journal page.
  2. Choose the opening edge. Top edge for a flip-up, left edge for a side door, one free corner for a playful peek.
  3. Choose the hidden sentence. A feeling, answer, gratitude, rough draft, or photo feeling.
  4. Stick one edge only. Press the hinge, then lift the loose edge once before writing.
  5. Write the outside first. Keep it short enough to look like a normal label.
  6. Lift and write underneath. Stop after one to six lines.
  7. Close it and check the page. One finger should find the opening. The page should still close flat.

Example: write "today looked normal" on the outside, lift the sticky note, write "but I was trying very hard" underneath, and close the page. That is a finished hidden layer.

Fix the flap before adding another one.

The note will not stay closed Use a smaller sticky note, move it away from the page edge, or add one tiny fake tape mark as a visual cue.
The adhesive is weak Rewrite the useful part on a fresh note. Do not keep pressing a dusty note harder into the paper.
The hidden writing shows through Use a darker sticky note, write on the page underneath instead of the note back, or shorten the hidden sentence.
The page feels bulky Remove one stacked layer. One flap is usually stronger than three.
You forget there is writing underneath Add a tiny arrow, dot, bracket, or "lift" mark near the opening edge.
The note feels too loaded Peel it off, rewrite a softer version, or move the full version somewhere else.

Most hidden-layer problems are not layout problems. They are usually too much writing, too many flaps, or a sticky note that has already done its temporary job.

Run the hidden sticky note check.

Does one edge still open?

The sticky note should be attached like a flap, not sealed like a label.

Can one finger find it?

A tiny lift corner, dot, bracket, or offset edge should show where the note opens.

Is the outside short?

A title, date, prompt, or tiny warning is enough.

Is the inside worth hiding?

Hide the extra sentence, not filler you do not care about.

Can the journal close?

Corners should not catch, curl, or scrape the facing page.

Is it light enough?

If the flap makes the page feel tense, remove it or make the hidden note kinder.

Part 7: rescue the page when something goes wrong.

When the page gets messy, use the same desk supplies as patches, labels, frames, flaps, and small clusters before you restart the spread.

Continue reading

Sources used while expanding this guide

This guide was checked against sticky-note material behavior, planner sticky-note use, Bullet Journal migration logic, and journal tip-in practice. The useful translation is simple: a sticky note is temporary, liftable, easy to reassess, and already shaped like a tiny hinge. Choose one stuck edge, leave one visible cue, and the page gets a hidden layer without becoming a complicated structure.

Get the next guide when it is published.

Join the update list for new tiny journaling guides, field notes, and practical desk notes.

Join the Update List