Gather a few things See what you’ll need
- One lightweight card or tag
- A medium-weight paper scrap
- Scissors and ruler
- Glue or narrow double-sided tape
- A plain scrap for testing
- Optional: silicone release paper
Choose an exercise 4 things to try as you read
Choose one card and let it set the size
Choose one lightweight card about 2¼ × 3¼ inches, or make a test piece of the same size and thickness. One tag, a small note, or perhaps two tissue-thin scraps suit this holder; a bundle needs more support.
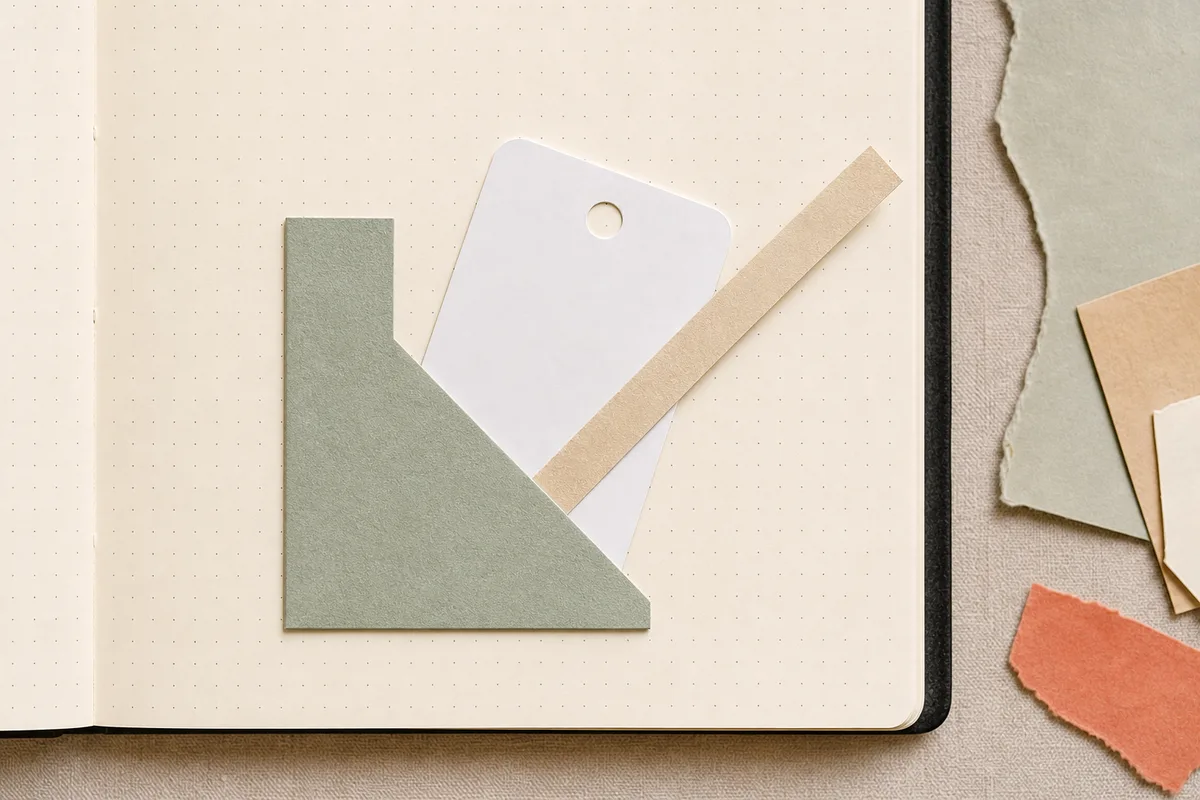
Start with a paper blank about 2¾ × 3½ inches, then trim the front to about 1½ inches high. The larger blank is cutting stock, not the finished height: used whole, it would hide the card. The low front should cover roughly the insert's lower third to half.
ONE WORKED EXAMPLE
Leave the note within reach
A reader wants to keep a lightweight card with a message on its back. They are fitting a paper front around a same-size test card before gluing.
Before
The untrimmed 3½-inch-high front hides the 3¼-inch card, leaving no edge to pinch without lifting the whole holder.
After
They trim the front to about 1½ inches high and check the card behind it. More than ½ inch remains exposed. After attaching the bottom and right edges and drying empty, they can slide the card in and remove it to read the message.
What changed—and what to check
The front only needs to support the lower part. Keeping a usable grip prevents a holder from becoming an obstacle to reading.
Try this check. With the finished page flat, remove the card by pinching the card itself, without lifting the tuck.
A little tape for your next page?
The Washi Tape ShopAffiliate links: we may earn a commission if you buy through these links.
Choose the corner your hand will use
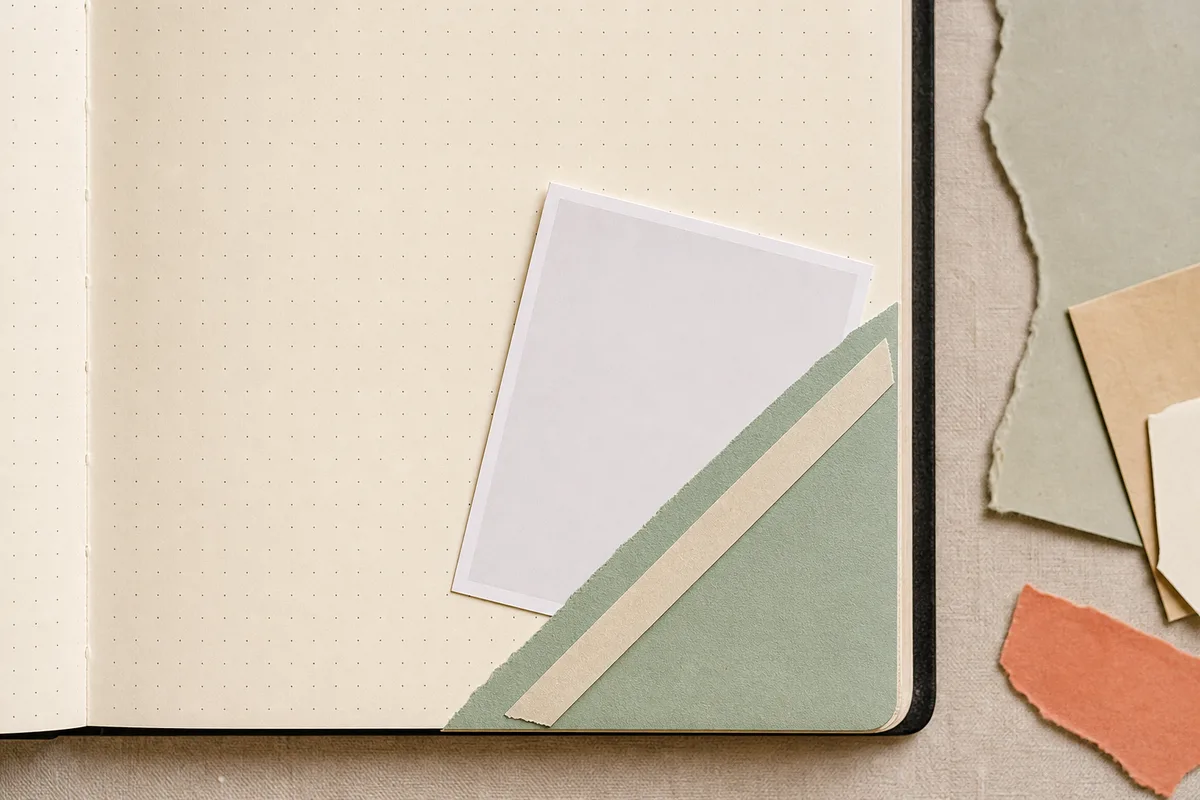
On a right-hand page, place the tuck toward the lower-right area of your layout. The bottom and right edges will be glued; the top and left edges stay open. The card can enter from the upper-left, then settle against the bottom and right sides.
For the mirrored version, glue the bottom and left edges and leave the upper-right corner open. You can use either orientation on either page if it suits your hand. Keep the bottom support underneath the card when the journal is held upright, and leave the loaded piece comfortably clear of the binding curve.
Try the exampleLet the bottom and one side support the card
Let the bottom and one side support the card
Toggle the two-edge rectangular front. Notice that the entry is an open corner rather than a full pocket mouth.
Read the words in this example
- Front attachment
- Insert
- Paper front
- Attached
- Free edge
Corner tuck: 2 attached edges.
Two adjoining edges are attached: right and bottom. The other two edges remain free, making a tuck at the attached corner. Try small card in the actual tuck before relying on it to hold. This models the shallow rectangular tuck front. Bottom plus right leaves top and left open for an upper-left approach. Bottom plus left mirrors it. Keep bottom support beneath the card when the book is upright.
- Attachment
- Corner tuck
- Attached edges
- Right, Bottom
- Open edges
- Left, Top
Check how much of the card stays visible
Place the actual card behind the unglued front and try pinching it. Leave at least ½ inch showing above or beside the holder; a soft card may need more. Your fingers should grasp the insert without lifting the tuck.
On a page around 5½ × 8½ inches, a tuck at least ¼ inch inside the edge is a starting margin. Check the loaded arrangement, including the card's upper corners. If any part will catch during a page turn, move everything inward or choose a smaller holder and insert.
Try a what-ifThe holder fits, but the card sticks out
The holder fits, but the card sticks out
Check the whole loaded shape.
A tuck sits ¼ inch inside the journal edge. Its card slides well, but an upper corner projects beyond the page and catches when the notebook closes.
Compare the three choices
Which adjustment addresses this problem before gluing?
- Raise the front to cover more of the card.
A taller front changes the grip, but it does not bring the projecting upper corner inside the page boundary.
- Move the loaded arrangement inward and recheck the binding.
Check the card and holder together. An inward move can clear the outer edge, provided the card still clears the binding curve.
- Add a stronger adhesive line at the bottom.
The seams are holding. Stronger adhesive does not change where the loaded card sits relative to the page edge.
Judge the space occupied by a holder with its intended insert inside.
What would you try?
Choose an option to see what it would do. You can explore all three.
Put glue on the bottom and one side only
Turn the front over and mark your two attachment edges lightly in pencil. Apply a narrow adhesive line, about ⅛ inch wide, just inside those edges. At the ends beside the open corner, stop about ⅛ inch short so squeeze-out is less likely to block the entrance.
Place the front on the page and press the glued edges through clean scrap paper. Leave the open area unpressed. If you have silicone release paper, use a strip to check for glue entering the opening while you can still remove it. Withdraw the guard before the adhesive traps it, then let the holder dry empty.
Put the steps in orderMake the open corner deliberate before gluing
Make the open corner deliberate before gluing
Arrange the work around the actual card and two marked attachment edges.
One workable order
- Dry-fit the card behind the shaped frontThe card establishes the grip and the open approach corner.
- Mark bottom and one side on the reverseOnly those two edges support this rectangular tuck.
- Apply narrow adhesive and press the marked edgesStop short beside the opening so glue is less likely to enter the approach.
- Remove temporary protection and let it dry emptyThe guard and finished note should not become trapped in the bond.
- Insert at the natural angle and test uprightThe bottom must support the card during ordinary handling.
Which check needs to come first?
The example shows one workable order. The source starts with about ⅛-inch-wide adhesive and stops about ⅛ inch short beside the opening. Adjust to the actual materials.
Let the card tell you whether it fits
Slide the test card in at its natural angle, then take it out. It should move without bending the page or scraping its corners. Hold the page upright and tap gently: the bottom and side seams should keep this one light card seated during ordinary handling. This open holder isn't enclosed storage for a bundle.
If the card falls out, look first for support underneath it and contact with the glued side. Try a wider insert or a different placement if those contacts are missing. If it catches, round a rough card corner or remake a tight front. Extra glue across the entrance would remove the route the card needs.
GO A LITTLE FURTHERAdd the pretty paper around the part that works
Add the pretty paper around the part that works
Add a thin label, torn book-page layer, or doily piece once the card slides comfortably. Back delicate paper with a thin plain layer if needed, and keep raised trim about ¼ inch away from the open corner.
An accidentally sealed entry is usually easier to remake as a fresh tuck than to cut open on the page. If decoration hides the grip, remove that decoration before adding an oversized tab.
Close the journal with the card inside, then reopen and remove it. A useful finish is a card you can find and pinch normally, without a hard lump against the facing page.
Compare the optionsKeep the open corner working after decoration
Keep the open corner working after decoration
Choose what changed with the loaded tuck.
Read the words in this example
- card
- front
Check that it reaches bottom and side support.
A two-edge tuck relies on the card settling against both attached edges. If it does not reach them, adjust the placement or use a wider insert before adding glue across the entry. A heavier bundle may simply need a fuller holder instead of this light tuck.
A little tape for your next page?
The Washi Tape ShopAffiliate links: we may earn a commission if you buy through these links.
Where this idea began
These references shaped the two-edge tuck logic, beginner material limits, and the torn-edge repair.
Want to explore the techniques a little further? Here are the maker tutorials and references behind this guide.
- Construction referenceRebecca E. Parsons: Tearing Stepped Tuck Spots for Junk Journals
Rebecca E. Parsons’s stepped torn-paper tucks inform edge attachment and access.
- Community tutorialLettuce Craft: Junk Journal Tutorial
A shared junk-journal tutorial provides a construction example, not a popularity ranking.
- TerminologySweet North Studio: Junk Journaling Glossary
A junk-journaling glossary gives community vocabulary; terminology alone does not establish popularity.
- Construction referenceAstrid's Artistic Efforts: Junk Journal Corner Pocket Tutorial
A maker’s corner-pocket construction and scored-tab variation.