Gather a few things See what you’ll need
- Journal or loose paper
- One roll of washi tape
- Pencil and pen
- Optional: one photo or paper scrap
Let the missing strip become the mark
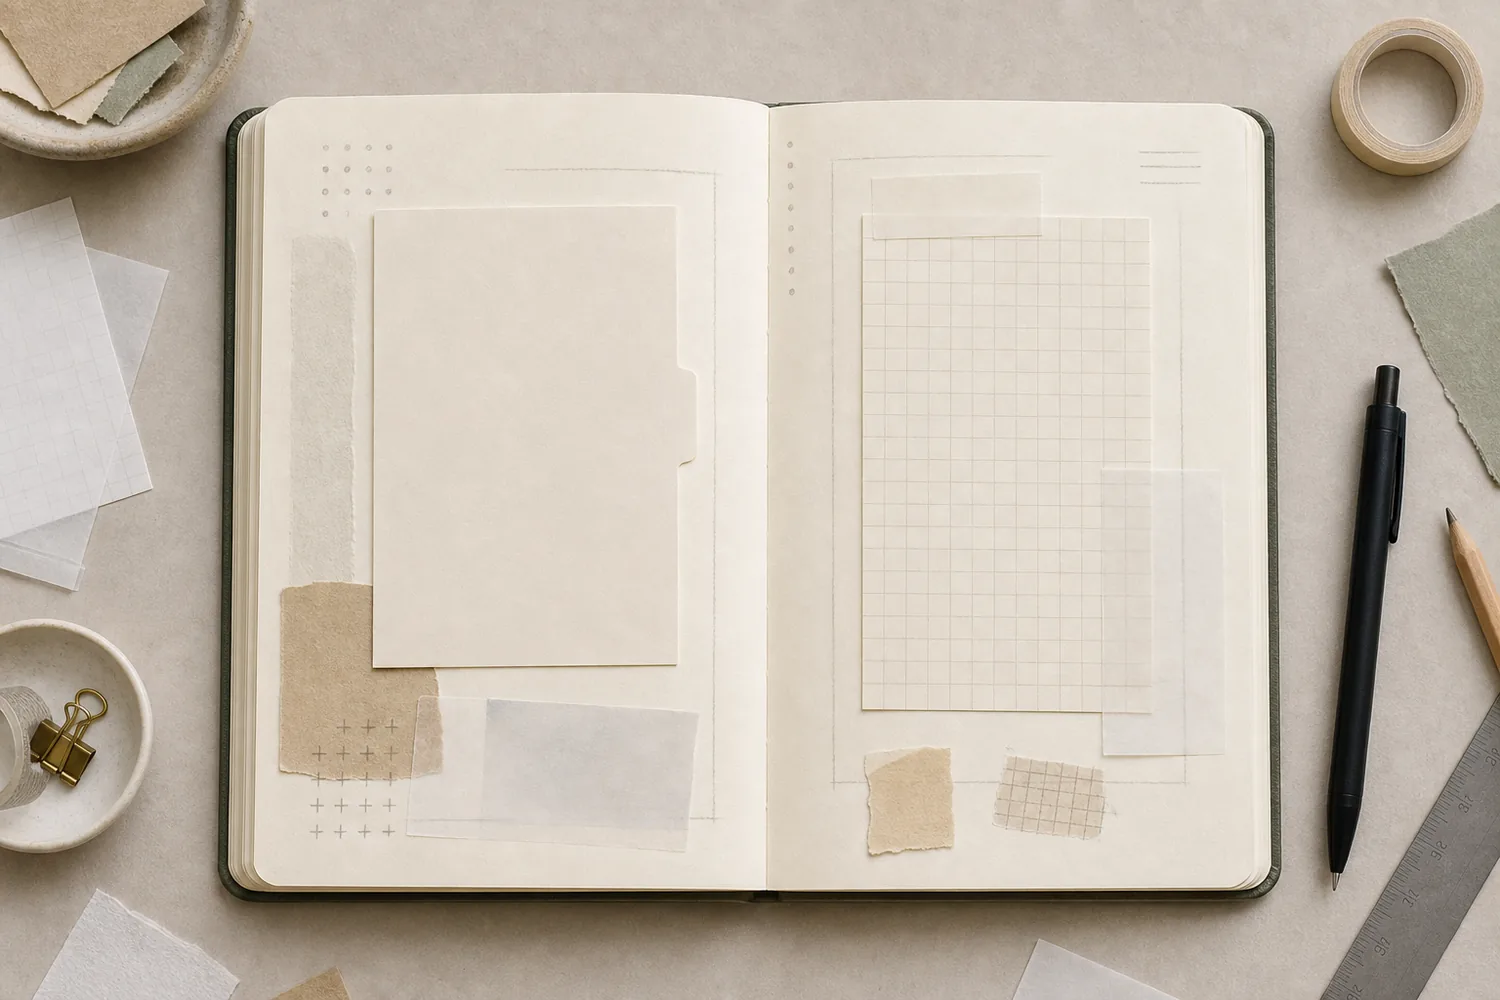
For Tape Ghost, test a short strip on a spare piece of the same paper first. Press it down lightly, trace its uneven edges with a pencil, then peel slowly back over itself while holding the paper steady. You're left with the shape of tape, without another layer on the page.
Put a date or a remembered phrase inside that outline. If the tape lifts paper in your test, leave it on its backing and trace around it instead. You can also just draw a slightly torn rectangle. The useful part is the quiet, almost-there shape.
Choose a ghost outline after the paper test
Arrange the steps so your journal is not the first place you learn how the tape lifts.
One workable order
- Test a lightly pressed strip on matching spare paperMatching scrap lets you discover whether the tape lifts fibers before it touches the journal page.
- Peel the test slowly back over itselfHold the scrap steady while lifting so you can observe what this tape and paper combination does.
- Choose direct tracing or tracing the backingIf the test lifts paper, leave the tape on its backing and trace that shape instead, or draw a torn rectangle.
- Make the chosen outline and add your wordsUse the method your test supports, then give the quiet outline a date or remembered phrase.
Which check needs to come first?
The example shows one workable order. A successful scrap test is useful evidence, not a guarantee for every page or adhesive. Stop if the paper begins lifting.
Try a little light—or a little shadow
For Torn Light, tear a pale strip lengthwise and place it beside a note, with the ragged edge facing the writing. Let it run slightly past the first and last lines. On darker or colored paper, translucent cream tape can look like a narrow patch of light. On white paper, choose a soft color you can actually see.
Tape Shadow goes behind something. Place a strip just below and to one side of a photo or memo, then attach the paper over most of it. Leave about a pencil's width showing. That small offset is enough to separate the paper from the background.
Where should this strip show?
Choose a note edge or a memo shadow. Notice how the tape position and the amount left visible change its job.
Leave a narrow pale strip alongside the writing.
A torn pale strip can sit beside a few lines, with its ragged edge facing the note. On darker paper, translucent cream can suggest a patch of light. Test the actual contrast before attaching it; the useful edge should be visible without running through the words.
“You're left with the shape of tape, without another layer on the page.”
Leave the middle empty
A Negative Photo Frame is a border around a space, rather than tape laid over a picture. Put down two short strips at opposite corners of an empty rectangle. Add another corner only if you need it to make the shape readable.
You can place a smaller photo inside, leaving paper visible around it. Or keep the center for words: 'The photo I didn't take' makes a lovely starting line for a memory. The frame is doing its job when you notice that empty space first.
Does the frame leave somewhere for the memory?
Switch from a heavy border to two small corner strips. The central writing space stays in the same place.
Tape around every edge
A complete broad border gives the tape a large presence around the memory area. It can become a separate feature to look through.
Let the tape belong to the memory
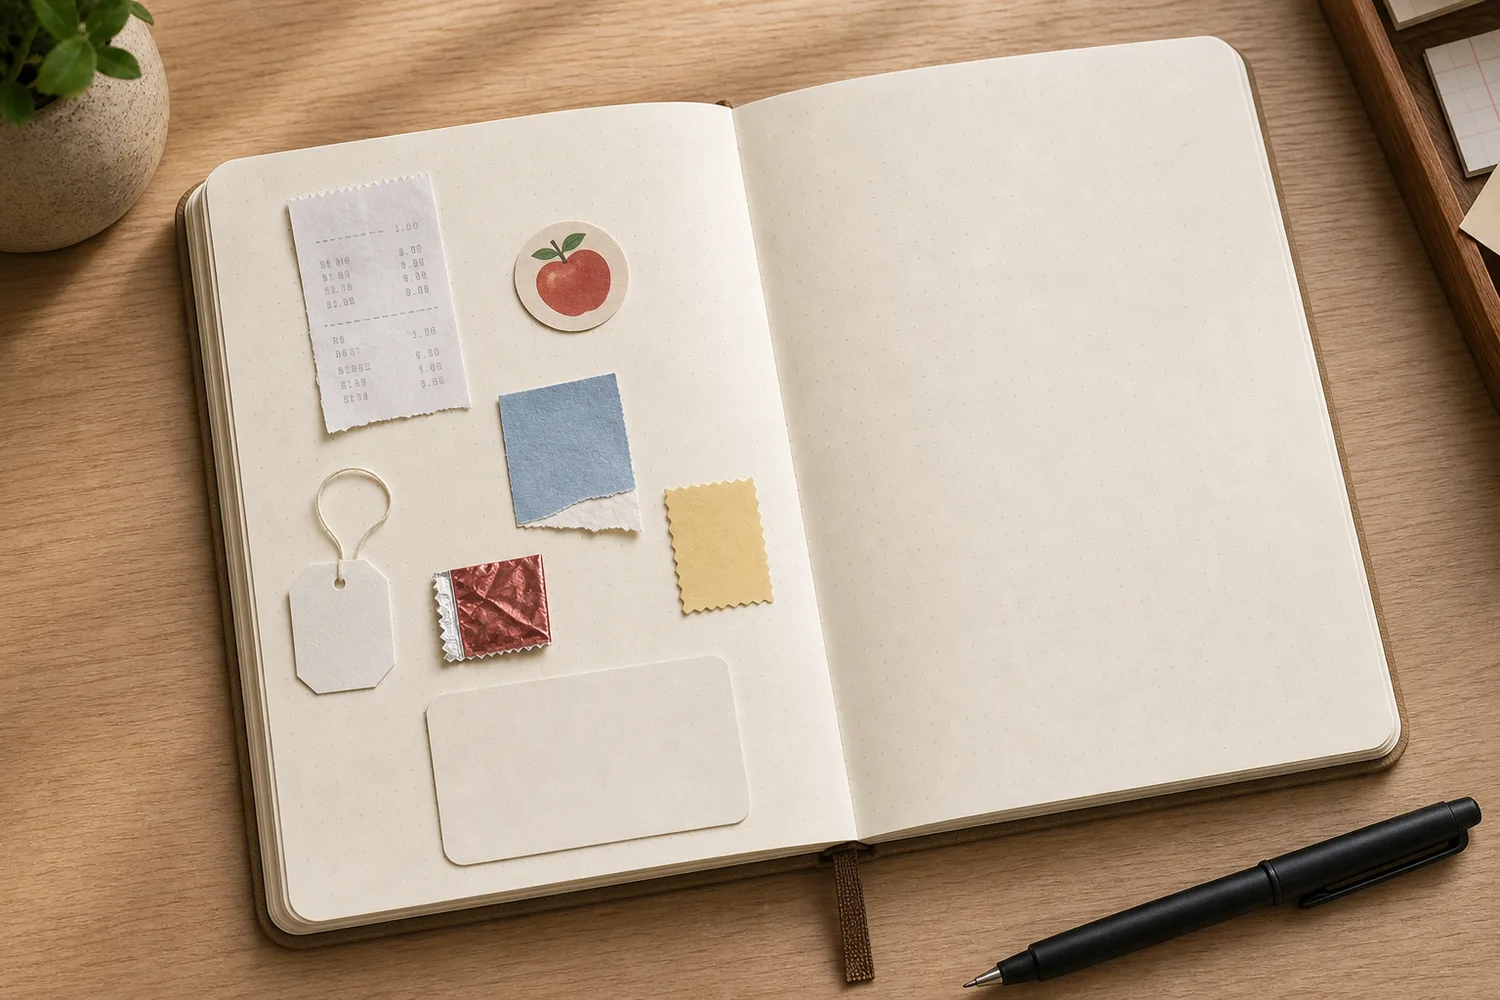
For Evidence Tape, use a short strip to attach the top of a ticket, wrapper, or photocopied receipt. Write one specific sentence beside it: 'Bought these after we missed the bus.' The strip now feels like part of how you kept the moment, not an extra decoration. Copy a receipt first if its fading print matters to you.
For Torn Map, tear three narrow pieces and arrange them as a little route between places you mention. Try 'home,' 'bakery,' and 'park,' with one note at each stop. Leave gaps between the pieces so you can add arrows or words. This is a memory map; it doesn't need accurate geography.
Hide most of a busy pattern
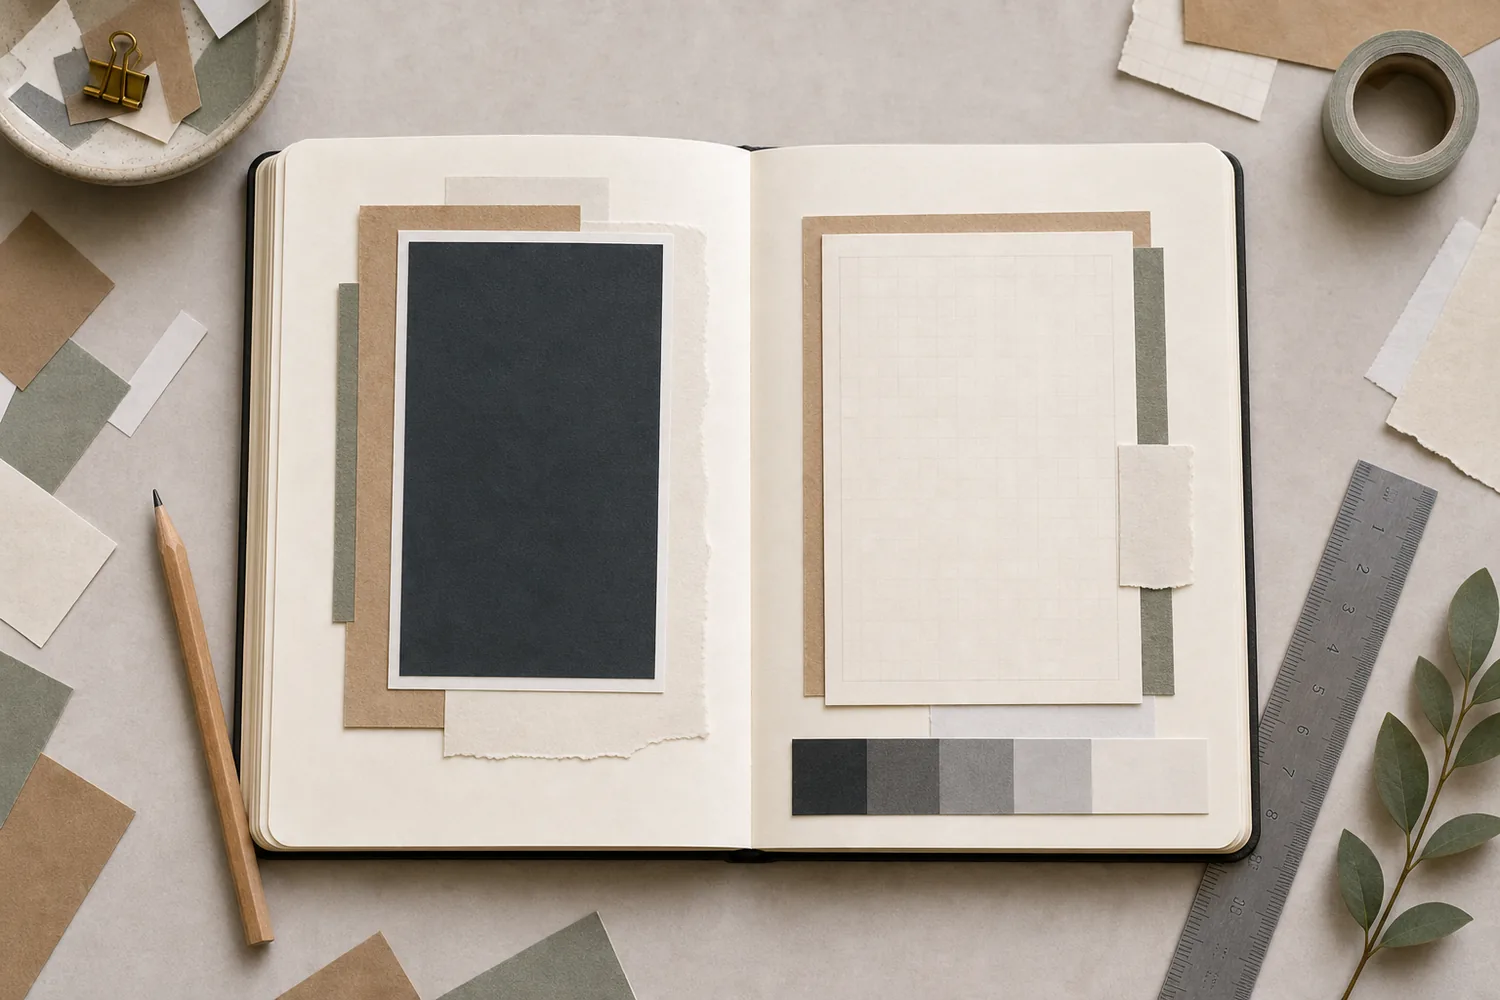
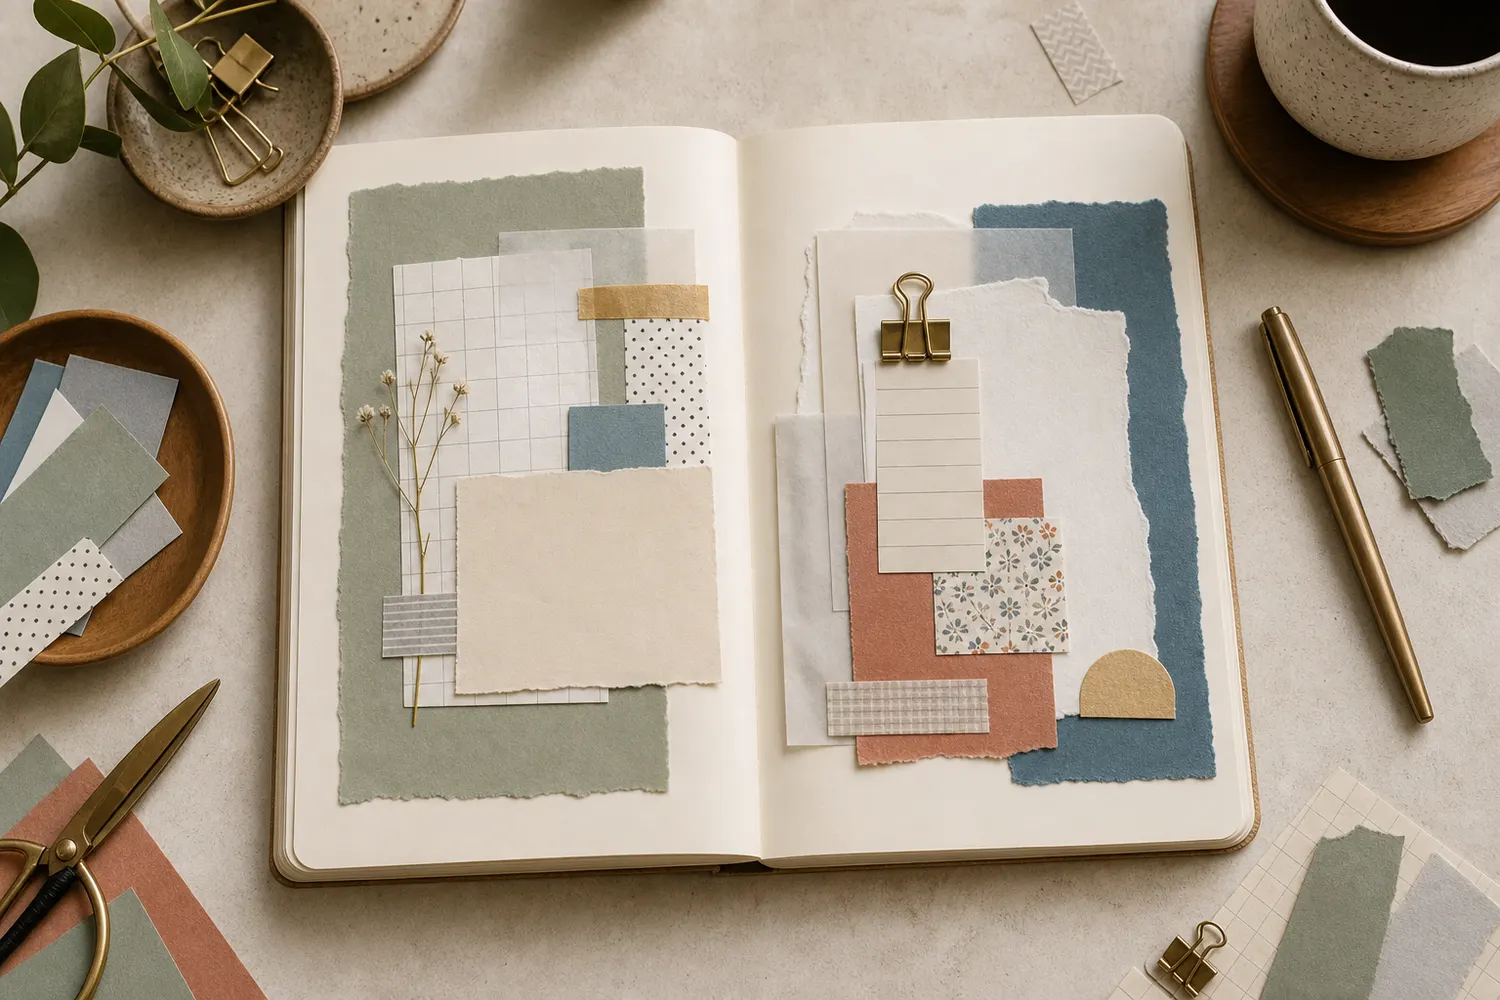
Almost Covered is useful when you love a tape but it's too loud beside your writing. Put down a short strip, then glue a plain paper scrap over most of it. Leave a small torn edge peeking out along one side.
Write on the plain scrap. You still get the color or pattern you wanted, with somewhere calm for your words. No extra paper? Tear the tape into a much narrower strip before you attach it. A little of a strong pattern often gives you everything you liked about the roll.
What happens when plain paper covers the pattern?
Increase the pattern, then switch on the plain backing. Watch the sample words while choosing how much tape needs to remain visible.
Ink and plain paper have a digital contrast ratio of 11.79:1.
Sample text: “Keep one small memory.” Pattern marks change the background locally; the two shown tones give ratios from 2.37:1 to 11.79:1. The ratios use actual sRGB sample colors. They cannot predict paper texture, ink bleed, handwriting, or individual vision. The screen demonstrates contrast and visual noise only. In Almost Covered, write on a real plain scrap and let a small patterned tape edge peek out beside it.
- Ink color
- #262626
- Background under words
- #e3e3e3
- Plain patch ratio
- 11.79:1
- Two-tone ratio range
- 2.37–11.79:1
Give the words the last turn
Add your sentences, then look at the page from arm's length. Can you find the memory straight away? Can you read it without following a pattern through the letters? If yes, you can stop—even if a whole corner is still empty.
If the background has become distracting, cover part of it with plain paper and write there. You don't have to peel everything off or start over. With no tape at all, try the ghost frame in pencil or make a shadow from a thin paper offcut. The same idea still works.
Where this idea began
This guide grew from our original Instagram post. The examples and explanations here expand on that idea so you can try it at your own pace.