Gather a few things See what you’ll need
- Washi tape
- Two or three paper scraps
- A pen
- Scissors, if you want neat edges
- A journal page
Check how your tape behaves first
Washi tapes don’t all stick the same way. Press a short strip onto spare paper and peel it back slowly, nearly flat against the surface. Does it lift cleanly, pull up fibers, or barely cling? Use that test to decide whether it suits a removable job or a permanent attachment.
For parts you’ll open often, choose lightweight paper and a tape that sticks well. Washi alone may loosen over time. If the tape is weak, a narrow paper hinge with glue can do the holding while a decorative strip covers it.
Give this roll a job that fits its grip
Choose what your strip did on spare paper after a slow, low peel.
Try temporary layout marks.
Use that removable behavior to suggest a title or photo position while the page is still changing. Test the same paper first and keep the strips short. Remove or replace them once the layout is decided; a tape that lifts nicely is not automatically a durable repeated-opening hinge.
Let a small note lift up
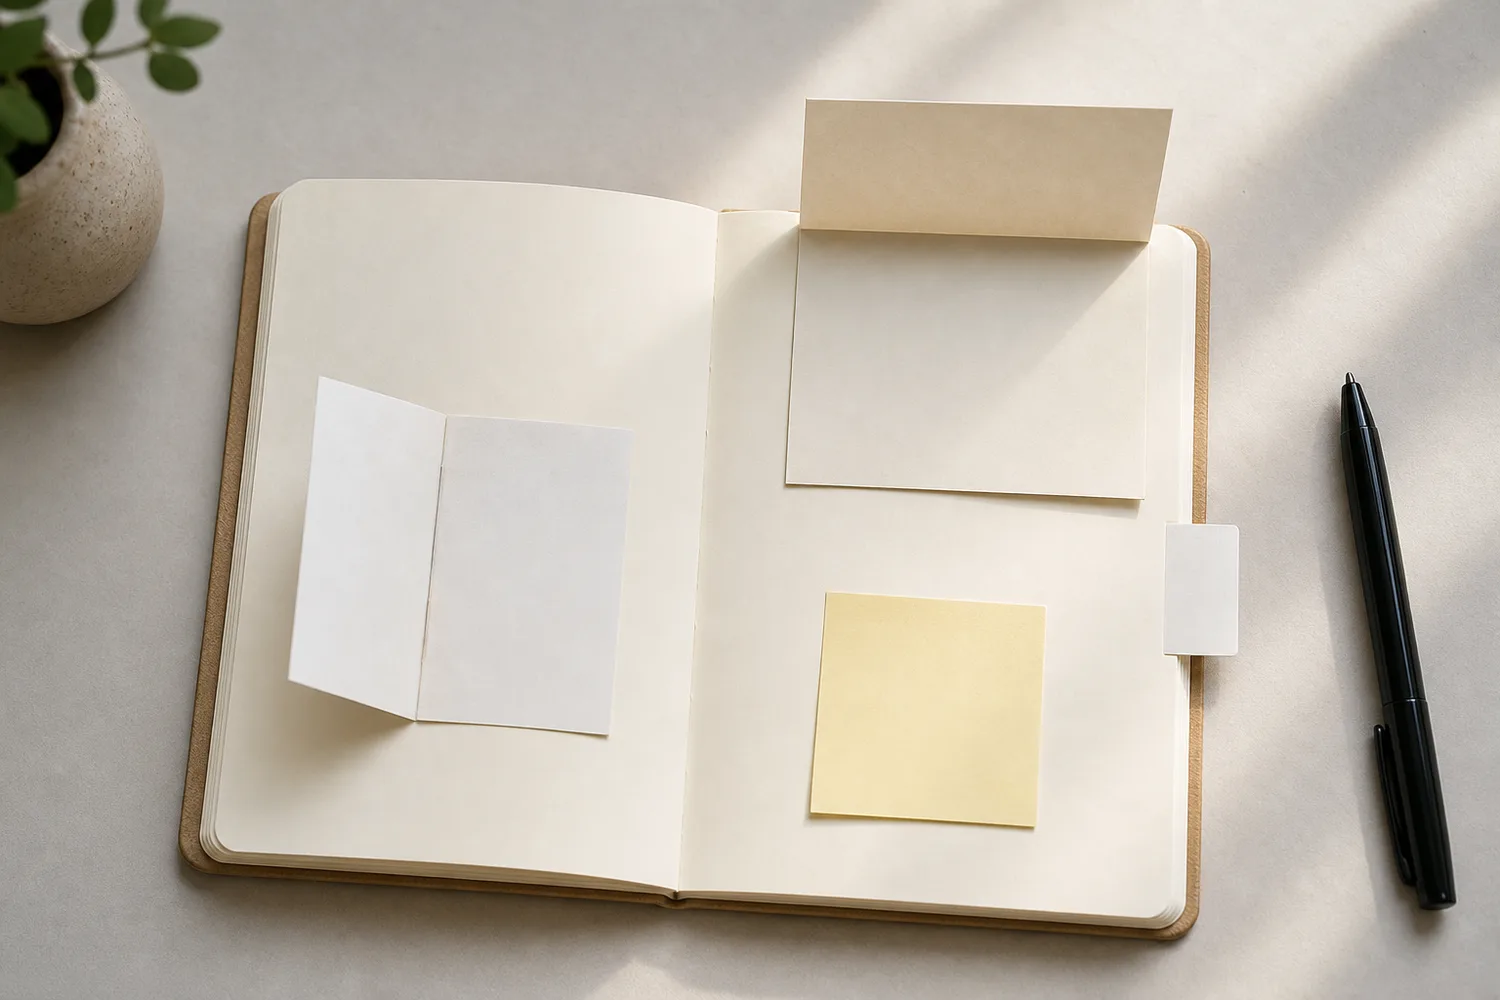
Cut a paper rectangle smaller than your journal page and place it over the writing you want to cover. A piece about 6 × 8 cm is an easy starting size. Run tape along its top edge, with roughly half the tape on the rectangle and half on the page.
Lift the rectangle slowly to check that it opens. If you want reinforcement, add a second strip across the same join underneath while the flap is open. Smooth it without pulling the paper tight. Write a tiny ‘lift’ on a corner if someone else might read the journal.
This makes a pleasant place for a longer thought or the answer to a question. It hides the writing from a casual glance, but it isn’t secure storage for private information.
Let one tape join make a lift
Change the hinge edge and opening angle while keeping the other edges free.
Top hinge stays fixed; the flap lifts 60° from closed.
Lifting the flap can reveal words underneath beneath its closed footprint. Gold is the moving flap and wine is its attached edge. The side profile shows the lift angle; the upper view is an oblique geometric projection. These are rigid-paper schematics, not predictions of bending, clearance, or collisions. Try the motion: small taped note. The sample note is about 60 × 80 mm. Tape bridges the chosen edge with roughly half on each surface. This projection does not predict a particular tape’s grip; reinforce the same join underneath only if needed, without pulling it tight.
- Lift angle
- 60°
- Fixed hinge
- Top edge
- Model
- Oblique projection + side profile
“Washi tapes don’t all stick the same way.”
Give yourself a little more room
For a page extension, place a small paper panel beside the outer edge of your page. Leave a sliver of space between them so the fold can move, then tape across the join. Turn the page and reinforce the back of the join if needed.
Fold the panel inward and close the book before writing on it. It should fit inside the page, clear of the spine. If it sticks out, trim the free edge. Use this for a few extra lines, not a heavy stack of photos. The lighter it is, the more comfortably it turns.
Make a simple taped pocket
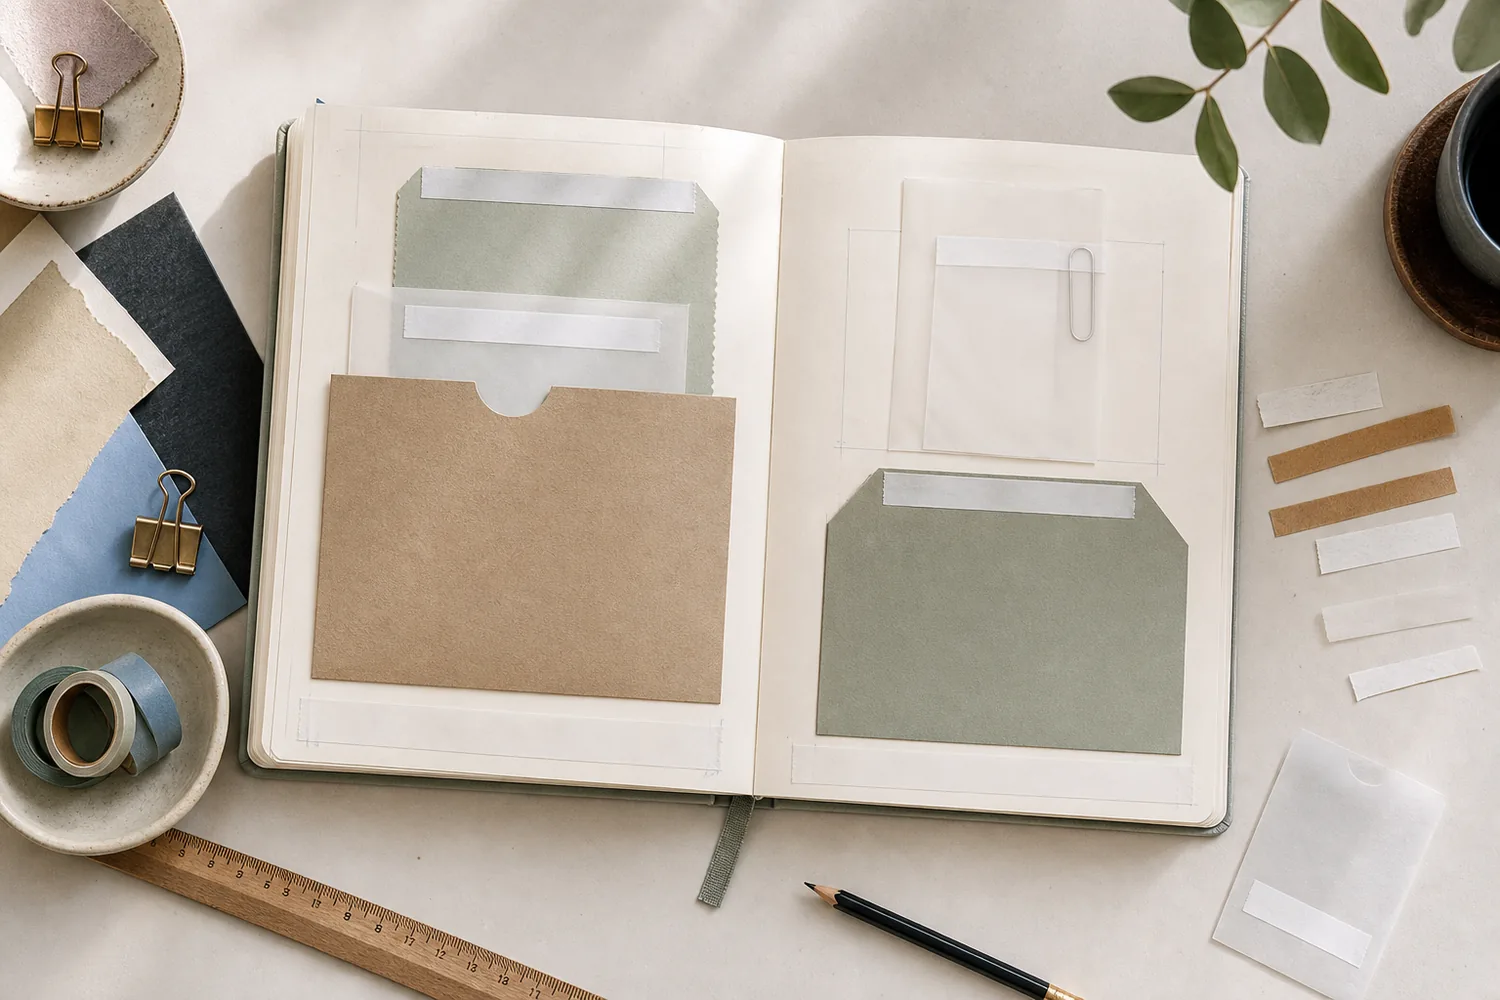
Place a small rectangle on the page and tape its left, right, and bottom edges. Half the width of each strip should grip the rectangle and half should grip the page. Leave the top edge open. Slide in a note that’s narrower than the space between the side strips.
Use this for one lightweight slip. If a corner lifts, remove the note, press down the tape, and add a tiny amount of suitable glue under the loose area. Let it dry before putting the note back. Don’t glue across the pocket opening while fixing an edge.
Three tape edges create the pocket
Change the attached edges to see which opening remains for the lightweight slip.
Top-opening pocket: 3 attached edges.
Three edges are attached and the top edge is free. That free edge is the mouth for your note. This diagram describes the attachment, not adhesive strength or a guarantee that an insert will fit. This models a rectangular front joined directly to the page with tape bridging its perimeter. Each strip shares its width between front and page. In the article’s starting version, the top stays open; use one lightweight slip narrower than the space between the side strips.
- Attachment
- Top-opening pocket
- Attached edges
- Left, Right, Bottom
- Open edges
- Top
It can help with a mistake, too
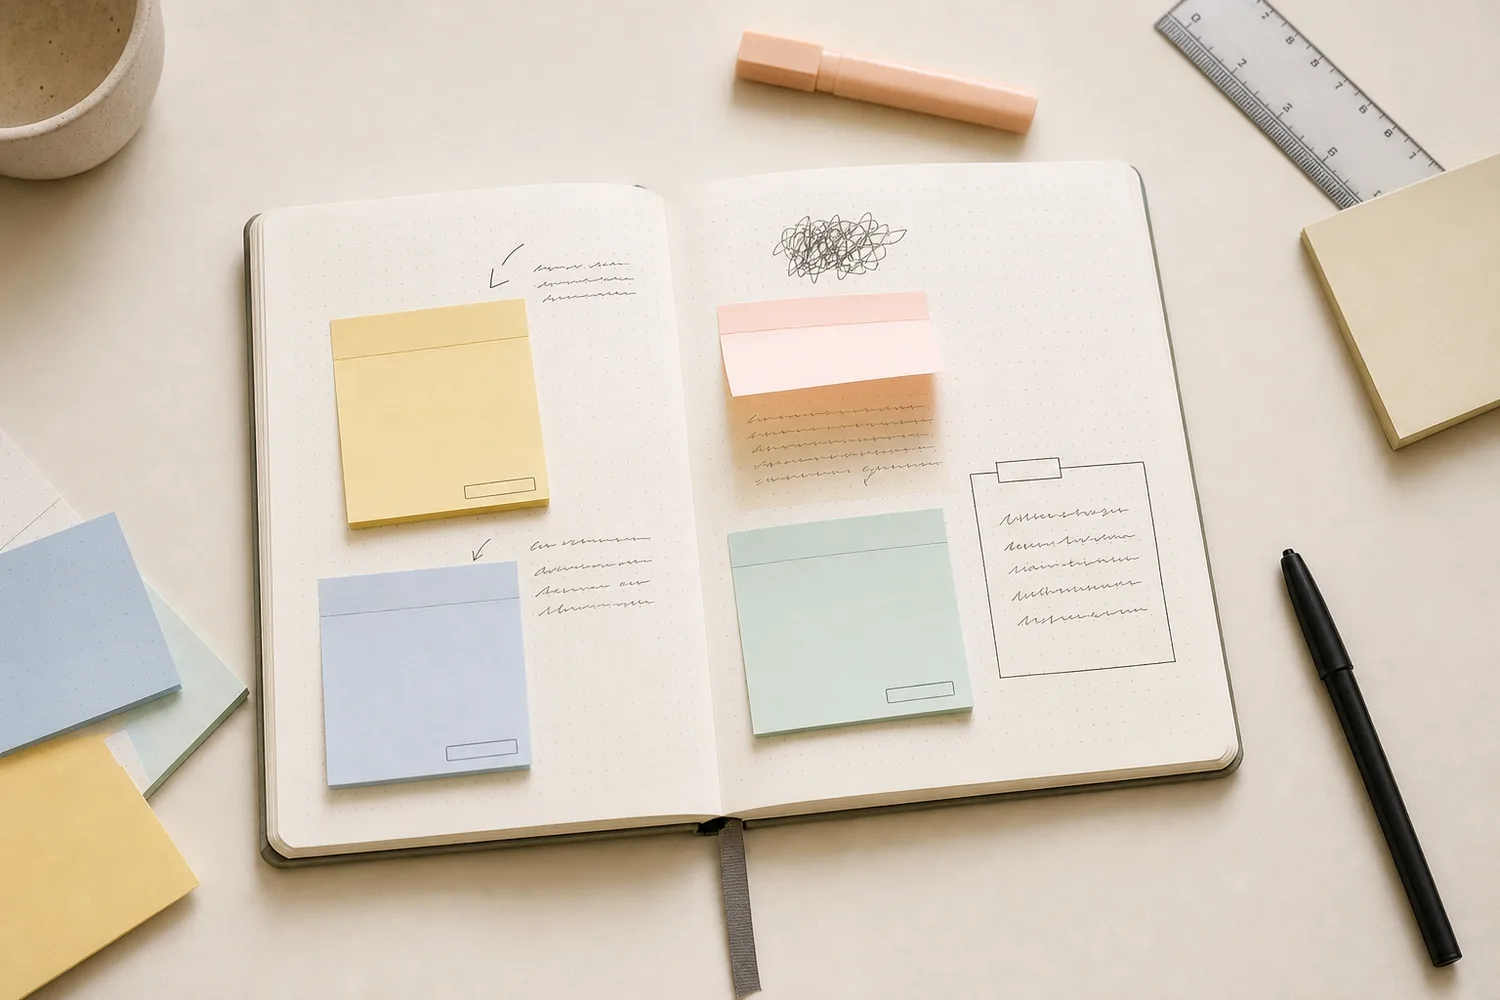
If you’ve crossed out a word and would rather cover it, put a small plain paper patch over it, then use washi along one edge. Write the replacement on the plain patch. Many tapes are translucent, so layering washi directly over dark writing may leave the mistake visible.
You can also place short tape strips on the page to suggest where a title or photo might sit before gluing anything. Only use easily removable tape for this. If you’re using it as a paint mask, test on spare paper first; thin journal paper and very sticky tape aren’t always happy together.
A plain patch gives the replacement words their own surface
Compare translucent tape directly over a mistake with an opaque paper patch held by a tape edge.
Tape over the old word
Many tapes are translucent, so piling tape directly over dark writing can leave the old mark visible.
Try one useful addition, then stop
Open your flap, slide your note out, or fold your extension a few times. Then turn the page and close the journal. If the paper moves freely and the tape stays down, the practical part is finished. You don’t need another strip just to make all four corners match.
No washi today? Make a hinge from a thin strip of paper folded down the middle. Glue one half to the added piece and one half to the page, keeping glue out of the fold. The decoration can wait; you’ve still made room for the words.
Where this idea began
This guide grew from our original Instagram post. The examples and explanations here expand on that idea so you can try it at your own pace.