Gather a few things See what you’ll need
- Small envelope or paper for a pocket
- Backing paper
- Covered paperclip, belly band or side tuck
- One light test tag
- Protective paper scrap
- Thin adhesive
Choose an exercise 4 things to try as you read
Finish the pocket before choosing its page
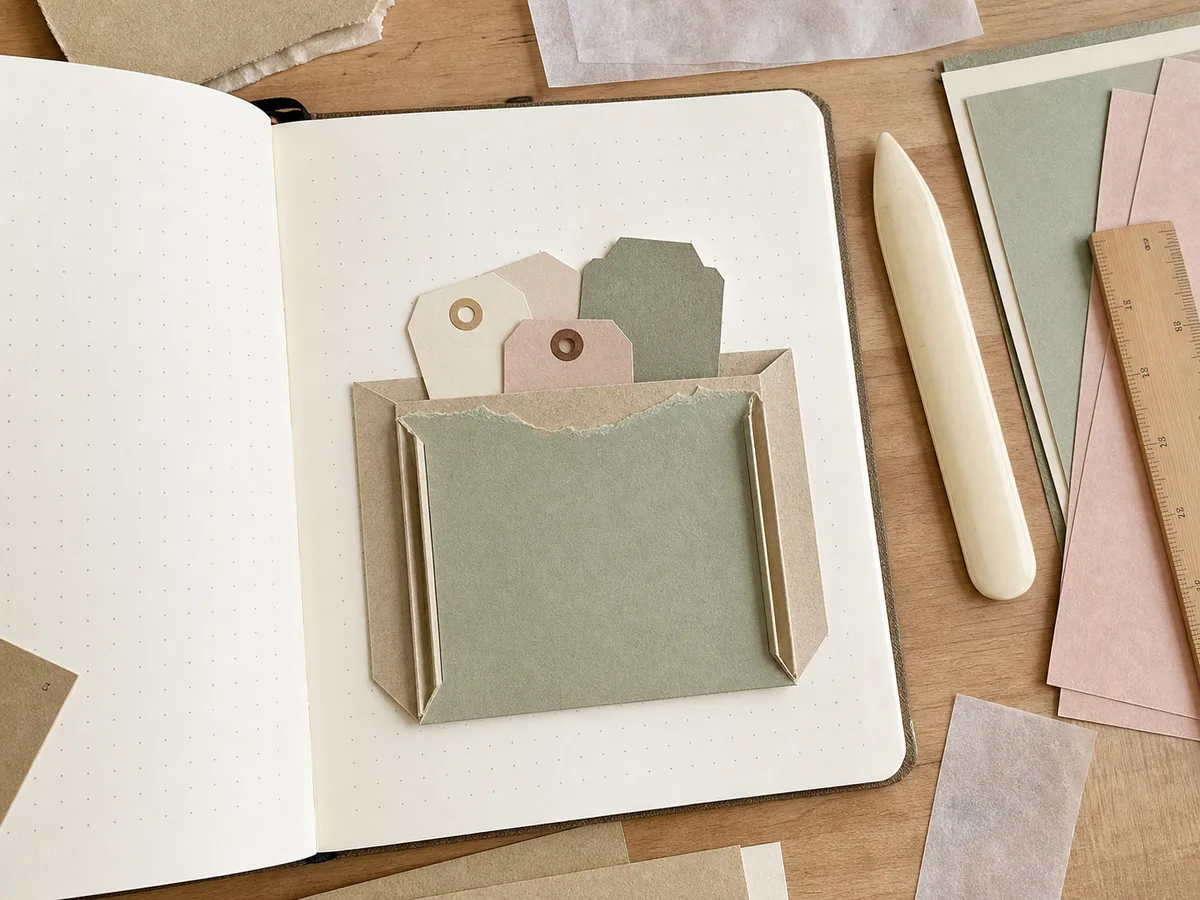
A coin envelope or a ready-made paper sleeve gives you an easy start. For a handmade version, fold 1/4-inch tabs at the left, right and bottom of a front piece. Trim the tab corners diagonally to avoid a lump, then glue those tabs to a backing piece. Leave the top open.
Aim for a finished pocket around 3 × 5 inches for the first try, adjusting the cut pieces to allow for the tabs. A 4 × 6-inch unit may suit a larger book. Add a small notch or a visible pull tab so you can reach the contents without bending the pocket mouth.
ONE WORKED EXAMPLE
The tab that clears the page but not the cover
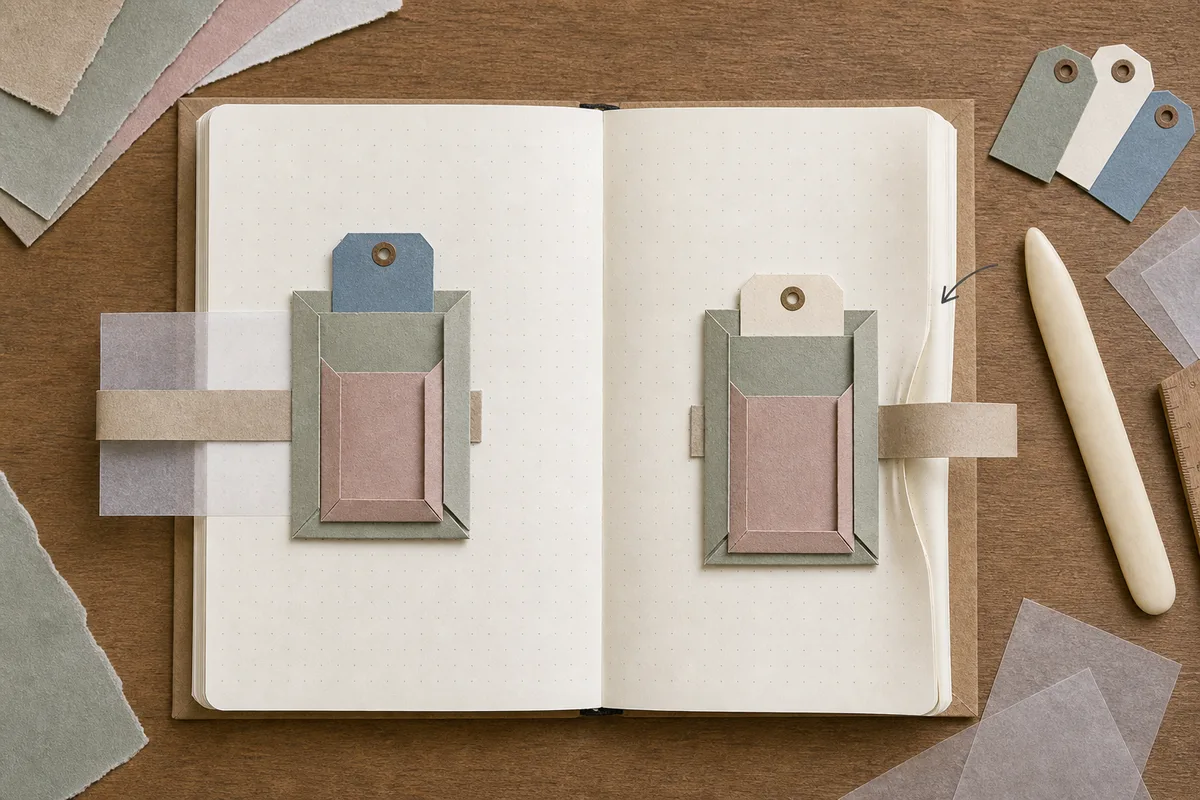
You have a small coin envelope beneath an existing belly band. Its paper body fits inside the page, while the tag’s tall grip extends above the envelope mouth.
Before
The pocket looks well placed on the open spread, but the protruding tab catches the top of the cover when you close the journal.
After
The loaded unit moves lower while the band still crosses enough of its body to hold it. The tab remains graspable and entirely within the cover. Three nearby pages turn forward and back without the pocket being held by hand.
What changed—and what to check
Checking the loaded outline includes the part your fingers need, not just the pocket body measured before the tag was added.
Try this check. Close the actual cover over the loaded unit and verify that the complete tab stays inside without folding or catching.
Something for a future page?
The Washi Tape ShopAffiliate links: we may earn a commission if you buy through these links.
Let the cover tell you what fits
Begin with a pocket at least about 1/2 inch smaller than the page in both dimensions. Treat that as a trial allowance: the clip, protruding tag, and binding curve can still need more room. Load one light dummy tag and close the actual cover.
Inspect the whole outline, including the grip above the mouth. If it catches, lower the unit or shorten the dummy before making the final insert. An open spread alone cannot tell you whether the closed unit fits.
See the differenceCheck the tag as well as the pocket outline
Check the tag as well as the pocket outline
Compare a pocket sized alone with the same loaded unit placed lower.
Read the words in this example
Pocket fits; tag reaches the edge
- tag
Pocket fits; tag reaches the edge
A separate pocket can fit an open page while its tag, tab, or clip reaches the cover line.
Try a clip, a band or a tuck
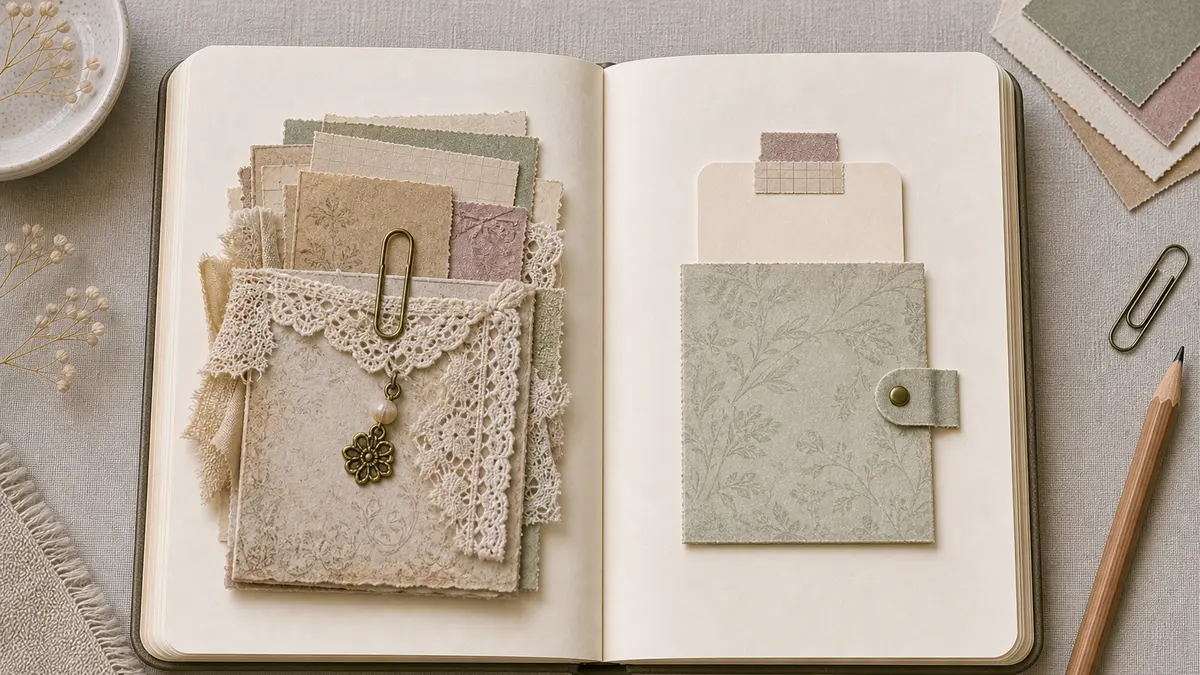
For quick movement, use a covered paperclip with a protective scrap between its grip and the journal page. Keep the clip's bite clear of the pocket opening and the insert inside. A decorative cover softens its appearance; it doesn't remove the pressure of the wire.
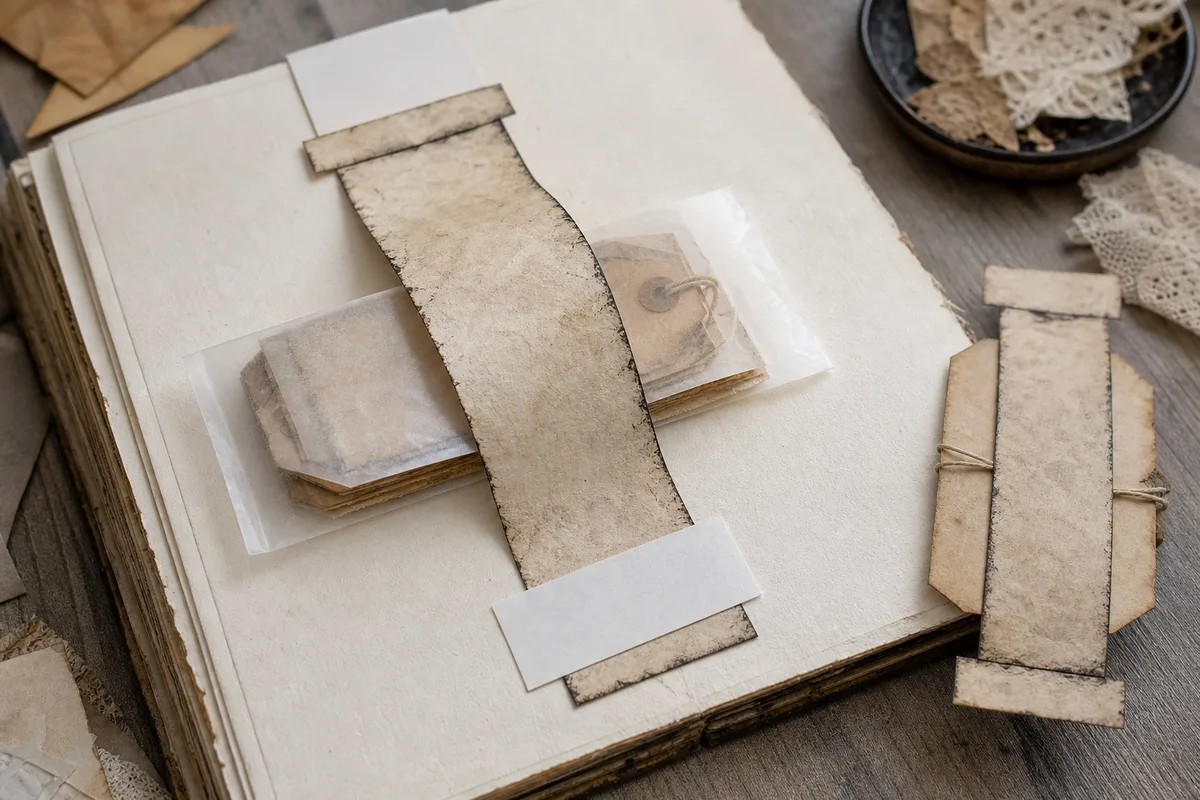
A belly band offers a flatter alternative. Let it cross enough of the pocket body to hold the loaded unit when the page turns. A side tuck can be quieter still if the pocket fits securely behind it. The pocket itself stays unglued. Slide it behind an existing band or tuck, or attach a new band or tuck to the page before using it to hold the pocket.
To make the removable hold, build a belly band fitted around the loaded pocket.
Compare the optionsWhat should hold the finished pocket on the page?
What should hold the finished pocket on the page?
Choose how you want the whole pocket to move. Its own opening must stay usable.
Read the words in this example
- tag
Keep the grip away from the pocket mouth.
Use a protective scrap during the clipped trial and keep the wire’s bite clear of both the opening and insert. The pocket remains a complete loose container. A decorative clip cover does not remove wire pressure, so inspect the journal page when you take the holder off.
Move it as you would use it
Try a position toward the outer page, beyond the binding curve. Close without squeezing, reopen, and turn three nearby pages forward and back. Keep your hands off the pocket so you can see whether it creeps, catches, or tips its tag out.
Remove the pocket and inspect the page in angled light. A dent, shiny patch, or curl is evidence of contact. Test another page only after the first hold releases cleanly; the decoration can wait until the loaded unit passes this ordinary movement.
Try a what-ifWhich next trial addresses the pressure?
Which next trial addresses the pressure?
A clip’s decorative cover and its pressure on the paper are separate questions.
A covered paperclip leaves a dent in a soft page, even though its decorative cover looks padded. You want the pocket to release without marking that sheet.
Compare the three choices
Which next trial addresses the pressure?
- Use a brighter decorative clip cover
The appearance changes, but the same wire can still press into the page underneath.
- Try a wider protective scrap or a belly band
These are different ways to spread or avoid the clip contact. Inspect again, and keep the pocket off the sheet if marks remain.
- Add another light insert to steady the pocket
Extra contents may change the movement, but add load without resolving the clip’s pressure on the soft paper.
A decorative clip cover does not establish that the underlying page is protected from pressure.
What would you try?
Choose an option to see what it would do. You can explore all three.
Make one useful change
If the clip leaves an impression, try a wider protective scrap or a belly band. If pressure marks remain, keep the pocket off that soft sheet. Use copies during clipped trials with a photograph, letter or document you couldn't replace.
If the pocket creeps, remove an extra insert or choose a hold that reaches farther across its body. If contents fall out, make the pocket deeper rather than lowering its entire mouth for access. Keep only a small notch at the top. Trim a pocket on the desk, never against a bound journal page.
GO A LITTLE FURTHERIt can stay movable
It can stay movable
A favorite position can become permanent later, but the pocket can also keep moving between planning and memory pages. Decorate its visible back lightly, away from the hold and the facing page.
If it still dents an edge after you lighten it and change the attachment, keep it as a loose envelope. Your notes remain together even when the journal is no longer the right place to carry them.
Try the exampleCount the pocket as a loaded object
Count the pocket as a loaded object
Change the layers and position, including its back, front, insert, and any visible-back decoration.
Read the words in this example
- Position on facing pages
- 4
- Left page
- Right page
- Spine
- Nominal section
- Gold: left page
- No facing stack
- 0.8 mm added
4 layers add a nominal 0.8 mm at the outer edge.
4 × 0.2 mm = 0.8 mm for one stack.Changing the position moves the addition but does not change this arithmetic. A matching stack on the facing page would double the nominal addition at that position. The section adds only the selected paper layers at a fixed drawing scale of 10 pixels per millimeter; page stock, glue and fasteners are excluded. Real compression, binding and closure vary, so test the assembled journal without treating this total as a safe limit. This estimates paper thickness at one spot. It cannot predict how a clip will mark a page or how well a particular band holds. If the pocket remains troublesome after lightening and changing the hold, keep it as a loose envelope.
- One stack
- 0.8 mm
- Added layers at this position
- 4
- Nominal combined addition
- 0.8 mm
- Position
- Outer edge
Where this idea began
These references informed the movable book-page pocket example, handling checks, and the short caution about clip pressure on irreplaceable paper.
Want to explore the techniques a little further? Here are the maker tutorials and references behind this guide.
- Material careNational Park Service: Considerations for the Removal of Fasteners from Archival Documents
Archival fastener guidance supports caution with rusty, sharp, or pressure-marking clips on valuable paper.
- Construction referenceLinda Israel: Floating Pocket Tutorial
Linda Israel’s floating pocket is the named movable book-page pocket example.