Gather a few things See what you’ll need
- Sturdy backing and a larger pocket
- Thinner paper for a smaller front pocket
- Tall test card and small ticket
- Thin adhesive
- Silicone-coated release paper
- Ruler and scissors
Choose an exercise 4 things to try as you read
Decide what belongs in front
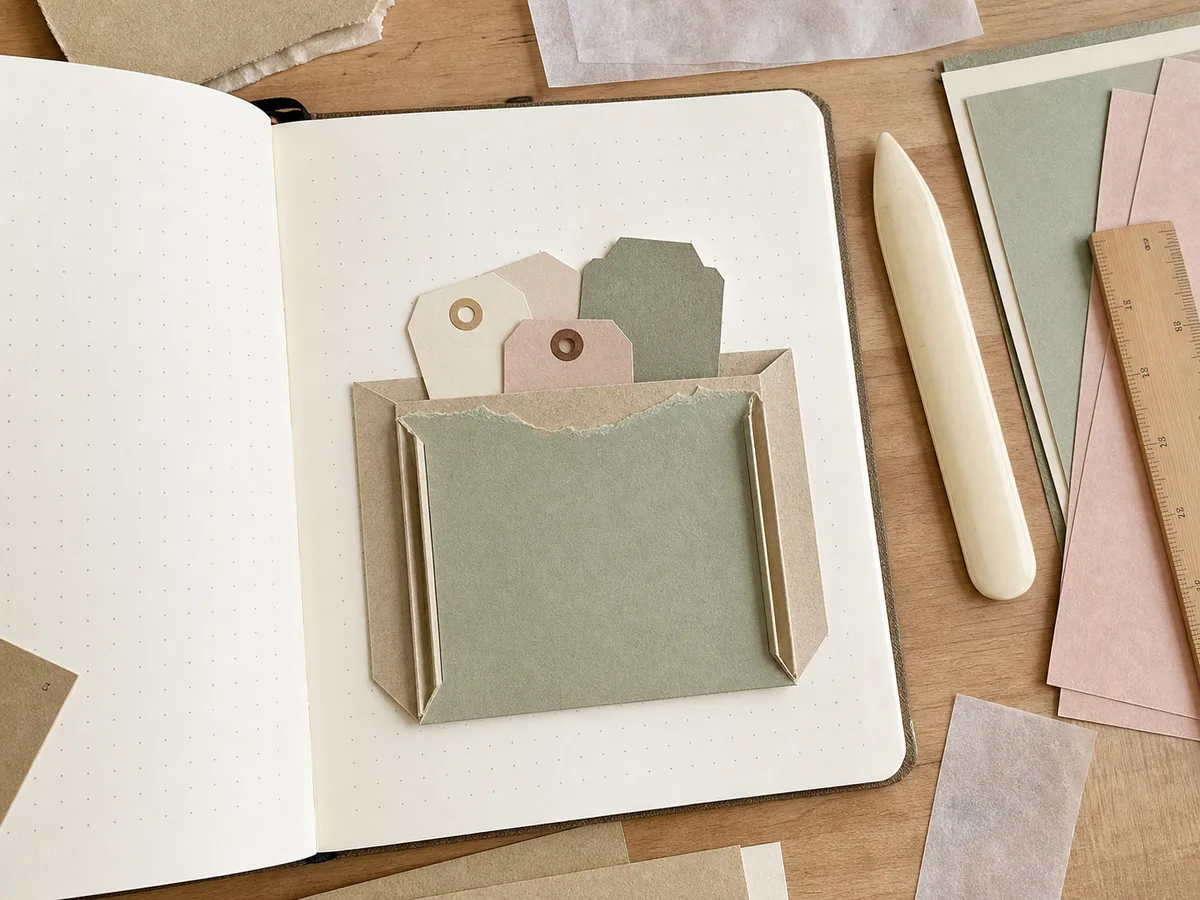
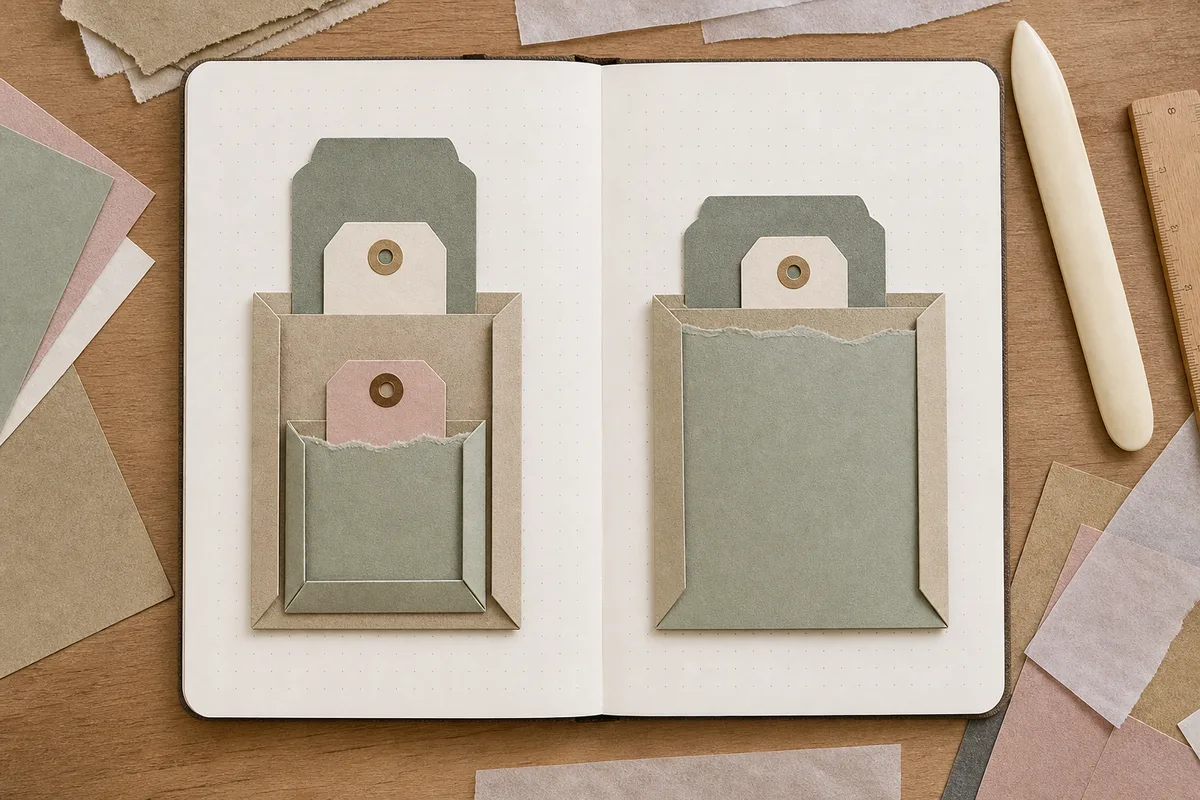
Put the piece you'll reach for most often in the smaller pocket. A ticket, short reminder or little label can sit in front; a taller journaling card can wait behind it. Keep the first version to two working layers so you can tell which opening does what.
Let the rear sleeve carry the pair: use a strong back and thinner paper for the smaller front. A heavy front can distort the rear mouth before any inserts arrive. Gather the intended contents now; if both are already thick, one roomy pocket may be easier to use than two stacked fronts.
Compare the optionsWhich note should be easiest to reach?
Which note should be easiest to reach?
Choose the pair you are keeping and give the front opening a clear job.
Read the words in this example
- story
- rear
- ticket
- front
Put the small ticket in front.
The piece you reach for most belongs in the smaller pocket, with the taller story card behind it. Use thinner paper for that front pocket because the rear sleeve carries both. Keep both pull edges distinct instead of making the two inserts look like one thick card.
ONE WORKED EXAMPLE
The front ticket hides the rear grip
You want a small admission ticket in front of a tall note about the visit. The loose pockets fit on the page, but their top edges line up.
Before
The two loaded pull edges look like one thick card, and reaching the rear note bends the ticket waiting in front.
After
The thinner front pocket sits lower on the rear sleeve, beginning with roughly a half-inch stagger. Its ticket and the taller card are loaded together; each is removed while the other remains in place before the front is attached.
What changed—and what to check
Different mouth heights expose two separate grips. Testing both orders checks actual fingers and inserts instead of treating the starting dimensions as a guarantee.
Try this check. Remove the rear card with the front ticket still loaded, then reverse the order without bending either insert.
Something for a future page?
The Washi Tape ShopAffiliate links: we may earn a commission if you buy through these links.
Make the smaller pocket genuinely smaller
For a practice sleeve 4 inches wide by 5 inches high, start with a front pocket about 1/2 inch narrower and 3/4 to 1 inch shorter. These are useful starting differences, not final rules. Your rear card and your fingers decide how much space to leave.
Position the front opening lower than the rear one; begin by trying roughly a half-inch vertical stagger. Keep each insert's pull edge visible. If the two edges line up and look like one thick card, change the heights or add a small tab to the insert that needs help.
See the differenceLower the front mouth to reveal the rear grip
Lower the front mouth to reveal the rear grip
Switch between two entrances at one height and a front opening that sits clearly lower.
Read the words in this example
The entrances compete
- rear card
- rear
- ticket
- front
The entrances compete
A smaller front is not helpful if its mouth occupies the same place your fingers need for the back card.
“Put the piece you'll reach for most often in the smaller pocket.”
Let the rear sleeve work on its own
Build the back sleeve first on a loose backing. For a top-opening sleeve, glue its left, right and bottom tabs and leave the top clear. Let it dry, then insert and remove the tall card several times. It should be easy to grasp before the next layer exists.
Rest the smaller front against the working rear sleeve without adhesive. Try lowering or narrowing it until you can pinch the tall card without scraping the front mouth. Keep the smaller pocket’s base supported by the rear face. Easy access should not depend on a corner hanging beyond its backing.
Try both removal orders before gluing
Load the tall rear card and the smaller front ticket together. Take the small piece out first, then the rear card. Put both back and see whether you can reach the rear card while the front piece stays in place. Nothing should bend, rub hard or lift the whole backing.
Once that arrangement feels comfortable, glue the front pocket's left, right and bottom edges to the face of the rear sleeve. Keep both mouths clear. Slip release paper into each opening while the adhesive cures so a small squeeze of glue cannot join the storage spaces together.
Try a what-ifThe mouth changed after the front was glued
The mouth changed after the front was glued
Use the before-and-after test to locate the obstruction.
The rear card slid freely before the front pocket was attached. After drying, it catches halfway down even when the front pocket is empty.
Compare the three choices
What should you investigate first?
- Add a taller tab so you can pull the rear card harder.
A larger grip can help access, but it does not explain the new resistance halfway inside the sleeve.
- Check whether adhesive has joined or narrowed the rear interior.
The timing points to a change during attachment. Inspect the loose unit and remake an obstructed part before fixing it into the journal.
- Raise the front mouth to give the pair a more even outline.
Mouth height affects access at the top. It does not address a catch that began inside the rear sleeve after gluing.
When a working pocket changes after another layer is attached, inspect what that attachment changed.
What would you try?
Choose an option to see what it would do. You can explore all three.
Give the finished pair a comfortable page
Repeat the insert test on the loose unit after the seams are fully set. If the rear card now needs a fingernail to get started, adjust the loose piece before attaching it. This is the moment to remake a troublesome front pocket without harming the journal.
Place the completed pair away from the spine, page fold and any raised clip or thick pocket on the facing page. Load the largest card first, then the smaller piece. Close and reopen the journal, turn the page and take out the ticket. A useful arrangement should still feel easy with the book in your hands.
GO A LITTLE FURTHERKeep the access; lose the extra layer
Keep the access; lose the extra layer
If the front pocket is already glued and hides the back card, a taller replacement card or an exposed pull tab may restore the grip. If the unit is still loose, trim the front entry only where it won't weaken a seam. Make any cut on the desk, away from the bound page.
If the closed book leaves a ridge on the facing page, unload the unit and compare it empty. Reduce contents or move the unit away from opposing bulk before adding another pocket. Keep a note of which two inserts the pair comfortably holds; a later thicker card deserves another loaded test.
Try the exampleBoth pockets meet at the same local stack
Both pockets meet at the same local stack
Count the backing, two fronts, and loaded inserts where they overlap.
Read the words in this example
- Position on facing pages
- 5
- Left page
- Right page
- Spine
- Nominal section
- Gold: left page
- No facing stack
- 1 mm added
5 layers add a nominal 1 mm at the outer edge.
5 × 0.2 mm = 1 mm for one stack.Changing the position moves the addition but does not change this arithmetic. A matching stack on the facing page would double the nominal addition at that position. The section adds only the selected paper layers at a fixed drawing scale of 10 pixels per millimeter; page stock, glue and fasteners are excluded. Real compression, binding and closure vary, so test the assembled journal without treating this total as a safe limit. This is nominal local paper addition, not a claim that every part of the pair has five layers. A lower front creates different overlap zones. Check the loaded pair against raised pieces on the facing page before mounting.
- One stack
- 1 mm
- Added layers at this position
- 5
- Nominal combined addition
- 1 mm
- Position
- Outer edge
Where this idea began
Kathy Clement's double-pocket tag shows the shaped front pocket and the larger gusseted pocket behind it holding different pieces.
Want to explore the techniques a little further? Here are the maker tutorials and references behind this guide.
- Construction referenceKathy Clement: Floral Tag Junk Journal Tutorial
Kathy Clement’s floral tag supplies the named shaped front pocket with a larger gusseted pocket behind.