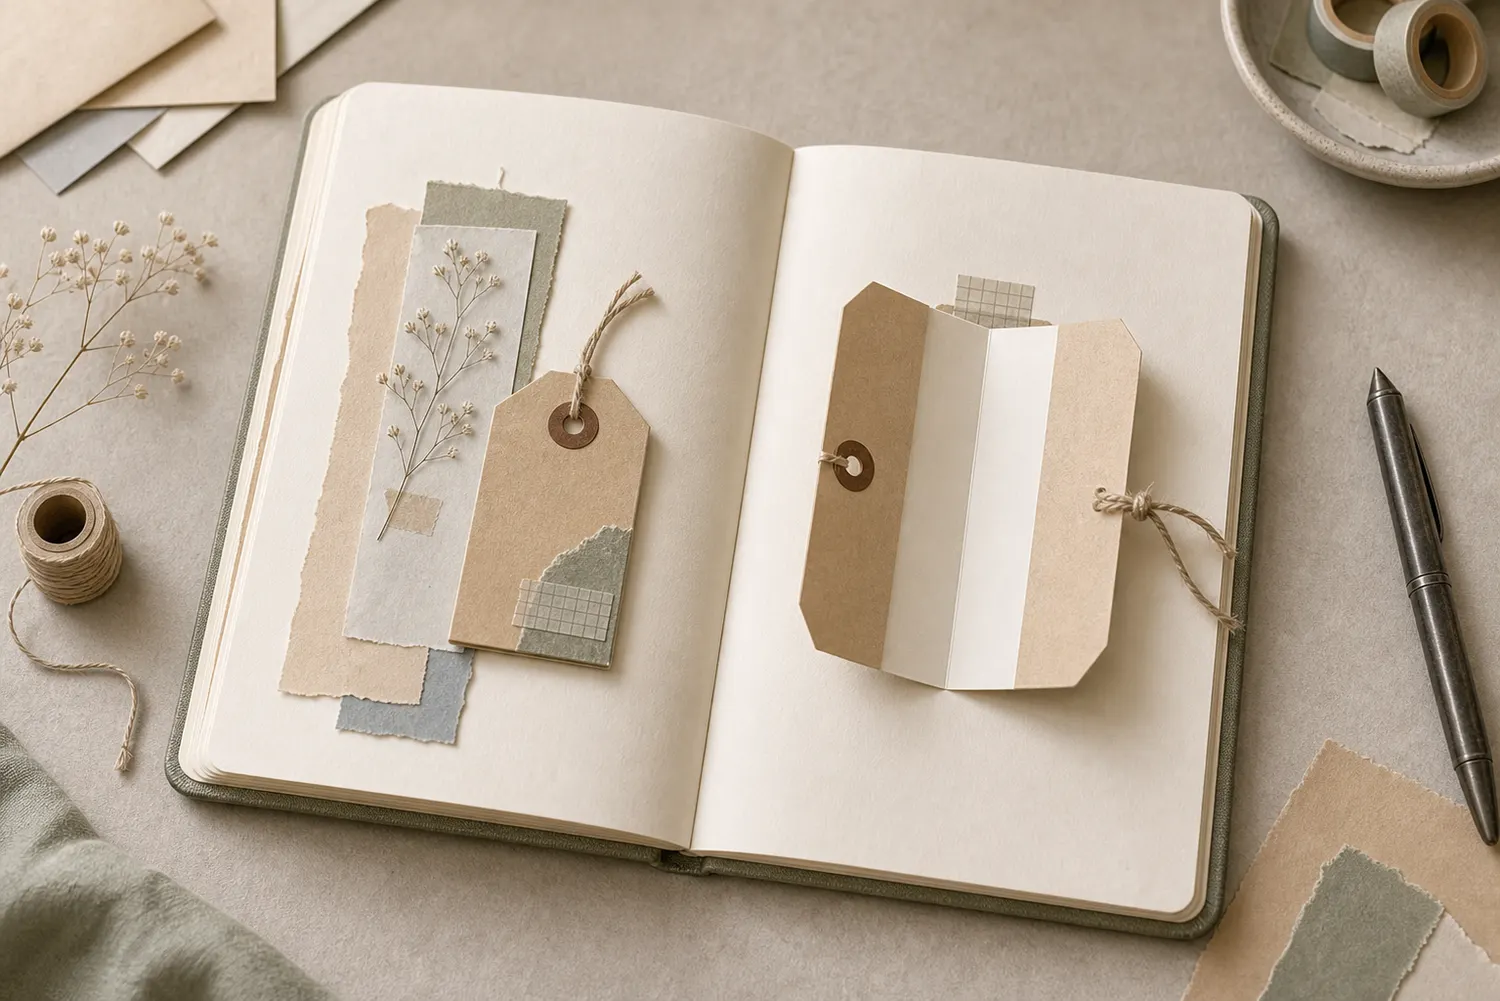
Gather a few things See what you’ll need
- Light cardstock, roughly 160–220 gsm
- One mini brad or split pin
- Small paper scraps for reinforcement
- Pencil, ruler, scissors, and a small hole tool with a protective mat
Choose an exercise 4 things to try as you read
Start with a label smaller than your palm
Cut a base mat about 70 × 95 mm and a cover about 35 × 60 mm. Light cardstock around 160–220 gsm is a useful starting point. A broader label can work too, but keep the first cover roughly 35–45 mm wide and 50–75 mm tall so one small brad isn't carrying much weight.
Place the cover on the mat and lightly trace where it rests when closed. Leave the hidden area smaller than that outline so words won't peep around the edges. If you want a photograph on the cover, use a replaceable print rather than punching an original.
ONE WORKED EXAMPLE
The bus ticket has a reason beneath it
You are making a small pivot label beside a bus ticket. The visible page already names the journey, and you want the turn to reveal why the ticket mattered.
Before
The hidden text repeats the route printed on the ticket, so opening the label adds another label rather than another part of the memory.
After
The front names the journey. Under the tested cover, the line reads “The driver waited while I found the right coins.” The sentence sits entirely inside the closed footprint and is readable after a comfortable partial turn.
What changed—and what to check
The moving part now changes what the reader knows. The ticket carries the route while the concealed sentence contributes the human reason for keeping it.
Try this check. Close the cover to check every word is hidden, then turn it only far enough to read the complete line.
Something for a future page?
The Washi Tape ShopAffiliate links: we may earn a commission if you buy through these links.
Move the paper before you make the hole
Mark a pivot point 6–10 mm in from one upper corner of the cover. Hold that point down with a fingertip and turn the label about 60–90 degrees. Does it uncover enough of the mat for your sentence? Does the free end stay clear of the page edge, binding, and nearby pieces?
Try the fingertip turn on the spread where the mat will live, with nearby pockets and inserts in place. The free corner needs a clear path there, not only on your desk. Move the mat or reduce the cover before punching if it collides. A useful 60–90 degree reveal does not need room for a full spin.
Try the exampleHow much turn reveals your sentence?
How much turn reveals your sentence?
Rotate the label through a small arc. Use the result to plan a fingertip trial on your real spread.
Read the words in this example
- Swing projection
- Words
- Fixed pivot
- In-plane swing · 70°
The flap swings 70° around one fixed corner pivot.
Turning the cover exposes part or all of its original footprint, where one hidden line sit. The top-left corner of the original cover remains fixed while every other point turns around it. This is a flat geometric schematic; it does not predict fastener friction, bending, or collisions with nearby additions. Try the motion: turning label. This is an upper-corner pivot projection, not a collision test or a drilling template. On paper, mark the pivot 6–10 mm in from an upper corner and trial about 60–90 degrees before punching.
- Swing angle
- 70°
- Pivot
- Original top-left corner
- Model
- In-plane rotation schematic
Give the little hole something to lean on
Punch a clean hole through the cover at your mark. Place the closed cover back on the mat and mark the matching hole underneath. Use a hole punch, or work with a small piercing tool over a mat with your fingers clear of the point. Don't force the brad through unpunched paper.
Glue a small paper circle or square around the mat's hole as a washer, then let it dry. If the cover is thin or fibrous, reinforce its hole too. Keep the holes clear. This small extra piece spreads the wear around the opening, where turning would otherwise gradually pull soft paper into a slot.
Fasten it securely without squeezing the turn away
Push the brad through the cover and the reinforced mat. Hold a thin card scrap under the brad head as a temporary spacer while you open the prongs behind the mat. Remove the scrap and try the turn. The label should move with one finger without wobbling loosely.
If it drags, check whether the prongs clamp the layers too tightly or the hole is too small. Loosen the fastening gently; don't keep turning against resistance. If the hole starts stretching, replace that paper layer with a freshly punched one. More force won't make a damaged pivot smoother.
Try a what-ifThe cover slips past its closed position
The cover slips past its closed position
Give the resting position an edge without tightening away the turn.
The cover turns freely and its reinforced hole is sound. When you hold the mat upright, the cover slips past its marked closed position in the direction opposite its intended opening turn.
Compare the three choices
Which loose trial addresses that extra travel while keeping the opening free?
- Tighten the brad until friction holds the cover in place.
That may resist the drift, but also clamps the layers that need to turn. The pivot is already working smoothly.
- Add another paper washer around the undamaged hole.
A washer supports the paper around the pivot. It does not define where this freely turning cover should stop.
- Try a tiny flat stop just beyond the closed edge, outside the opening route.
The stop can limit travel past the closed position while the cover opens the other way. Test it upright and through the full useful turn before attaching it.
A sound pivot may need a separate resting stop; test the stop on the side away from the intended opening.
What would you try?
Choose an option to see what it would do. You can explore all three.
GO A LITTLE FURTHERSave one good sentence for the space underneath
Save one good sentence for the space underneath
Once the turn works, use the hidden space for what the front cannot tell: the reason a ticket stayed, the time just before the rain, or the small kindness on the bus. Keep the words inside the closed cover’s footprint and let them add something beyond the visible label.
Cover the brad's back prongs with a thin paper patch after the turning test, keeping glue away from the pivot hole. Attach the finished mat to your journal. Keep decorations out of the label's turning space. One small arrow or the visible brad is usually enough to suggest that the label moves.
Write your versionMake the turn reveal something new
Make the turn reveal something new
Give the visible label a short cue and the hidden area a detail worth finding.
On the labelThe bus ride
Under the turnThe driver waited while I searched for my ticket.
Your words have a place now.
Write inside the closed cover’s actual outline with a small margin. Do not let a sample sentence tempt you to crowd the pivot.
- Words on this card
- 18
Check the closed position as well as the open one
Turn the cover aside and return it. Does it hide the whole sentence? If it drifts open, a tiny flat stop beside its closed edge may help, provided the stop doesn't block the opening turn. Avoid adding a heavy charm or another thick cover to make it stay put.
Close the journal gently and inspect the facing page at the brad. If the hardware creates a hard pressure point, keep the piece as a loose card or use a paper hinge for the same reveal. Save your working loose test as a size reference; its clear turning path will matter again when you place the next one.
Compare the optionsAdjust the cause of the rough turn
Adjust the cause of the rough turn
Choose the symptom. A tighter fastening is only helpful for some problems.
Read the words in this example
- mat
- cover
Check clamp pressure and hole clearance.
The prongs may squeeze the layers too tightly, or the hole may be too small. Loosen the fastening gently and test again. Do not keep rotating against resistance: that wear can stretch the paper around the pivot even when the cover looks quite sturdy.
Where this idea began
These sources support the brad-pivot construction and Sandy Allnock example used above.
Want to explore the techniques a little further? Here are the maker tutorials and references behind this guide.
- Construction referenceSandy Allnock: Pulled Spinner Card adaptation and assembly notes
Sandy Allnock’s pulled spinner card supplies the named pivoting construction example.
- Construction referenceEllen Hutson: DIY Spinner Card
A spinner-card mechanism related to a journal embellishment that pivots on a brad.