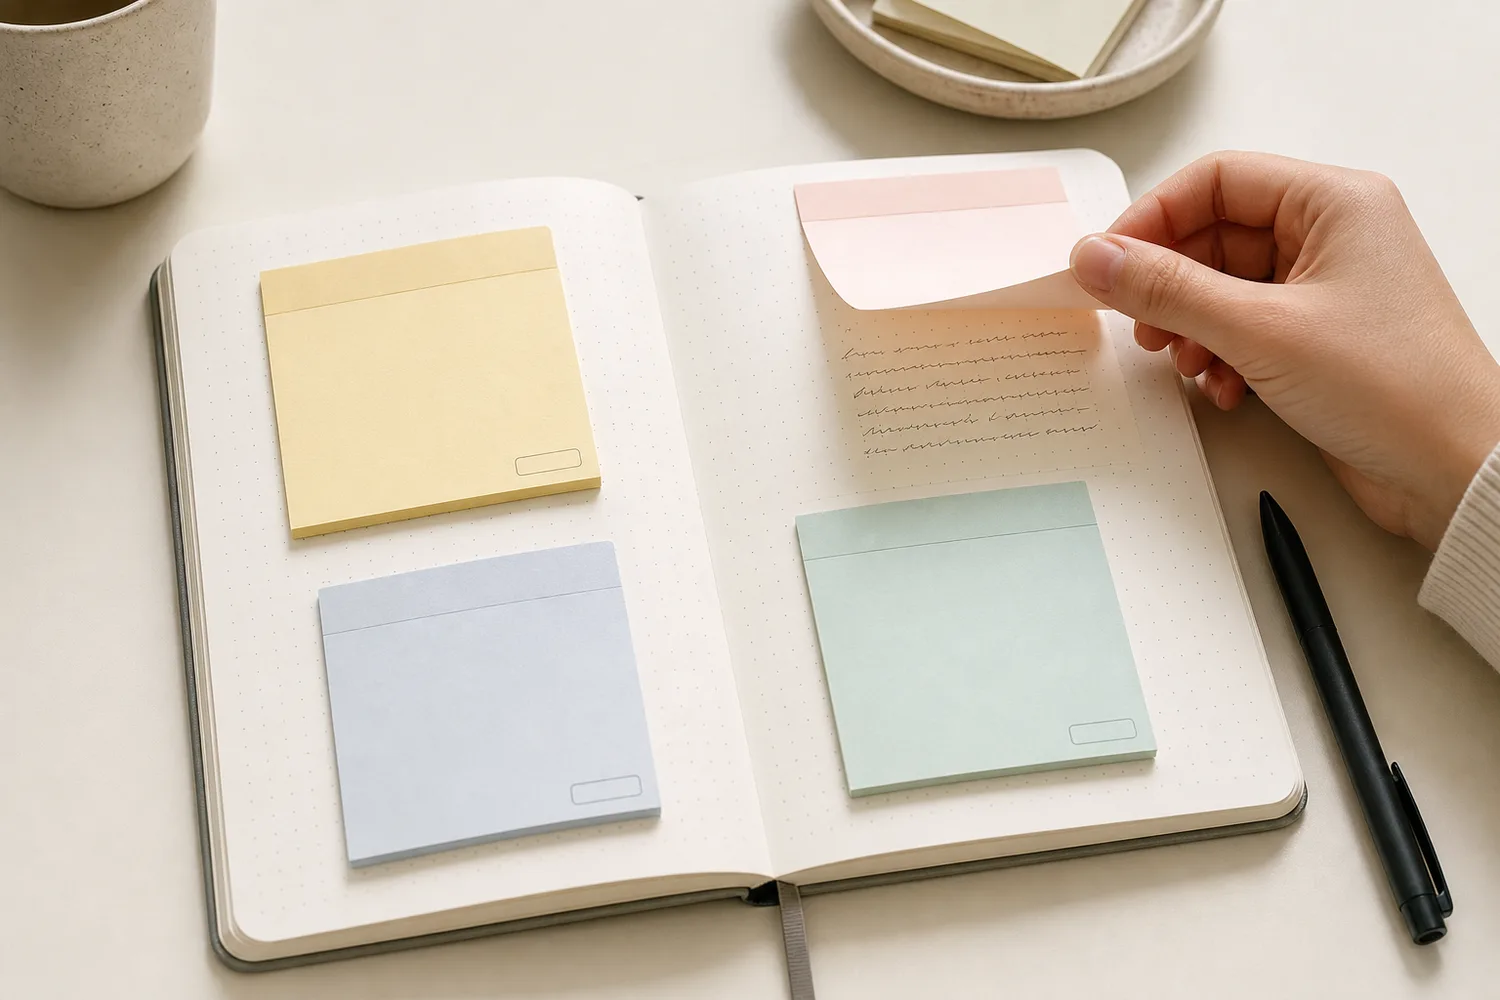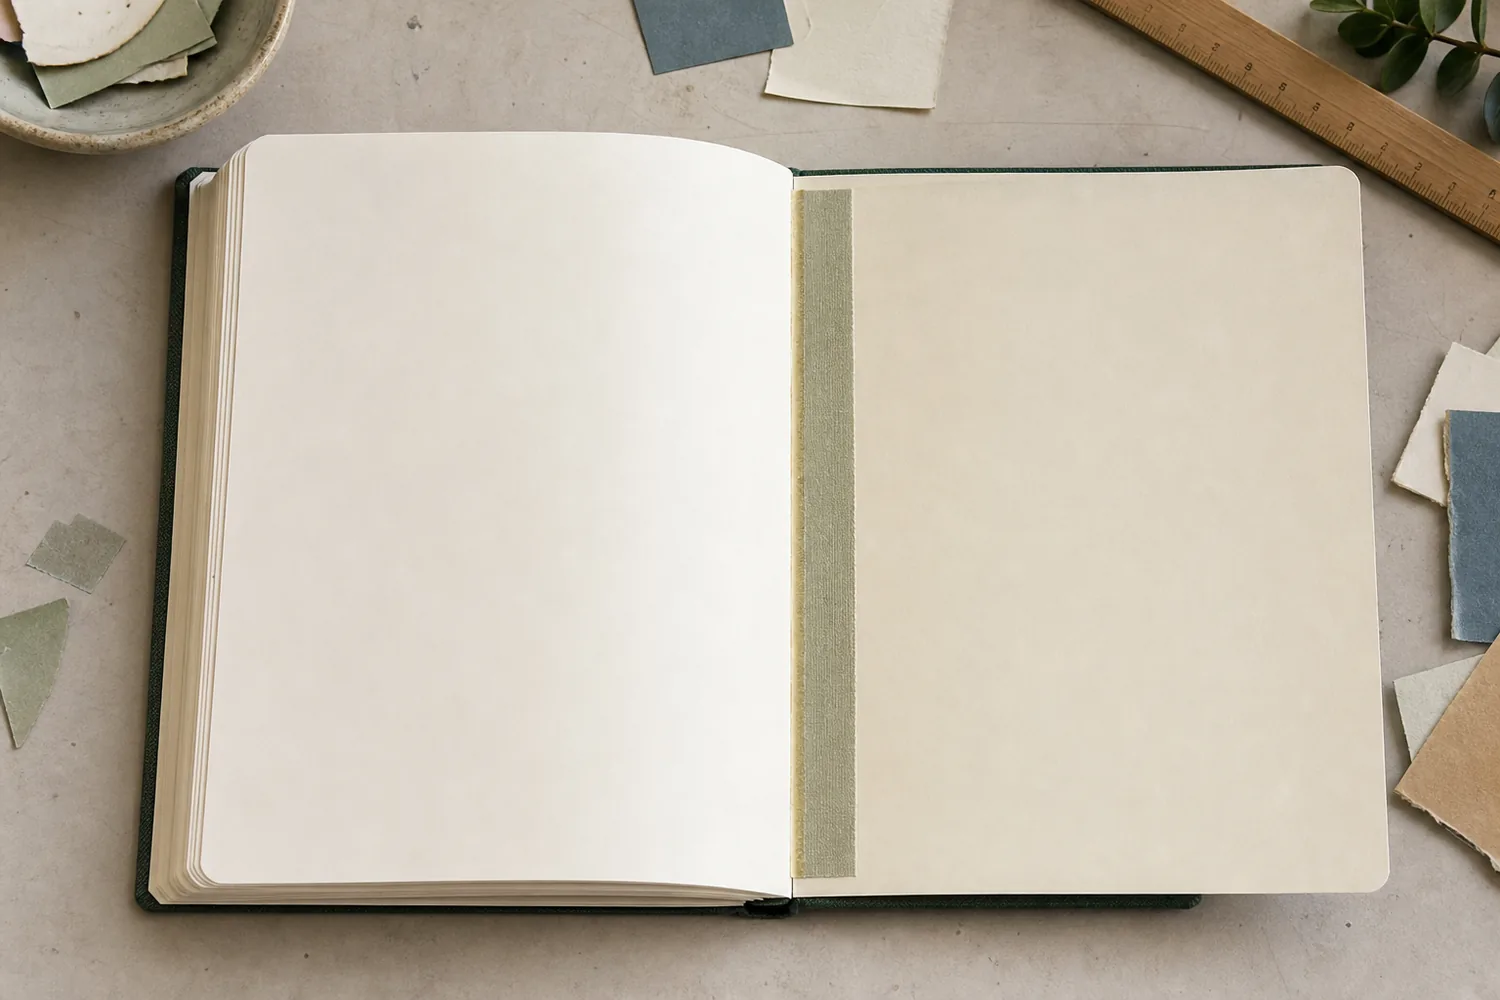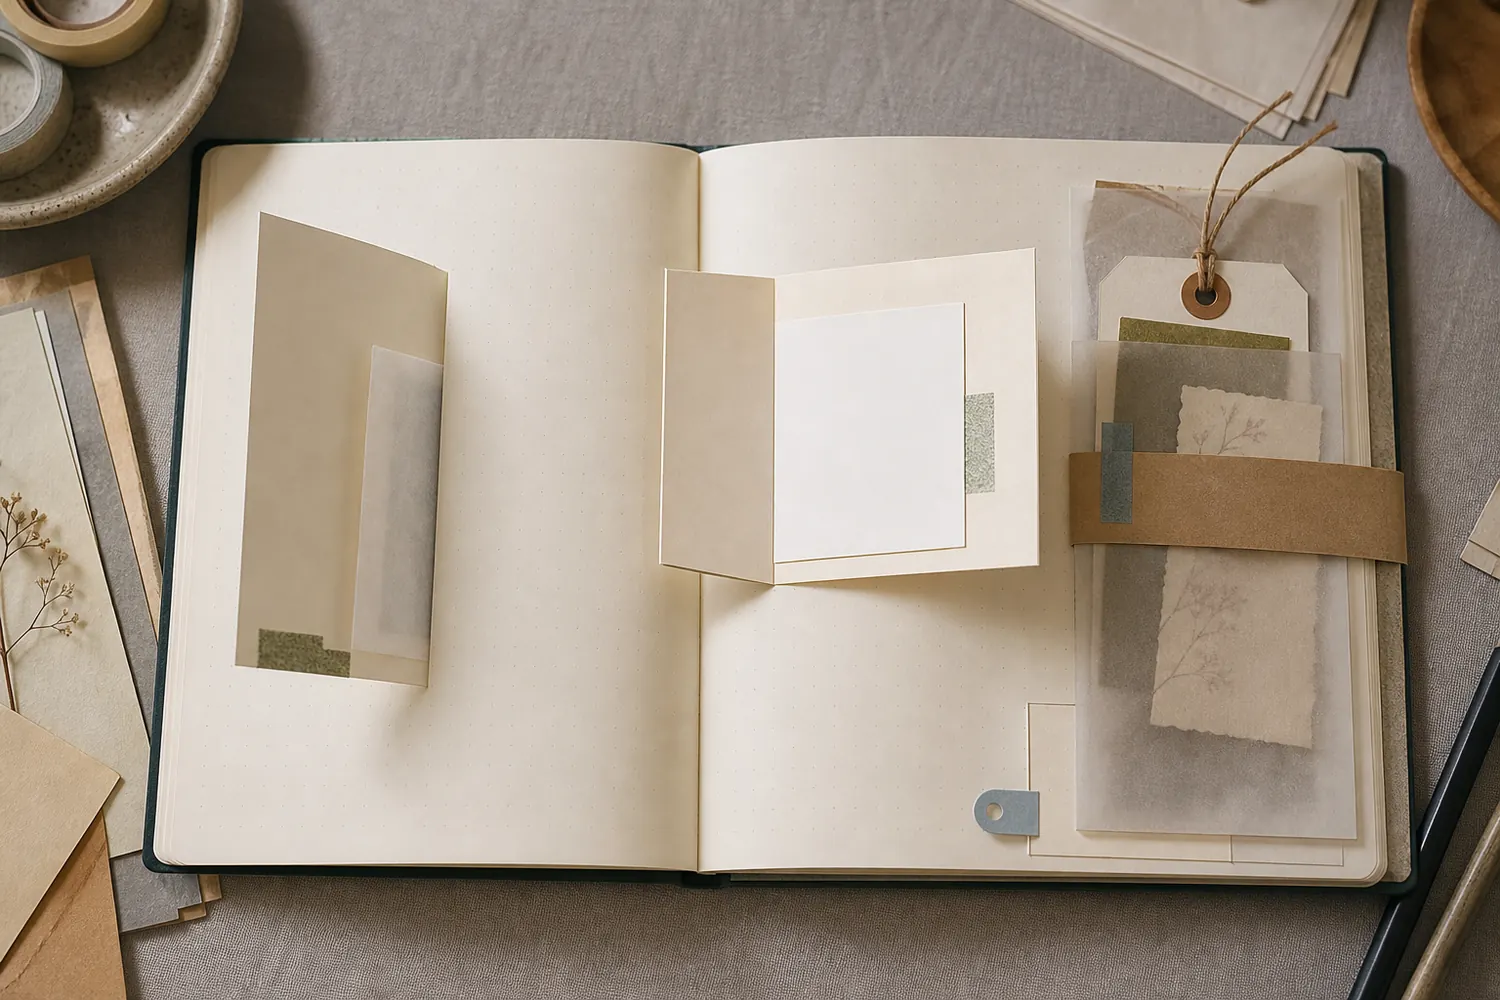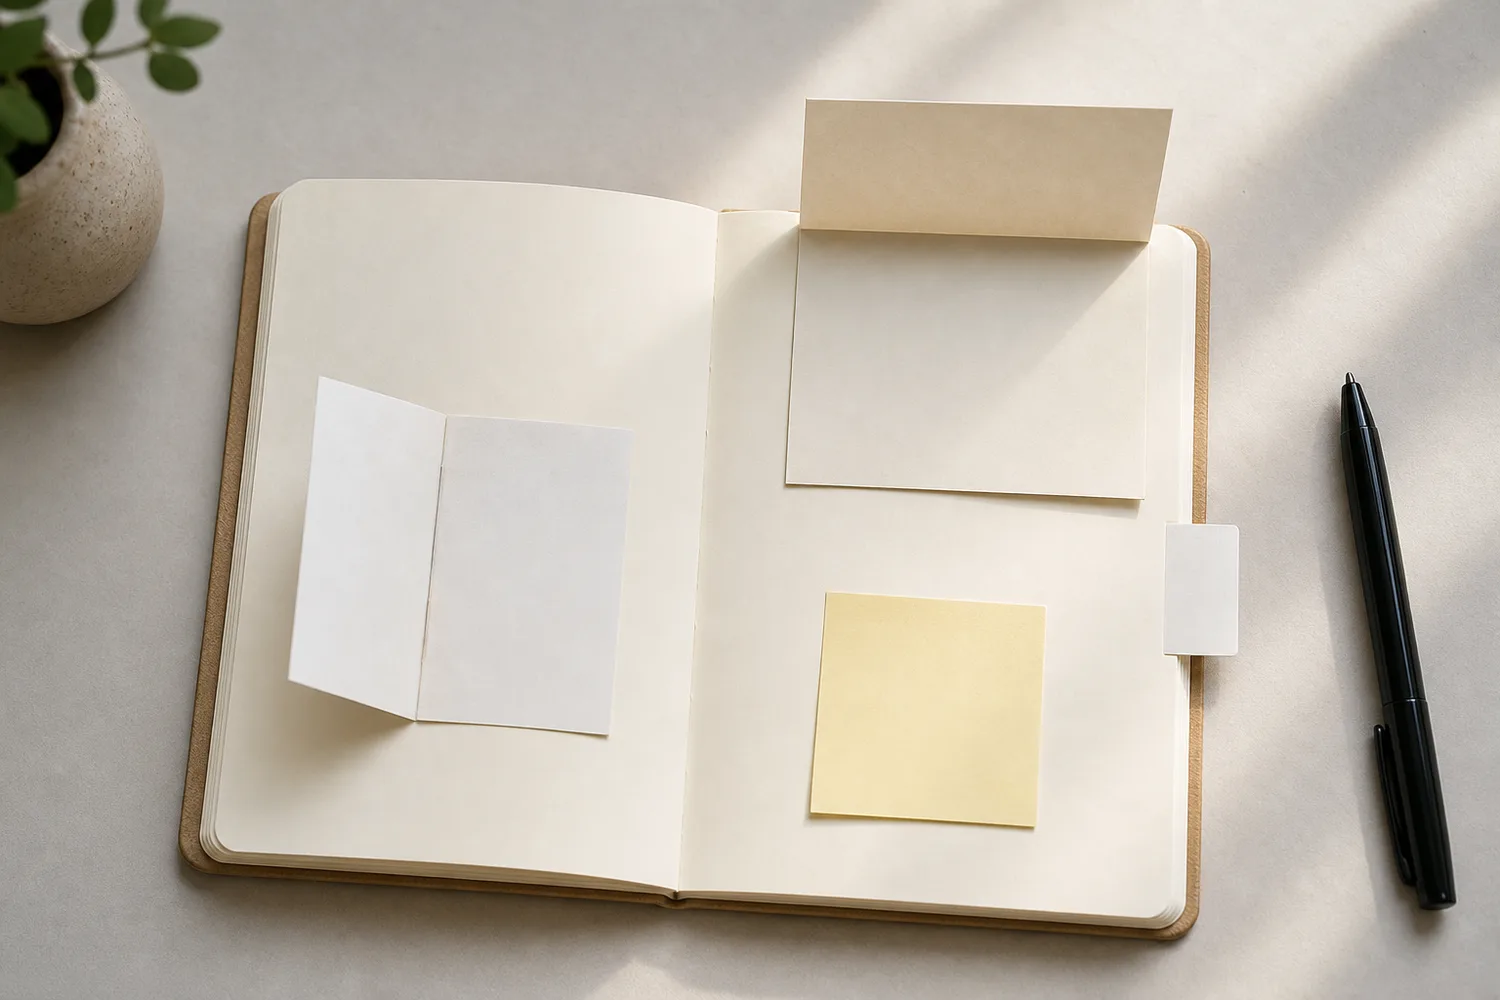
Gather a few things See what you’ll need
- Journal
- Lightweight memo paper or a fresh sticky note
- Pen
- Narrow paper tape
- Scissors and a separate cutting surface
Choose an exercise 4 things to try as you read
Make the first one with a plain memo
Hold a lightweight memo where you'd like it to sit. Choose the edge that will stay attached, then lift the opposite edge with your finger. Does it open comfortably? Will it sit inside the journal when closed? Trim the loose memo on a separate surface if you need to; never cut against a bound page.
For a simple taped hinge, place a narrow strip along one memo edge, with half its width on the memo and half on the journal page. Leave the other three sides free. Open and close it before adding decoration. If the tape pulls tight at the fold, take it off and try a looser placement.
Try the exampleFind the edge that lets your afterthought open
Find the edge that lets your afterthought open
Change the hinge edge and try a comfortable turn before deciding where the words go.
Read the words in this example
- Fold projection
- Your words
- Wine = fixed hinge
- Side profile
- 60° from closed
Left hinge stays fixed; the flap lifts 60° from closed.
Lifting the flap can reveal room for more beneath its closed footprint. Gold is the moving flap and wine is its attached edge. The side profile shows the lift angle; the upper view is an oblique geometric projection. These are rigid-paper schematics, not predictions of bending, clearance, or collisions. Try the motion: plain memo. This is a projected taped-hinge sketch. Attach one edge with tape shared between memo and journal; keep the other three free. Check the real closed outline and remake a tight taped join.
- Lift angle
- 60°
- Fixed hinge
- Left edge
- Model
- Oblique projection + side profile
ONE WORKED EXAMPLE
The bakery sentence behind the title
A photograph of the walk home fills most of the page. You want to keep an extra sentence about the bakery smell without writing over the image or reducing your handwriting.
Before
The remaining caption gap fits the place name, but the longer sentence crowds the photograph and becomes difficult to read near its edge.
After
A lightweight memo beside the duplicate print says “The walk home.” Its left edge has a paper-tape hinge, half on memo and half on page; the other edges stay free. The back holds the bakery sentence, clear of adhesive on the photograph.
What changed—and what to check
The extra leaf gives the afterthought its own writing surface while keeping the short locating title visible beside the image.
Try this check. Open the memo through its full turn and read the sentence without pressing the photograph or pulling the hinge flat.
A little tape for your next page?
The Washi Tape ShopAffiliate links: we may earn a commission if you buy through these links.
An extra little page, or a narrow column
A memo attached along its left edge turns like a small page. Put a short title on the front and the longer memory on the back: “The walk home” might open to the bakery smell or a conversation. You can leave the journal paper underneath blank.
For a list, try a tall narrow memo hinged along its outer long edge so it opens outward. Keep its closed outline inside the page, and give each trip stop or remembered detail its own line.
Try a what-ifWhat should the next repair change?
What should the next repair change?
Consider what a repair does to the part that needs to bend.
A memo hinge has torn after ordinary use. The memo fits inside the cover, but extra tape repairs are making its edge stiff.
Compare the three choices
What should the next repair change?
- Add another full strip over the old repairs
This may hold temporarily, but adds more stiffness at the bending point that is already troublesome.
- Rebuild the hinge with room to bend
A fresh hinge removes the accumulated tape and lets you retest the turn before decorating.
- Glue the three free edges down
That secures the memo as a fixed panel, but removes the opening needed to read its back.
Repair a moving joint by restoring its movement, not just by adding material over the failure.
What would you try?
Choose an option to see what it would do. You can explore all three.
A small lift for a short sentence
A top flip works like a lid. Attach the top edge of a memo, leave the lower edge easy to lift, and write on the journal paper beneath it. Put 'later that evening' outside and the afterthought inside. Leave some blank room below the hinge so you can read the sentence without pulling the flap all the way back.
A quote flap is a smaller version of that idea. Put one word on the front, such as 'enough,' and the full sentence underneath. You could save something someone said at lunch or a line you've been thinking about. If it takes more than a few lines, use a larger tip-in; tiny handwriting shouldn't be the price of keeping the quote.
For the story beside the picture
A flip caption sits next to a duplicate photo print. Tape one narrow edge of a small memo to the journal paper, keeping adhesive off the photo itself. Write the place on the front. Behind it, add what happened outside the frame: who took the picture, what everyone was laughing about, or what happened two minutes later. Leave the opening visible beside the picture.
A mini booklet holds two or three separate thoughts. Start with two light memos of the same size. Tape the first to the journal along its left edge, then hinge the second along that same side on top, leaving each leaf free to turn. Give each leaf one thought. Try the page turn and journal closure before adding a third; if the little stack pulls or feels thick, keep it to two.
GO A LITTLE FURTHERA second reveal, or a note you can find quickly
A second reveal, or a note you can find quickly
A two-layer reveal needs different information at each opening. Pencil the three parts first: “home,” then “the hallway light,” then the sentence explaining why that light mattered. Offset two small flaps so each loose edge remains findable, and attach each along one edge. If the words repeat, use one flap.
For a page marker with writing inside, hinge the inner long edge of a narrow strip near the page’s outer edge. Let a little remain visible when closed, and label it “idea” or “trip.” Keep the overhang small enough to avoid catching in a bag.
Write your versionGive each reveal a different piece of the memory
Give each reveal a different piece of the memory
Edit the first cue, second detail, and final sentence. If they repeat, one flap may be enough.
FirstHome
NextThe hallway light
ThenSomeone had left it on because they knew I would arrive late.
Your words have a place now.
This sample teaches a two-layer reveal. Write all three parts before making the extra flap, then keep both free edges visibly offset.
- Words on this card
- 19
Try the ordinary page turn before calling it done
Open the flap, close it, turn the journal page, and shut the cover. If an edge catches, remove the piece and trim its free edge on a separate surface, move it inward, or try lighter paper. Rebuild a torn hinge instead of stacking more tape on the tear.
Read the extra sentence at the angle the flap naturally opens. If it is comfortable and the notebook closes easily, add only the short title or arrow needed to show where to lift.
Try the exampleA tiny booklet still adds several layers
A tiny booklet still adds several layers
Count the memos, tape areas, and decoration at the place where the leaves meet.
Read the words in this example
- Position on facing pages
- 3
- Left page
- Right page
- Spine
- Nominal section
- Gold: left page
- No facing stack
- 0.6 mm added
3 layers add a nominal 0.6 mm at the outer edge.
3 × 0.2 mm = 0.6 mm for one stack.Changing the position moves the addition but does not change this arithmetic. A matching stack on the facing page would double the nominal addition at that position. The section adds only the selected paper layers at a fixed drawing scale of 10 pixels per millimeter; page stock, glue and fasteners are excluded. Real compression, binding and closure vary, so test the assembled journal without treating this total as a safe limit. A two-leaf mini booklet or offset two-flap reveal has different overlap zones. This counts only nominal paper thickness at a chosen spot; it does not predict tape stiffness or whether a third leaf will turn well.
- One stack
- 0.6 mm
- Added layers at this position
- 3
- Nominal combined addition
- 0.6 mm
- Position
- Outer edge
A little tape for your next page?
The Washi Tape ShopAffiliate links: we may earn a commission if you buy through these links.
Where this idea began
Courtney Diaz describes feeling less intimidated working on a tip-in than directly on a journal page. The other references informed tip-in terminology, one-edge hinges, gutter clearance, and the close-test before decoration.
Want to explore the techniques a little further? Here are the maker tutorials and references behind this guide.
- Maker exampleCourtney Diaz: Tip-In Inspiration Featuring the Aqua Pastels
Courtney Diaz’s account is the named example of using a tip-in as a less intimidating work surface.
- TerminologyBook Arts Web: glossary notes on tipped-in leaves and hinges
Bookbinding definitions clarify tipped-in leaves and hinges.
- Construction referenceMad Paper Crush: practical journal tip-in methods and attachment ideas
Journal tip-in methods inform one-edge attachment and leaving a paper flap free to move.
- Paper mechanism contextAIC Conservation Wiki: Atlases, Foldouts, and Guarded Structures
Conservation terminology for foldouts and guards informs hinge movement, not a home repair prescription.