Gather a few things See what you’ll need
- Three or four light paper rectangles
- A light paper cover
- A broad, gently fitting elastic band
- Ruler and pencil
- Scissors
- A pen
Let the widths vary and the height agree
Choose three light rectangles with the same 10 cm height and widths of roughly 16, 14, and 12 cm. Fold each width in half to make pages 8, 7, and 6 cm wide. A 16 × 10 cm cover can wrap around the group. The stepped fore-edges will help you find different sections.
You can use plain scraps, a piece of a paper bag, and a light printed sheet with a clear writing area. Avoid brittle folds and very thick covers. If a useful scrap is shorter than the others, keep it as a loose note for now rather than trying to make the elastic grip an uneven spine height.
Match the creases before arranging the edges
Open the largest folded sheet and place the next fold inside its crease, followed by the smallest. Put the cover around the outside. Align the top and bottom edges so all folds meet along the same spine. The widths can step outward, but the spine line should remain shared.
Close the group and turn its leaves. If a smaller sheet disappears in a confusing place, move it outward one position. You haven't bound anything yet. Pencil a small temporary number on each sheet so you can return to a preferred order after testing another arrangement.
Nest a Few Folded Sheets Into a Rearrangeable Booklet
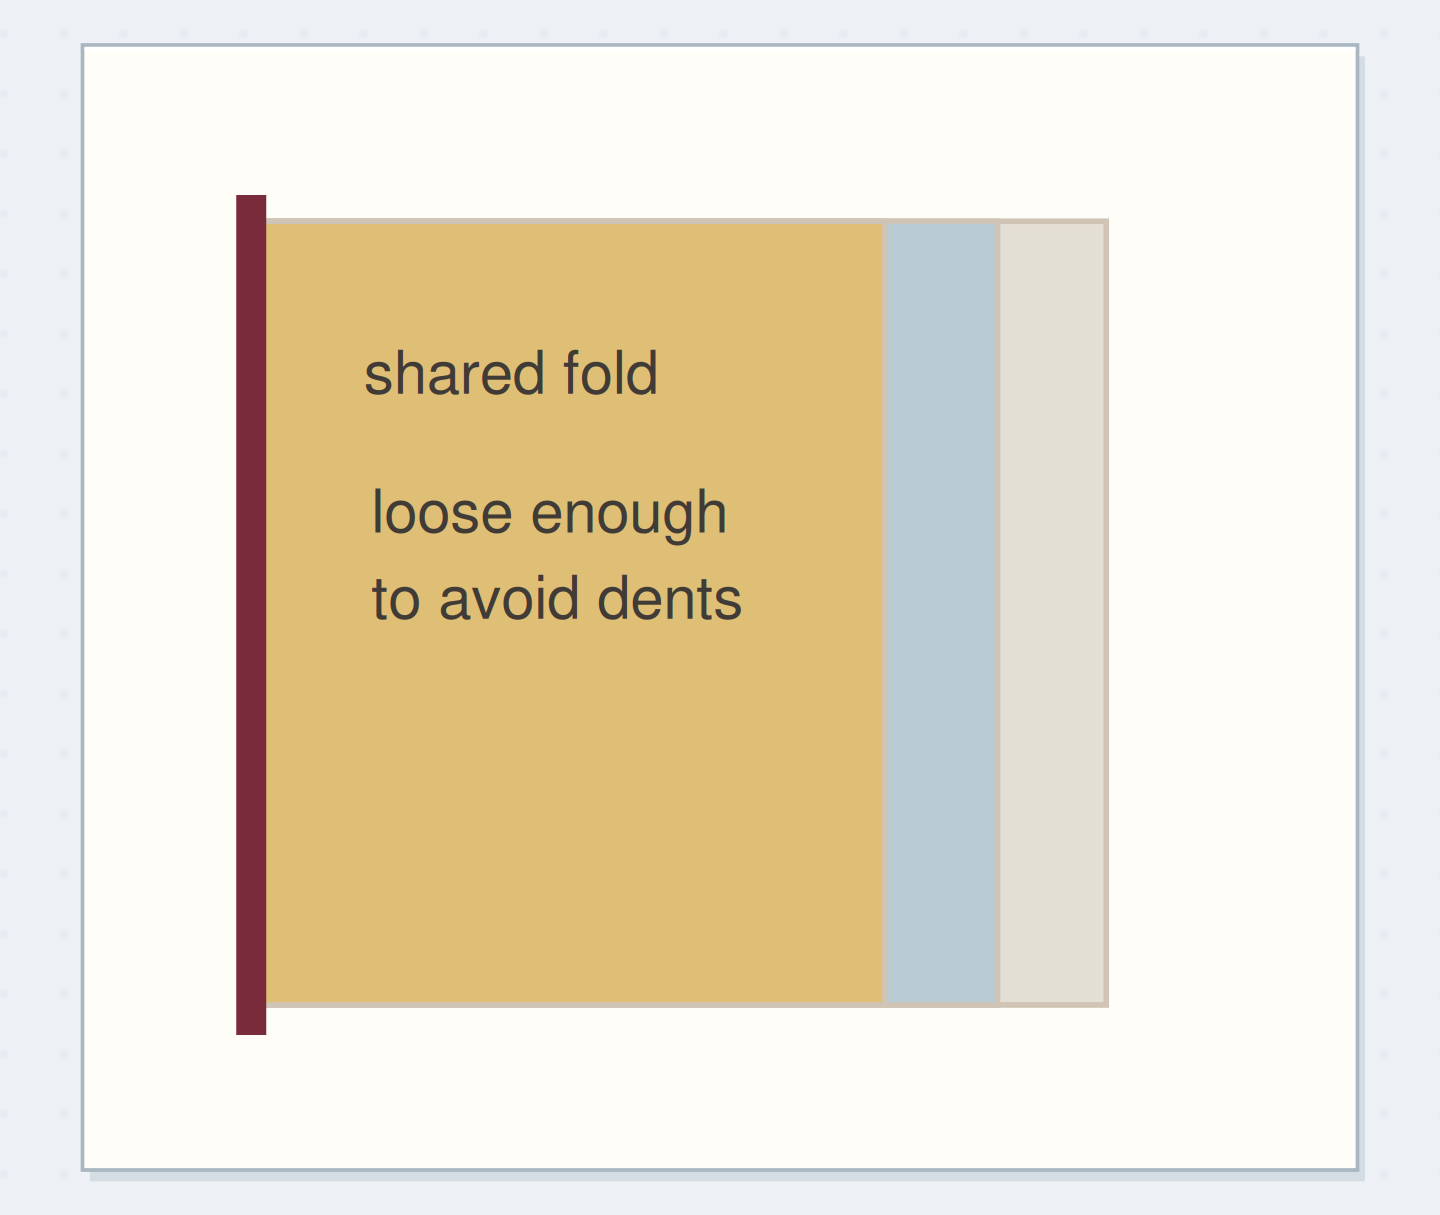
Compare separate folds with the shared spine needed for a removable elastic binding.
The widths vary while the 10 cm height stays shared.
Three rectangles share the same 10 cm height. Use the article measurements for the physical version; the drawing is a schematic.
“The stepped edges should help you find a section without pulling the booklet apart.”
Run the band through the center and around the spine
Open the booklet at the innermost fold. Slip a suitably sized elastic over the top and bottom of the folded group so one length lies in the center crease and the other runs along the outside spine. Close the booklet gently. The band holds the nested folds together without piercing them.
Choose an elastic that rests snugly rather than digging into the ends. Its route is approximately twice the booklet height, plus the small turn around the paper stack; actual band stretch varies. If the cover bows or the ends dent, use a looser band or a shorter, thinner booklet. Don't notch the pages merely to force a tight band to stay.
Order the steps: match paper heights first
Check the physical dependencies in this nested pages example. Reorder the actions before trying the paper version.
One workable order
- Match paper heightsMatching heights give the elastic one top-to-bottom route.
- Fold and nestAligned folds make one shared spine.
- Try the elastic routeTrying the band reveals whether it dents the paper or slips.
- Write section labelsVisible labels are easier to place after the final nesting order is known.
Which check needs to come first?
The example shows one workable order. Visible labels are easier to place after the final nesting order is known.
A three-part booklet for a local outing
Use the widest sheet for practical details: place, opening time you checked, and what you want to notice. Put two brief observations on the middle sheet. Let the smallest inner sheet hold one favorite sentence from the day, such as “The tiny staircase was the part we kept talking about.”
Write short section names near the visible stepped edges: plan, notice, keep. These are labels for this example, not a mandatory journaling routine. Leave the reverse faces blank until you need them. The booklet is useful because the pages are easy to enter and rearrange, not because every surface is already assigned.
Plan visible edge labels
Choose short edge labels that explain why these pages may need to move later.
Visible edge labels:Plan / notice / keep.
Why pages may move:I am still deciding the order of the outing notes.
Your words have a place now.
Choose short edge labels that explain why these pages may need to move later.
- Words on this card
- 22
Rescue slipping or pinched pages
If the sheets slide out sideways, check that the elastic passes through the true center fold and around the outside spine. A band wrapped around the closed booklet's middle holds it shut but does not bind the folded sheets in the intended way. Re-route it before tightening anything.
If one sheet moves while the others stay, its fold may not be seated in the shared crease. Open the group, align it again, and close from the spine outward. If the paper starts denting, remove the band. A removable binding is convenient only while it remains gentle on the material.
Check the shared spine
Turn each nested leaf and check that the elastic holds the folds without cutting into the top and bottom edges.
Fold once
Separate folded sheets have no shared binding route yet.
Change the sequence without losing the notes
To move a sheet, slide the band off, open the nested group, and set the sheets in their new order. Turn the pages before replacing the band. Because each sheet supplies several connected faces, moving one sheet changes more than a single page; reread the sequence rather than assuming all captions still follow correctly.
Date the cover and keep a short contents note if the booklet will hold several sessions. For a final order you want to keep permanently, sew a separate three-hole pamphlet later. The elastic version can remain a working object, and the elastic can be replaced when it loses its grip.
Stop at a group you can handle comfortably
The stepped edges should help you find a section without pulling the booklet apart. Test that action once with the booklet resting on your palm. Check both ends of the spine for pinching, and confirm that the smallest sheet stays seated while you turn its pages.
Stop adding sheets when the group begins to bulge or becomes hard to browse. Put additional notes in a second small booklet instead. Store the finished group flat, and check the elastic occasionally; it is a replaceable fastener, not a promise of permanent preservation.
Where this idea began
Want to follow the idea further? These community discussions and maker references are a good place to start.
- Trying a single-section pamphlet
Makers discuss a simple single-section book and the basic tools used to make it.
- The Humongous Rubber Band Book
The book artist demonstrates nested paper groups and removable elastic connections rather than sewn binding.