Gather a few things See what you’ll need
- Four light text-paper sheets
- One slightly heavier cover
- Needle and thread
- Awl and a thick waste-paper support
- Clips, ruler, and pencil
- Scissors
Choose a stack that folds comfortably
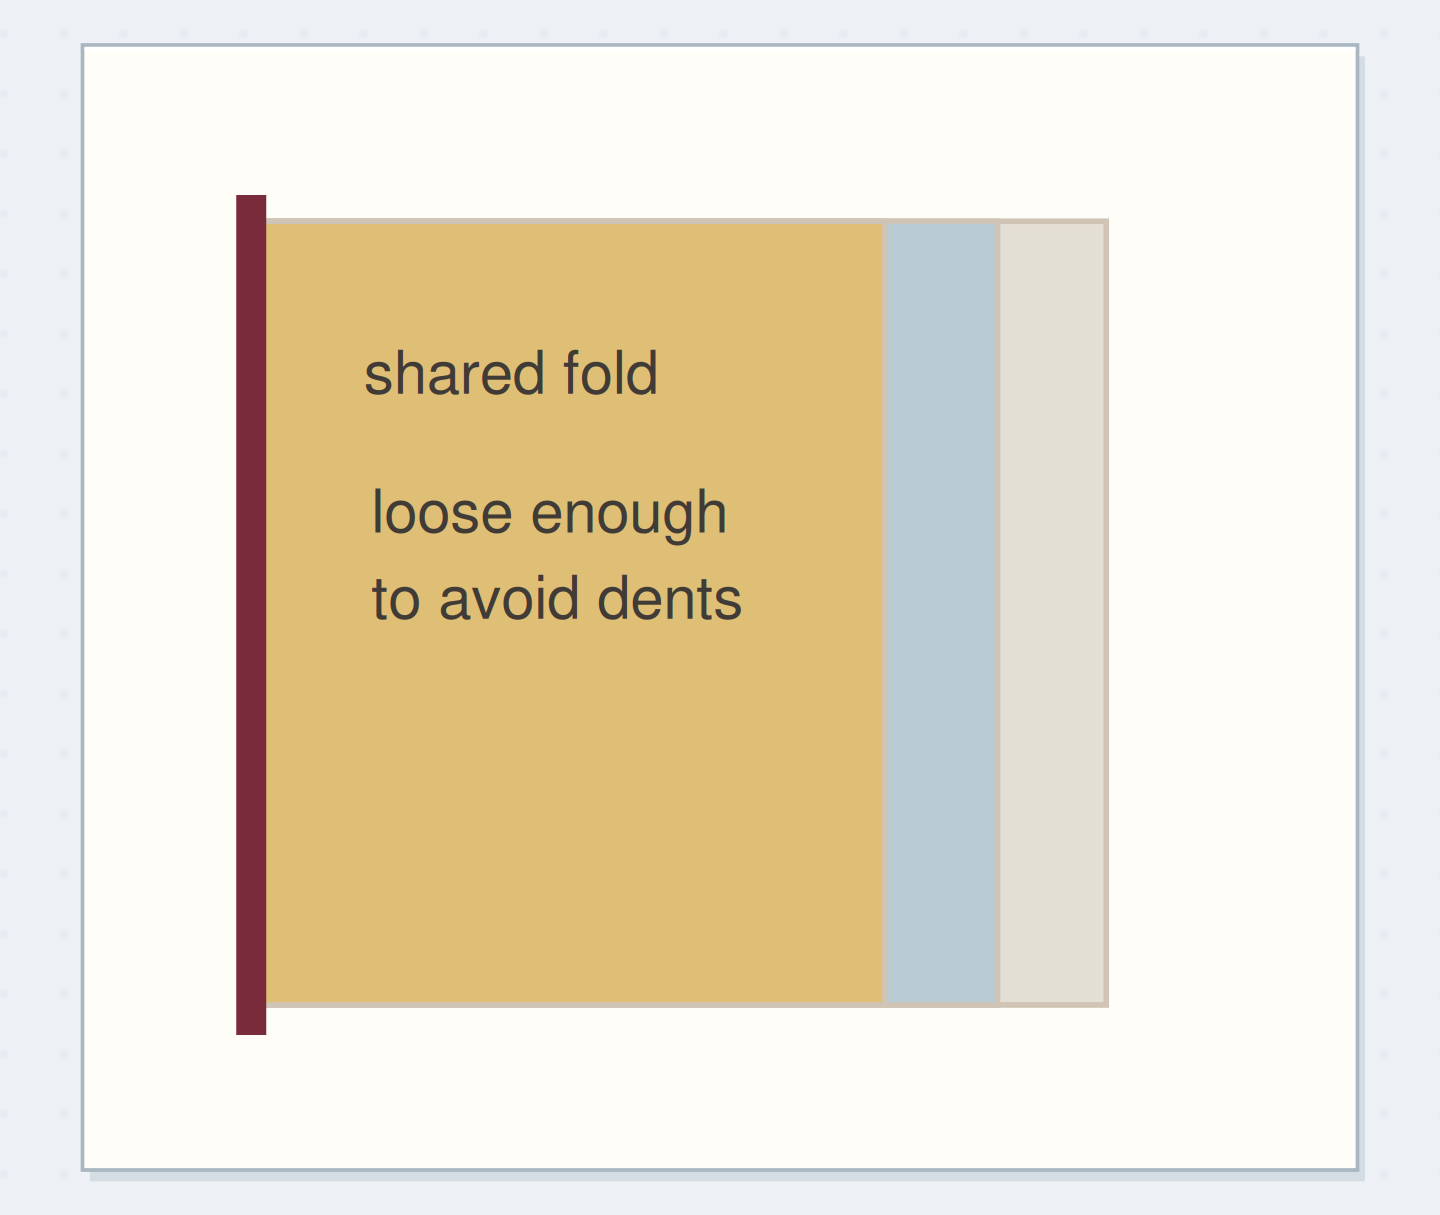
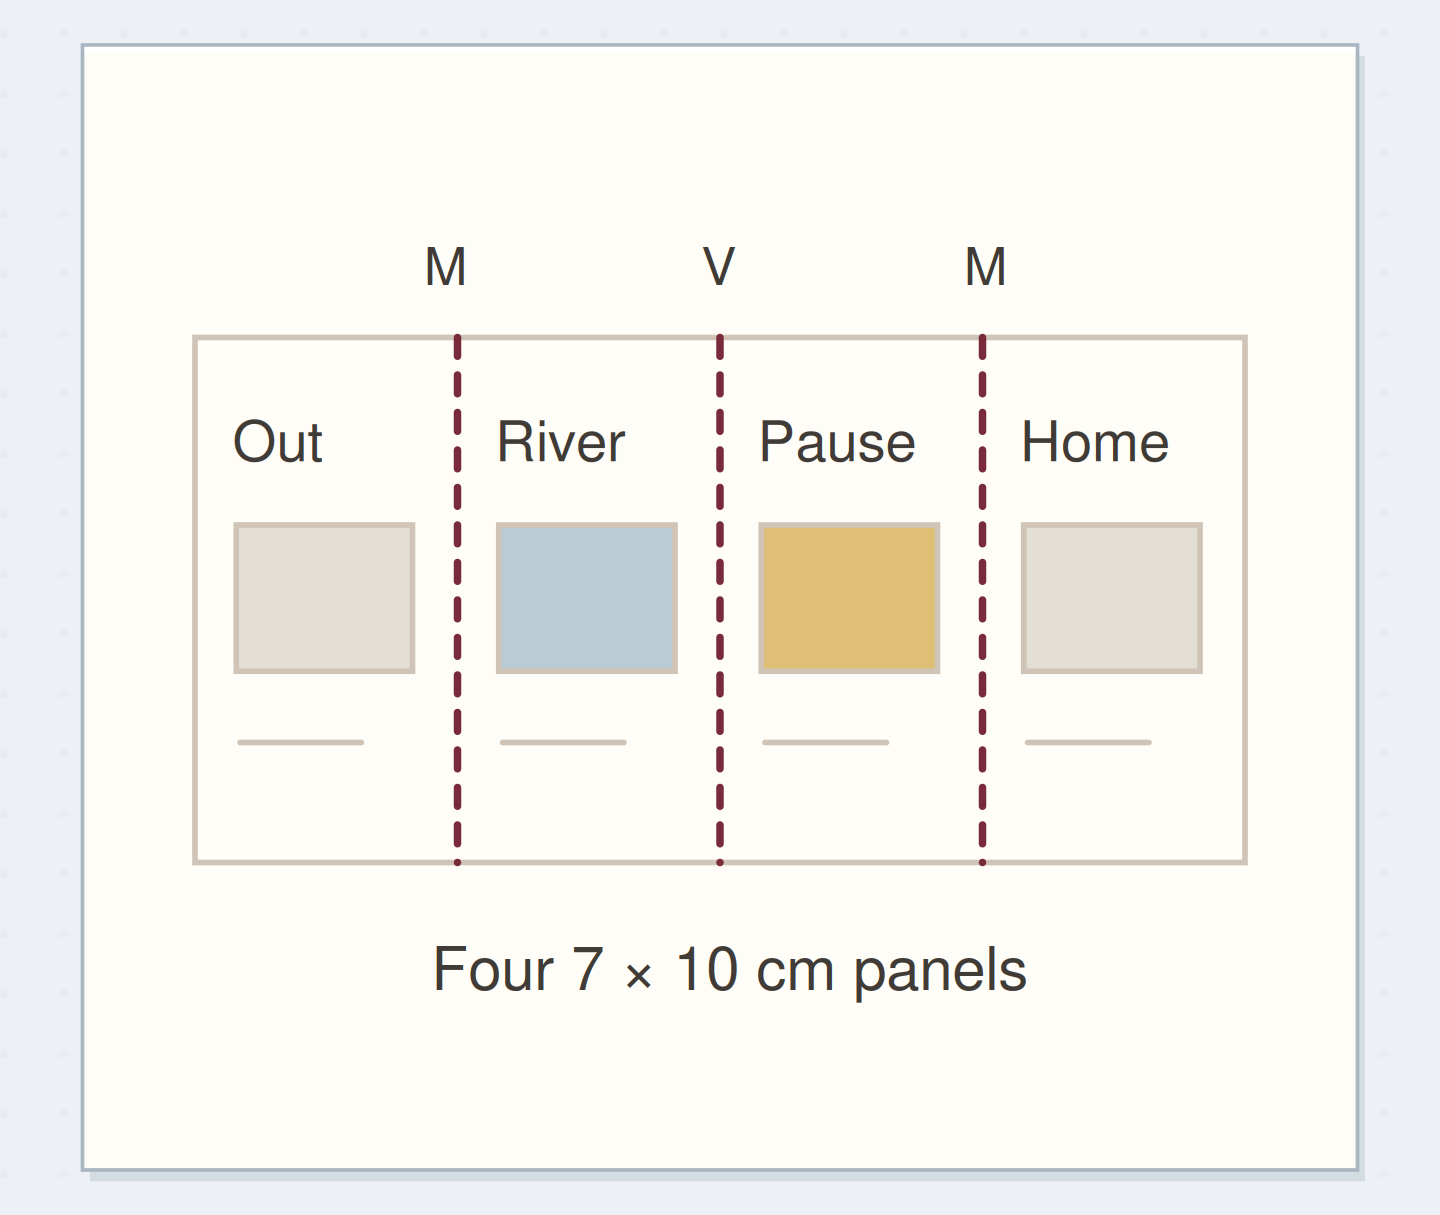
Start with four sheets about 20 × 14 cm and a cover the same size. Fold each across the middle so the closed booklet is about 10 × 14 cm. Nest the sheets with their folds together and wrap the cover around them. The four inner sheets provide sixteen page faces, before counting the cover.
Use light text paper for the inside. A slightly heavier cover is enough; rigid card can fight the fold. If the stack springs open strongly or forms a thick wedge, remove a sheet. The sheet count is a practical example, not a promise that every paper weight will behave the same way.
Mark the holes on the fold
Open the nested stack at its center and secure it with clips away from the spine. Mark a middle hole halfway along the fold and two outer holes about 2 cm from the top and bottom. For the 14 cm-high example, the marks sit at 2, 7, and 12 cm.
Place the fold in a thick stack of waste paper or a suitable piercing support. Pierce through the paper stack and cover at each mark, keeping the holes on the crease. Keep your supporting hand away from the point. The holes only need to admit the needle and thread; oversized holes weaken the paper.
Follow the thread between the two faces
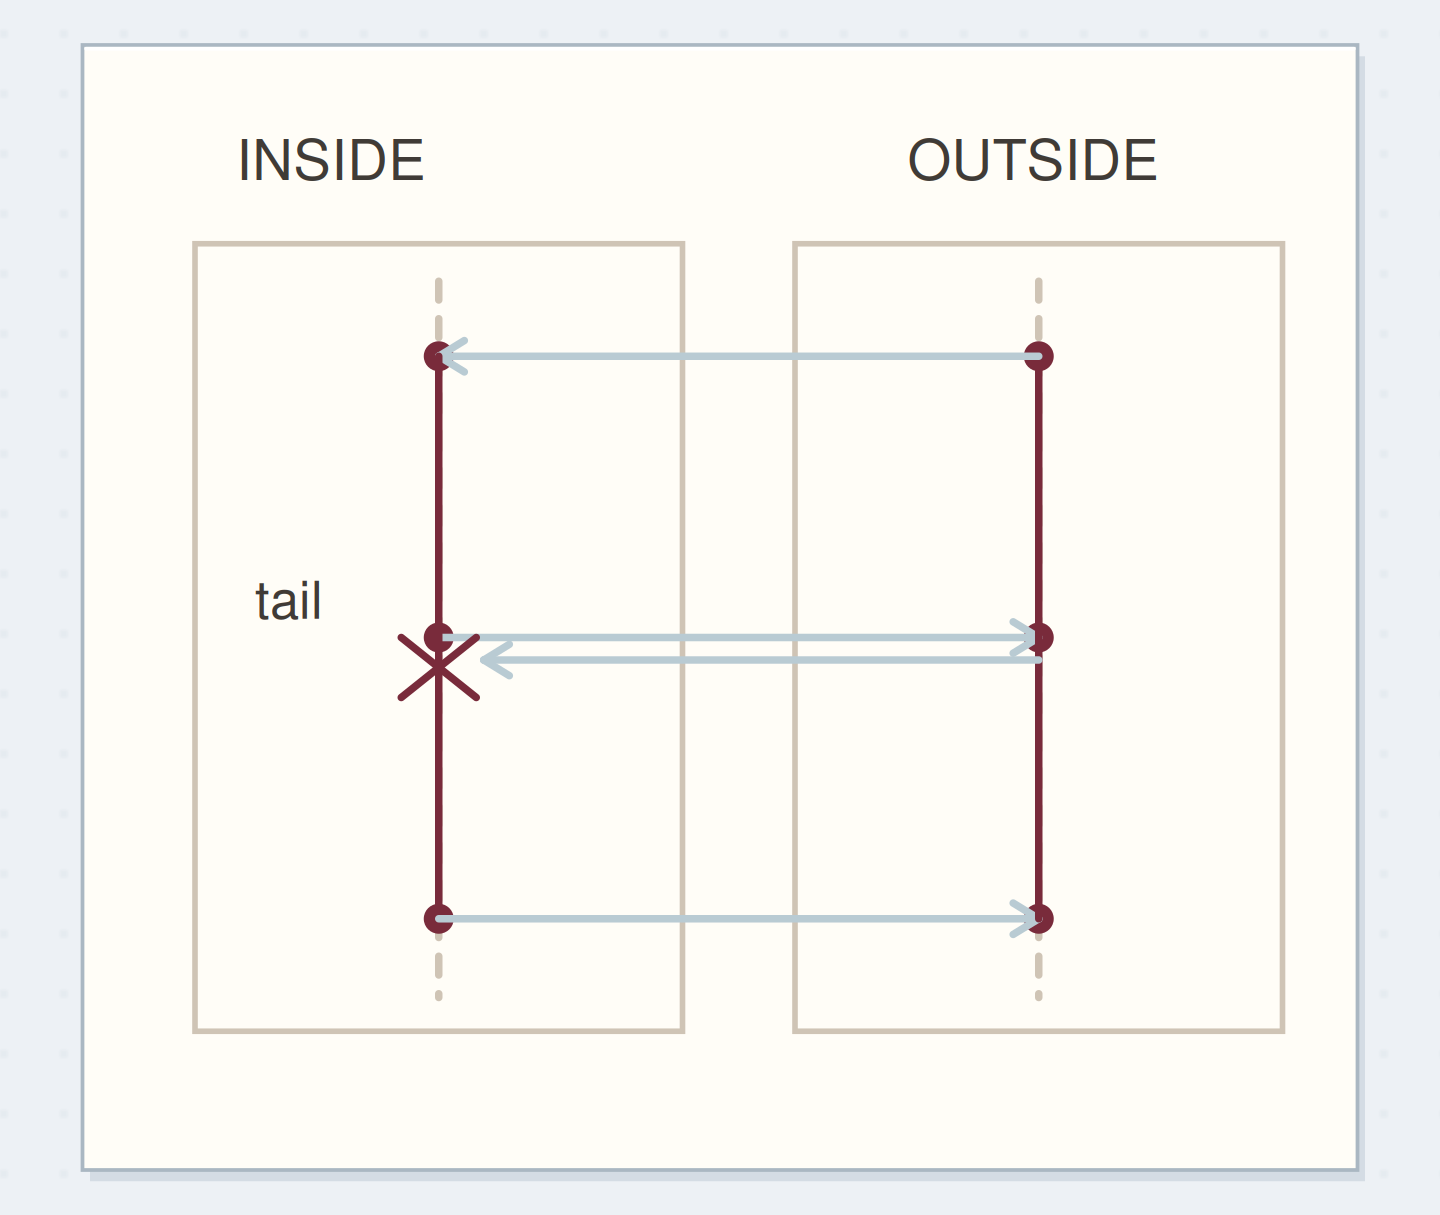
Track the inside and outside thread passes that make a three-hole pamphlet hold together.
Inside and outside views share the same three stations.
Two schematic views of the same folded spine. Use the article measurements for the physical version; the drawing is a schematic.
“A good small binding holds the pages without asking the paper to carry excessive tension.”
Follow the inside-center route
Cut thread about three times the booklet's height, leaving enough to hold and knot comfortably. Start inside the center hole and pass to the outside, leaving a tail inside. Re-enter through the top hole, travel along the inside past the center, and exit through the bottom hole. Return through the center hole to the inside.
You should now have two thread ends inside and one long interior stitch running between the outer holes. Place the ends on opposite sides of that long stitch. Tie them around it with a square knot: right over left, then left over right. Pull snugly without crushing the fold or tearing the holes.
Order the steps: nest and clip sheets first
Check the physical dependencies in this pamphlet stitch example. Reorder the actions before trying the paper version.
One workable order
- Nest and clip sheetsClipped, nested sheets keep the fold stations aligned.
- Pierce aligned holesAligned holes provide one sewing route through every sheet.
- Sew the routeThe thread route creates the long inside stitch.
- Tie and turn pagesThe knot captures that long stitch and secures the thread ends.
Which check needs to come first?
The example shows one workable order. The knot captures that long stitch and secures the thread ends.
A booklet for one window-box experiment
Use the first page for “Window box, early spring” and the date. Give the next spread to a simple planting sketch, another to a list of what you used, and later pages to brief observations. The booklet's small scope makes it easy to find the notes together without adding another permanent planner system.
Leave a little inner margin beside the stitched fold. You can write close to the spine, but the thread should not sit under a long line of tiny text. A plain cover with one narrow paper label is enough. Keeping it thin makes the booklet pleasant to hold while you make notes.
Plan booklet title
Give the booklet a specific subject and write the observation that belongs on its first page.
Booklet title:Window box, early spring.
First useful observation:The back corner stays shaded after lunch.
Your words have a place now.
Give the booklet a specific subject and write the observation that belongs on its first page.
- Words on this card
- 16
Read the stitch before tightening it
If both thread ends emerge on the same side of the long interior stitch, move one end beneath that stitch before tying. Otherwise, the knot may fail to capture the long line properly. If the return needle pierces an existing thread strand, back it out and pass beside the strand through the same hole.
If a hole starts tearing, loosen the thread rather than pulling harder. A small thin-paper reinforcement on a practice booklet may help, but a badly torn crease is a reason to restart with fewer sheets. A loose stitch can usually be adjusted by easing slack through the route one section at a time.
See what the knot captures
At the center hole, confirm that the two loose ends lie on opposite sides of the long inside stitch before knotting.
Center out
The starting tail alone cannot secure the booklet.
Let the inside pages sit naturally
The inner sheets may project slightly beyond the outer sheets at the fore-edge. This is normal creep caused by nesting folded material. You can leave the small step, especially in a casual notebook. If you choose to trim, do it after sewing so the stack is held in its finished shape.
Avoid trimming the folded spine. Keep the cover plain until you know how the closed booklet sits. If you prefer rearrangeable pages, a nested-fold booklet held with a removable elastic is a different option; the sewn pamphlet is better when you already want the pages to stay in this order.
Finish with a gentle page-turn check
A good small binding holds the pages without asking the paper to carry excessive tension. Trim the thread tails to a manageable length, leaving enough that the knot isn't cut too closely. Turn every page, check that the center opens comfortably, and look for an accidentally trapped or skipped sheet.
Stop when the pages turn, the knot stays secure, and the cover closes without force. Write the first useful note before adding more decoration. The booklet can look simple and still be complete; its main achievement is keeping one small body of work together.
Where this idea began
Want to follow the idea further? These community discussions and maker references are a good place to start.
- Bookbinding help for a beginner
Replies suggest pamphlet binding for a short book and discuss how paper thickness limits a signature.
- The three-hole pamphlet binding method
The tutorial verifies the inside-center, top, bottom, center sewing route and knot around the long stitch.