Gather a few things See what you’ll need
- Colored paper scraps
- A dark or light paper base
- Pencil
- Scissors
- Glue stick
- Tweezers if useful
Choose an image with a broad outline
Start with a square window, a cup-sized block, or a simple band of hills. An intricate face asks very small scraps to do too much before you have practiced the spacing. A 10 × 10 cm base is enough for the first study and small enough to fit beside a journal entry.
Choose one color for the main shape and a second for its surroundings. Use a backing that differs clearly from both. The example uses a charcoal base, several pale blue scraps, and cream paper. These choices make the gaps easy to see without needing a dark outline drawn around every piece.
Cut a few useful shapes, not a mountain of confetti
Cut strips roughly 1 cm wide, then divide some into squares and short rectangles. Keep several longer pieces for the image's edges. The pieces don't have to be identical; a mosaic can mix sizes while still maintaining a consistent sense of spacing.
Put the two colors in separate small piles. Stop cutting when you have enough to cover about half the base loosely. You can make the remaining pieces as the design develops. Preparing hundreds of tiny squares before choosing the picture often produces more sorting work than useful material.
Let the Gaps Draw Your Paper Mosaic
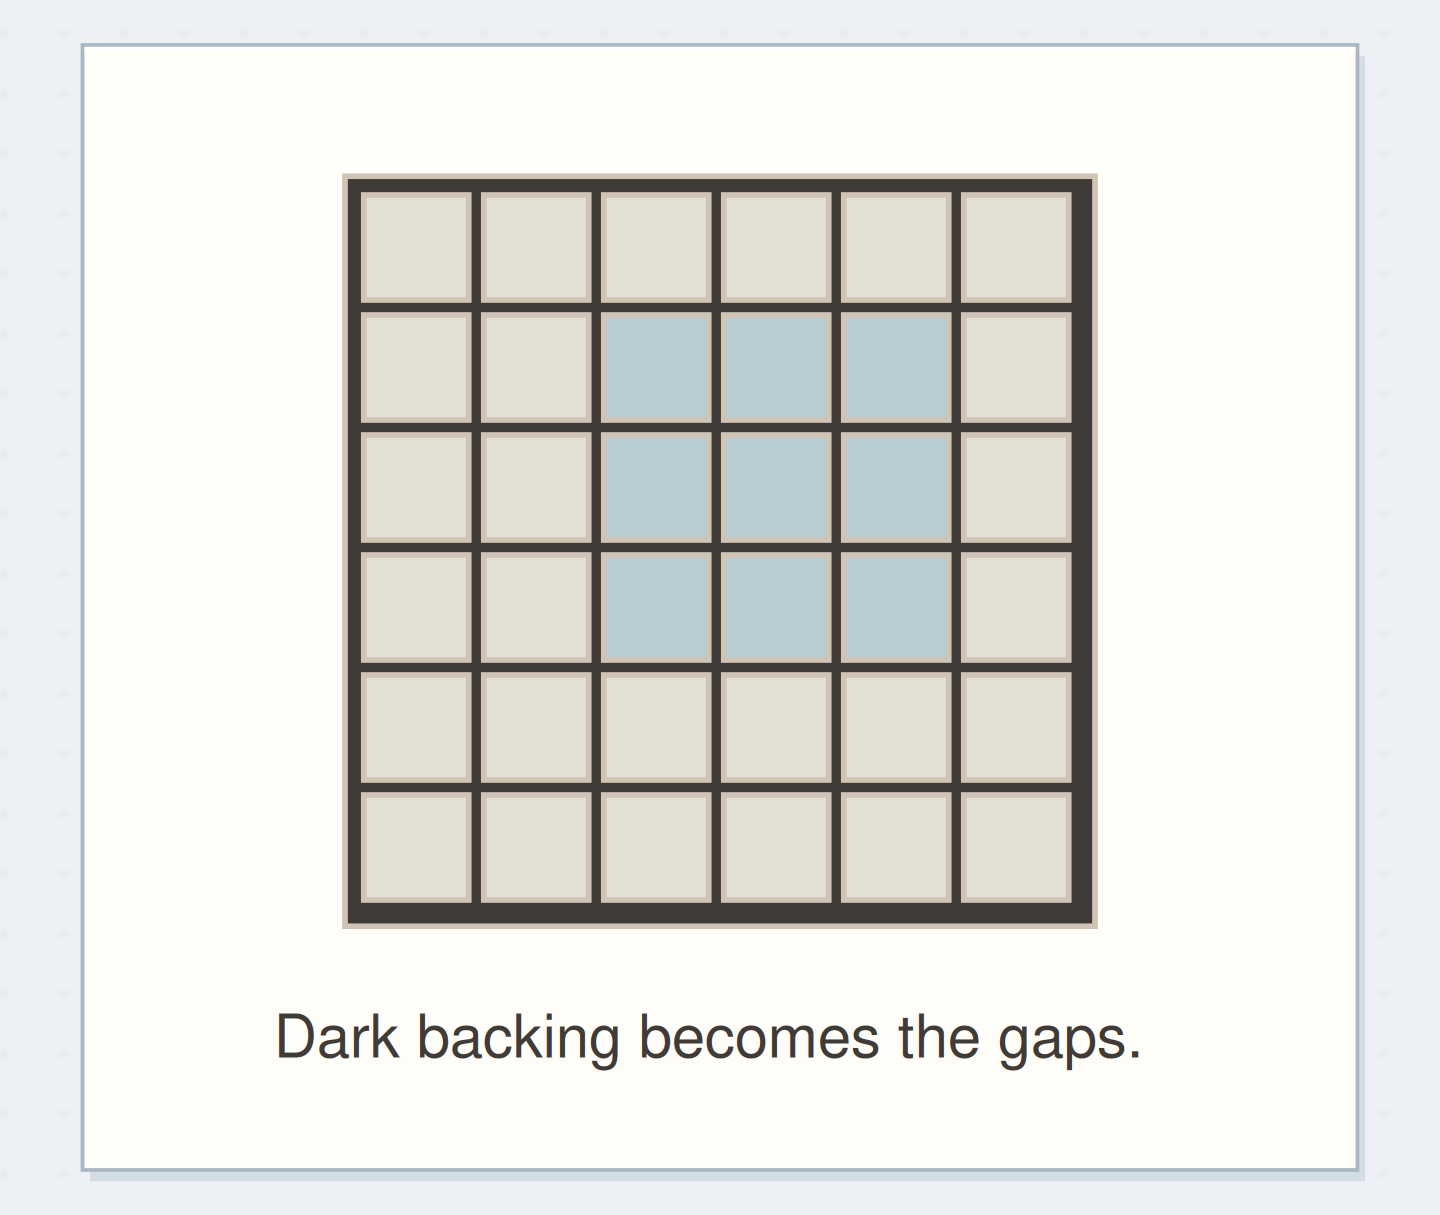
Watch the uncovered dark backing become the channels that separate a paper mosaic.
Choose the dark backing that will remain visible.
Small colored pieces and a dark backing. Use the article measurements for the physical version; the drawing is a schematic.
“The visible backing is part of the image.”
Place the outline and preserve a narrow channel
Sketch the main shape lightly on the base. Lay the first row of pieces near its edge, leaving about 1–2 mm between them. Use those first gaps as a visual reference rather than measuring every channel. The backing should connect through the whole design like a network of narrow paths.
Build outward or inward from that first row. Where a gap becomes a large hole, cut one piece to fit instead of filling it with several crumbs. Where pieces touch, move them apart before gluing. The mosaic effect depends on the visible separations, not on the number of pieces you can squeeze in.
Order the steps: dry-fit color areas first
Check the physical dependencies in this paper mosaic example. Reorder the actions before trying the paper version.
One workable order
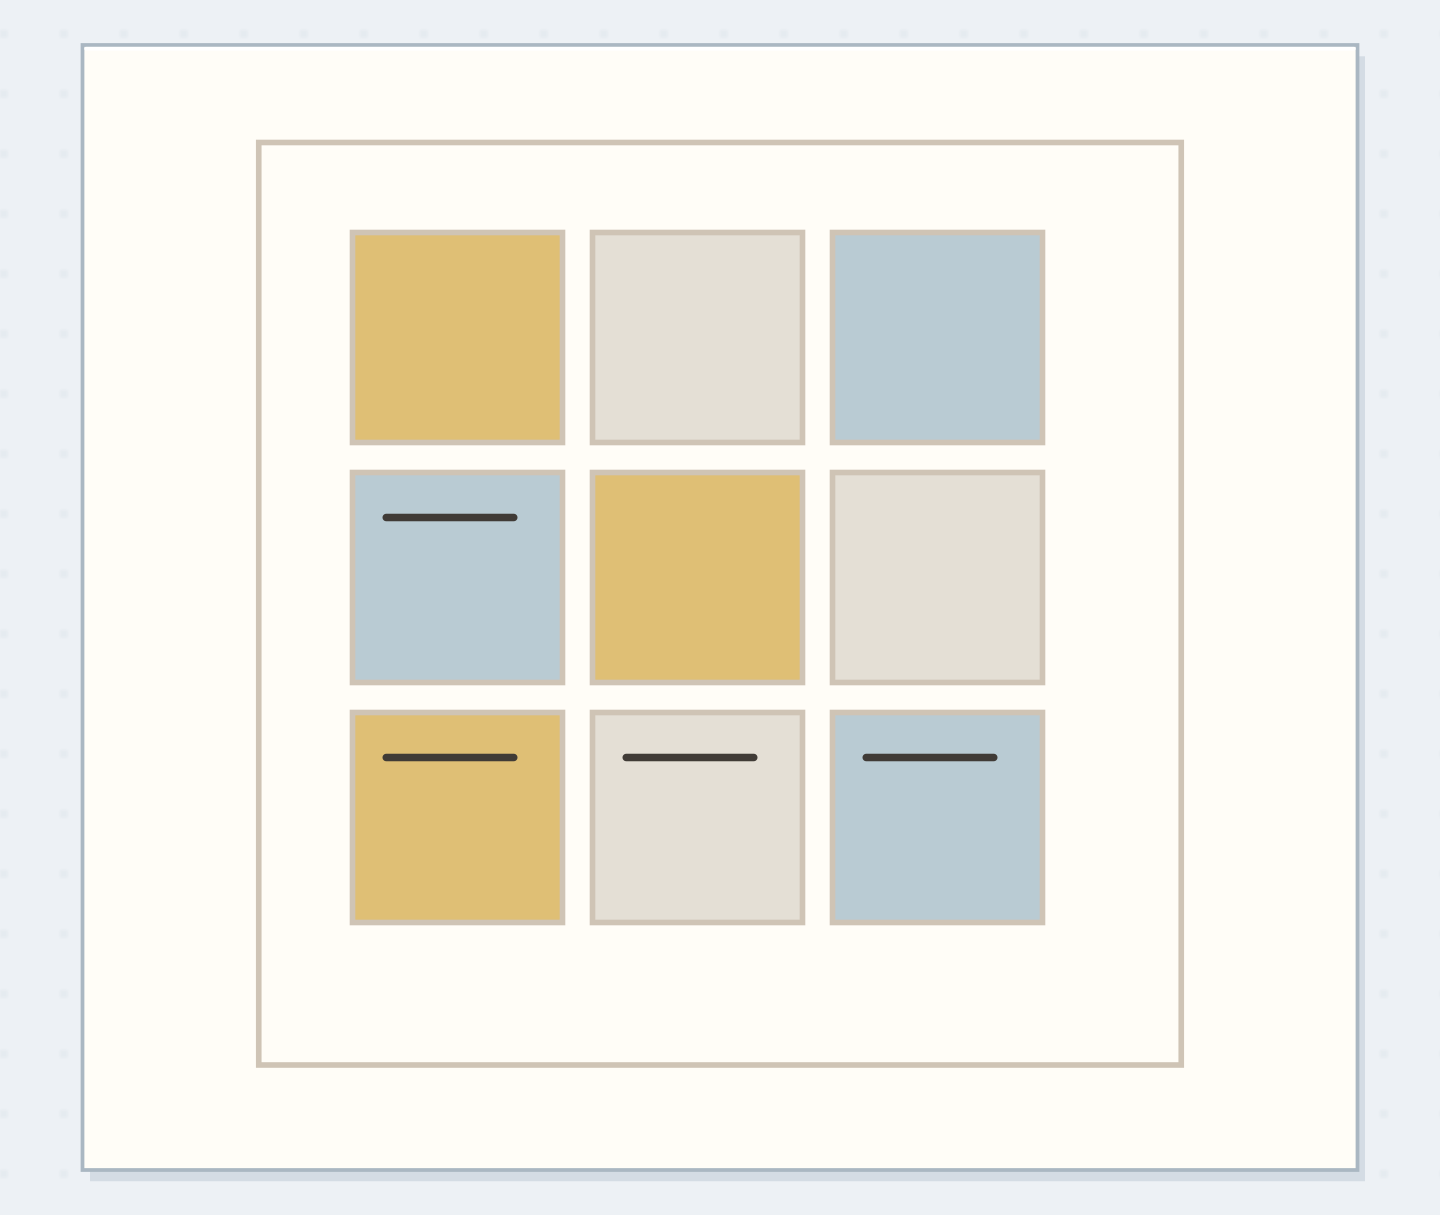
- Dry-fit color areasLoose color areas establish the picture without permanent placement.
- Check the open gapsChecking gaps ensures the backing remains visible.
- Glue small groupsGluing small groups preserves the checked spacing.
- Let the panel dryThe surface needs to dry before final handling and attachment.
Which check needs to come first?
The example shows one workable order. The surface needs to dry before final handling and attachment.
A blue window in an evening wall
On the charcoal square, mark a central window about 4 × 5 cm. Fill that shape with pale blue pieces, leaving a charcoal cross between four broad panes. Surround it with cream rectangles that suggest a wall. Keep a few charcoal channels between the cream pieces so the window doesn't float on an unrelated solid block.
Put the finished panel beside a note about seeing the kitchen light when you came home. The arrangement is an original, simplified memory image. It doesn't need architectural accuracy; the useful detail is the contrast between the blue window and the pale surroundings.
Plan words beside the window
Write the sentence beside the window and choose the backing that will show through its gaps.
Words beside the window:The takeaway window was still lit.
The backing color:Dark gray, visible between the cream pieces.
Your words have a place now.
Write the sentence beside the window and choose the backing that will show through its gaps.
- Words on this card
- 20
Move one small group at a time
Once the loose arrangement reads clearly, lift and glue a few neighboring pieces, then replace them in the same positions. A quick photograph can help if you expect to move the whole design, but small groups usually make that unnecessary. Keep the glue on the paper pieces rather than coating every exposed gap.
Use tweezers if they make small placements easier, or choose larger pieces if they don't. The project should suit your hands. Let the adhesive dry before brushing away loose crumbs. Wet glue in the channels can collect debris and blur the clean separation you worked to create.
See the backing become the grout
Look at the panel from reading distance and check that the blue window remains distinct from the cream wall.
Color areas
A partial color arrangement has not established the complete window.
Fix the biggest unclear area first
If the image disappears, stand back and look for the main light-dark boundary. Changing one edge piece may restore the shape more effectively than adding outlines everywhere. If the gaps dominate, replace several tiny pieces with one larger piece of the same color.
If a corner lifts, add adhesive beneath that corner and press it through clean paper. Avoid coating the whole mosaic with a thick shiny layer just to secure one edge. A journal panel doesn't need to imitate ceramic in every way; keeping the paper flexible is more useful than making it look hard and glossy.
Finish before every gap becomes a problem to solve
The visible backing is part of the image. Leave the narrow channels alone once the main shape is readable and the pieces are secure. Add the date and caption on the journal page, where the words can remain comfortable to read.
Stop when you can recognize the intended shape at normal reading distance and no loose edge catches your fingertip. Keep leftover pieces sorted by their two colors for another small study. A second mosaic can use the same scraps differently; it doesn't need to extend the first one until the whole spread is tiled.
Where this idea began
Want to follow the idea further? These community discussions and maker references are a good place to start.
- Trenton Road Takeout paper collage
The maker describes selecting magazine tones and combining cut and torn pieces in a mosaic-like image.
- Children's Museum of Illinois: Paper Mosaic
The museum demonstrates building an image from small colored paper pieces on a larger base.