Gather a few things See what you’ll need
- A dry paper collage
- Ruler and pencil
- Scissors
- Plain backing paper
- Glue stick
Use a sheet that can survive the cut
Begin with a dry, flexible collage about 9 × 9 cm or larger. A section of a masterboard is ideal. You can also use a painted practice sheet with a few thin scraps already attached. Avoid cutting through beads, staples, thick foam, or any material your scissors aren't made to handle.
If you are starting from loose scraps, cover a small paper base with overlapping pieces and let it dry. Keep this preparatory collage simple. The important change will happen after the cuts, so there is no need to perfect every overlap or create a complete picture at this stage.
Make a small, manageable tile set
Mark a 9 × 9 cm square on the reverse. Divide it into three 3 cm strips, then divide each strip into three squares. This produces nine tiles with no internal leftover. The measurements are an example; equal cuts matter more than the particular size.
Cut slowly through the dry layers. If a scrap edge catches, support it with a finger behind the cutting line rather than pulling it free. Put the tiles face up as you release them. Keeping the first set in its original order helps you see what the later rearrangement actually changes.
Cut a Busy Collage Into Quiet Little Tiles
Watch a single collage become nine separate details through equal cuts and open gaps.
Begin with one dry collage square.
The original 9 cm collage square. Use the article measurements for the physical version; the drawing is a schematic.
“The gaps are part of the composition, so leave them empty.”
Let the gaps become part of the design
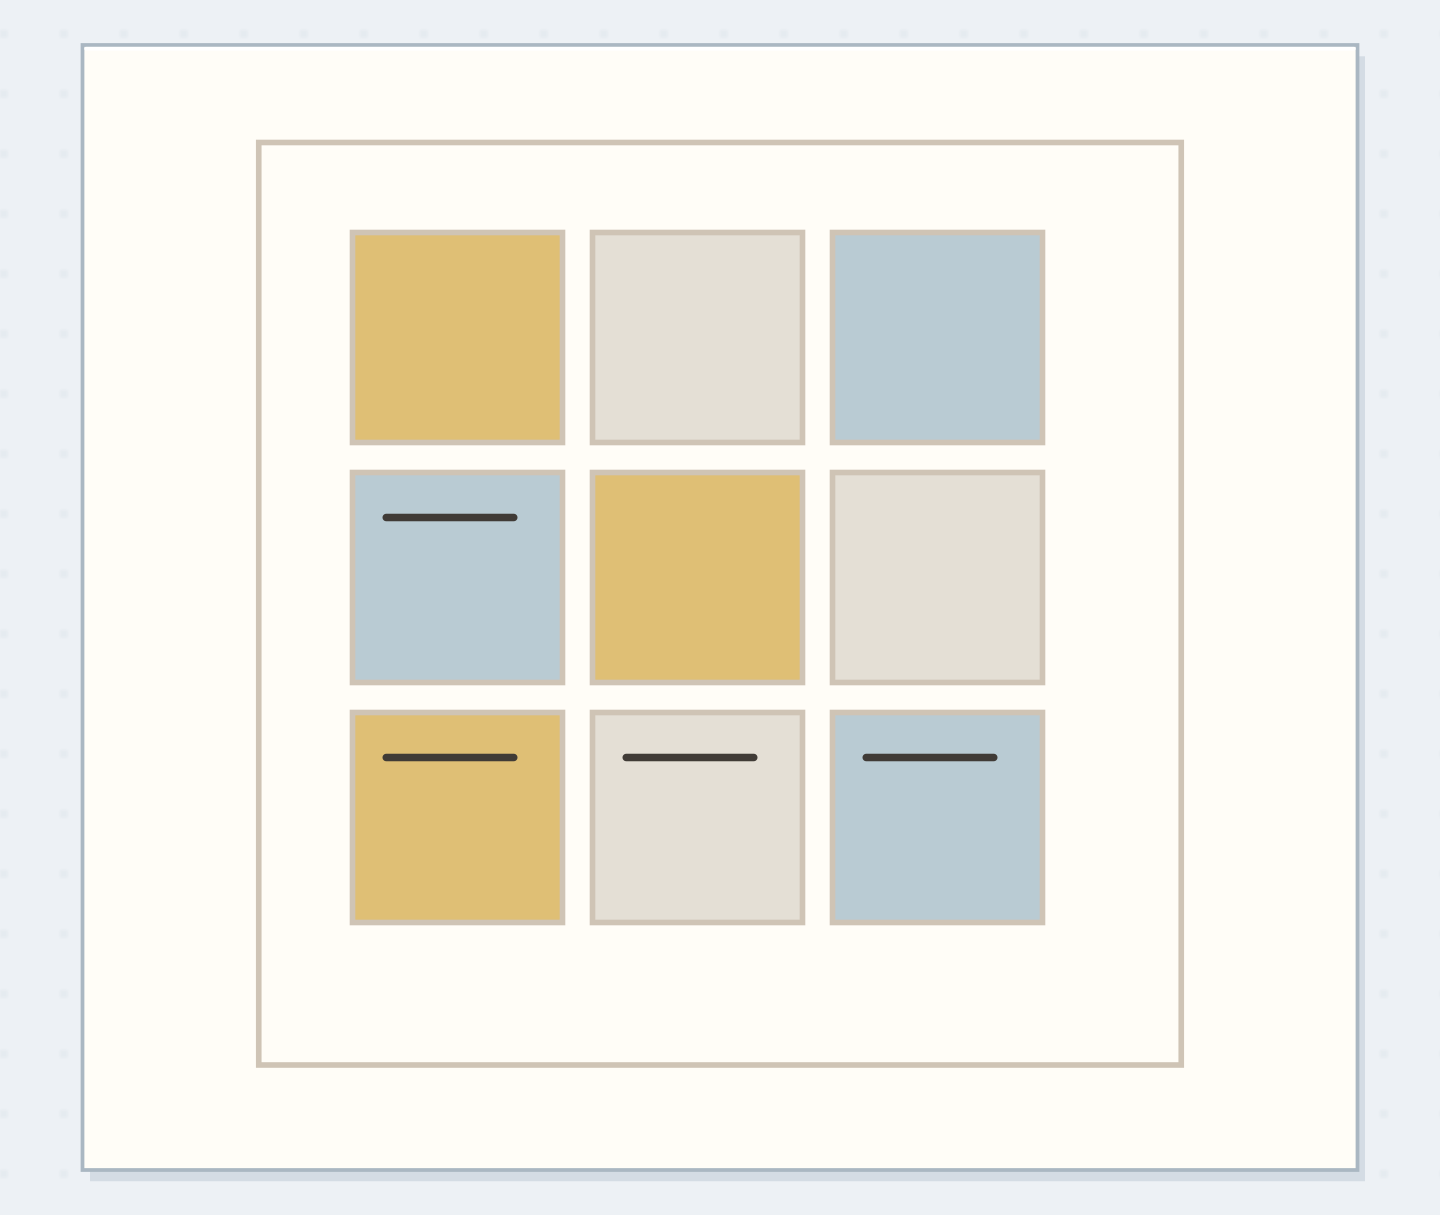
Place the nine tiles on a plain 12 × 12 cm backing. With 4 mm gaps between tiles, the tile group measures 9.8 cm across, leaving about 1.1 cm of backing on each outer side. This gives the paper fragments enough separation to read individually.
Now rotate three tiles by a quarter turn and move one dark tile away from another. You don't need a different arrangement for every square. Look for an uneven but balanced distribution of light and dark, with no single seam accidentally rebuilding the original busy patch.
Order the steps: dry the collage first
Check the physical dependencies in this serendipity example. Reorder the actions before trying the paper version.
One workable order
- Dry the collageA dry collage holds its layers during cutting.
- Cut equal squaresEqual cuts provide the nine units needed for this example.
- Arrange loose tilesLoose tiles can still be rotated and redistributed.
- Glue the arrangementGlue fixes the arrangement only after the spacing has been checked.
Which check needs to come first?
The example shows one workable order. Glue fixes the arrangement only after the spacing has been checked.
A small tiled memory of the kitchen table
Suppose your source sheet contains cream text, faded green packaging, and a brown paper bag. Put the brownest square in the lower-left corner, two green squares in separate rows, and the quieter pieces around them. Keep all nine squares aligned to the same grid even though their internal marks point different ways.
Attach the finished panel beside the sentence, “We stayed at the table after the cups were empty.” The tiles act as remembered colors rather than literal illustrations. Write the date below the panel on the journal page; tiny writing across nine separate textured tiles would be harder to read.
Plan sentence beside the tiles
Write the sentence first, then choose the tile color that belongs beside it.
Sentence beside the tiles:We stayed at the table after the cups were empty.
One color to repeat:Faded green.
Your words have a place now.
Write the sentence first, then choose the tile color that belongs beside it.
- Words on this card
- 20
When the panel feels fussy
If the panel resembles a jumble of stickers, increase the gaps before adding anything else. If the backing dominates, make the gaps slightly smaller. Move the loose pieces on a spare sheet rather than repeatedly peeling them from the final page.
Uneven squares are usable too. Align their centers or their bottom edges and let the variation show; don't force a crooked edge to pretend it is exact. If precision is important to you, trim only the noticeably oversized tiles. Chasing every fraction of a millimeter can make a small, enjoyable project unnecessarily demanding.
See what the gaps do
Place two spare tiles touching, then separate them by 4 mm; notice how the plain backing changes the boundary.
Source square
Touching tiles rebuild a crowded continuous surface.
Choose a strip when nine tiles are too much
Three squares in a row can support a heading or the bottom of a photograph. Four tiles can make a compact square. Keep the same gap throughout the chosen arrangement so the pieces look intentional even when they come from different areas of the source sheet.
A plain border around the whole group is optional. Try the tiles directly on the journal paper before adding another backing layer. This keeps the assembly thinner and lets the notebook's own color become the grid. For a page that already contains several images, a short strip will usually leave more useful writing room.
Glue only the arrangement you will use
The gaps are part of the composition, so leave them empty. Mark two faint outer corners, attach the first tile, and use a narrow waste-paper spacer while placing the next. Lift the spacer before the adhesive dries; it is a positioning aid, not another layer.
Stop when the tiles are secure, the caption has enough space, and no edge lifts under a light fingertip. Store spare tiles as one set. You can rearrange them another day, but you don't need to keep producing smaller pieces once you have enough for the page in front of you.
Where this idea began
Want to follow the idea further? These community discussions and maker references are a good place to start.
- Rose, gold and cream collage masterboard
The discussion explains cutting a large collage into tiles and adding bulky embellishments only after cutting.
- Serendipity technique
The tutorial identifies cutting and rearranging a scrap collage into squares as the central mechanism.