Gather a few things See what you’ll need
- A journal page
- One photo, card, or main paper piece
- Two or three smaller scraps
- Glue
- A pen
- Optional: tape or a sticker
Start with a loose stack or a cross
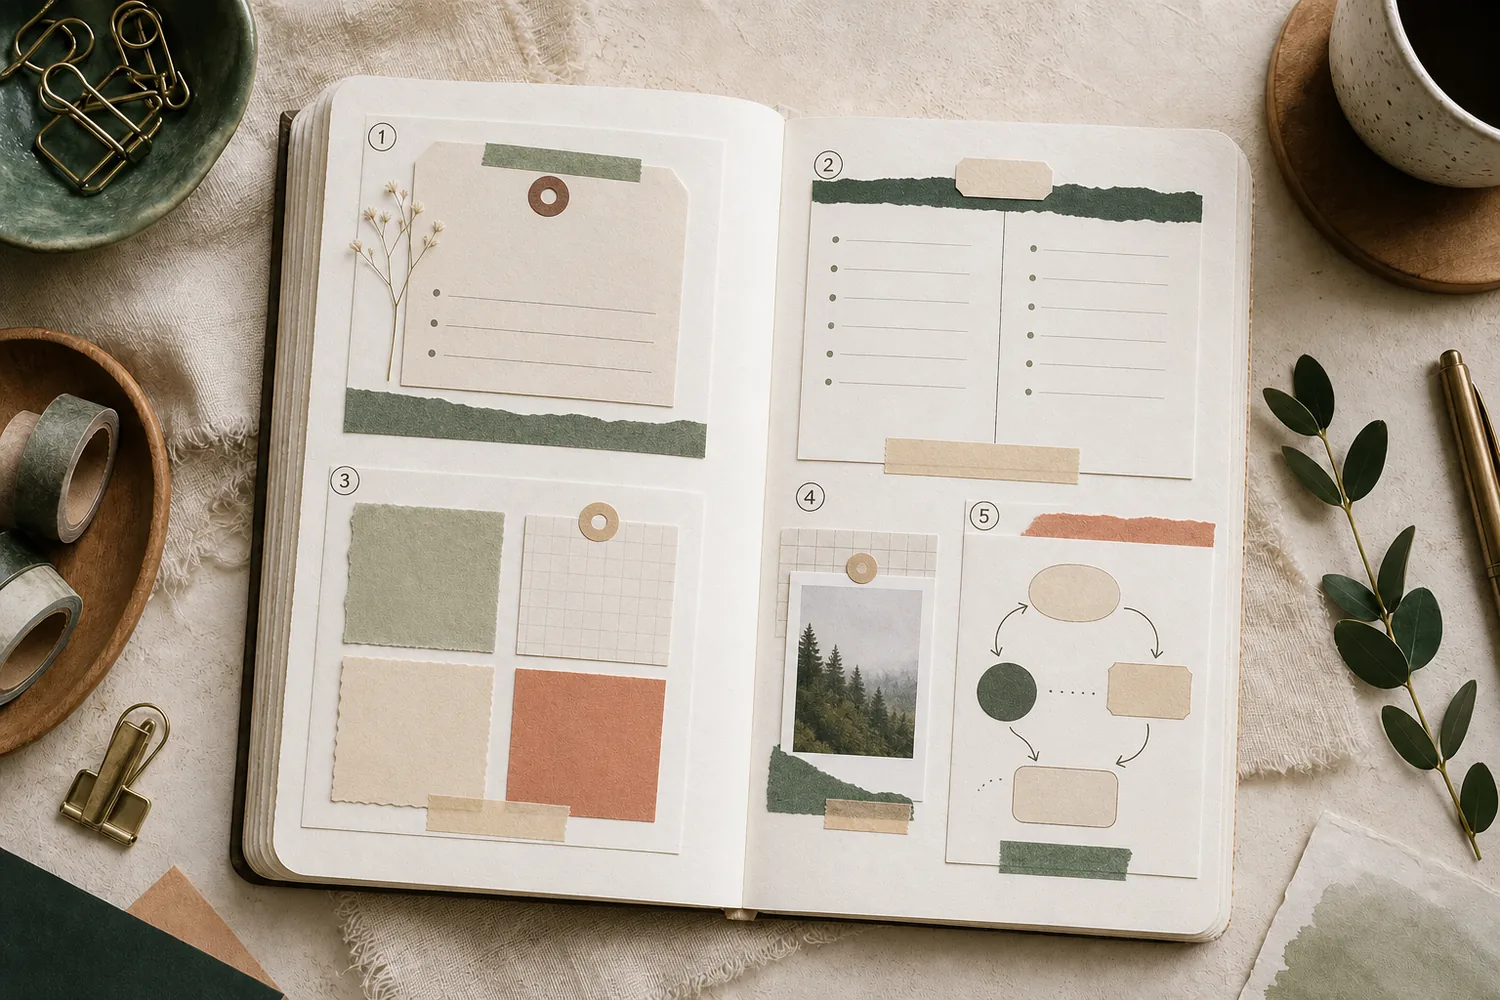
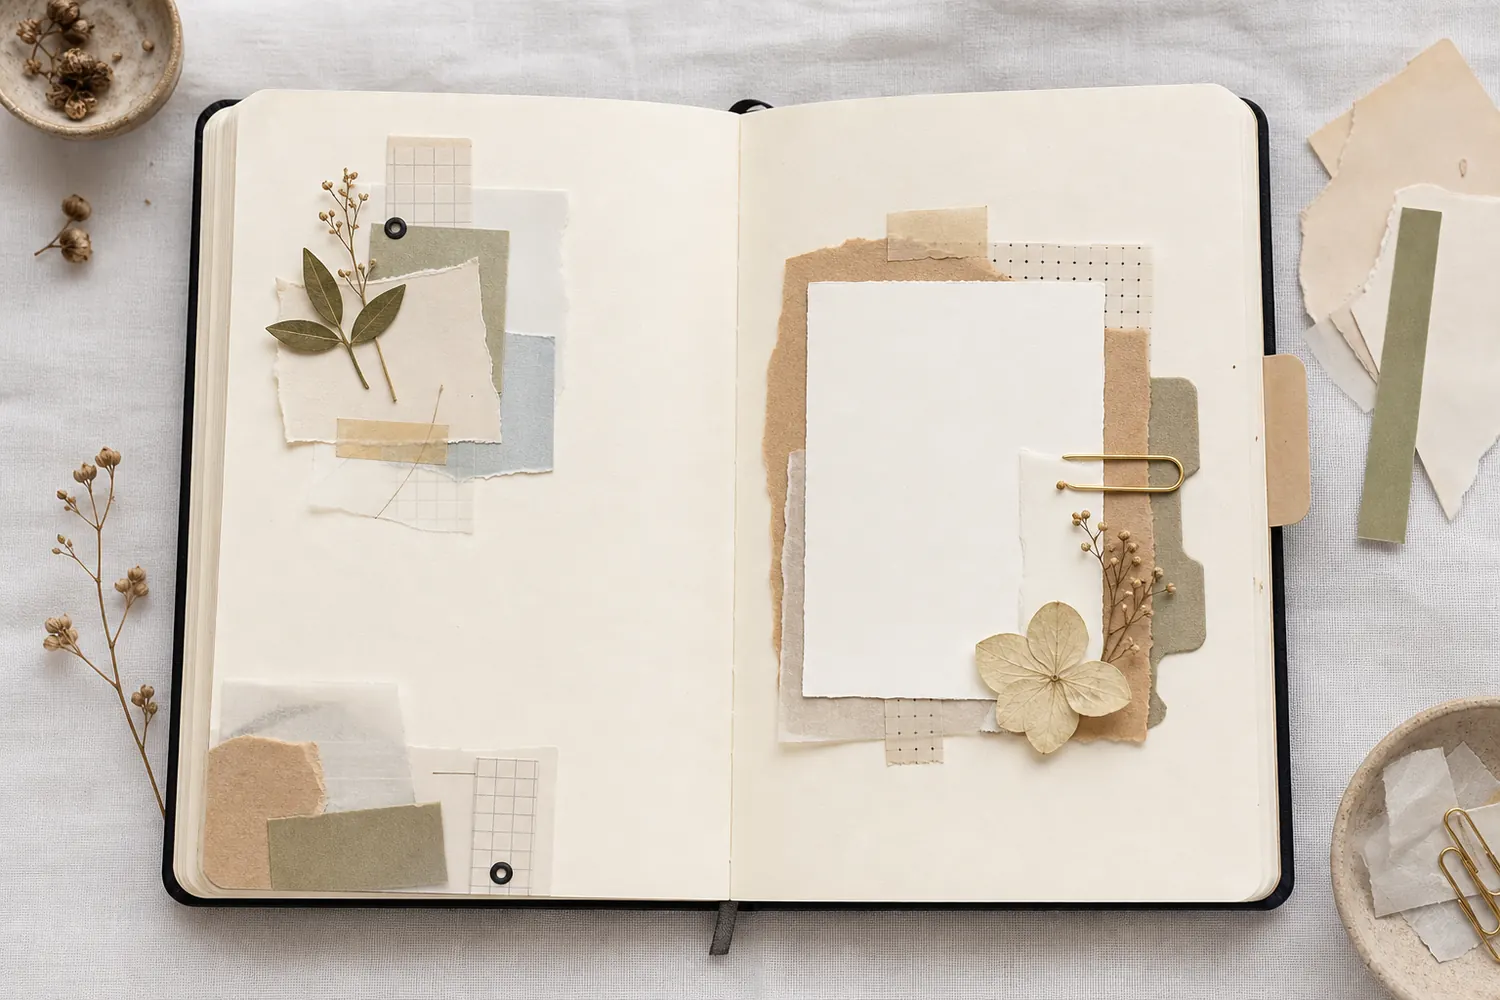
1. The loose stack. Place your main piece just off center. Slide one larger scrap behind it so an edge shows on two sides, then add a smaller label overlapping one corner. Write beside the stack. Keep the pieces close enough to feel like one group.
2. The cross. Lay one narrow paper strip vertically and another horizontally across it. Place the photo or card where they meet. Keep both strips slimmer than the main piece, and use an open corner for your words. If the crossing feels too heavy, shorten one strip before gluing.
Give the main piece a relationship with the scraps
Try one starting arrangement while keeping a clear area for the note.
Let a backing show on two sides of the main piece.
Place the main piece slightly off center and tuck one larger scrap behind it. A small label at a corner can join the group. Keep the pieces close so they act as one unit and leave a separate area where the entry can be written comfortably.
Work down a side or along the bottom
3. The side column. Arrange a photo and two smaller scraps down the left or right side of the page. Let their edges overlap slightly. Write in the remaining area, keeping a little breathing room between the words and the paper.
4. The bottom shelf. Build a low strip of overlapping scraps along the bottom of the page. Rest your main piece partly over it, then write above. Keep the shelf shallow enough that the page still has an obvious place for the entry. One torn strip and a label may be all it needs.
“The layout has done its job when you can pay attention to the page’s story again.”
Try a corner gathering or a gentle diagonal
5. The corner gathering. Put the largest piece near one corner and tuck two smaller pieces beside or behind it. Leave the opposite side open for writing. Keep the cluster a little inside the page edge so small details won’t get caught when you close the journal.
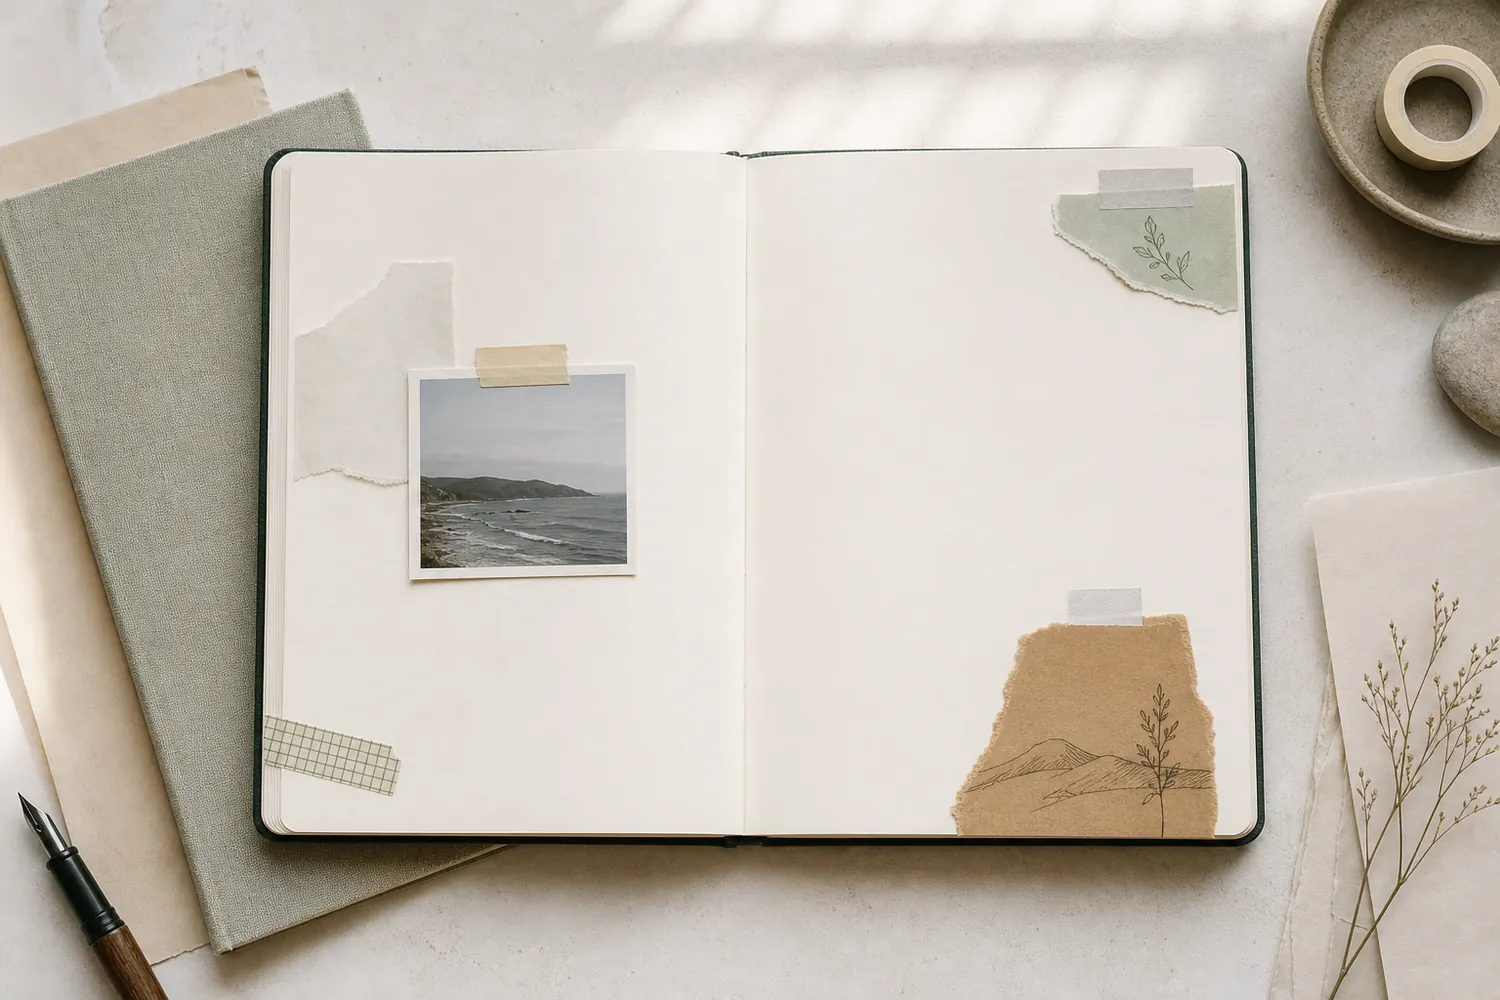
6. The diagonal. Place a small detail near the upper-left, the main piece around the middle, and another detail toward the lower-right. They can overlap or sit close together. Write in one of the open areas beside that line. If your eye keeps jumping between three equal objects, make the supporting pieces smaller.
Make the supporting pieces smaller along the diagonal
Keep their approximate direction and change only how much they demand.
Three equal demands
The diagonal is present, but three similarly sized objects ask for comparable attention. The route does not establish which piece carries the memory.
Use rows or a small grid when you want order
7. The two rows. Put a photo and a small paper piece in the top row. Let a title or short note make the lower row. Align one edge across both rows; the other edges can stay loose. This works well for a small event with one picture and a few lines of context.
8. The small grid. Draw or arrange four similarly sized areas with visible gaps between them. Fill three with images, scraps, or tiny drawings, and use the fourth for words. You don’t need four decorations. Check that your handwriting fits comfortably before attaching the other pieces.
Choose the structure from the number of things you have
Compare a row, a small grid, and a partial frame around the same need for words.
Two rows can give the image and words separate jobs.
Use an upper row for the image and one supporting piece, then let the lower row hold the note. Align one edge across both rows. This gives a small event a simple structure without making four compartments that you have no material to fill.
Frame the memory or leave the center for words
9. The partial frame. Place two paper strips beside adjacent edges of your photo, making a loose L shape. Add the date nearby and write below. Leave the other two sides open; a complete border can make a small page feel tighter than you expected.
10. The open center. Place a few flat scraps around two or three page edges, leaving the middle clear. Write in that open space. Lay down the words first if you tend to overdecorate, then add the paper around them. You can draw little edge details instead if you’re working with only a pen.
Pick one, test the writing space, then glue
Arrange your pieces loosely and look for three things: a main piece you notice first, room for the actual entry, and edges that won’t catch in the fold. Write a few sample lines on scrap paper if you’re unsure how much room you need.
If the page still feels busy, take away one supporting piece before rearranging everything. If the words disappear against a pattern, write on a plain patch. If the layout feels stiff, shift one smaller piece slightly; you don’t have to tilt the whole page.
Glue once the arrangement supports the memory you want to keep. Add the date and your note, then stop when both are easy to find. The layout has done its job when you can pay attention to the page’s story again.
Test what the collage needs to do before fixing it
Reorder the steps so the chosen arrangement keeps both the words and the page usable.
One workable order
- Place the main piece and supports looselyA complete loose arrangement lets you see which piece leads and where the gaps remain.
- Test the actual note in its reserved spaceA few real sample lines reveal whether the planned writing area is comfortable.
- Hold the pieces and test the page turn and closingThe collage needs to work inside this book before its edges are fixed.
- Glue the arrangement after any needed editsAttach once the writing space and page movement have both been checked.
Which check needs to come first?
The example shows one workable order. The writing and closing checks can swap order; neither should be postponed until everything is attached.
Where this idea began
This guide grew from our original Instagram post. The examples and explanations here expand on that idea so you can try it at your own pace.