Gather a few things See what you’ll need
- A dry paper collage
- Ruler and pencil
- Scissors
- Plain backing paper
- Glue stick
Choose an exercise 4 things to try as you read
Use a sheet that can survive the cut
Choose a dry, flexible collage at least 9 × 9 cm, with thin layers your scissors can handle safely. Leave beads, staples and thick foam out of this cut plan. If you are starting from loose scraps, cover a small base with simple overlaps and let it dry fully. The nine cuts will change the arrangement, so the source sheet does not need a polished composition.
ONE WORKED EXAMPLE
A crowded sheet becomes a quiet grid
You have a dry collage of green packaging, cream text and brown paper. You want it beside a short kitchen memory, but the uninterrupted patch feels too busy.
Before
Large overlaps run into one another and the caption has no clear place to sit beside the continuous patterned area.
After
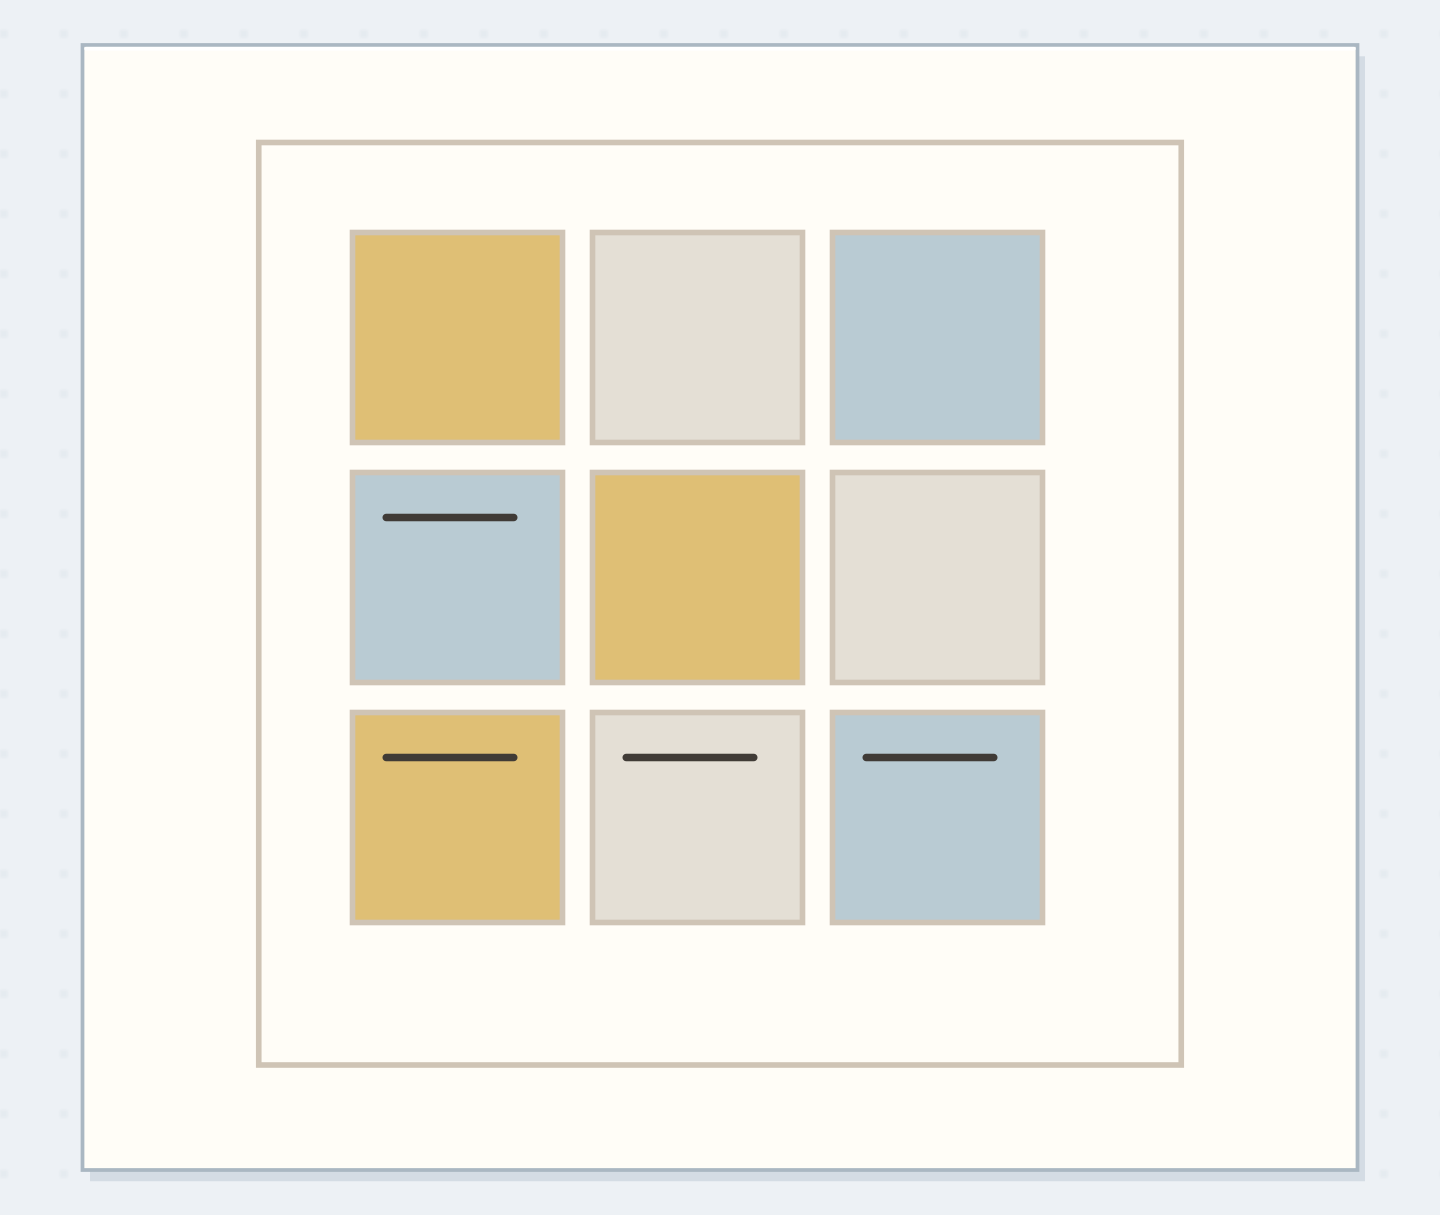
Nine 3 cm tiles sit on a 12 × 12 cm backing with 4 mm gaps, making a 9.8 cm group. The brownest tile anchors one corner; the caption stays on plain journal paper beside the group.
What changed—and what to check
The empty gaps let separate fragments read individually. Keeping the sentence off the textured tiles prevents the new grid from consuming its reading space.
Try this check. Check the two internal gaps across a row and confirm that the caption remains on a comfortably readable plain area.
Feel like adding another paper layer?
The Washi Tape ShopAffiliate links: we may earn a commission if you buy through these links.
Make a small, manageable tile set
Mark a 9 × 9 cm square on the reverse. Divide it into three 3 cm strips, then cut each strip into three squares: nine equal tiles without internal leftovers. These are example dimensions, so another size is fine if the cuts stay equal. Cut through dry layers slowly. Support a catching edge behind the cutting line instead of pulling it, and lay tiles face up in their original order.
Compare the optionsCut a Busy Collage Into Quiet Little Tiles
Cut a Busy Collage Into Quiet Little Tiles
Watch a single collage become nine separate details through equal cuts and open gaps.
Begin with one dry collage square.
The original 9 cm collage square. Use the article measurements for the physical version; the drawing is a schematic.
Let the gaps become part of the design
Arrange the tiles on a plain 12 × 12 cm backing. With 4 mm gaps, the group measures 9.8 cm across and leaves about 1.1 cm on each side. Rotate three tiles by a quarter turn and separate neighboring dark tiles. Keep enough space for each fragment to read individually. Check that an accidental seam has not rebuilt the busy patch you wanted to break apart.
Try a what-ifA useful phrase sits across the cut lines
A useful phrase sits across the cut lines
Choose what to preserve before making irreversible cuts.
Your planned tile grid divides a printed phrase you want to keep readable. You like the surrounding texture, but the phrase itself matters to the entry.
Compare the three choices
What would preserve both roles most clearly?
- Cut first and rely on rotating the fragments to recover the full phrase.
Rotation may make a new pattern, but it does not guarantee that every part of the phrase survives the cuts.
- Shrink the grid unevenly around each word.
That can protect words, but changes the equal-tile plan and may create awkward gaps you would need to redesign.
- Keep a copy or intact excerpt of the phrase beside the tiles.
The tiles can supply texture while the separate readable phrase retains its meaning. Decide this before cutting the original area.
Keep words as words when their meaning matters; let the tiles carry the texture.
What would you try?
Choose an option to see what it would do. You can explore all three.
A small tiled memory of the kitchen table
Try cream text, faded green packaging, and a brown paper bag in the source collage. Put the brownest tile at lower left, two green tiles in separate rows, and quieter pieces around them. Align all nine to the same grid. Place the panel beside “We stayed at the table after the cups were empty.” Write the date on the journal page below; writing across textured tiles is harder to read.
Write your versionPlan sentence beside the tiles
Plan sentence beside the tiles
Write the sentence first, then choose the tile color that belongs beside it.
Sentence beside the tiles:We stayed at the table after the cups were empty.
One color to repeat:Faded green.
Your words have a place now.
Write the sentence first, then choose the tile color that belongs beside it.
- Words on this card
- 20
GO A LITTLE FURTHERWhen the panel feels fussy
When the panel feels fussy
If the panel looks like a jumble of stickers, widen the gaps before adding details. If too much backing shows, narrow them. Rearrange loose tiles on spare paper to avoid repeated peeling. Uneven squares can work when their centers or bottom edges align. If you want a precise grid, trim only noticeably oversized tiles; repeatedly correcting tiny differences can leave you with an unnecessarily smaller set.
See the differenceSee what the gaps do
See what the gaps do
Place two spare tiles touching, then separate them by 4 mm; notice how the plain backing changes the boundary.
Source square
Touching tiles rebuild a crowded continuous surface.
GO A LITTLE FURTHERChoose a strip when nine tiles are too much
Choose a strip when nine tiles are too much
Try three squares beneath a photograph if a nine-tile panel takes too much of your writing space. Four can make a smaller square group. Keep their gaps consistent and dry-fit directly on the journal page before adding backing; using the page itself saves one layer. A few spare tiles can remain together for another entry.
Glue only the arrangement you will use
Mark two faint outer corners around your chosen arrangement, then attach the first tile. Use a narrow waste-paper spacer for each gap and remove it before the adhesive dries. Keep the gaps empty and check for lifting edges after the bond sets. Store unused tiles as one set, with the source sheet if any remains, so they are easy to try beside a future photograph.
Feel like adding another paper layer?
The Washi Tape ShopAffiliate links: we may earn a commission if you buy through these links.
Where this idea began
The linked discussion and tutorial describe the established serendipity technique: collage, cut, and rearrange. The nine-tile measurements are this guide’s practice layout.
The method references explain the underlying ideas. Community links show the questions and experiences that helped shape this guide; they are not a popularity ranking. The worked examples here are our own.
- Community discussionRose, gold and cream collage masterboard
The discussion explains cutting a large collage into tiles and adding bulky embellishments only after cutting.
- Method referenceSerendipity technique
The tutorial identifies cutting and rearranging a scrap collage into squares as the central mechanism.