Gather a few things See what you’ll need
- Thin paper strips in two colors
- Four small paper bases
- A plain panel backing
- Ruler and pencil
- Scissors
- Glue stick
Make one block size the common rule
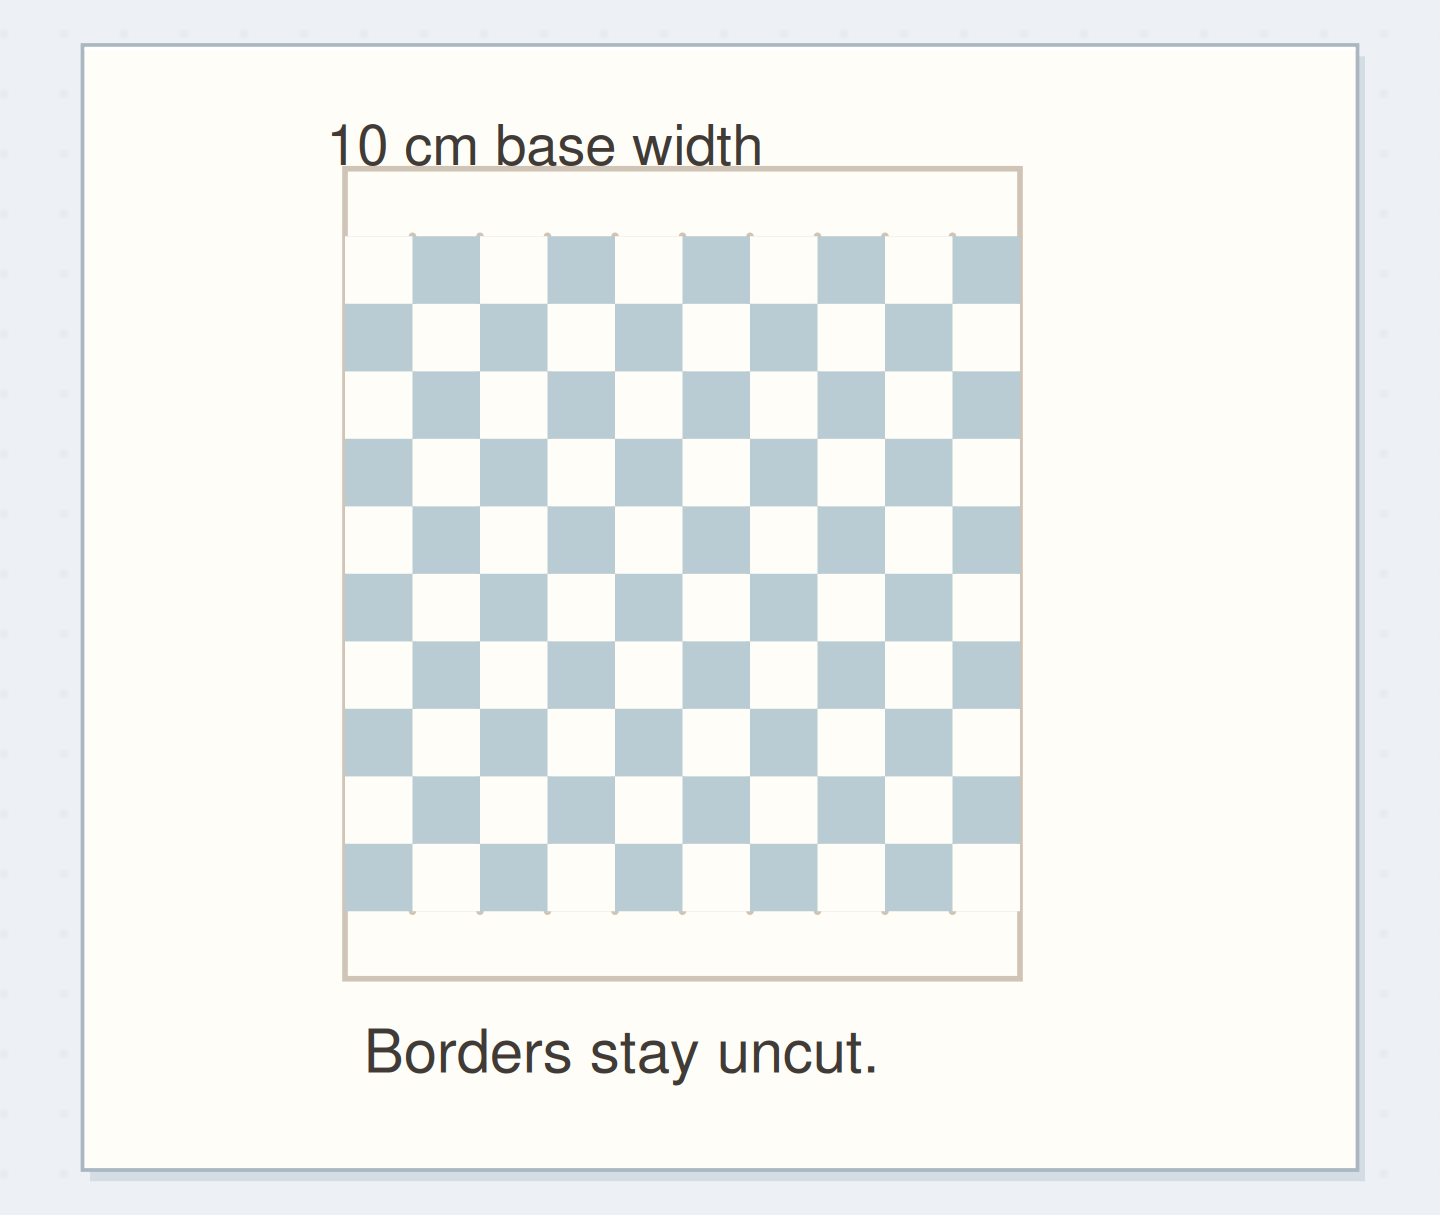
Cut four thin 4 × 4 cm paper bases. These are small enough to use ordinary offcuts but large enough to hold while gluing. Choose two paper colors with visible contrast, such as cream and dark blue. Remove adhesive lumps or thick coatings before treating a scrap as a flat strip.
Each block will contain four strips measuring 1 × 4 cm, placed edge to edge. Across all four blocks, that means sixteen strips: eight cream and eight blue. You can start with longer 1 cm strips and trim them after attaching, but don't assume a short scrap will stretch across a full block.
Cover the base with alternating bands
Lay four strips across one base in cream, blue, cream, blue order. Check that their combined width covers the 4 cm square. Small measurement differences can be handled by adjusting the last strip, but large overlaps will add a ridge that interrupts the flat paper surface.
Glue the strips down one at a time with a light, even layer, keeping their long edges together. Let the block dry, then trim any overhanging ends to the base. Make the other three blocks the same way. At this stage, repetition is useful because the next step changes their relationship without needing different materials.
Arrange Paper Strips Like Four Tiny Quilt Blocks
Change the direction of two matching blocks and watch the pattern change without adding colors.
Four one-centimeter strips cover one square.
Four 1 cm strips cover one 4 cm square. Use the article measurements for the physical version; the drawing is a schematic.
“A small repeated pattern can finish a page without becoming a full-page background.”
Turn the units before you attach them
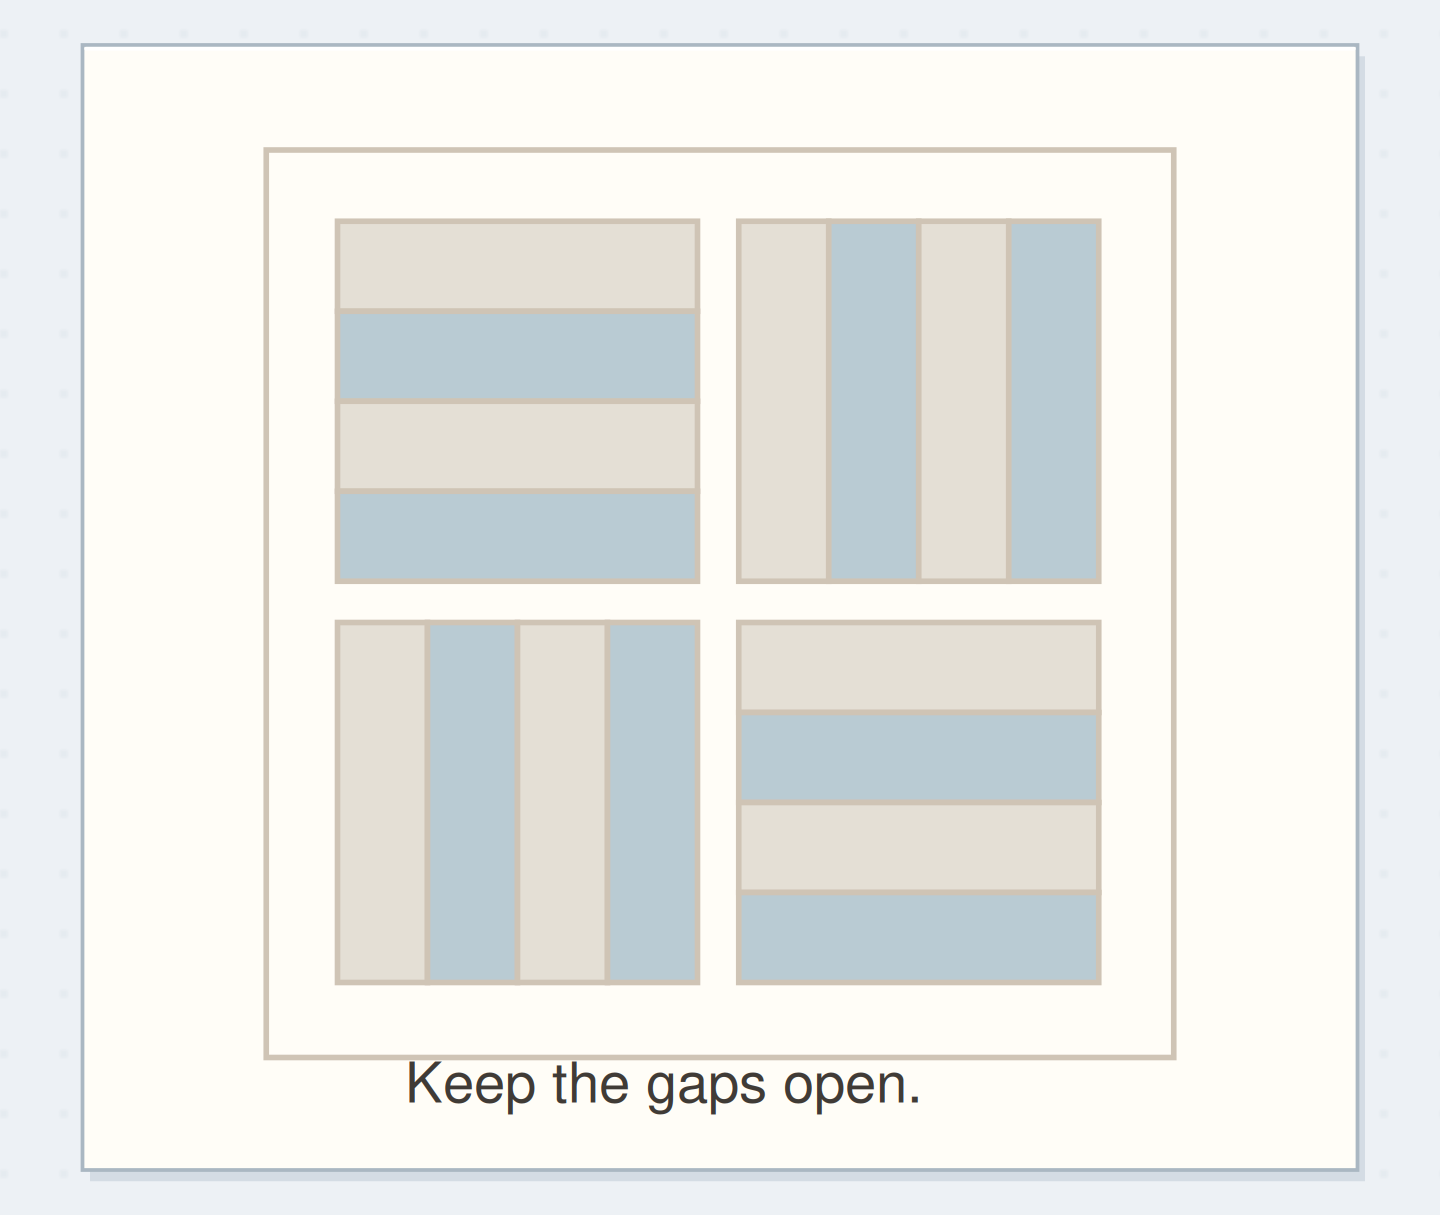
Place the four blocks in a two-by-two square on a plain backing. Begin with every stripe running horizontally. Now rotate the upper-right and lower-left blocks by a quarter turn so their stripes run vertically. The colors stay the same, but the meeting edges produce a different rhythm.
Leave the blocks loose while comparing the two arrangements. A shared direction feels like one striped surface; alternating directions makes four separate units clearer. Neither is a universal improvement. Choose the arrangement that supports the nearby writing, and check it at the size you will actually see in the journal.
Order the steps: make four strip blocks first
Check the physical dependencies in this paper quilt example. Reorder the actions before trying the paper version.
One workable order
- Make four strip blocksThe four units need to exist before their directions can be compared.
- Let them dryDry blocks can move without their internal strips sliding.
- Compare orientationsComparing loose arrangements keeps the directional choice reversible.
- Glue the chosen arrangementGlue fixes the arrangement after that comparison.
Which check needs to come first?
The example shows one workable order. Glue fixes the arrangement after that comparison.
A small panel for the kitchen table
For a page about a long breakfast, use cream paper from an envelope and blue from a plain leaflet margin. Put the blocks on a 10 × 10 cm backing with 4 mm between them. The group measures 8.4 cm across, leaving 8 mm of border on each side when centered.
Choose the alternating orientation and glue down one block at a time, keeping the gaps open. Add the words “We stayed at the table” beside the finished panel, rather than on top of the stripes. The paper pattern supplies a domestic texture while the sentence carries the actual memory.
Plan the two paper colors
Choose two contrasting scrap colors and one sentence that the small patchwork panel will accompany.
The two paper colors:Cream envelope paper and a dark blue margin.
Sentence beside the patchwork:We stayed at the table.
Your words have a place now.
Choose two contrasting scrap colors and one sentence that the small patchwork panel will accompany.
- Words on this card
- 21
Rescue a block before changing the whole set
If a block is slightly uneven, trim all four to the smallest useful shared size before arranging them. Recalculate the outer border or simply center the group by eye on a larger backing. Don't keep cutting one corner until the block becomes noticeably smaller than its neighbors.
If a strip lifts, put a little glue under that strip and press it flat. If the color contrast disappears at reading distance, replace one color in a single test block before rebuilding the set. A thin plain border around the group may help, but extra borders cannot create a distinction between nearly identical stripes.
Compare shared and alternating stripe directions
Compare the loose all-horizontal and alternating arrangements, then leave 4 mm gaps in the one you prefer.
Four copies
All four blocks initially have the same horizontal direction.
Change one relationship at a time
Turn all four blocks by the same amount, reverse the color order in two blocks, or use one wider cream stripe beside narrower blue ones. These changes ask different questions. Keep the block size stable while testing them so you can see the effect of direction or proportion clearly.
Paper-strip patchwork differs from weaving: the strips sit side by side on a backing and never pass over or under one another. It also differs from serendipity tiles, where fragments come from a previously mixed collage. Here, the repeated internal structure of each block creates the pattern.
Let the four blocks be enough
A small repeated pattern can finish a page without becoming a full-page background. Attach the dry panel where it has room to bend with the journal leaf, then check that the caption remains the first readable information. Keep adhesive and layered edges away from a tight central fold.
Stop when the four blocks are flat, their spacing is deliberate, and the words are in place. Save only the strips long enough for another known block size. The next variation can use different paper, but it doesn't need more blocks to make the directional change worth noticing.
Where this idea began
Want to follow the idea further? These community discussions and maker references are a good place to start.
- Quilt-along discussion including paper quilt squares
An indexed participant reports making paper quilt squares as a playful material variation.
- WheatonArts: Paper Quilt Squares
The arts center demonstrates arranging colored paper shapes on a grid to explore quilt-like patterns.