Gather a few things See what you’ll need
- Thin paper scraps
- A 15 × 20 cm paper base
- Glue stick
- Ruler and pencil
- Scissors
Choose an exercise 4 things to try as you read
Give the future pieces somewhere to go
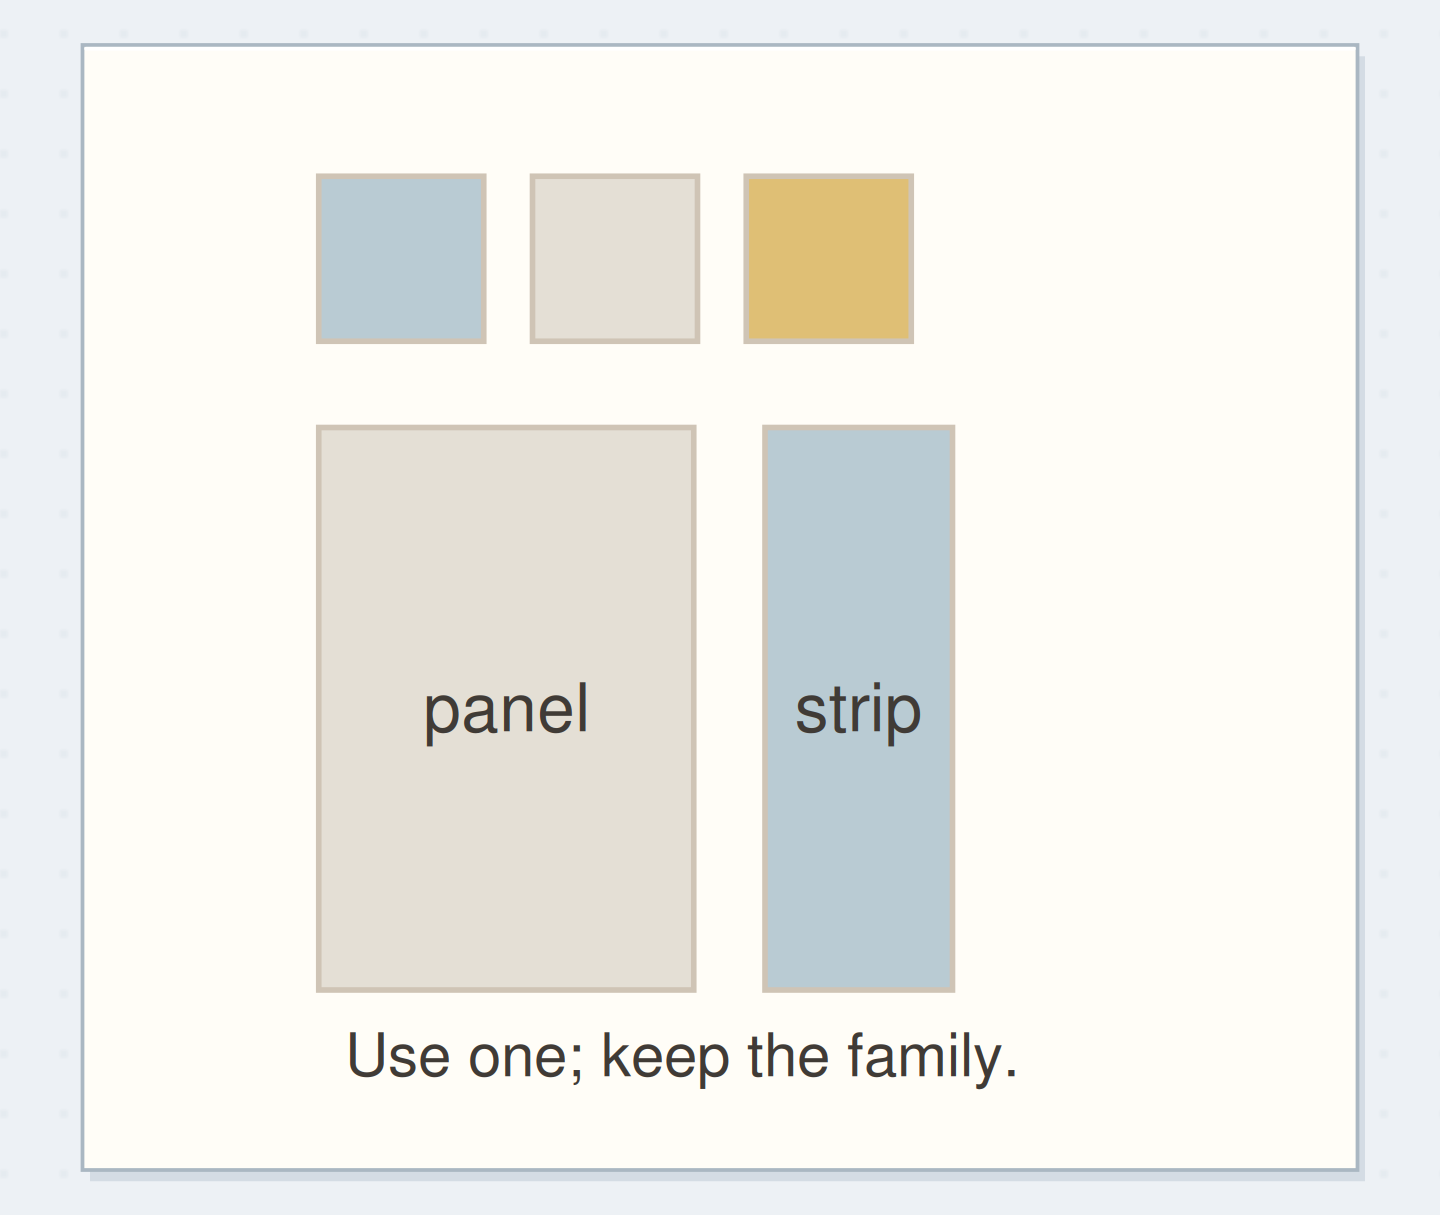
Choose two or three real uses before covering the base: a date strip, a panel beside a photograph, or labels. Measure their spaces. For this example, use a 15 × 20 cm base. Mark a 15 × 5 cm top strip for three 5 × 5 cm squares. Divide the remaining 15 × 15 cm area into a 10 × 15 cm panel and a 5 × 15 cm strip. Pencil the plan on the reverse.
ONE WORKED EXAMPLE
A square for the rainy-day caption
You want a blue-and-cream piece beside a short rainy-day caption and a larger panel behind a photograph. One flexible 15 × 20 cm collage will supply both uses and some pieces to keep.
Before
The scraps are attractive across the whole sheet, but an important printed image sits across a future cut and would be split between unrelated pieces.
After
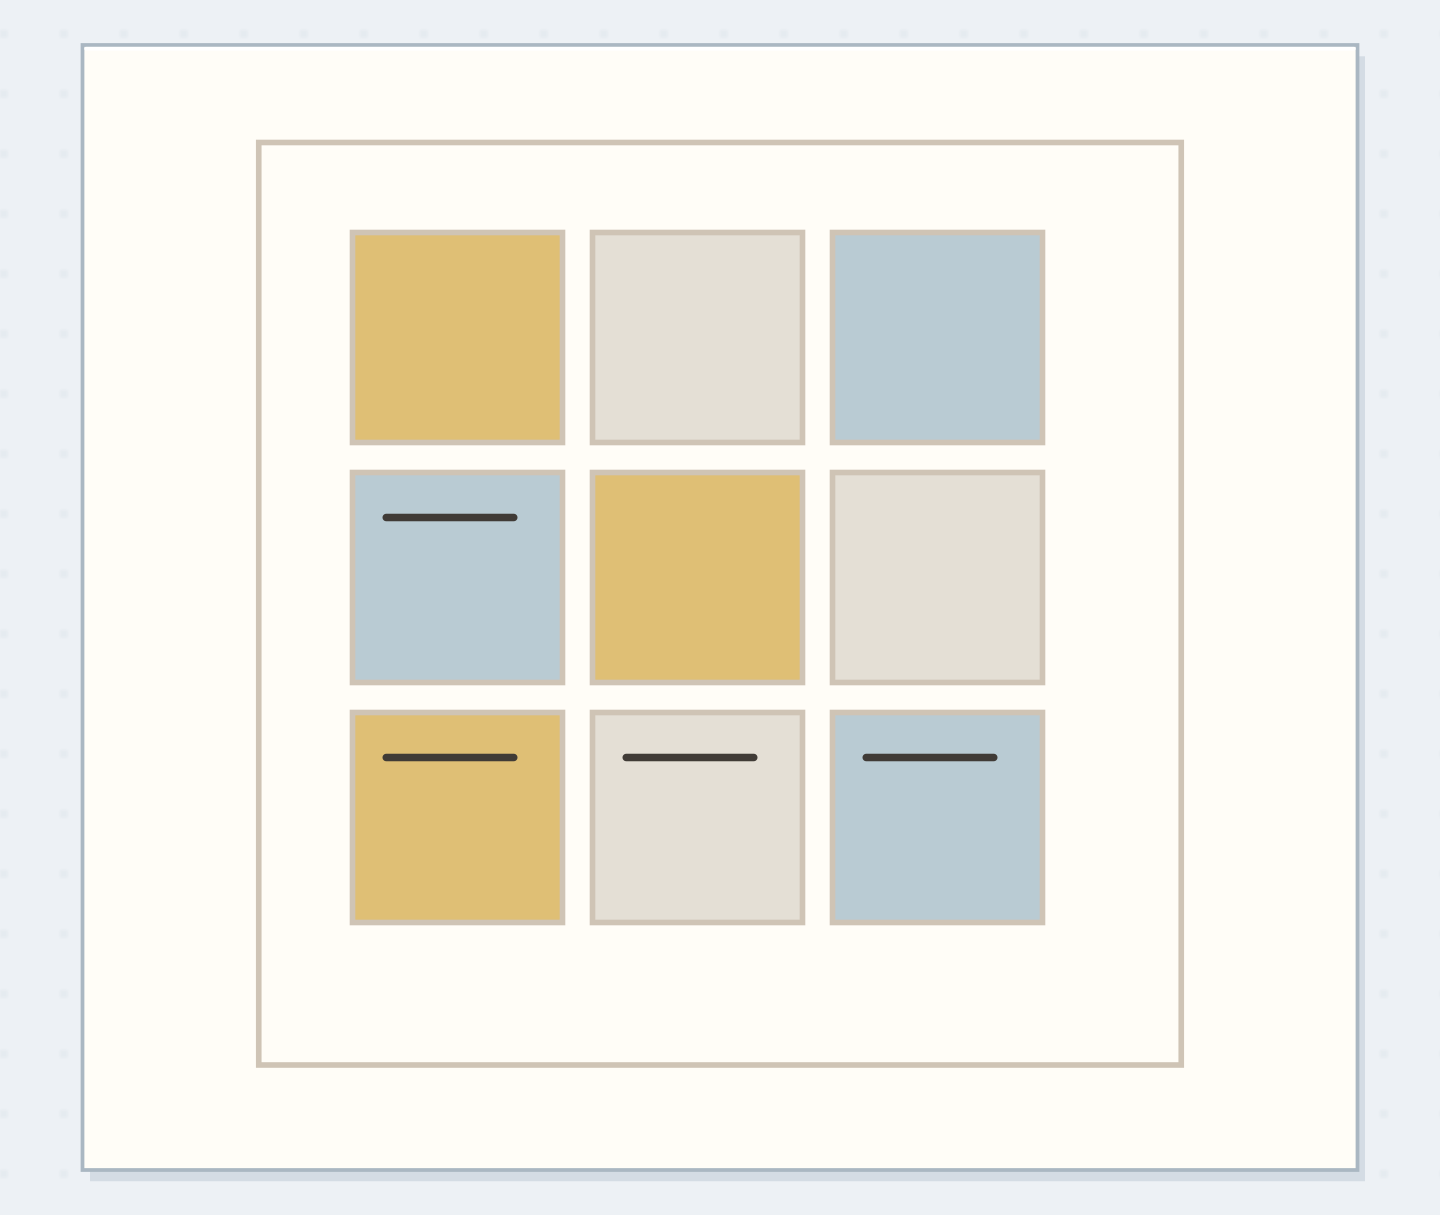
The image moves away from the reverse-side cutting marks before gluing. Once dry, the 15 × 5 cm top strip becomes three 5 cm squares; the remaining area becomes a 10 × 15 cm panel and a 5 × 15 cm strip.
What changed—and what to check
Planning the cuts protects complete images and gives the smaller pieces real dimensions before the collage becomes fixed.
Try this check. Check the reverse cutting plan against complete images on the front before attaching them permanently to the base.
Feel like adding another paper layer?
The Washi Tape ShopAffiliate links: we may earn a commission if you buy through these links.
Start with a backing that bends
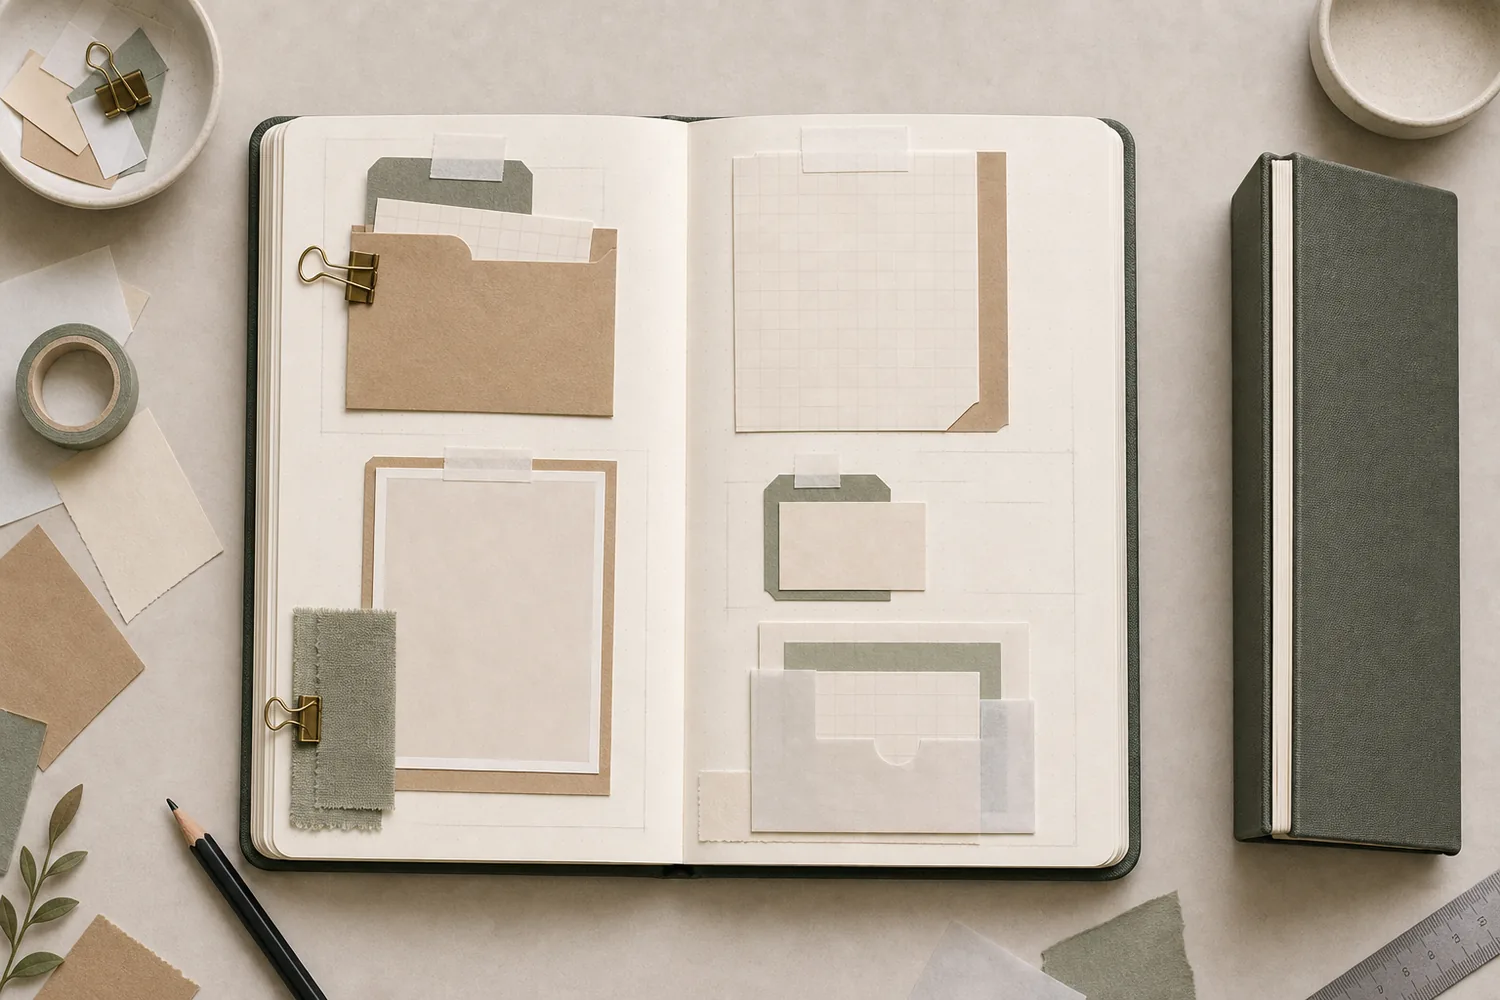
Choose a thin base that bends with a notebook leaf: ordinary drawing paper, light patterned paper, or a used sheet with no information you need to protect. Cereal-box card is too stiff for this particular flexible set.
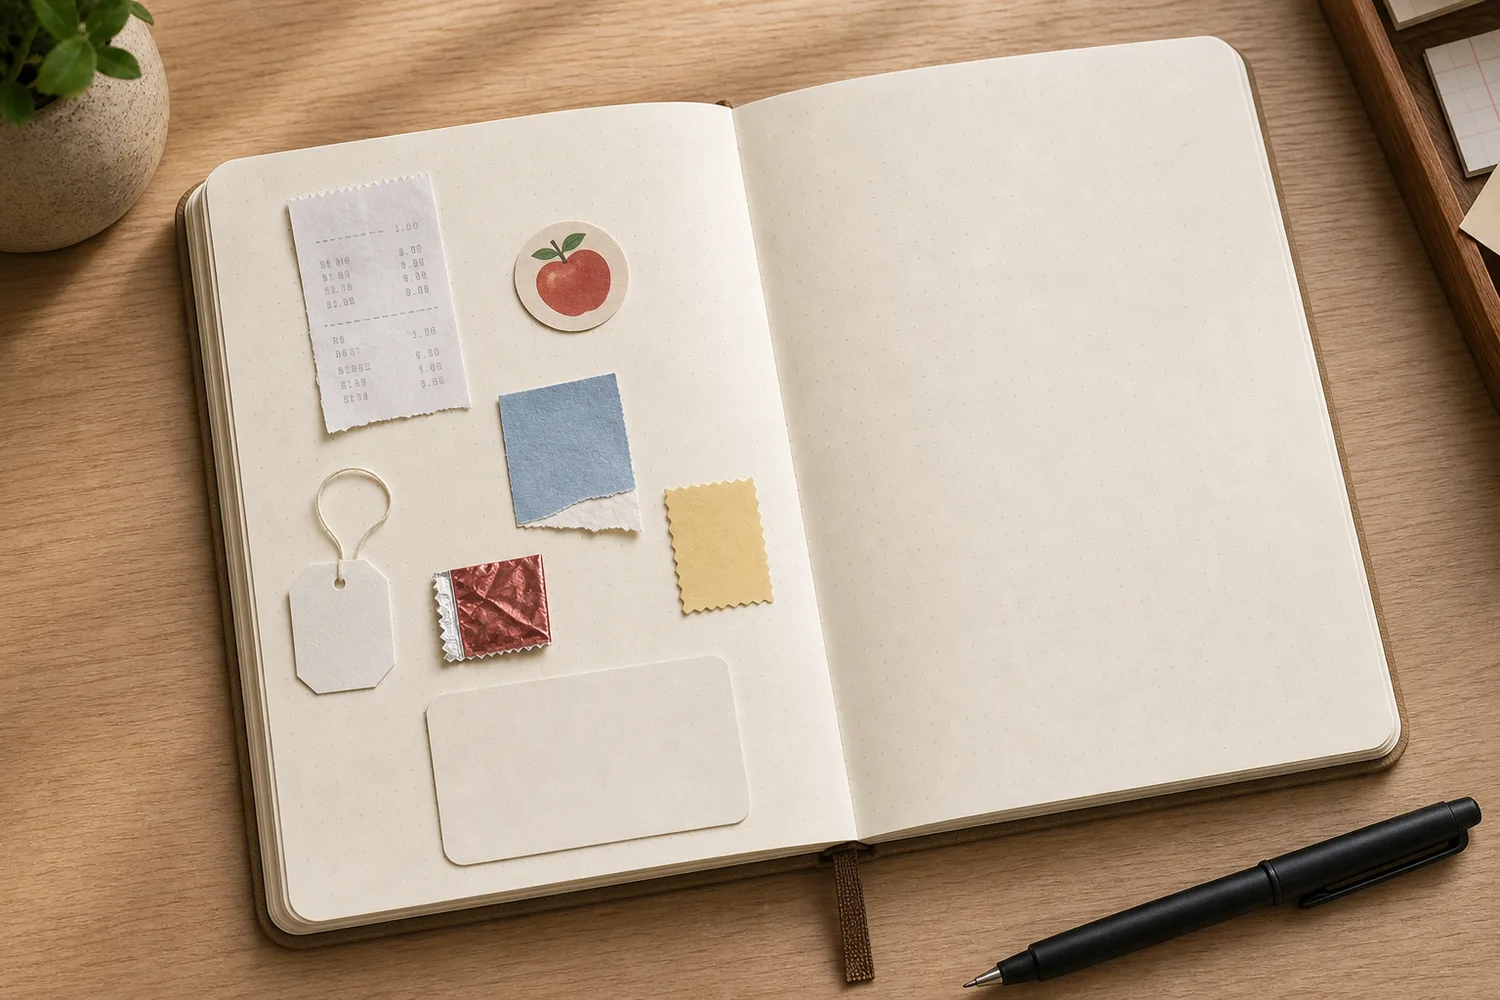
Gather roughly eight scraps as a starting limit: broad quiet areas, two contrasting prints, and a small accent color. Remove staples, bulky stickers, and thick adhesive from found pieces before laying them out.
Compare the optionsFollow the sheet into its smaller pieces
Follow the sheet into its smaller pieces
See how one 15 × 20 cm source sheet supplies three squares, a panel, and a strip.
Read the words in this example
- 15 × 20 cm
Choose the 15 × 20 cm base before covering it.
A 15 by 20 cm base with a planned destination. Use the article measurements for the physical version; the drawing is a schematic.
“Choose two or three real uses before covering the base: a date strip, a panel beside a photograph, or labels.”
Cover the sheet in broad areas first
Place the broadest scraps first, working from one side to the other with shallow overlaps. Apply a light, even glue-stick layer to each back, including its edges. Smooth through clean waste paper. Repeat one print in several places, keeping any complete image away from planned cutting lines. Leave stitching and raised additions until after cutting so each fragment can be finished at its own scale.
Put the steps in orderOrder the steps: measure destinations first
Order the steps: measure destinations first
Check the physical dependencies in this scraps example. Reorder the actions before trying the paper version.
One workable order
- Measure destinationsThe destination sizes determine the cut map.
- Glue thin scrapsThin scraps must be attached before the sheet can be cut as one surface.
- Let adhesive dryWet adhesive can shift the layers while scissors pass through them.
- Cut the planned piecesCutting releases the measured pieces after the adhesive is dry.
Which check needs to come first?
The example shows one workable order. Cutting releases the measured pieces after the adhesive is dry.
A blue-and-cream set for a rainy afternoon
For a blue-and-cream set, cover most of the base with cream envelope paper. Repeat blue leaflet margins in three areas and add grey printed text. When the adhesive dries, add two short dark pencil lines. Cut the top strip into three squares, then cut the remaining area at the 10 cm mark. Use a square beside a caption, the panel behind a photograph, and the strip beside a list.
Write your versionPlan place for the panel
Plan place for the panel
Write a real destination for the panel and a sentence that one square will support.
Place for the panel:Beside the rainy-afternoon photograph
First square will support:The sentence about staying for another cup.
Your words have a place now.
Write a real destination for the panel and a sentence that one square will support.
- Words on this card
- 19
GO A LITTLE FURTHERFix the piece you have, not the whole sheet
Fix the piece you have, not the whole sheet
Repair a lifted edge with a little adhesive underneath and press again. For curling, wait until the glue is fully dry, then press between clean sheets under a flat book; wet glue can transfer. Calm a busy square with a plain writing label or trim an awkward panel smaller. Photograph the full sheet first if you want a record, while keeping the cut pieces as the intended result.
Try a what-ifWhat is the smallest useful repair?
What is the smallest useful repair?
One lifting edge may need a much smaller repair than the whole square.
After the dry masterboard is cut, one scrap edge lifts on a small square. The rest of that square lies flat and fits its planned caption space.
Compare the three choices
What is the smallest useful repair?
- Add a thick backing behind every piece
That would change the flexible set and add bulk when only one local bond has lifted.
- Coat the entire square with wet glue
More moisture and adhesive than necessary may disturb parts that already lie flat.
- Add a little adhesive beneath the lifted edge
Repair the failed contact locally and press through clean paper, then let it dry before use.
Locate the failed bond before changing the thickness or finish of the whole piece.
What would you try?
Choose an option to see what it would do. You can explore all three.
GO A LITTLE FURTHERAdd the final detail at the smaller scale
Add the final detail at the smaller scale
Place a cut piece beside its actual entry before adding a date or dark mark. A mark that looked small on the full masterboard can dominate one 5 cm square. Leave the reverse plain if you might write there.
Keep the 5 × 15 cm strip whole until a real label needs cutting. Part of this same sheet can supply a repeated tile arrangement; you do not need another masterboard just to change the format.
Finish by using one piece
Attach one piece to the destination you measured, add its words, and close the notebook gently. Check that it bends with the page and does not create a stiff ledge beneath the writing.
Keep the dry remaining pieces together in an envelope labeled with colors and approximate sizes. Before making another sheet, open that envelope beside the next entry and see whether one of these pieces already fits.
Feel like adding another paper layer?
The Washi Tape ShopAffiliate links: we may earn a commission if you buy through these links.
Where this idea began
The method references explain the underlying ideas. Community links show the questions and experiences that helped shape this guide; they are not a popularity ranking. The worked examples here are our own.
- Community discussionA masterboard cut into journal cards and pockets
The maker describes covering packaging with scraps, marking the reverse, and cutting coordinated pieces.
- Method referenceMasterboards: a walk-through tutorial
The tutorial demonstrates making a decorated source sheet and explains its later use in smaller paper projects.