Gather a few things See what you’ll need
- Thin scrap paper for a backing strip
- A handful of flat paper scraps
- Glue stick
- Scissors
- Optional: ribbon, thread, or a little lace
Give the scraps something to sit on
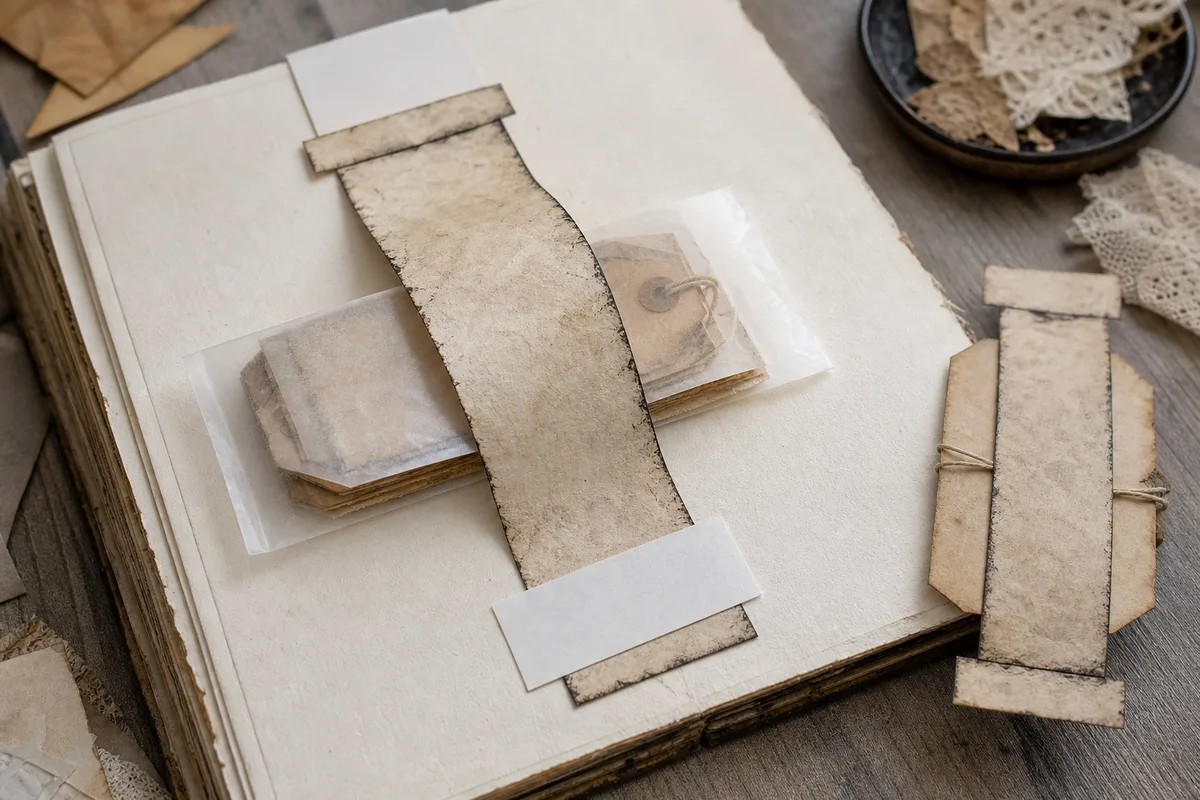
Cut a strip of thin, reasonably strong paper about 1½ inches wide and 12 inches long. Plain wrapping paper or the unprinted part of a paper bag can work. If your paper is shorter, overlap two ends by about ½ inch and glue the join flat. Let that join set before you decorate.
You should be able to curl the backing gently around your fingers. If it fights you, it may be too thick for a compact roll. You can still use it as a decorated strip and store it flat.
Can this backing become a roll comfortably?
Choose what happens when you curl the undecorated strip around your fingers.
Try a short, lightly layered roll.
Begin around 1½ inches wide and 12 inches long, with mostly flat paper scraps. The backing should already bend comfortably before decoration. Keep some quiet patches for future cuts and avoid adding thick objects that would make every turn of the stored roll uneven.
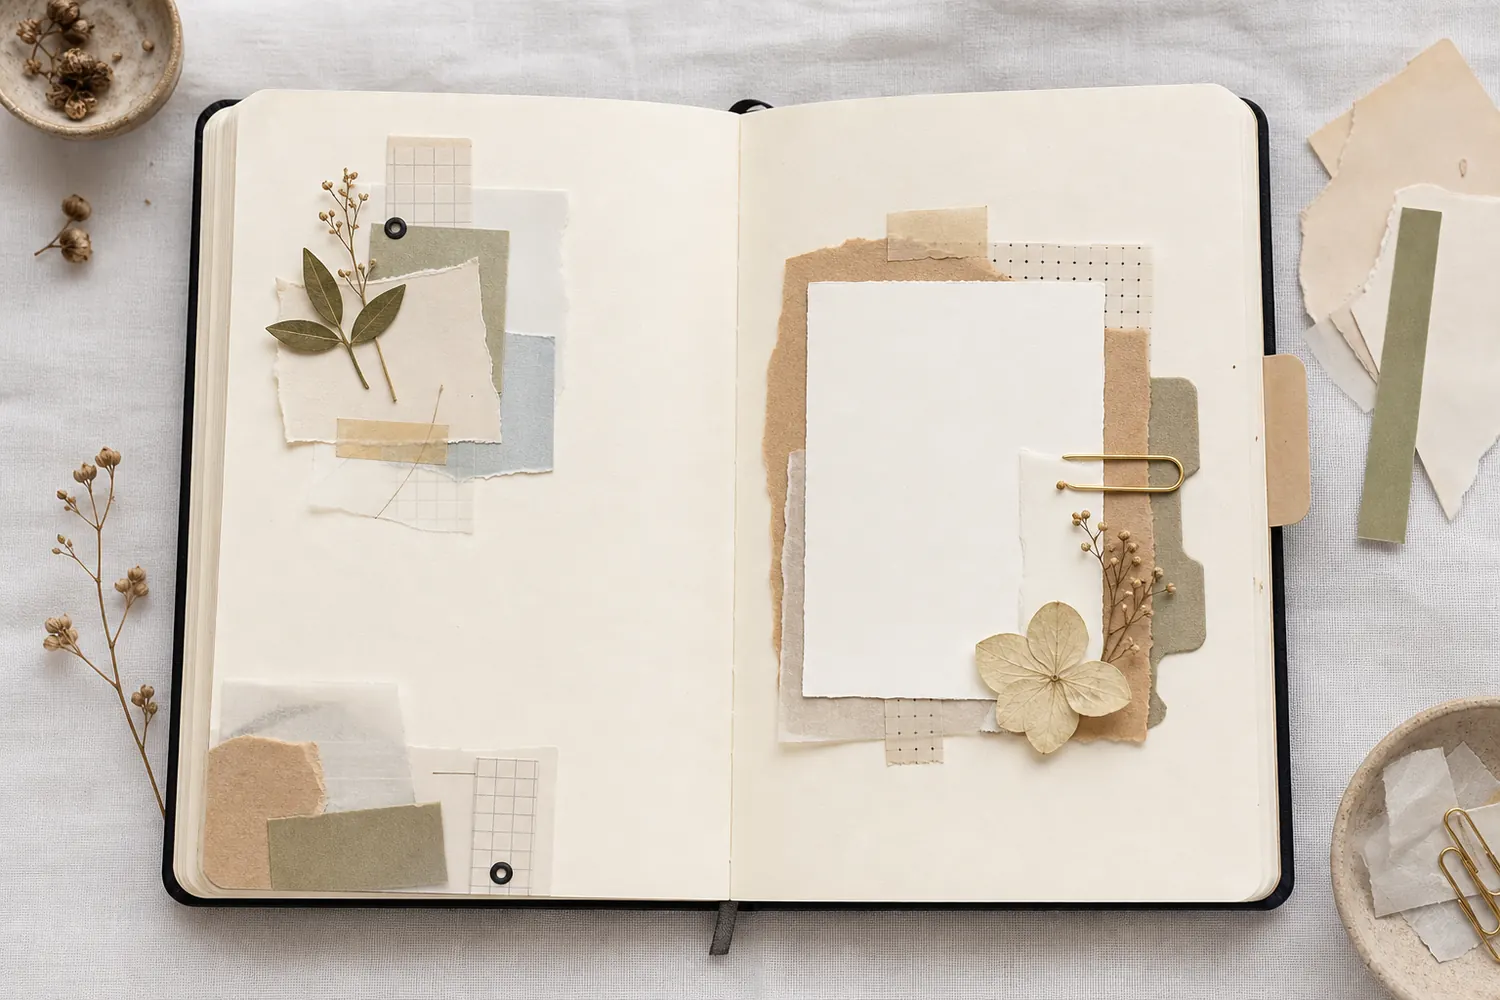
Pick a small handful you like together
Try cream, faded blue, and brown, or pink with a few black printed details. Your scraps don’t have to match perfectly. Repeating one or two colors makes the strip easier to use beside different journal entries.
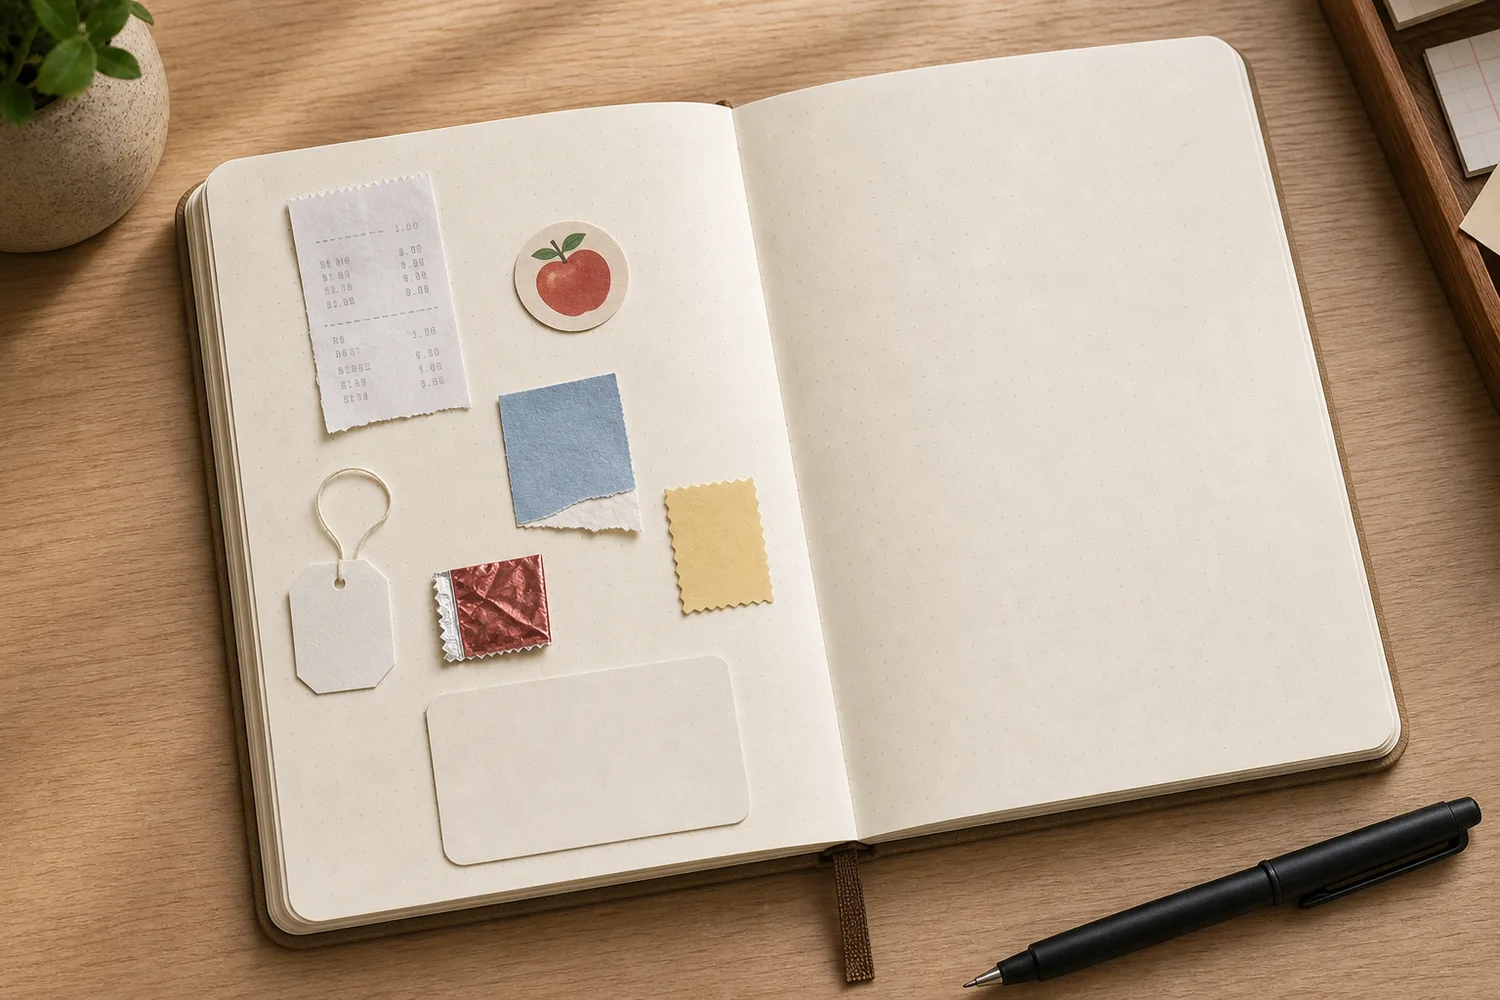
Choose mostly flat pieces: a torn margin, part of a label, a bit of patterned paper. Spread them beside the backing so you can see what you have. Keep thick buttons, beads, and folded bows aside; they’re easier to add to a finished piece after you cut it.
“You’re finished when the layers hold, the strip bends comfortably, and you can see several pieces you’d actually use.”
Cover it loosely, then add a few smaller pieces
Glue down the larger paper scraps first, allowing small gaps of backing to show. Let some edges overlap. Keep the glue thin and press each piece from the middle toward its edges so it sits flat.
Next, add a few smaller details where you’d enjoy seeing them on a future page. A word fragment or a narrow line of lace can be enough. If you’re using fabric, check that your adhesive holds it; a glue stick may not grip a loose weave. Paper alone makes a perfectly useful roll.
Leave yourself somewhere easy to cut
Every few inches, leave a quieter stretch with just the backing and one thin paper layer. These become convenient cutting places. You don’t need to space them exactly. You’re simply avoiding a strip where every possible cut would chop through your favorite word or a bulky decoration.
If you want a longer word on the roll, place it along the strip rather than across several layers. That gives you a better chance of cutting out a complete little phrase later.
Leave a cut that does not divide your favorite phrase
Switch from a crowded cutting point to a quiet gap beside the same long word piece.
The cut crosses a word piece
If every place you could cut crosses a word or thick decoration, the roll becomes harder to use in short lengths.
Let it dry before you roll it
Leave the strip flat until the glue is dry and the paper no longer feels cool or damp. If the edges lift, add a little glue under those spots and press again. Rolling a damp strip can leave neighboring layers stuck together.
Roll it loosely around a cardboard tube or a wide paper core. Secure it with a loose paper band. If the surface cracks or stiff sections buckle, don’t force a tighter roll. Store that version flat or cut it into ready-to-use lengths.
Keep neighboring turns from sticking together
Put the drying and storage decisions after the strip has become a sound flexible piece.
One workable order
- Set any backing extension join before covering itA dry flat join gives the decorative scraps a stable base.
- Attach larger scraps, then a few smaller detailsThin glue and flat layers help the strip remain flexible.
- Leave the completed strip flat until fully dryRolling damp glue can bond neighboring turns together.
- Inspect lifted edges and test a gentle curlRepair loose areas and let any new adhesive dry before storage.
- Roll loosely on a wide core or keep it flatChoose flat storage if stiff sections buckle or the surface cracks.
Which check needs to come first?
The example shows one workable order. If you repair an edge during the check, return to drying before rolling. Use the adhesive’s instructions and the actual paper condition, not a preset timer.
Use one piece while it’s still new
Cut a short section and try it along a journal margin. Or glue a little piece across the top of a plain tag. If you want a pocket trim, attach it to the outside of an existing pocket and keep its opening clear.
For a belly band, use a section long enough to span your insert and glue only its two ends to the page. A decorated strip isn’t automatically a pocket; the way you attach it creates the opening.
You’re finished when the layers hold, the strip bends comfortably, and you can see several pieces you’d actually use. Leave a few quiet patches. They’ll be helpful when the rest of your page already has plenty going on.
The attachment gives a snippet its practical job
Start with two ends attached as a band. Change the bonds and notice what happens to the card’s route.
Paper band: 2 attached edges.
The two attached edges are opposite each other. The top and bottom edges remain open, so your note can pass under the band; there is no attached stop at either of those openings. This models a cut rectangular snippet section attached to a journal page. Left and right ends can make a horizontal band only when the actual decorated strip is long and flexible enough. For pocket trim, attach it to the outside face of an already-built pocket and keep that separate mouth clear.
- Attachment
- Paper band
- Attached edges
- Left, Right
- Open edges
- Top, Bottom
Where this idea began
This guide grew from our original Instagram post. The examples and explanations here expand on that idea so you can try it at your own pace.