Gather a few things See what you’ll need
- A scrap of sturdy paper
- Scissors
- Two plain practice cards
- Colored pencil or a nearly dry paint sponge
- Low-tack tape
- Pencil
Choose an outline that stays in one piece
Begin with a simple square, wide rectangle, or broad diamond rather than a delicate word. Letters with enclosed centers need bridges or separate small pieces, which add another problem before you have tested the basic effect. A plain geometric shape is enough to show what positive and negative space do.
Use a sturdy paper scrap about 8 × 10 cm and draw a 3 × 4 cm rectangle inside it. Cut the opening carefully, keeping the surrounding frame intact. One way is to fold the scrap lightly through the opening, start the cut at that fold, then open it and finish the outline.
Identify the mask and the opening
Set the removed rectangle beside its surrounding frame. The frame is a stencil: color can pass through its opening. The solid rectangle is a mask: it protects the paper underneath while you work around it. The same cut edge appears in both results, but the colored area changes sides.
Label the reverse of the two pieces so you don't lose track while working. Put a plain practice card underneath each. Keep the cards larger than the stencil so your hand has room to hold an edge and stray marks stay away from the journal itself.
Use Both Sides of a Shape You Cut Out
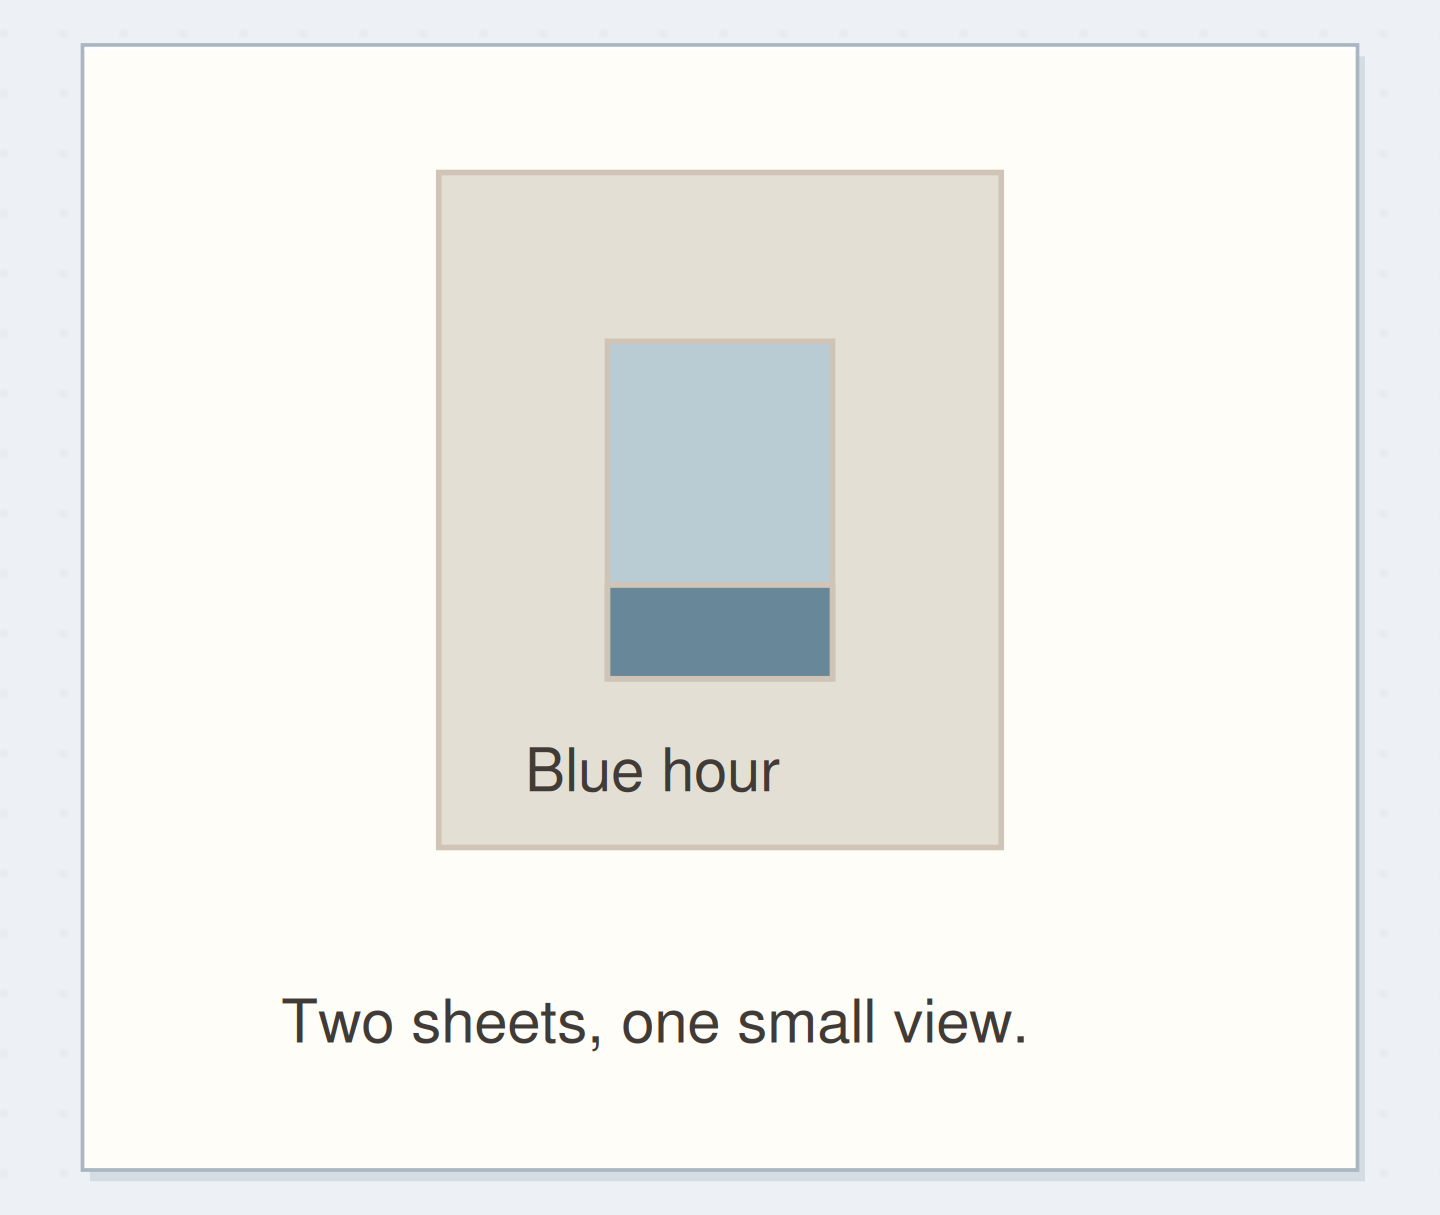
See how the cut opening and its solid counterpart leave different places for handwriting.
The removed rectangle and its frame remain useful.
A frame and the rectangle removed from it. Use the article measurements for the physical version; the drawing is a schematic.
“One cut can produce two different kinds of space.”
Make the two versions with a light hand
For the first card, place the open frame down and shade through the rectangle with colored pencil. Work gently from the frame toward the opening so the edge is less likely to catch. Lift the stencil to reveal the colored rectangle. Keep the surrounding paper clear.
For the second card, hold the solid rectangle in place and shade a soft area around it. Lift the mask to reveal a pale rectangle inside the colored field. If using paint, load very little onto the sponge and dab excess onto waste paper first; wet paint can creep under an edge.
Order the steps: cut and keep both pieces first
Check the physical dependencies in this stencils example. Reorder the actions before trying the paper version.
One workable order
- Cut and keep both piecesCutting provides both the opening and its matching mask.
- Test adhesive and colorA color and adhesive test prevents an avoidable mark on the final paper.
- Hold the chosen pieceThe selected piece must remain still while color is applied.
- Apply color and liftLifting it reveals either a colored shape or a protected pale space.
Which check needs to come first?
The example shows one workable order. Lifting it reveals either a colored shape or a protected pale space.
Two ways to frame one small sentence
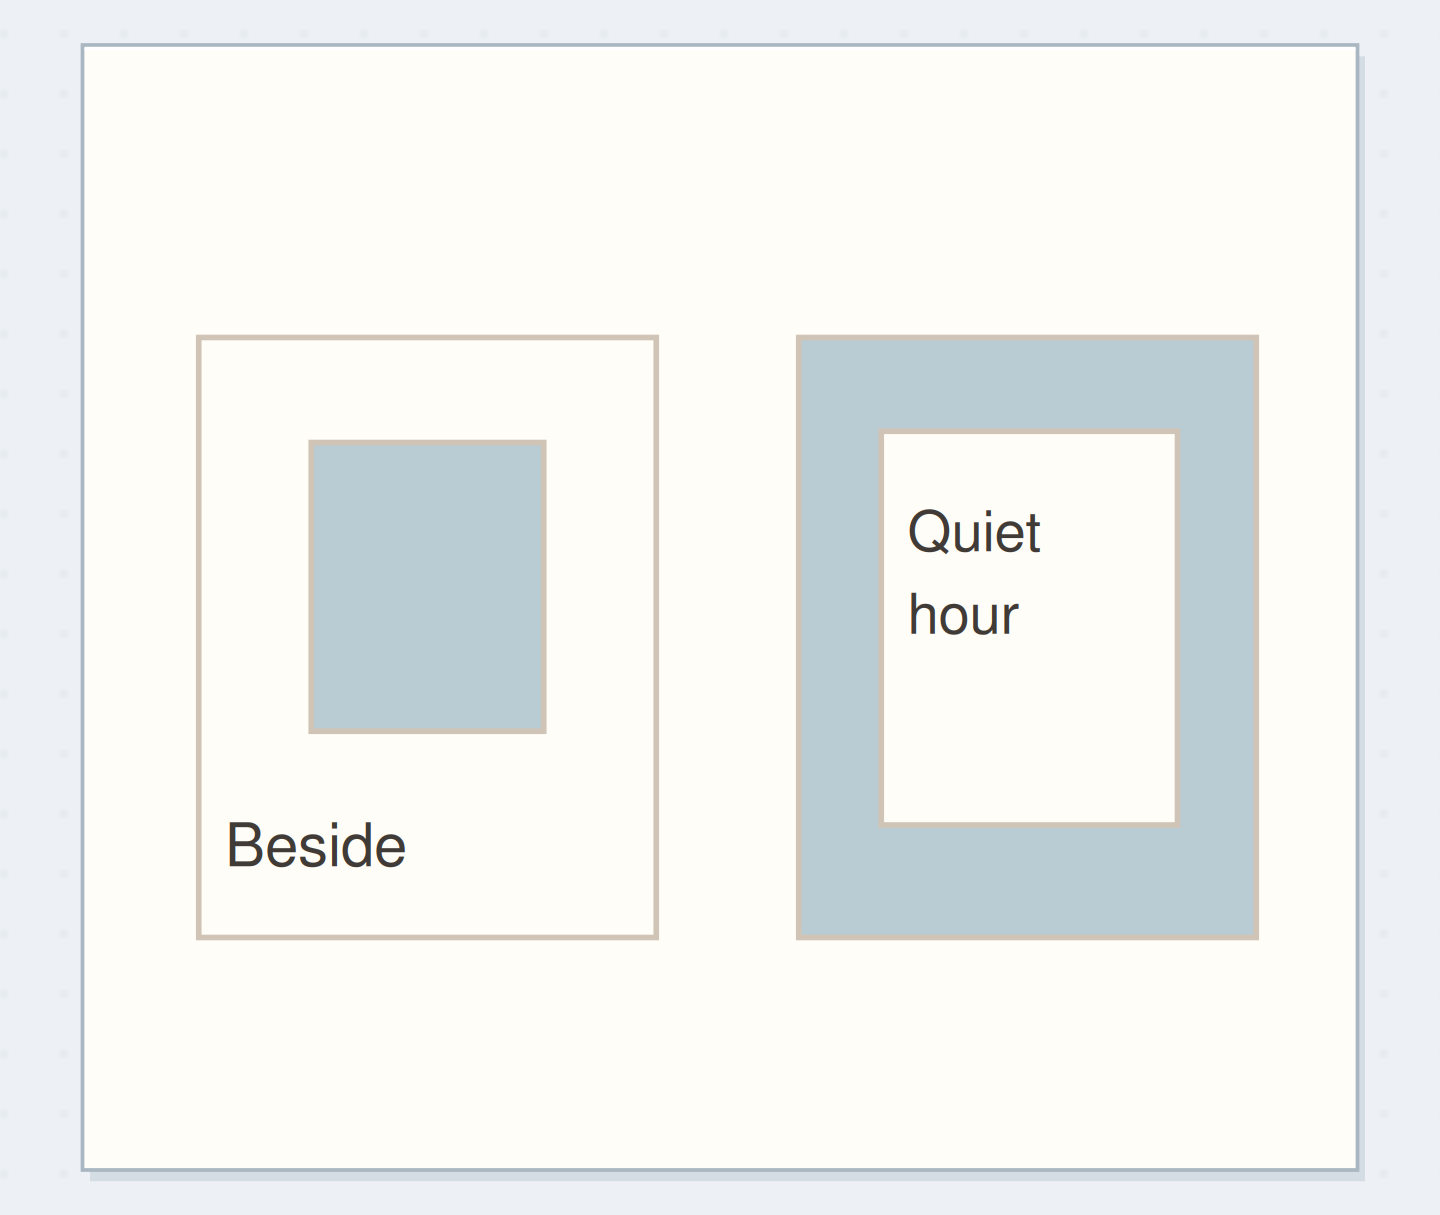
Use a blue pencil for both tests. On the filled-shape card, write “The quiet hour” on plain paper beside the blue rectangle. On the masked-shape card, write the same words inside the pale rectangle. The words haven't changed, but their relationship to the color has.
Compare both at normal reading distance. The first makes color a neighboring object. The second makes the empty area feel reserved for the words. Choose the result that suits a real page rather than deciding one technique is generally better. These are different arrangements, not a before-and-after quality ranking.
Plan words for the pale space
Write a phrase that fits the pale reserve and explain why it belongs inside that space.
Words for the pale space:The quiet hour.
Why that space suits them:The empty center makes the short phrase easy to see.
Your words have a place now.
Write a phrase that fits the pale reserve and explain why it belongs inside that space.
- Words on this card
- 23
When the outline becomes fuzzy
A fuzzy edge may come from movement, too much paint, or a stencil that is lifting. Secure a corner outside the image area and reduce the amount of wet material before trying again. Don't press harder with a loaded sponge; that can push more paint under the edge.
If a paper stencil becomes soggy, let it dry flat or use a new dry frame. Keep the solid cutout if it is still usable. A small leak can become part of a loose background, but if you need a crisp label, switch to dry pencil or trace the outline with a pen after removing the stencil.
Compare filled and reserved space
Place the two print tests side by side and decide whether the words should sit beside color or inside the pale opening.
Use opening
A filled rectangle leaves the words somewhere beside it.
Repeat the shape with a specific job
A row of pale rectangles can reserve short captions. Several filled rectangles can mark the start of separate notes. Keep enough distance between repeats that the individual spaces remain usable. Trace a loose placement plan in pencil before making a line of permanent marks.
You can rotate the same rectangle into a diamond or shift it partly beyond a practice card's edge. Try only one change at a time so you can see what caused the result. When you want the opening to reveal actual paper underneath rather than protect it from color, move to the cutout-window guide.
Keep the result that gives the page room
One cut can produce two different kinds of space. Place the chosen practice card beside your entry, trim only the unnecessary outer paper, and attach it if it helps. You can also repeat the technique directly on a spare journal page after testing the materials there.
Stop when you understand which piece protects the paper and which exposes it. Save the dry mask and stencil together in a small envelope with a sample mark on the front. The useful takeaway is the reversible idea: the area you remove can be just as useful as the shape you keep.
Where this idea began
Want to follow the idea further? These community discussions and maker references are a good place to start.
- Masterboards: a walk-through tutorial
The community tutorial and replies discuss using stencils and masks while decorating reusable paper source sheets.
- The Carle: Printing with Stencils
The museum demonstrates using both cut-out positive shapes and their negative openings for printing.