Gather a few things See what you’ll need
- Thin cover paper
- Contrasting backing paper
- Scissors
- Pencil and ruler
- Glue stick
Choose the view before choosing the opening
Lay a plain piece of paper over the scrap you want to reveal. Lift different corners and notice which small area is worth showing: part of a printed word, an interesting color boundary, or a detail in a copy of a photograph. Use a copy if cutting or covering the original would matter to you.
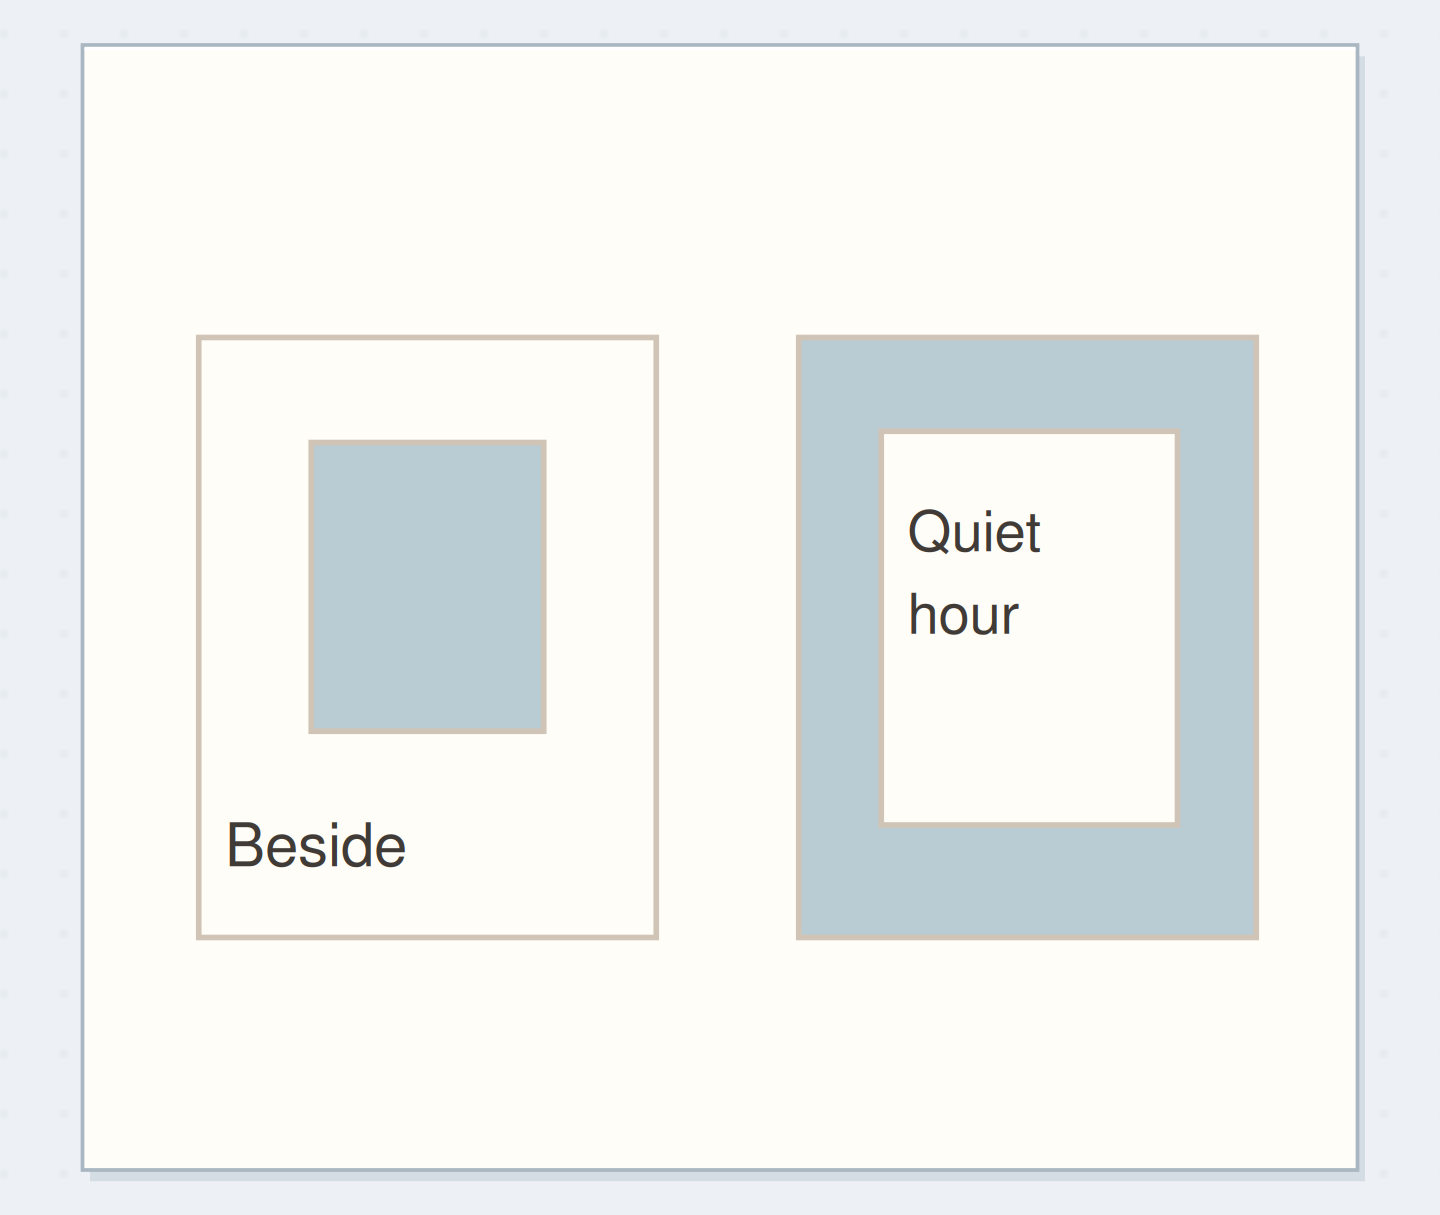
For the worked example, take a 10 × 12 cm cream top sheet and a slightly smaller blue patterned backing. The window will be a 4 × 6 cm rectangle centered in the top sheet. That leaves 3 cm of paper on each side and above and below, providing a generous frame for handling and gluing.
Mark the shape and preserve the surrounding paper
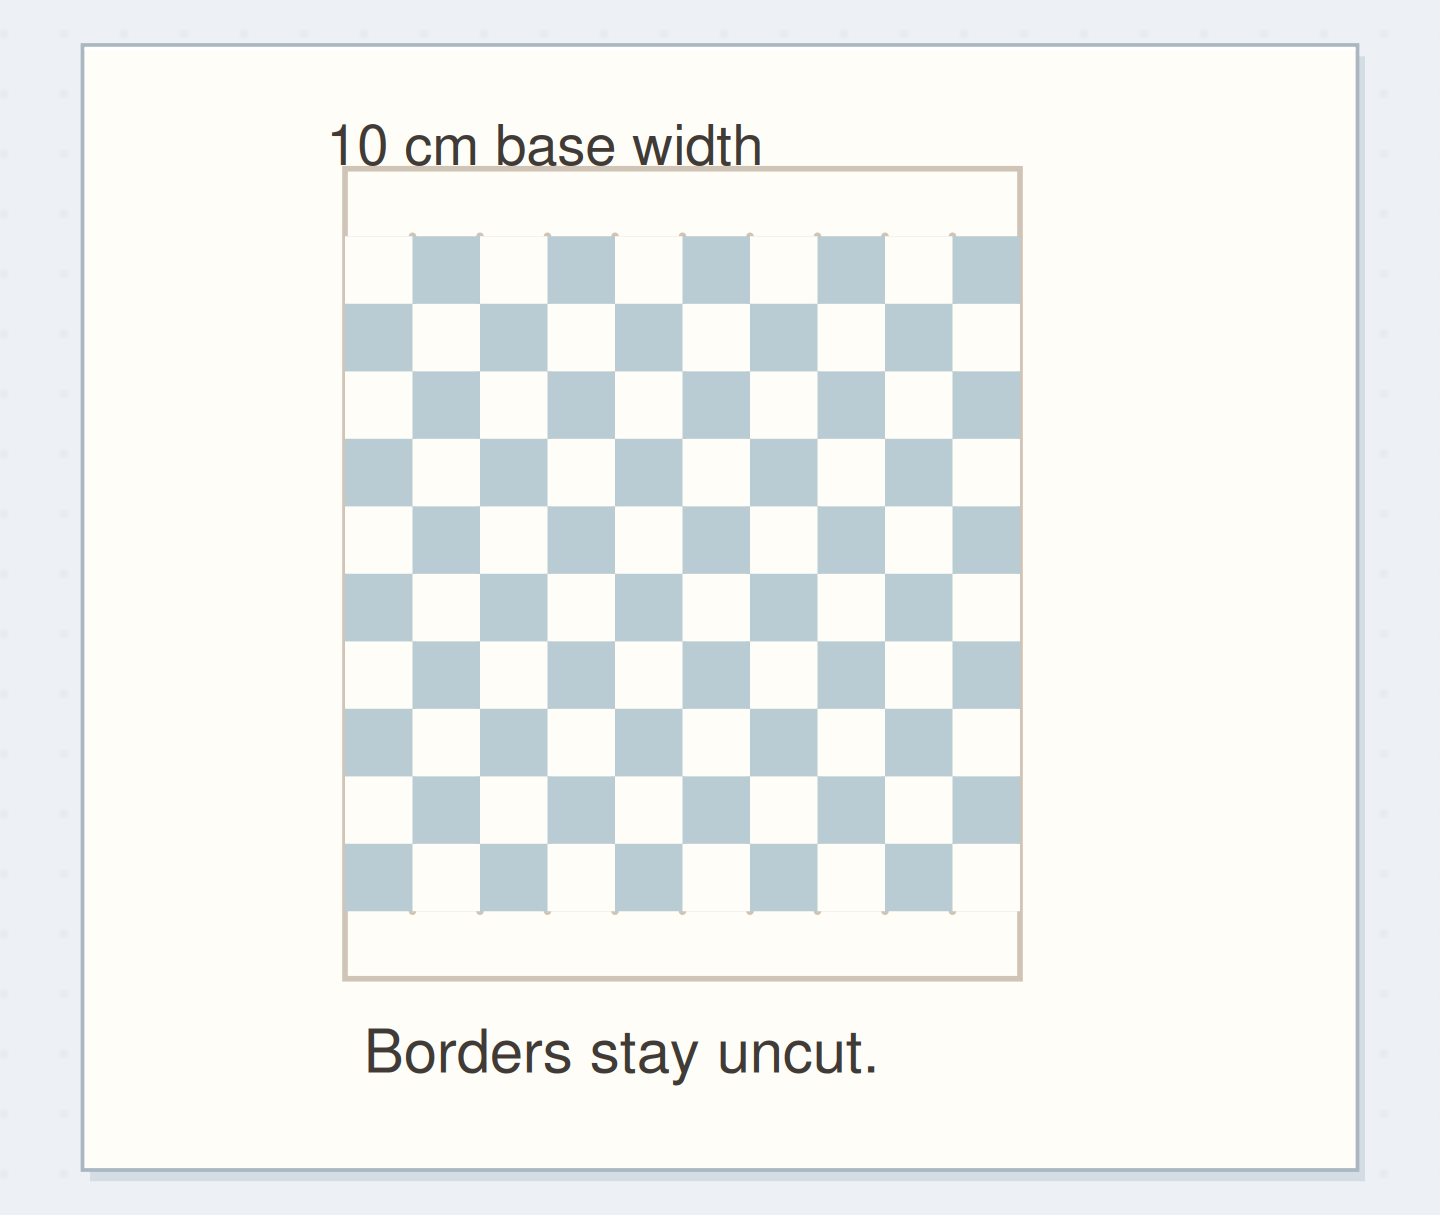
On the reverse of the cream sheet, measure 3 cm inward from every edge and draw the rectangle. Check the numbers before cutting: the remaining width is 4 cm and the remaining height is 6 cm. A rounded or irregular silhouette is possible later, but a rectangle makes the first result easy to judge.
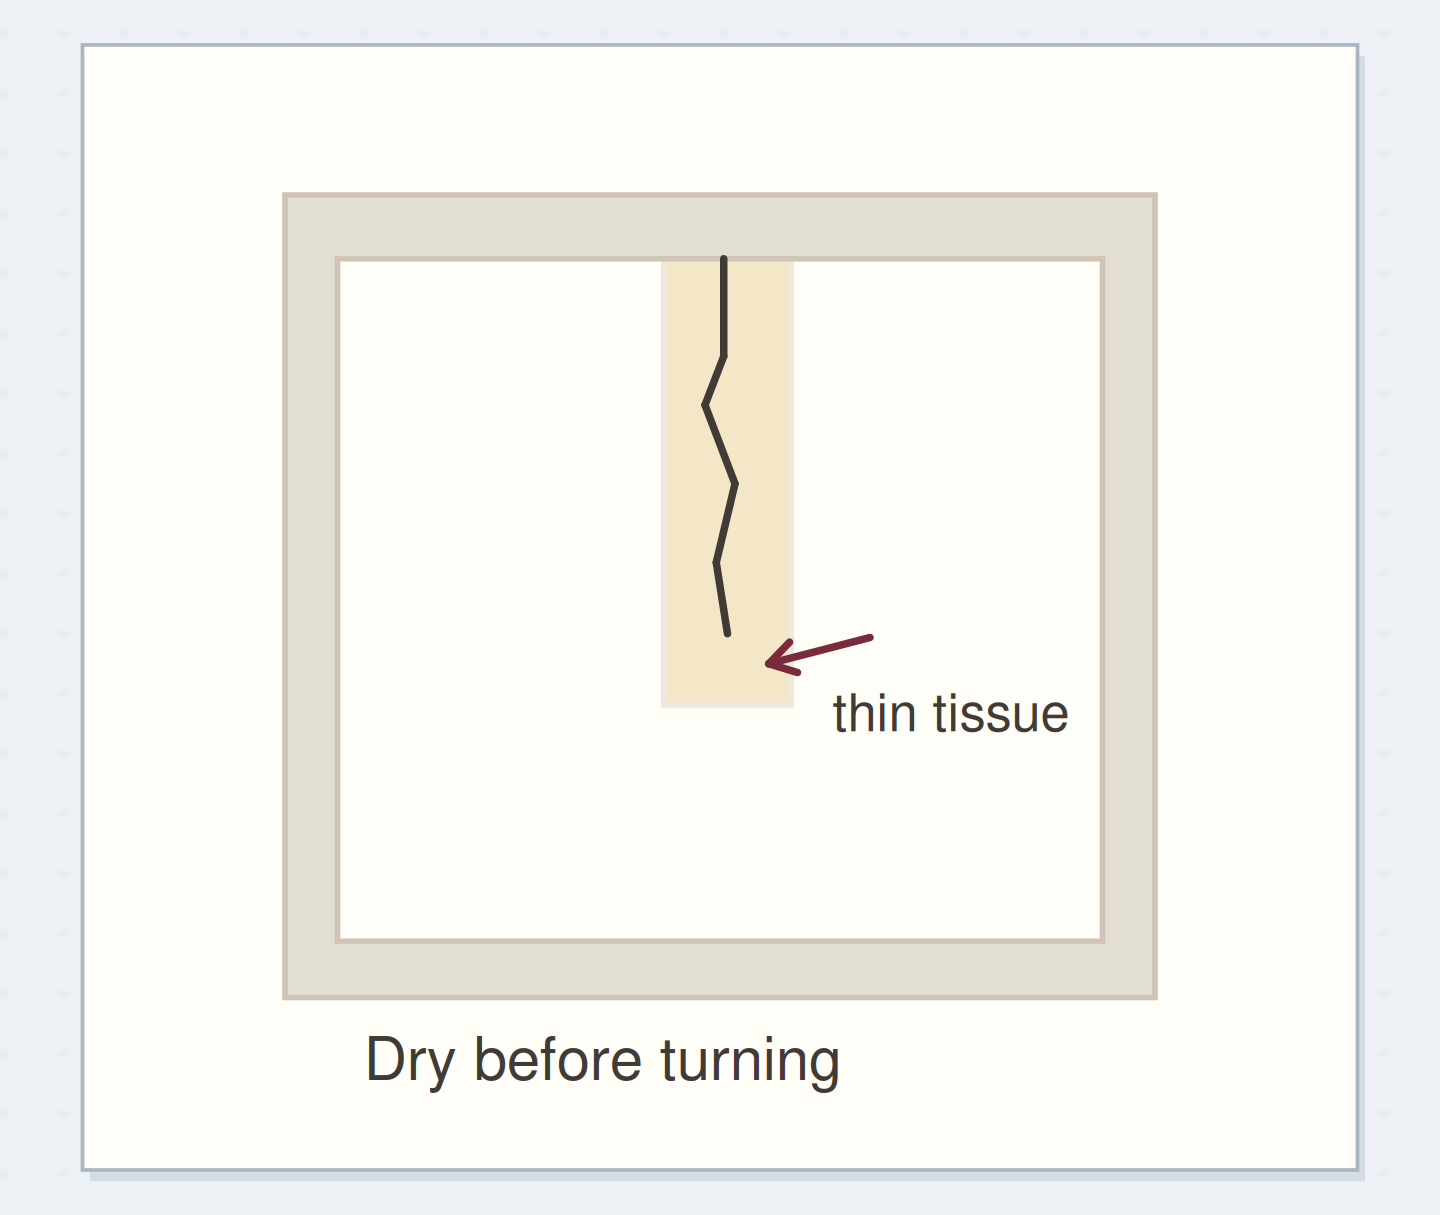
Keep the opening away from the outer edge. A hairline strip of paper between the window and the panel edge can tear when you turn or attach the piece. There is no need to cut directly into a notebook page for this exercise; a separate panel lets you correct the window before it joins the journal.
Cut a Simple Window That Reveals the Paper Beneath
Follow a centered internal cut from its measured boundary to the view it reveals.
Three-centimeter borders surround the centered opening.
A 10 by 12 cm panel with a centered 4 by 6 cm opening. Use the article measurements for the physical version; the drawing is a schematic.
“The window should make one small detail easier to notice.”
Start the internal cut with a temporary bend
Gently bend the top sheet across the middle of the marked opening, bringing its top and bottom edges toward each other. Pinch only within the area that will be removed, then make a small scissor snip through that doubled waste area. Avoid pressing a crease across the frame you want to keep.
Open the sheet, insert the scissors through the starter opening, and cut outward to one penciled boundary. Follow the marked rectangle, turning the paper as needed. Keep fingers clear of the blades. Save the removed rectangle; the starter snip means it may have a slit, but it can still supply smaller labels or scraps.
Order the steps: mark the centered opening first
Check the physical dependencies in this paper cutting example. Reorder the actions before trying the paper version.
One workable order
- Mark the centered openingThe marked boundary establishes a safe amount of surrounding paper.
- Cut the internal windowCutting makes the opening through which the backing will be visible.
- Position the backingLoose positioning finds the useful detail before adhesive fixes it.
- Glue the two layersGlue joins the two layers in the checked position.
Which check needs to come first?
The example shows one workable order. Glue joins the two layers in the checked position.
Position a blue pattern behind the window
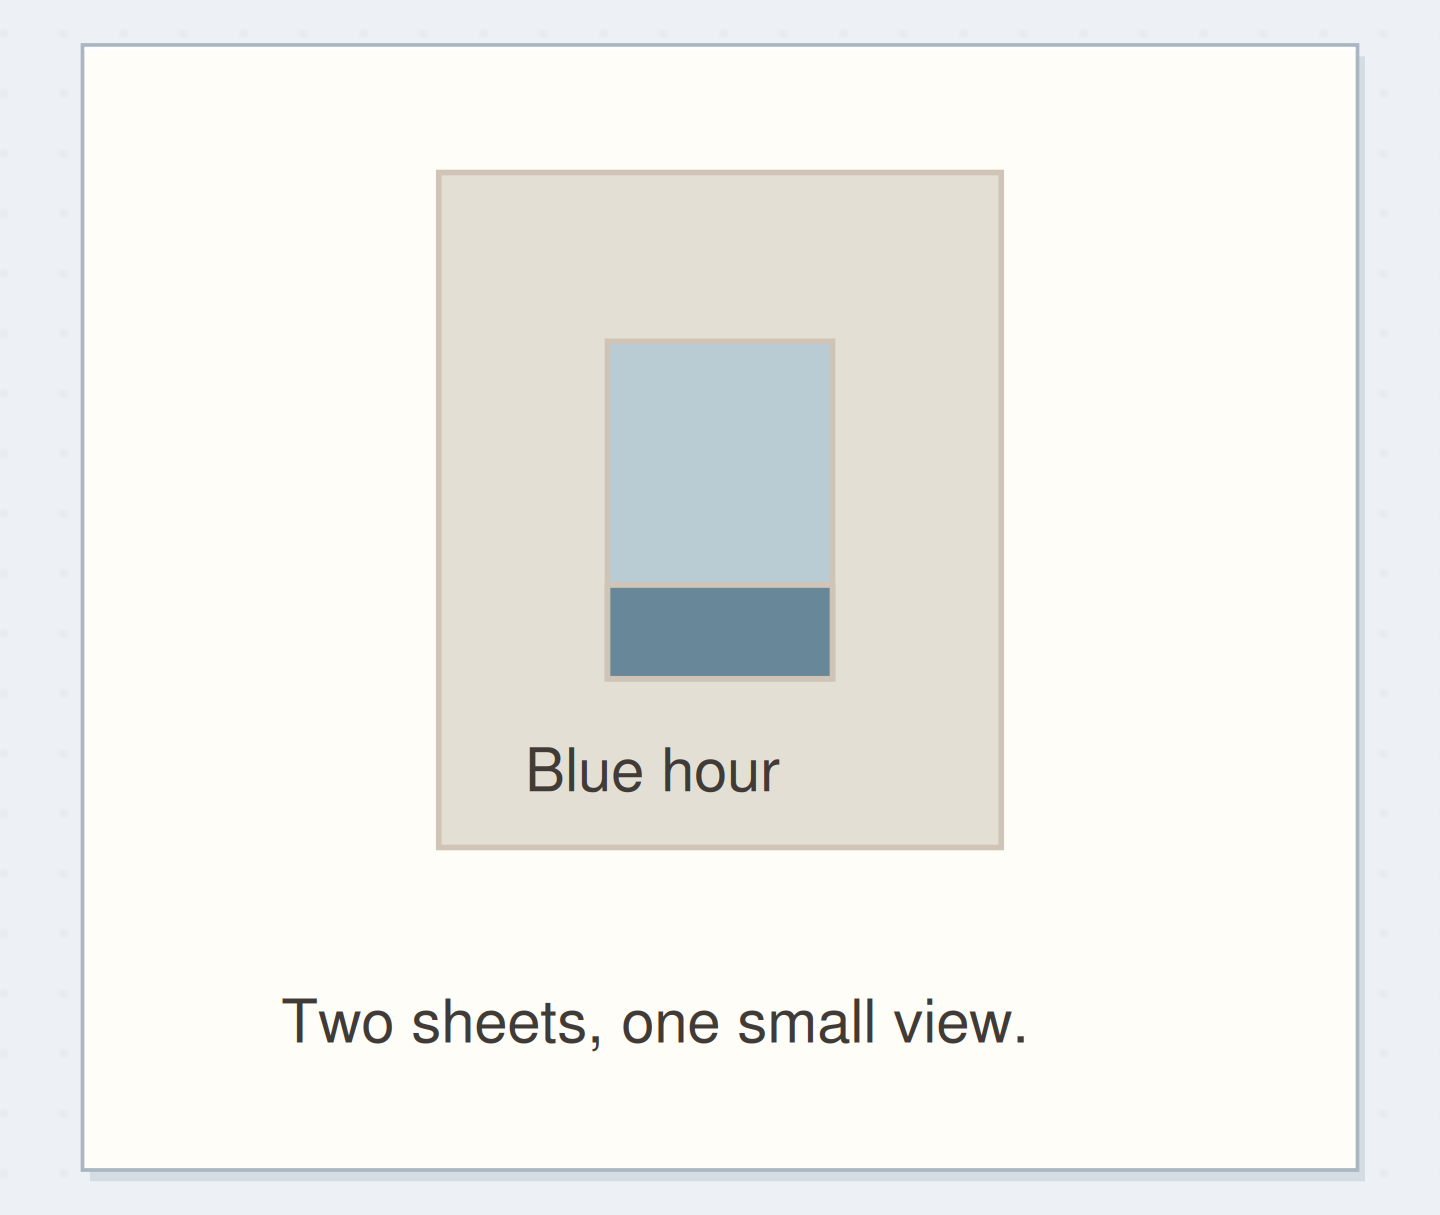
Place the cream frame over the backing and slide it until the small view looks useful. In the example, a darker blue area sits near the bottom of the opening, suggesting evening light. Mark two alignment points lightly on the reverse so the papers can return to this position after you lift the frame.
Apply a thin layer of glue to the reverse of the frame, including the area near the opening but not spilling into it. Set it onto the backing using the alignment marks, then press through clean paper. Once dry, write “Blue hour” below the opening and put the panel beside a short note about coming home.
Plan detail to reveal
Name the detail you want the opening to reveal and draft its short caption.
Detail to reveal:The dark blue area at the edge of a leaflet.
Caption below the opening:Blue hour.
Your words have a place now.
Name the detail you want the opening to reveal and draft its short caption.
- Words on this card
- 19
Repair the outline without disguising the whole panel
If one inside corner looks ragged, make the opening slightly larger and even up the other corners to match. Work in small cuts. A narrow accidental tear can sometimes be supported by the backing when the frame is glued down; a tear reaching the outer edge may be better turned into an intentional open-sided frame.
If the backing shows beyond the outer edge, wait for the adhesive to dry and trim that excess. If the two papers buckle, use less wet adhesive on the next test. Don't hide a badly torn edge under repeated heavy layers when a fresh top sheet would give a cleaner, thinner result.
Compare the plan and the revealed view
Check that the inner edges are attached and that the window reveals the intended detail at reading distance.
Starter slit
The penciled waste area is still part of the top sheet.
Change what the opening reveals
Try a stepped opening made only of straight cuts, or a broad arch drawn above a rectangular lower section. Keep the narrowest part wide enough for your scissors and leave a substantial surrounding frame. More intricate shapes require finer control and don't automatically make the journal panel more useful.
The opening can also reveal plain paper that holds a short word. Write the word on the backing and check its placement through the loose frame before gluing. This differs from printing through a stencil: here, both paper layers remain in the final piece, and the opening is a real edge you can feel.
Finish when the view and words are clear
The window should make one small detail easier to notice. Hold the finished panel at reading distance and check that the frame supports the view rather than hiding its subject. Make sure the inner edges are attached, because loose points can catch as the journal closes.
Stop after making and using one two-layer panel. Put the removed paper with your label scraps only if it has a likely use; otherwise recycle it. A successful window leaves you with a clear view and a flat piece of paper, not an obligation to fill every future page with openings.
Where this idea began
Want to follow the idea further? These community discussions and maker references are a good place to start.
- Preventing feathered edges when cutting paper
A beginner asks about torn, dragged, and wrinkled cut edges, making tool and support choices relevant.
- The Carle: Printing with Stencils
The museum demonstrates using both cut-out positive shapes and their negative openings for printing.