Gather a few things See what you’ll need
- An expendable paper test sheet
- Thin Japanese repair tissue
- Suitable paper-repair paste
- A small soft brush
- Clean release material
- A flat board or book
Check what is torn and what needs to stay untouched
Start with a short, clean tear in an expendable test sheet, around 2 cm long. A small tear without missing paper is easier to align than a hole, a crushed corner, or a page pulled away from its binding. If the damage runs into a sewn fold, this surface patch may not address the structural problem.
Check both faces for writing or printing that reacts to moisture. Test the intended paste on a spare sample of the same paper and let it dry. If the marks bleed, the surface changes badly, or the item is irreplaceable, stop the experiment there and seek conservation advice for that item rather than trying the method directly.
Bring the torn edges together without stretching
Lay the paper flat on a clean support. Arrange the torn edges so their fibers meet in their original position, with neither a deliberate gap nor a broad overlap. Don't pull on the ends of the tear. If a small flap naturally sits over another fiber edge, let the torn contours guide the alignment.
Work from the less visually important face where practical, checking the other side before adding adhesive. Put clean release material underneath so paste cannot attach the page to its support. For a notebook, protect the neighboring leaf as well; a repair that glues two pages together creates a new problem.
Support a Small Page Tear With One Thin Patch
Compare a loose tear, aligned fibers, and a small tissue support on the reverse.
Use a short tear in an expendable practice sheet.
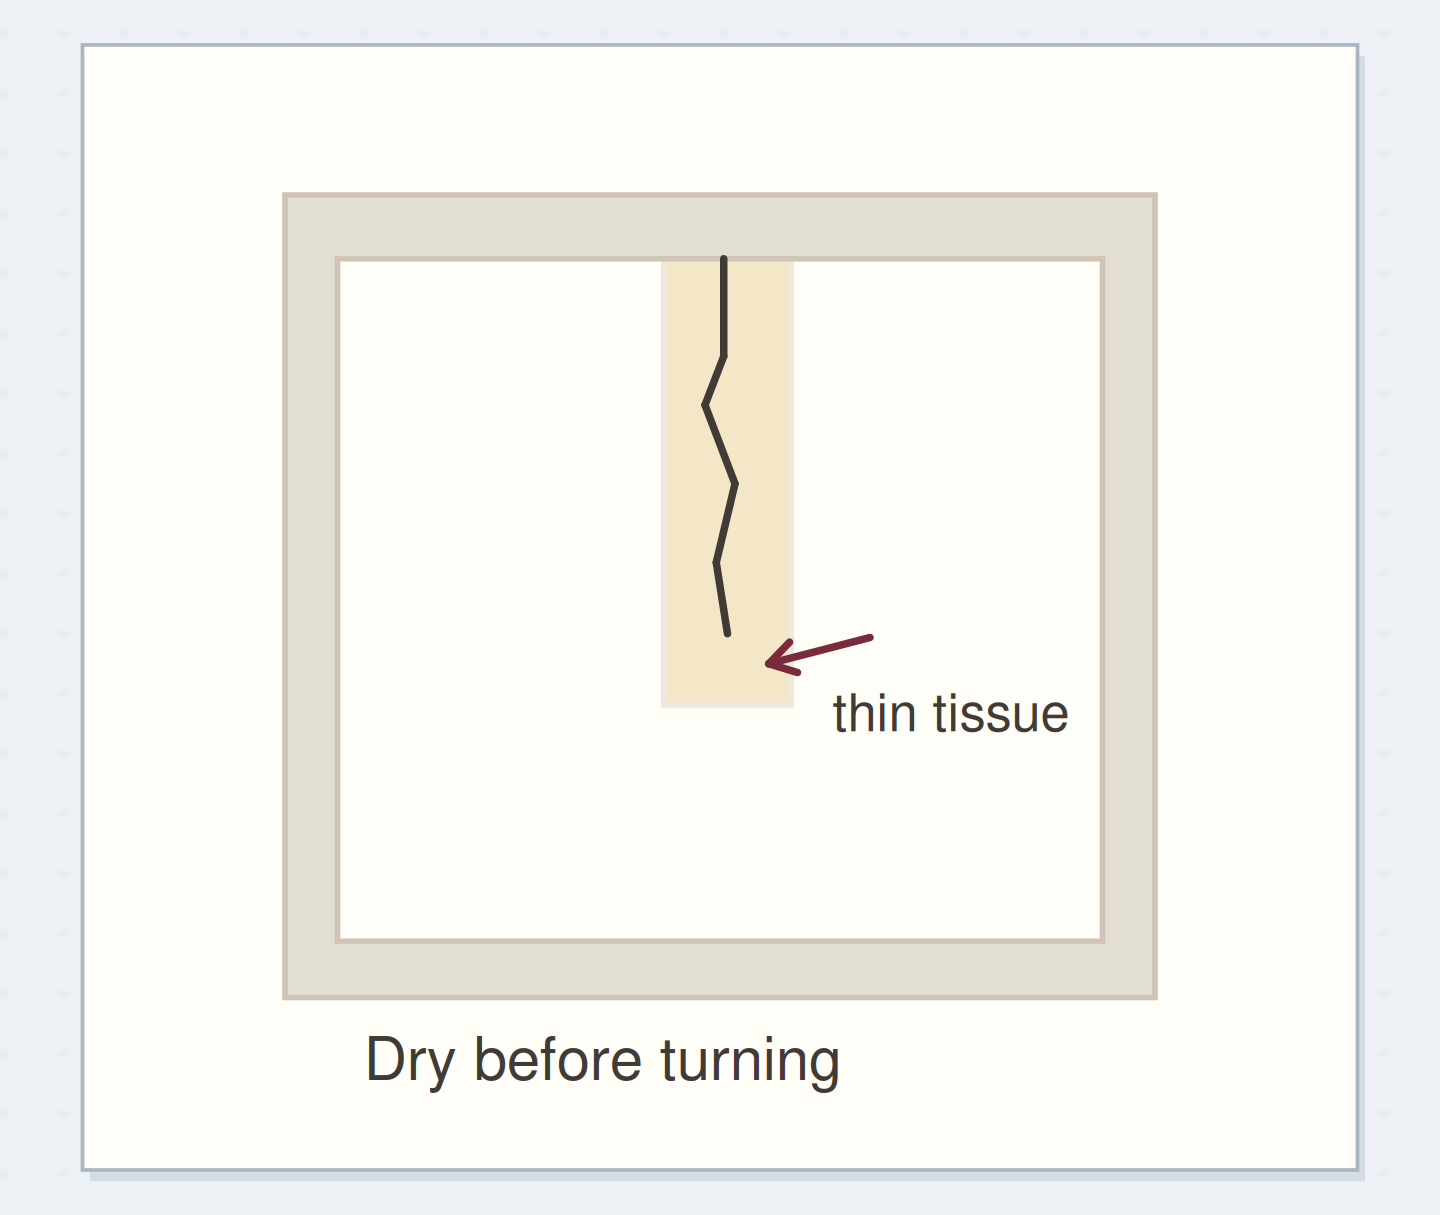
A short tear enters from the edge of an expendable sheet. Use the article measurements for the physical version; the drawing is a schematic.
“A repair can remain visible and still be useful.”
Make a patch just larger than the damaged area
Use a very thin Japanese tissue intended for paper repair, not facial tissue or a thick decorative napkin. Prepare a narrow patch extending roughly 3 mm beyond the tear on each side and beyond its ends. The exact outline can follow the damage rather than becoming a large rectangular sticker.
A lightly water-torn edge gives fine fibers that blend more gently than a hard cut edge, as the conservation example demonstrates. Practice preparing that edge separately. Keep the patch small enough to handle comfortably, and use a suitable prepared paper-repair paste according to its instructions; this guide doesn't ask you to improvise an adhesive recipe.
Order the steps: test paper and paste first
Check the physical dependencies in this paper repair example. Reorder the actions before trying the paper version.
One workable order
- Test paper and pasteThe material test checks bleeding and surface response before repair.
- Align the torn edgesAligned fibers must be in place before the patch secures them.
- Place the tissue patchThe patch supplies support across the damaged area.
- Dry and test the turnComplete drying precedes the page-turn test.
Which check needs to come first?
The example shows one workable order. Complete drying precedes the page-turn test.
Place the patch with the least moisture that works
Brush a thin, even amount of paste onto the repair tissue on a clean temporary surface. Support the delicate patch as you lift it, place it across the aligned tear, and ease it down with the soft brush. Avoid scrubbing the wet paper or repeatedly lifting the patch to chase perfect invisibility.
Check that the tear has not shifted. Remove stray paste from the surrounding release material before it dries onto the sheet. Dry the repair with appropriate release material and light, even restraint, following the paste instructions. Change a damp drying layer if needed. Don't close a notebook onto a wet patch.
Plan what my test showed
Record what your material test actually showed and one observation that would make you stop.
What my test showed:The dry practice patch stays flexible.
Reason to stop this repair:The ink begins bleeding when the test paste touches it.
Your words have a place now.
Record what your material test actually showed and one observation that would make you stop.
- Words on this card
- 25
Test a torn corner of an ordinary note
On a spare sheet, make a short tear inward from the outer edge, away from any writing. Align it and apply the narrow tissue patch on the reverse. Once fully dry, lift the sheet from its support and turn it several times in the way you would turn a journal page.
Look for lifting patch edges, stiffness, and any new wrinkle. A slight visible repair can be acceptable if the page turns cleanly and the tear no longer catches. Write a small note on a separate practice card naming the tissue and paste you used, so the result is repeatable without relying on memory.
See what the supporting patch changes
After full drying, turn the test sheet several times and check whether the edge catches or the patch lifts.
Align
Aligned edges alone can still separate or catch.
Stop when the material behaves badly
If the paper begins to pill or the patch falls apart under the brush, stop moving it and let the area rest. More brushing adds stress. If the repair dries stiff or shiny, use less paste or a thinner appropriate tissue on the next test instead of covering the first patch with another layer.
Don't force a dried patch off to correct a cosmetic flaw. Removal can tear the underlying paper and may require knowledge of the adhesive and media. If a journal page only needs a temporary protected place to rest, a loose supporting sheet can keep it from catching until you decide on a suitable repair.
Judge support rather than disappearance
A repair can remain visible and still be useful. Check both faces, confirm that no neighboring paper is attached, and wait until the patch is fully dry before writing or turning the page normally. The test should tell you whether this material combination suits the ordinary paper in front of you.
Stop after one successful practice repair. Don't turn every worn edge into a repair project; normal use leaves marks. Keep this method for a small tear whose catching or spreading creates a practical problem, and use different help when the damage, media, or value of the object exceeds that modest example.
Where this idea began
Want to follow the idea further? These community discussions and maker references are a good place to start.
- Repairing a torn notebook page
A reader asks whether torn paper can be restored; replies distinguish a supporting patch from undoing a tear.
- Cardiff University: Basic Tear Repair on Paper
The conservation demonstration uses a thin Japanese tissue patch extending beyond a tear for support.