Gather a few things See what you’ll need
- A plain sheet
- Six to twelve paper offcuts
- Glue stick
- Ruler and pencil
- A pen
- Your existing paper folders
Index one collection with a clear boundary
Choose a group such as blue papers, current project leftovers, or backgrounds stored in one large folder. Six to twelve samples are enough for a first sheet. If the selection has no clear boundary, the reference will become another miscellaneous pile with labels attached.
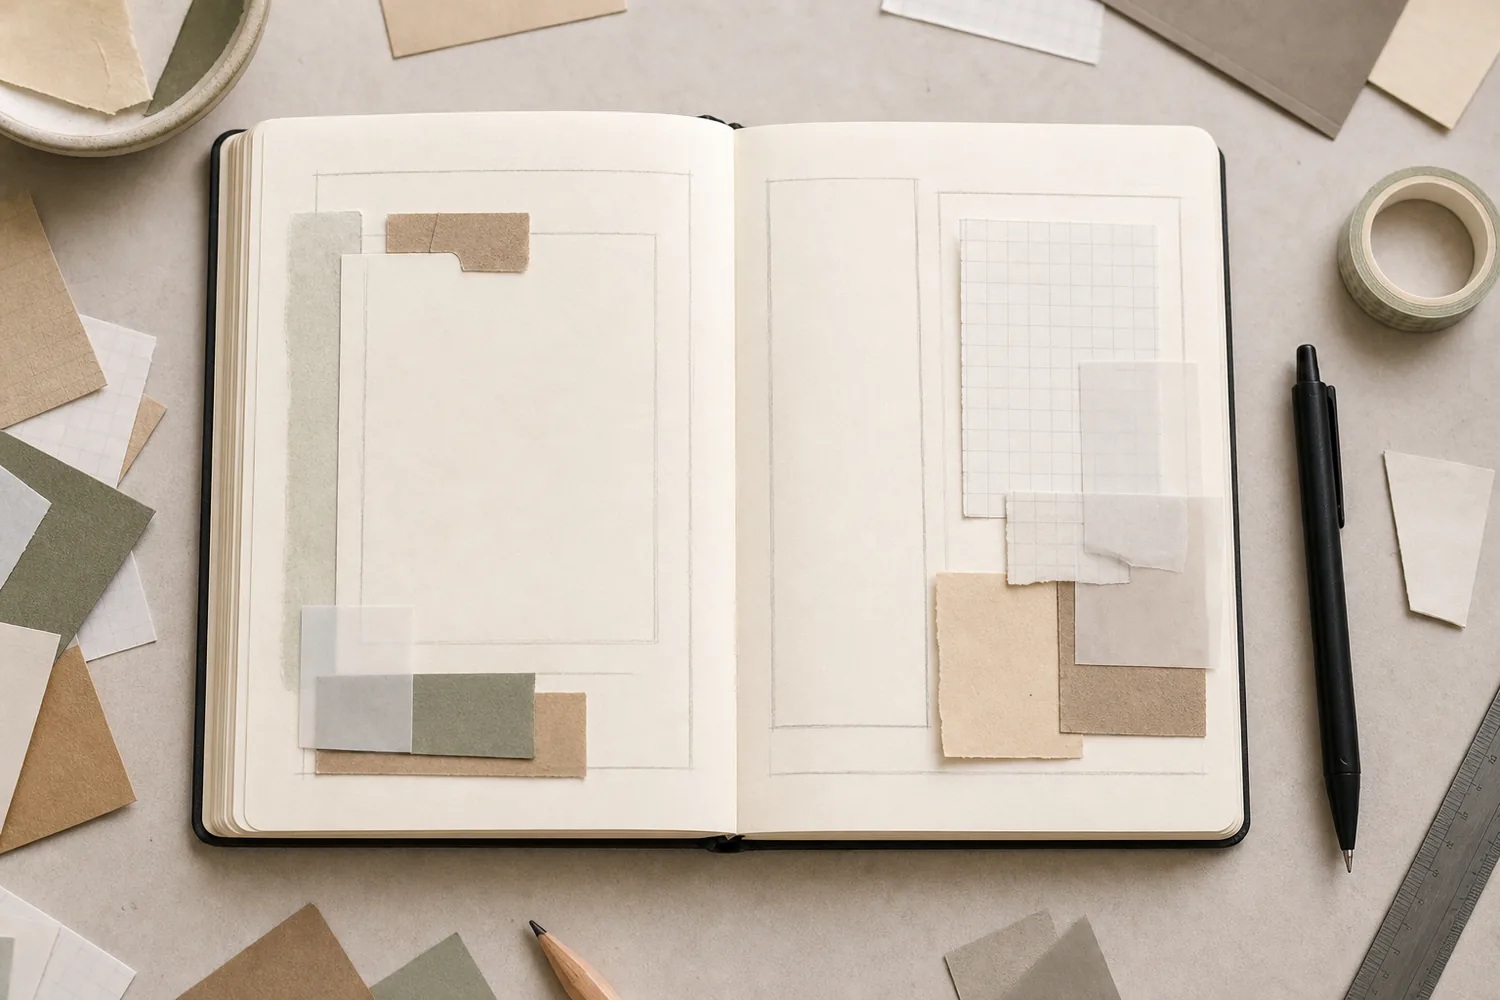
Use a plain sheet about A5 size or a notebook page you can find easily. Leave a heading area and divide the rest into a loose grid. The cells need space for a sample and a short location note. Exact measurements are optional, but consistent spacing will make browsing much easier.
Take a sample that represents the paper
Cut a small offcut from each paper, around 2 × 3 cm for this example. Include the characteristic color or pattern rather than an unusually blank corner. For a large repeat, use a larger sample or make a pencil note describing what the tiny piece can't show.
Don't sacrifice the only useful part of a precious sheet for the index. A quick sketch or a printed photograph can stand in for it, clearly labeled as a picture. A physical sample shows actual texture and opacity; a photograph shows appearance only. Keep that difference visible in your notes.
Make a Small Reference Sheet for the Papers You Keep Forgetting
Turn representative samples into a reference that leads back to the full papers.
Limit the sheet to one small collection.
One small collection, six empty sample places. Use the article measurements for the physical version; the drawing is a schematic.
“A reference sheet earns its space when it prevents an unnecessary search.”
Write where it is and what it can do
Under each sample, add a simple code that matches the real storage location, such as “Blue folder, back.” Then add one practical observation: thin, opaque, glossy, tears softly, or reverse is plain. Avoid vague labels such as beautiful or useful, which won't help you choose later.
If a material has an important source you want to remember, record it briefly. Don't invent dates or provenance for found papers. A sample from an old envelope can simply say “Envelope lining; source unknown.” The reference is strongest when it tells the truth about the material currently in your hands.
Order the steps: choose the collection first
Check the physical dependencies in this paper reference example. Reorder the actions before trying the paper version.
One workable order
- Choose the collectionA bounded collection keeps the reference manageable.
- Select representative samplesRepresentative samples must be selected before they can be labeled accurately.
- Attach and label themLabels connect the physical sample to its storage place.
- Test one retrievalA retrieval test checks whether the location note actually works.
Which check needs to come first?
The example shows one workable order. A retrieval test checks whether the location note actually works.
Six blues for a window-light spread
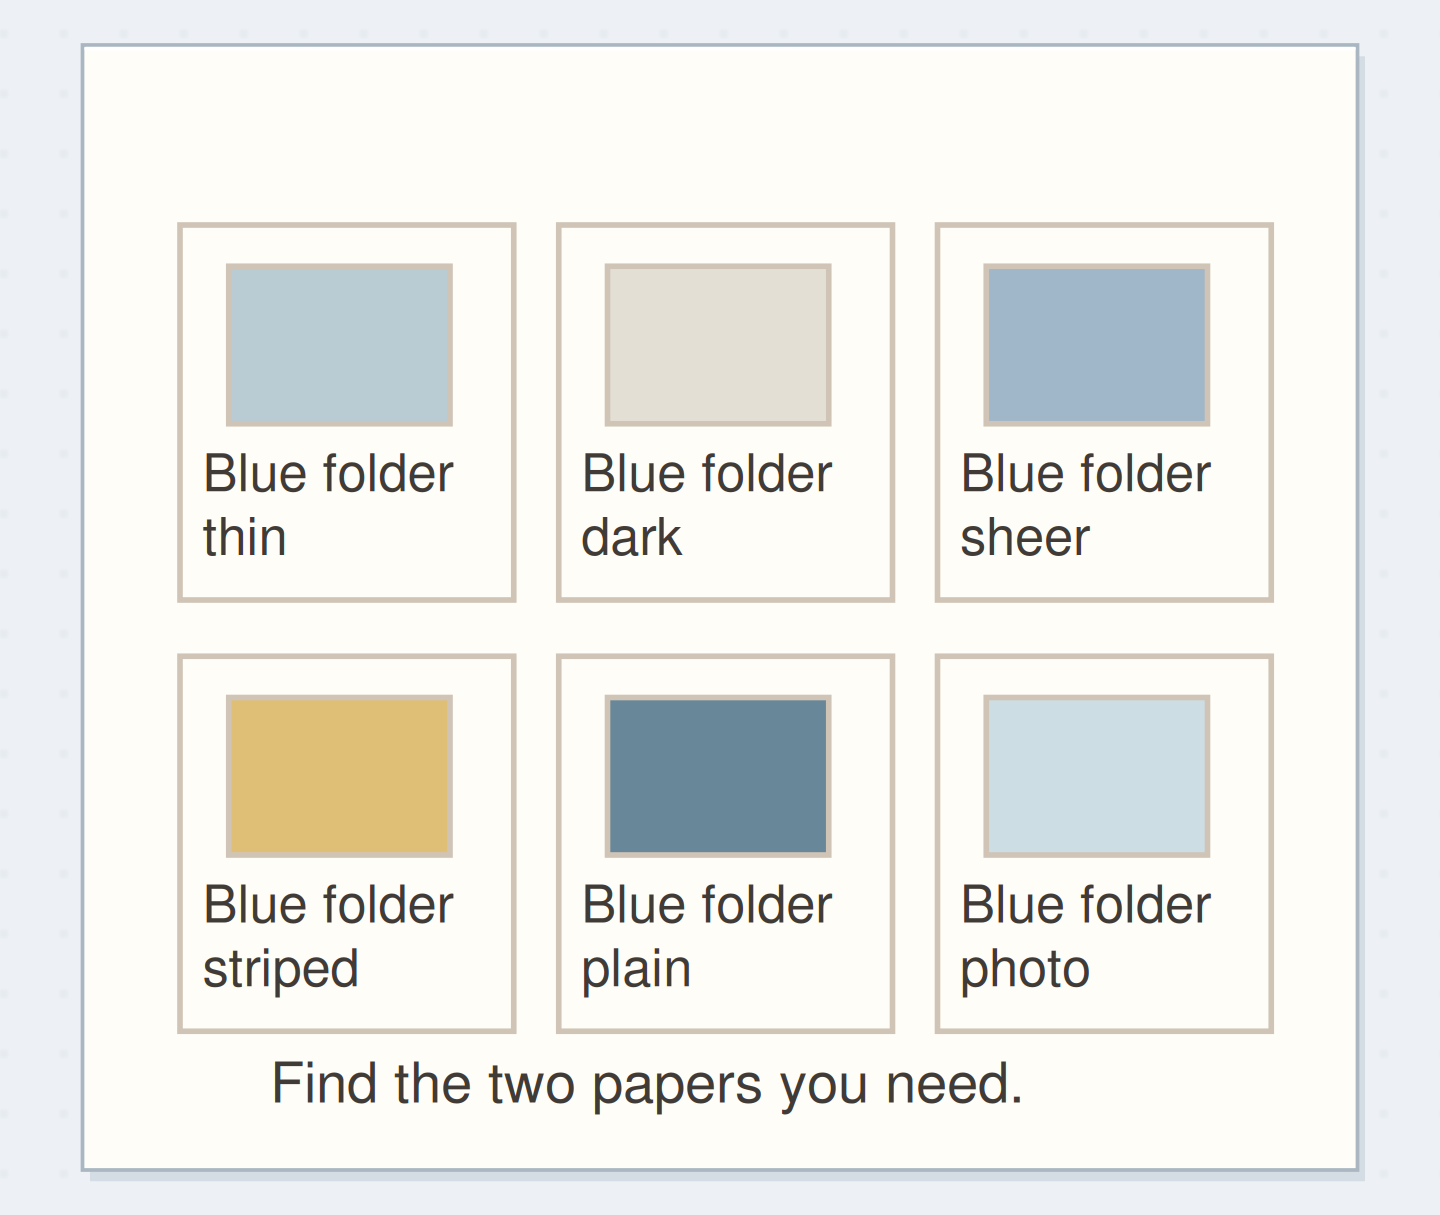
Make two rows of three samples: pale envelope lining, dark leaflet margin, blue-grey tissue, striped wrapping, plain blue copy paper, and a photograph offcut. Note where each lives and whether its reverse can take writing. Keep the tissue over a small pencil line so its transparency is visible.
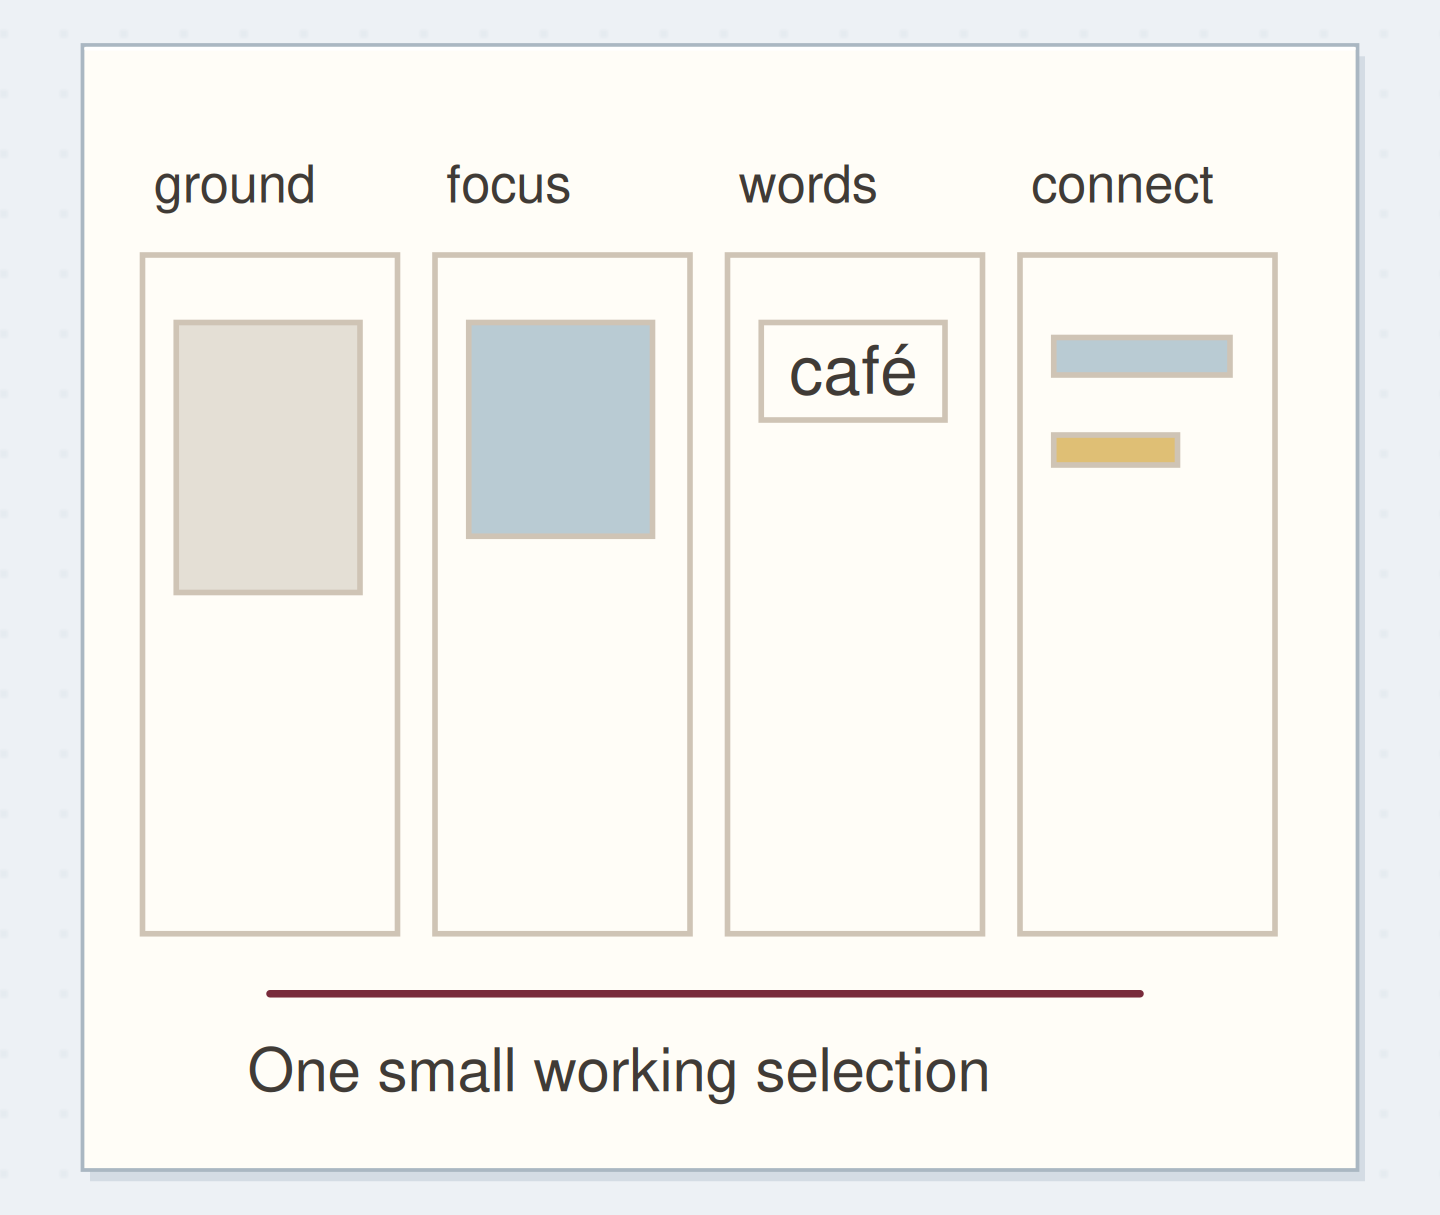
When planning a page about light through the kitchen window, compare the samples without taking out all six papers. Choose the pale lining as a ground and the dark margin as a narrow connector. Retrieve only those two larger pieces, then return the reference sheet to its usual place.
Plan collection heading
Give the sheet a useful collection name and write one location note you could follow tomorrow.
Collection heading:Blue papers for window light.
One useful sample note:Blue folder, back; thin, plain reverse.
Your words have a place now.
Give the sheet a useful collection name and write one location note you could follow tomorrow.
- Words on this card
- 17
Rescue an index that is becoming work
If you spend more time updating the sheet than using it, reduce its scope. Index the papers you often forget, not every paper that enters the room. A sample can stay after the last piece is used if you mark it “used up”; it may still help you describe a color combination you liked.
If location codes become inaccurate, fix the folder names first. Don't create a second, more elaborate numbering system to compensate for storage that keeps changing. A broad note such as “Large backgrounds” may remain useful longer than a precise position within a stack you reorder every week.
See why locations matter
Ask whether the sheet tells you both which paper to choose and where that paper is stored.
Samples
Color swatches alone do not tell you where the full paper is.
Include a small test only when it answers a question
You can add one pen mark, a torn edge, or a glued overlap to a sample if that behavior matters to your work. Label the test so it isn't mistaken for the paper's original design. Let all test materials dry before closing the sheet inside a notebook.
Avoid covering the sample with so much testing that you can no longer see it. A separate material-test page is better for detailed comparisons. This reference should help you make a first choice; you still need to check the full piece against the actual writing, photograph, or fold on your new page.
Keep it where the next choice happens
A reference sheet earns its space when it prevents an unnecessary search. Put it at the front of the relevant folder or beside your small working stash. Give the heading a date only if you want to distinguish several versions; the date need not become another maintenance task.
Stop when you can identify the samples, locate the larger papers, and understand the few notes you added. On the next page, use the sheet once before opening a folder. If it doesn't help, change its boundary or its labels rather than making a second sheet immediately.
Where this idea began
Want to follow the idea further? These community discussions and maker references are a good place to start.
- Keeping and organizing collage sources
The discussion describes separating source material into usable categories while keeping larger source pages.
- How analog collage makers organize their material
Readers compare sorting by subject, size, backgrounds, words, and works in progress, and describe overcomplicated filing.