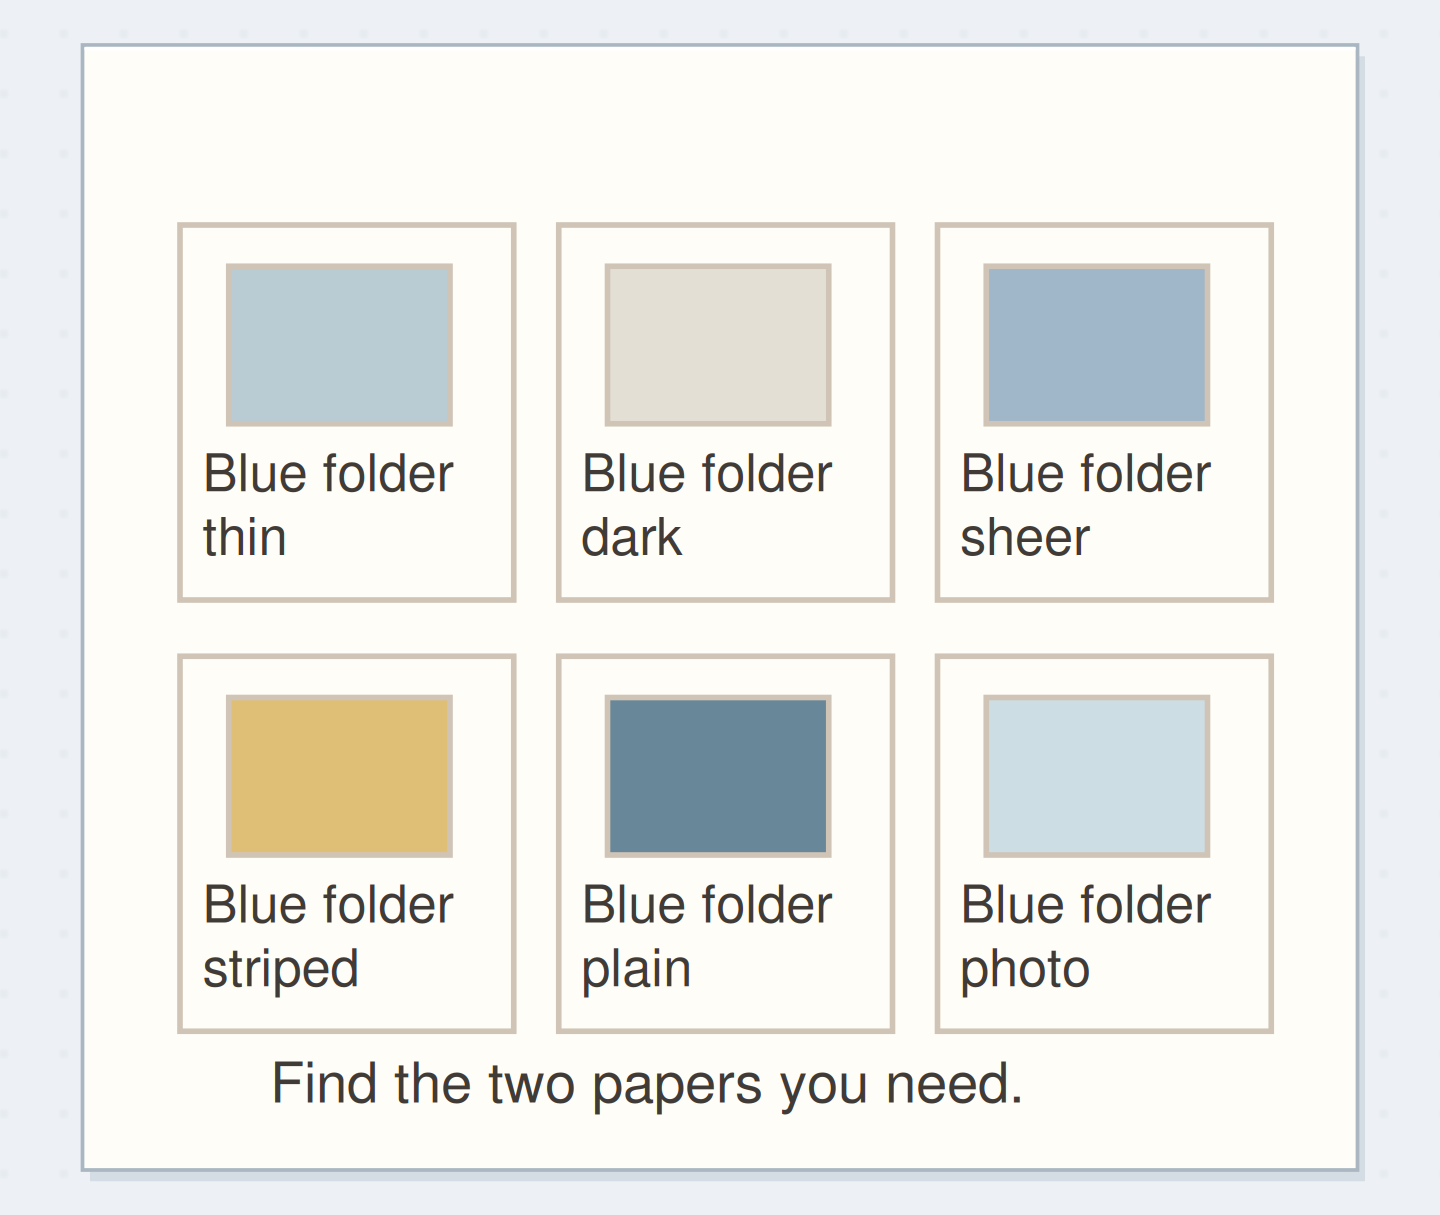
Gather a few things See what you’ll need
- Two colors of tissue paper
- A light paper base
- Matte acrylic medium
- A soft brush
- Waste paper
- A pen for a dry test
Find out whether the color moves
Tear a small piece from each tissue and place it on waste paper. Touch one edge with a barely damp brush. If color spreads into the paper below, your tissue bleeds. You can still use that behavior deliberately, but it won't produce the same clean layered shapes as colorfast tissue.
Make another tiny test using your chosen medium on the actual base paper. Check whether the tissue tears when brushed and whether the print underneath remains visible. Use ordinary clean paper for the base rather than a finished entry with irreplaceable writing. A test this small can answer the material question before the whole page is involved.
Choose a pair and one clear overlap
Start with two colors, such as pale blue and yellow, and three pieces no larger than your palm. Tear broad shapes with uncomplicated edges. Very tiny tissue scraps are harder to place and can disappear into adhesive, while a large sheet may wrinkle before you have learned how it behaves.
Set the pieces loosely on a light base about 10 × 15 cm. Let one blue piece overlap one yellow piece across a visible band. Keep another area covered by only one color so you can compare the single layer with the overlap. Leave a plain margin for a short caption.
Let Tissue Overlaps Mix the Colors on Your Page
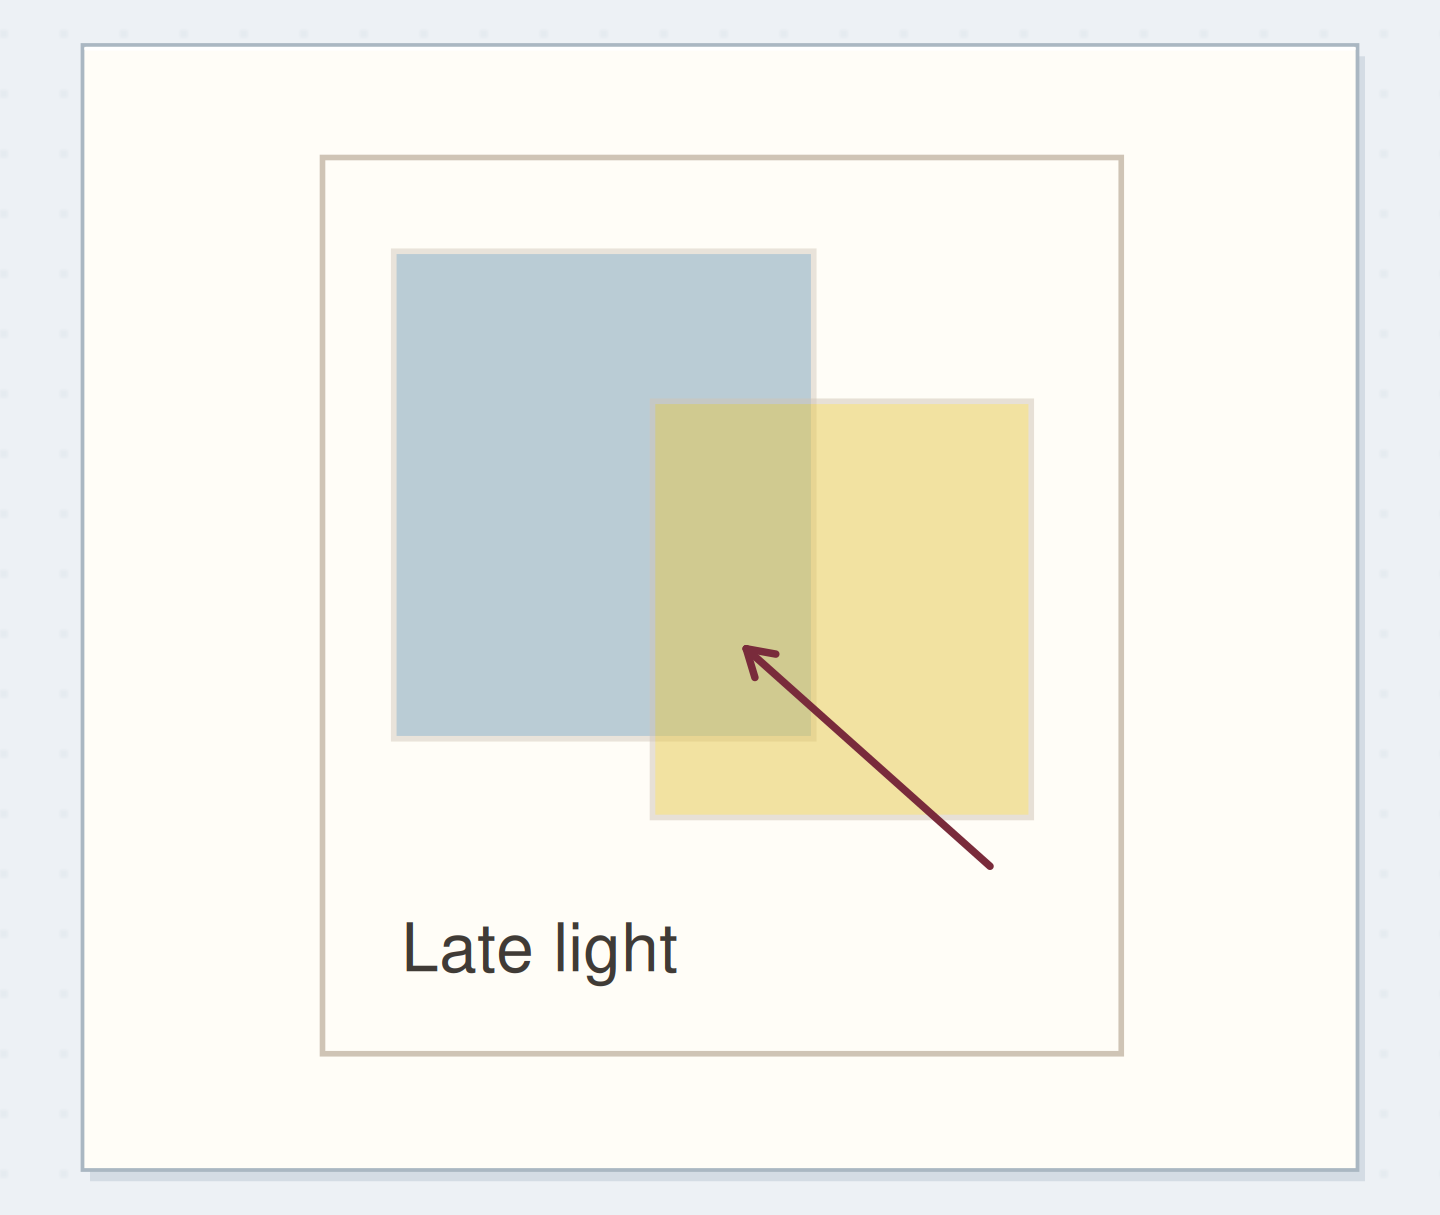
Compare the single tissue colors with the area where the two transparent papers overlap.
Test wet strength and color bleeding on waste paper.
Try each tissue on a waste-paper test first. Use the article measurements for the physical version; the drawing is a schematic.
“The overlap is the subject of this small collage.”
Move the brush gently from the middle outward
Brush a thin layer of matte medium onto the area that will receive the first piece. Lower the tissue onto it and settle the middle before easing the edges down. Use a soft brush with light strokes; repeated rubbing can break wet tissue fibers.
Add only enough medium over the top to secure a loose area if your test showed that this works. Let the first piece settle before placing the second. Avoid flooding the base in an attempt to remove every wrinkle. A slight paper texture is acceptable, and extra moisture can make both the tissue and the underlying page harder to control.
Order the steps: test tissue and adhesive first
Check the physical dependencies in this tissue collage example. Reorder the actions before trying the paper version.
One workable order
- Test tissue and adhesiveTesting reveals bleeding and weak wet tissue before final placement.
- Place the first tissueThe first layer provides the surface that the second will partly cover.
- Place the overlapThe second layer creates the comparison area.
- Dry before pressingDrying precedes pressing so damp material does not transfer or stick.
Which check needs to come first?
The example shows one workable order. Drying precedes pressing so damp material does not transfer or stick.
A small study of light through colored glass
Place a pale blue rectangle toward the left of the base and a yellow rectangle slightly lower to the right. Let them overlap in the middle. Add a much smaller blue piece near the lower edge, away from the central overlap. The repeated blue connects the composition without covering the whole surface.
After everything dries, write “Kitchen window, late afternoon” in the plain margin. The example records a color impression rather than a literal scene. If the overlap looks greenish, note that observation; if your particular papers produce a duller mixture, record what you actually see rather than forcing the expected result.
Plan what the overlap resembles
Describe the real overlap you obtained and write a caption for the area you kept plain.
What the overlap resembles:Light through the green bottle.
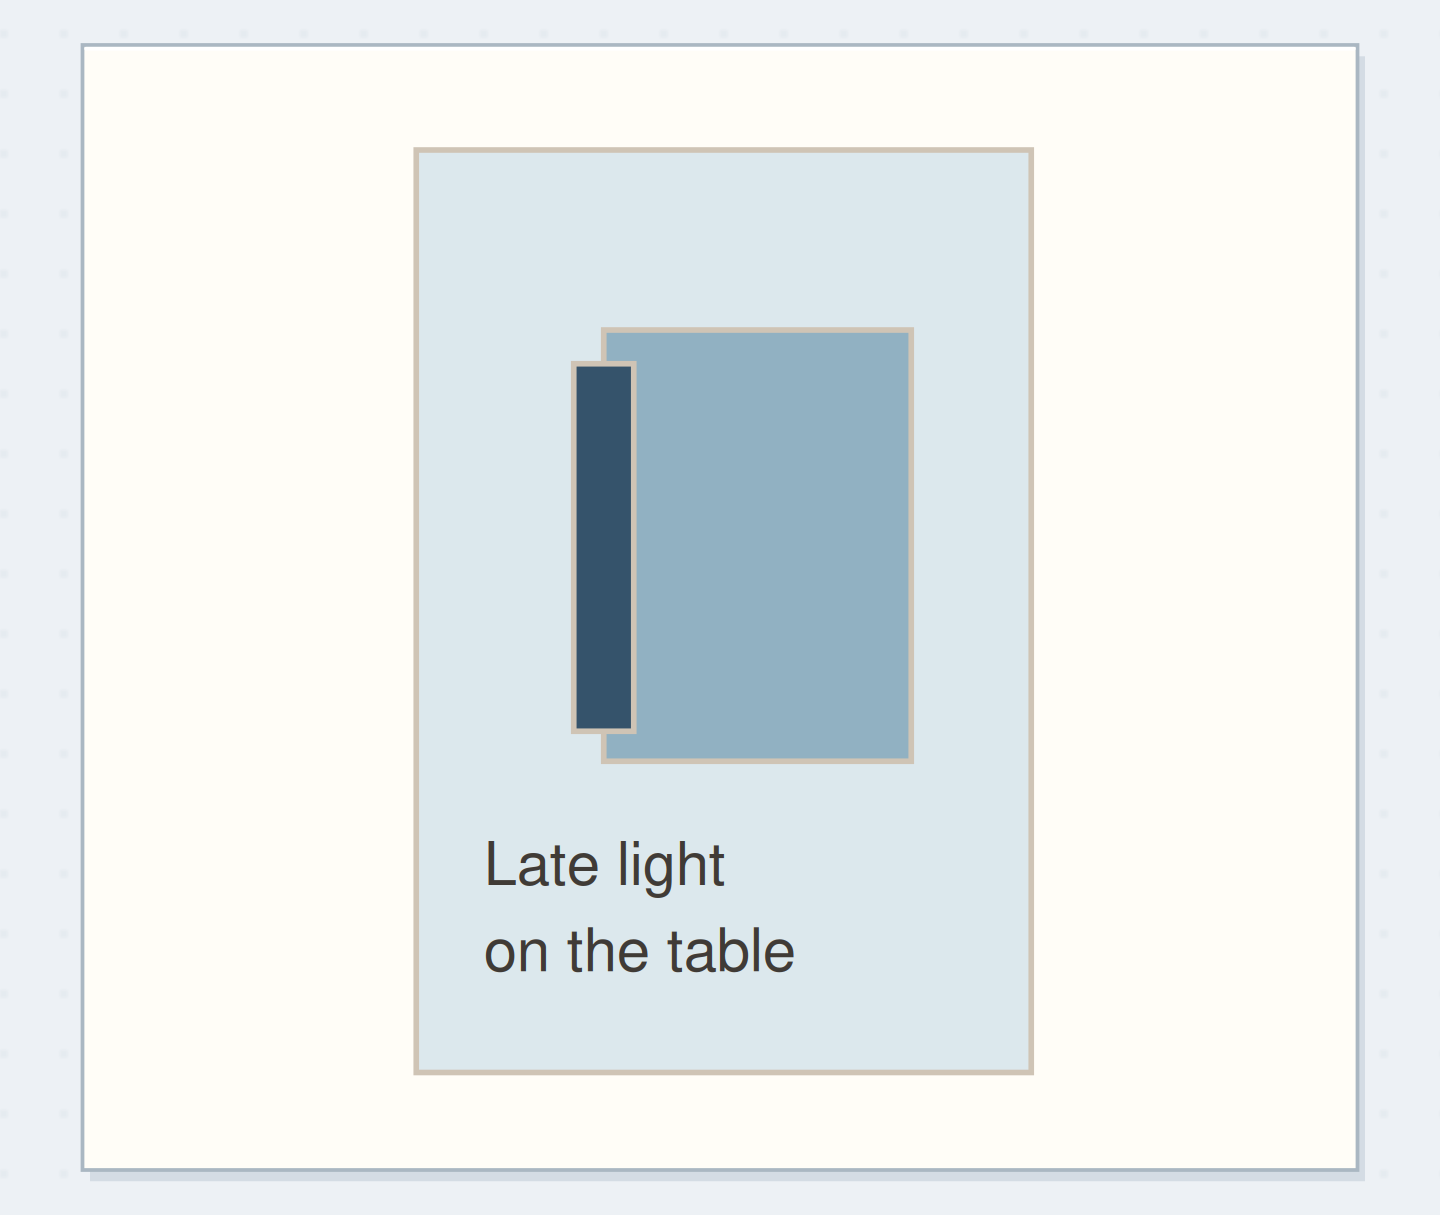
Words on the plain area:Late light at the kitchen window.
Your words have a place now.
Describe the real overlap you obtained and write a caption for the area you kept plain.
- Words on this card
- 20
Let a fragile area rest
If tissue tears while you are brushing it, stop working that spot and allow it to dry. You can leave the small break, cover it with one fresh dry fragment later, or trim the finished study. Trying to push torn wet edges back together often makes the hole larger.
If the colors bleed more than you wanted, keep the test as a reference and use a colorfast pair for the final panel. If the backing curls, dry it fully before pressing between clean sheets under a flat weight. Don't close a damp or tacky collage inside the notebook.
Compare single and overlapping color
Compare the dry overlap with each single layer; record the actual color rather than expecting a guaranteed green.
Blue layer
A single blue layer cannot show the interaction of the chosen pair.
Decide where the words belong
Writing on the dried medium may feel different from writing on plain paper. Test your pen on the offcut study first, especially if the surface is uneven or slightly slick. A small plain caption strip is an easy alternative when the pen skips or takes too long to dry.
Keep the writing beside the central overlap so that the color experiment remains visible. If you need a soft veil over existing collage, the translucent-paper guide explores that different job. Here, the value of the tissue is the way separate colors meet, so avoid covering the interesting shared area with a large label.
Keep one clear example of what the papers do
The overlap is the subject of this small collage. Once the medium is fully dry, touch the edges lightly and check for loose fragments. Attach the study to a page only if it is thin enough to turn comfortably with the notebook leaf.
Stop after the two single-color areas and their overlap are easy to distinguish. Save the small material test with a note about bleeding and adhesion. The next experiment can change one color or one tissue type; you don't need to add more layers to this one just because there is still a little plain paper showing.
Where this idea began
Want to follow the idea further? These community discussions and maker references are a good place to start.
- Collage in my art journal
A maker uses saved tissue, packaging, labels, and stamping experiments together in a journal.
- Drew Steinbrecher: mixed media collage process
The artist explains adhering printed tissue with matte medium as one layer in a collage.