Gather a few things See what you’ll need
- Journal and pen
- Memo paper or sticky note
- Optional ruler and tested highlighter
- Optional clean paper scrap
- Optional paper tape, scissors, and a separate cutting surface
Choose an exercise 4 things to try as you read
Choose what you want to keep first
Put the thing you came to keep on the desk first: a sentence, a photo, three notes, or a scrap. What is missing from it? A date might place the memory; a tab might help you find it. Let that missing piece choose the combination, before borders and shadows compete for the same space.
You can try these with a pen and an intact sticky note if you don't want to cut or glue. Draw a label, tape corners, or a small shadow. The supplies don't all have to appear for the page to count as a finished combination.
Compare the optionsChoose the job before combining the supplies
Choose the job before combining the supplies
Select the record you have and see which small addition helps it work.
Read the words in this example
- sentence
A memo and two quiet corner cues are enough.
Give the sentence a plain memo and attach it with suitable adhesive. Small drawn tape corners can suggest a finish, but they do not physically hold the memo. Keep the marks away from the words and leave other supplies available for another page.
ONE WORKED EXAMPLE
Two tape corners, one real attachment
You want to save “We took the long path because the gate was locked” on a plain memo. You like the look of drawn tape and have a pen ready.
Before
The memo is placed neatly with two inked tape shapes at its corners, but it slides when the page turns because nothing actually attaches it.
After
A little suitable adhesive fixes the memo to the page. Two slanted pen rectangles cross its corners without touching the sentence. A short date sits above the memory; the remaining edge stays plain.
What changed—and what to check
Separating the real attachment from the drawn suggestion makes the page work as well as look finished. The sentence keeps its space.
Try this check. Turn the dry page and check that the memo stays attached without catching at an unsupported corner.
A little tape for your next page?
The Washi Tape ShopAffiliate links: we may earn a commission if you buy through these links.
Two easy ways to give a note its own space
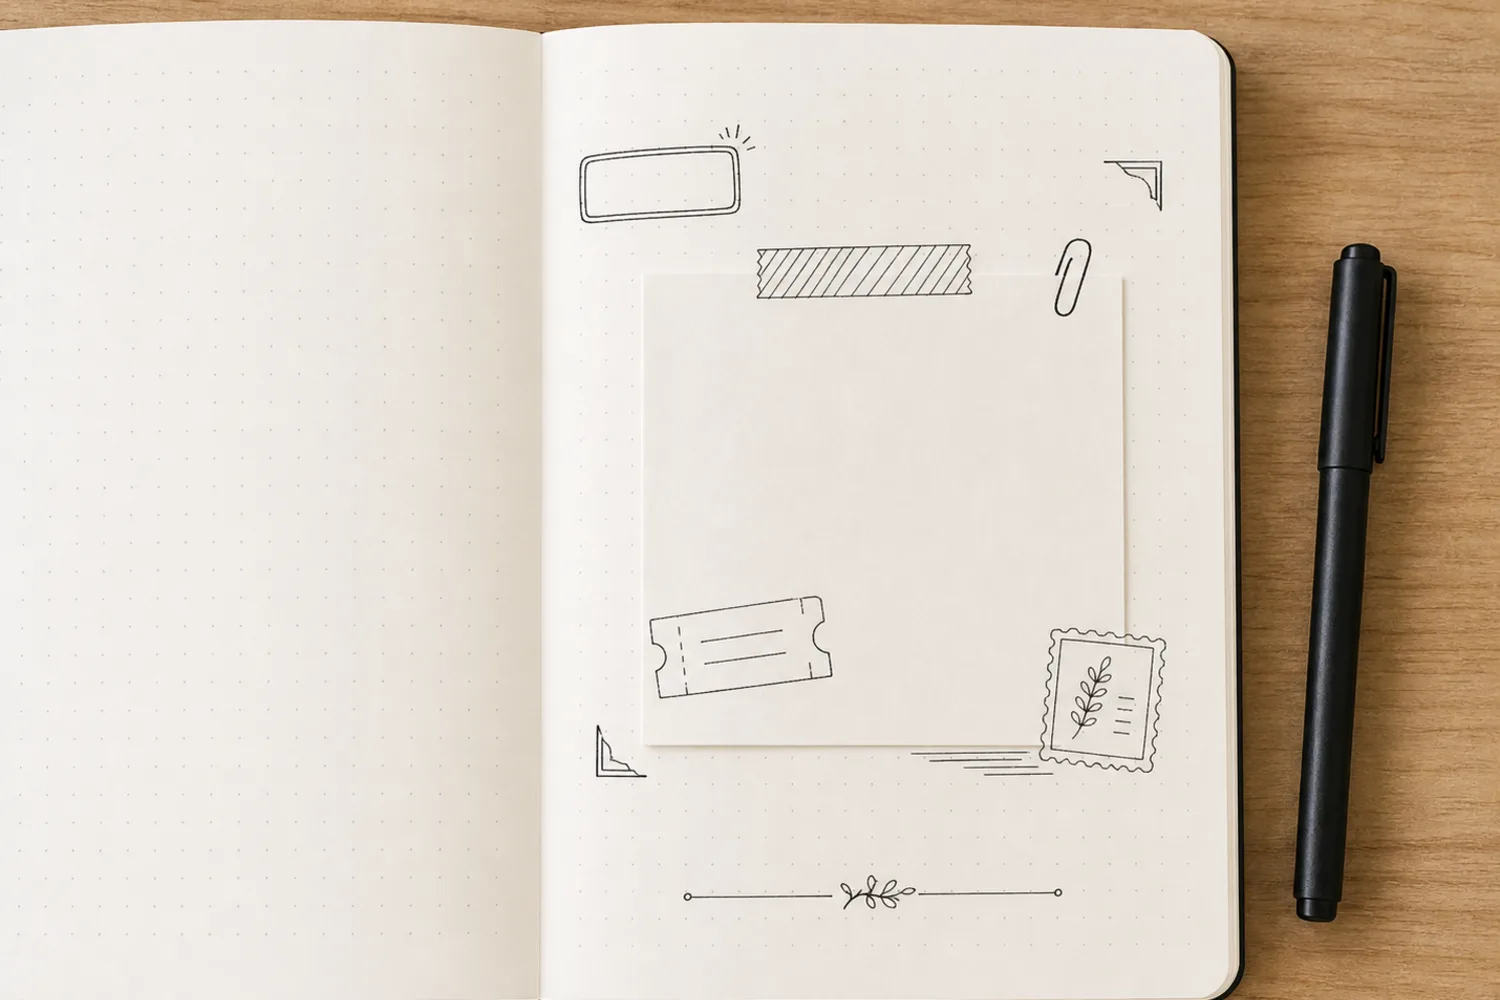
Write the memory on a plain memo and attach it with real adhesive. Then draw a small slanted rectangle across each of two corners to suggest tape. The drawn corners are a picture of fastening, so they do not hold the memo themselves. If the edge still needs definition, add one short shadow just outside the lower or right side, clear of the sentence.
For sticky note plus highlighter shadow, lightly mark where the lower and right edges of the note will sit. Move the note aside, draw a pale band just outside those edges, and let the ink dry before putting the note back. Write a short title and a few lines on it. The color peeking out makes the note feel placed; you can skip the extra border.
See the differenceLet one small finish place the memo
Let one small finish place the memo
Switch from several surrounding treatments to one quiet cue.
Read the words in this example
Several finishes
- memory
Several finishes
Tape corners, border, shadow, and extra line all work around the same small note. Their combined emphasis can become more demanding than the words.
A whole day in boxes, or a very small beginning
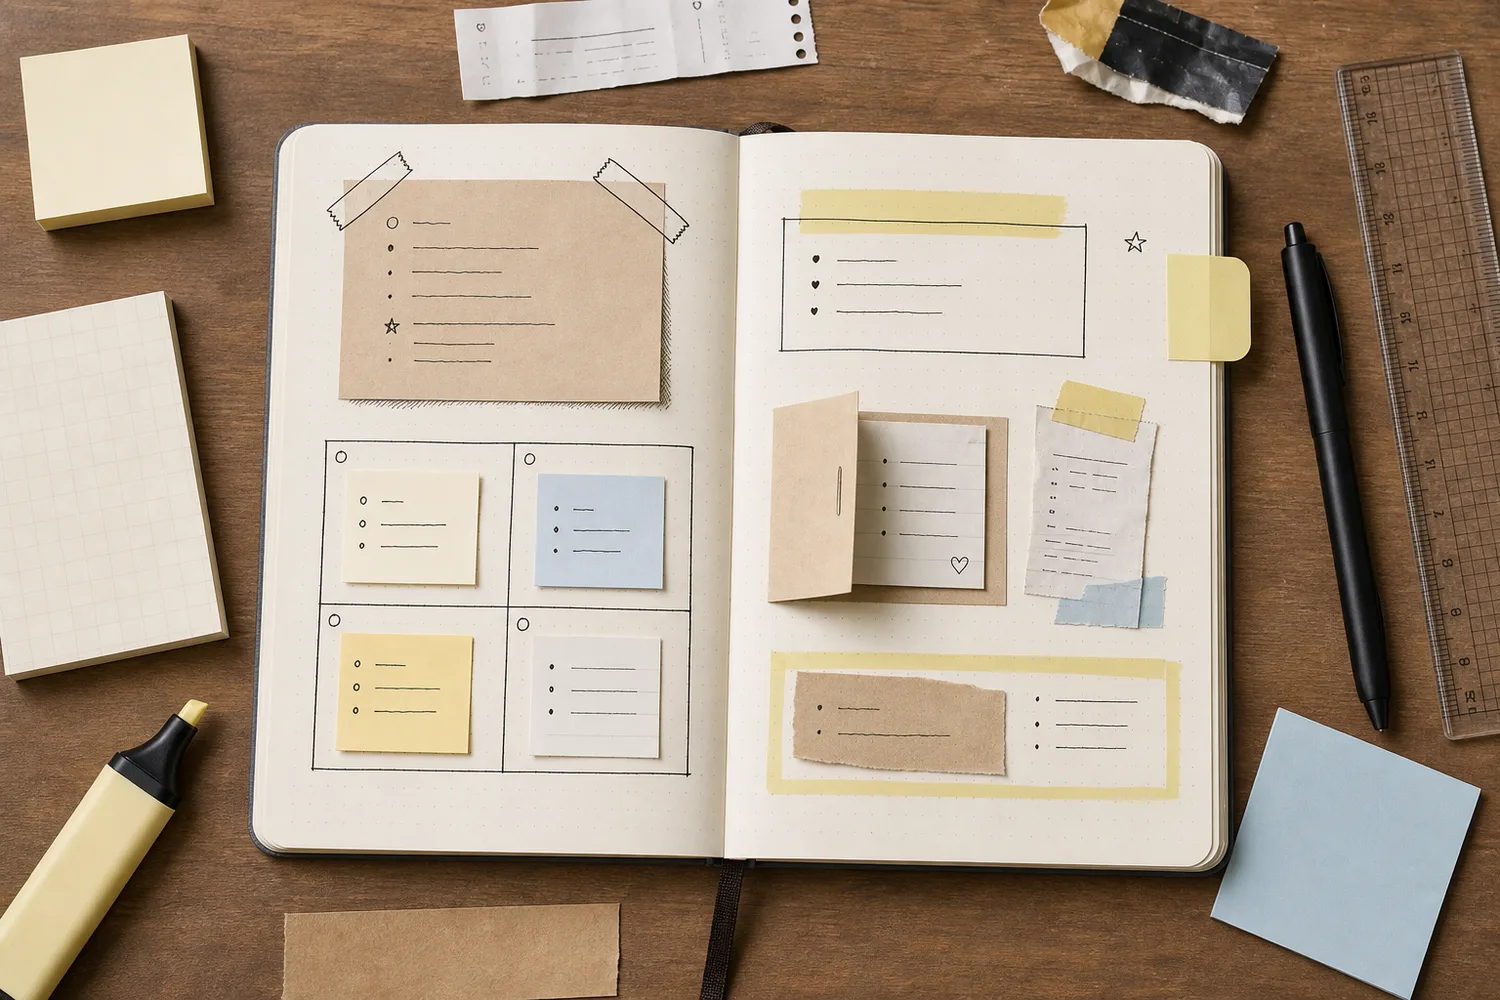
For ruler grid plus memo cards, draw a simple two-by-two arrangement with a little gap between the four spaces. Put a small memo or note in each and use them for morning, afternoon, evening, and something you want to remember. Keep the handwriting comfortable. If three notes are all you have, leave the fourth space for later instead of finding something to fill it.
For highlighter bar plus pen label, test the ink and paper combination first. Draw a small pale bar, let it dry, and write 'today,' 'small win,' or another short heading over it. Leave a little color showing at both ends, then write one memory underneath. If the pen drags or the ink smears on your test, draw a plain pen label instead. The page still has its beginning.
A page to find again, or a sentence to open
For sticky tab plus daily log, use a ready-made sticky flag or cut a narrow strip from a loose sticky note, across its adhesive band so the strip still has a sticky end. Cut on a separate surface, then place that end at the page edge. Label the tab and write three short notes nearby. Let only a small part extend beyond the page so it won't catch easily.
For memo tip-in plus an afterthought, attach a lightweight memo along one edge with a narrow strip of paper tape, half on the memo and half on the journal. Write a little title outside and the fuller sentence on the back or page beneath. Leave the other edges free. Open it and close the book before decorating; if it pulls or catches, make it smaller or move it inward.
Try the exampleTest the opening before finishing the tip-in
Test the opening before finishing the tip-in
Change the hinge edge and angle while the extra sentence becomes visible.
Read the words in this example
- Fold projection
- Your words
- Wine = fixed hinge
- Side profile
- 75° from closed
Left hinge stays fixed; the flap lifts 75° from closed.
Lifting the flap can reveal the fuller sentence beneath its closed footprint. Gold is the moving flap and wine is its attached edge. The side profile shows the lift angle; the upper view is an oblique geometric projection. These are rigid-paper schematics, not predictions of bending, clearance, or collisions. Try the motion: small afterthought. This models a lightweight memo taped along one edge, with tape shared between memo and page. The projection is schematic; test the real book before decorating.
- Lift angle
- 75°
- Fixed hinge
- Left edge
- Model
- Oblique projection + side profile
GO A LITTLE FURTHERSomething from today, or a page you can make without deciding much
Something from today, or a page you can make without deciding much
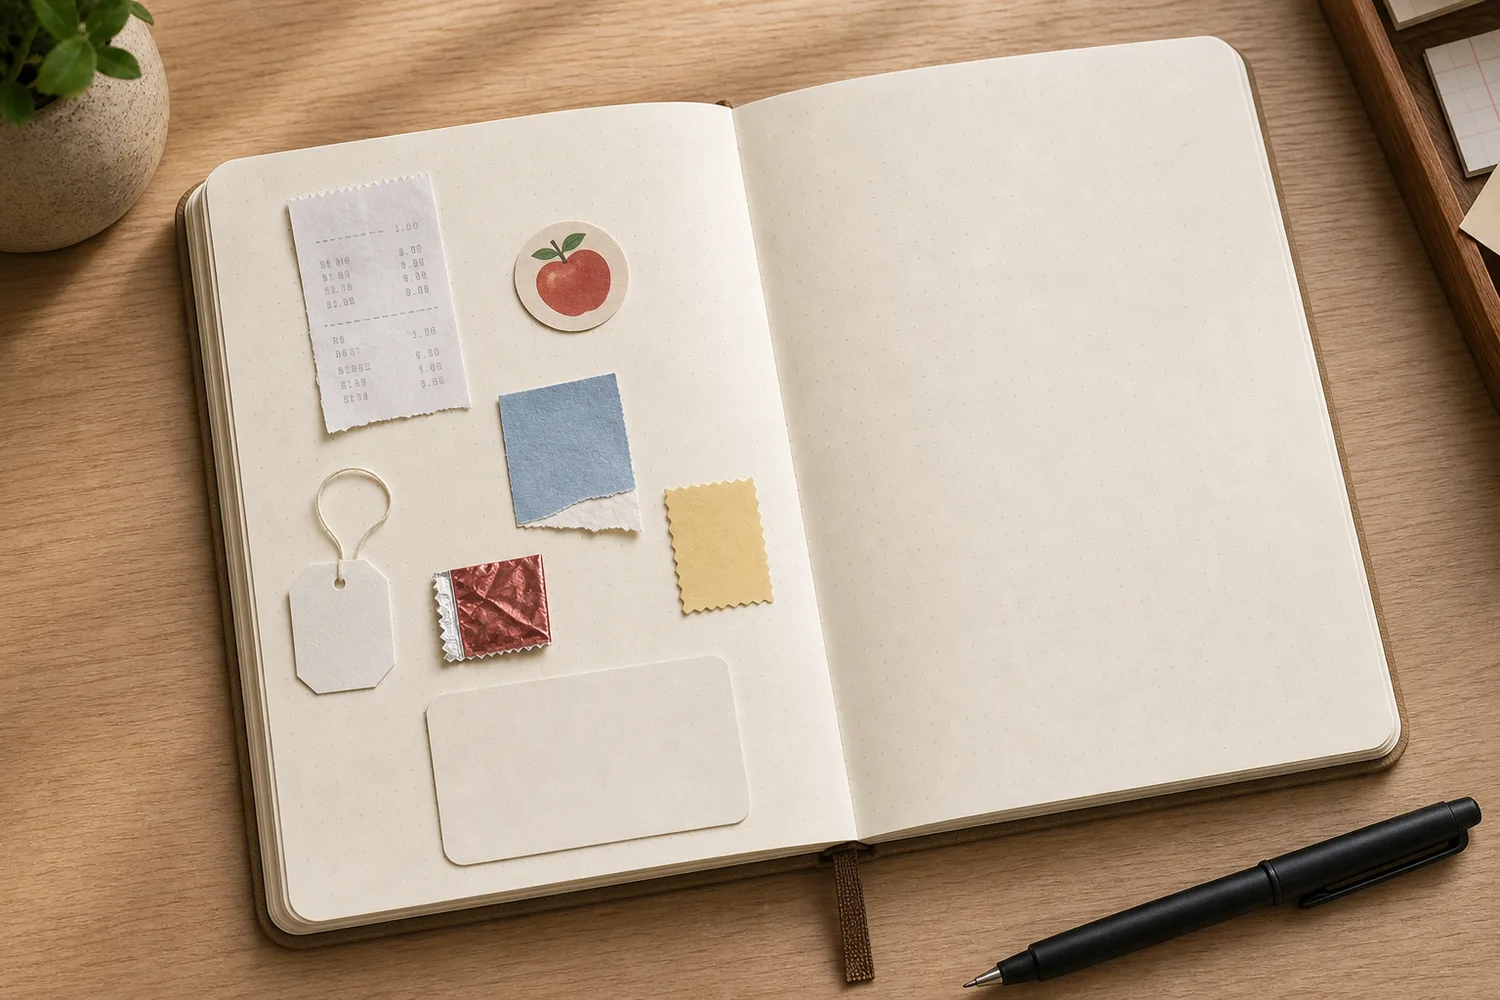
For desk scrap plus a soft frame, choose a small clean, dry scrap and place it near some writing space. Draw a loose highlighter frame a little larger than the piece, let it dry, then attach the scrap inside. Write 'kept because...' beside it. Use a copy of a thermal receipt if its printed information matters; use a drawing or photo for anything greasy or damp.
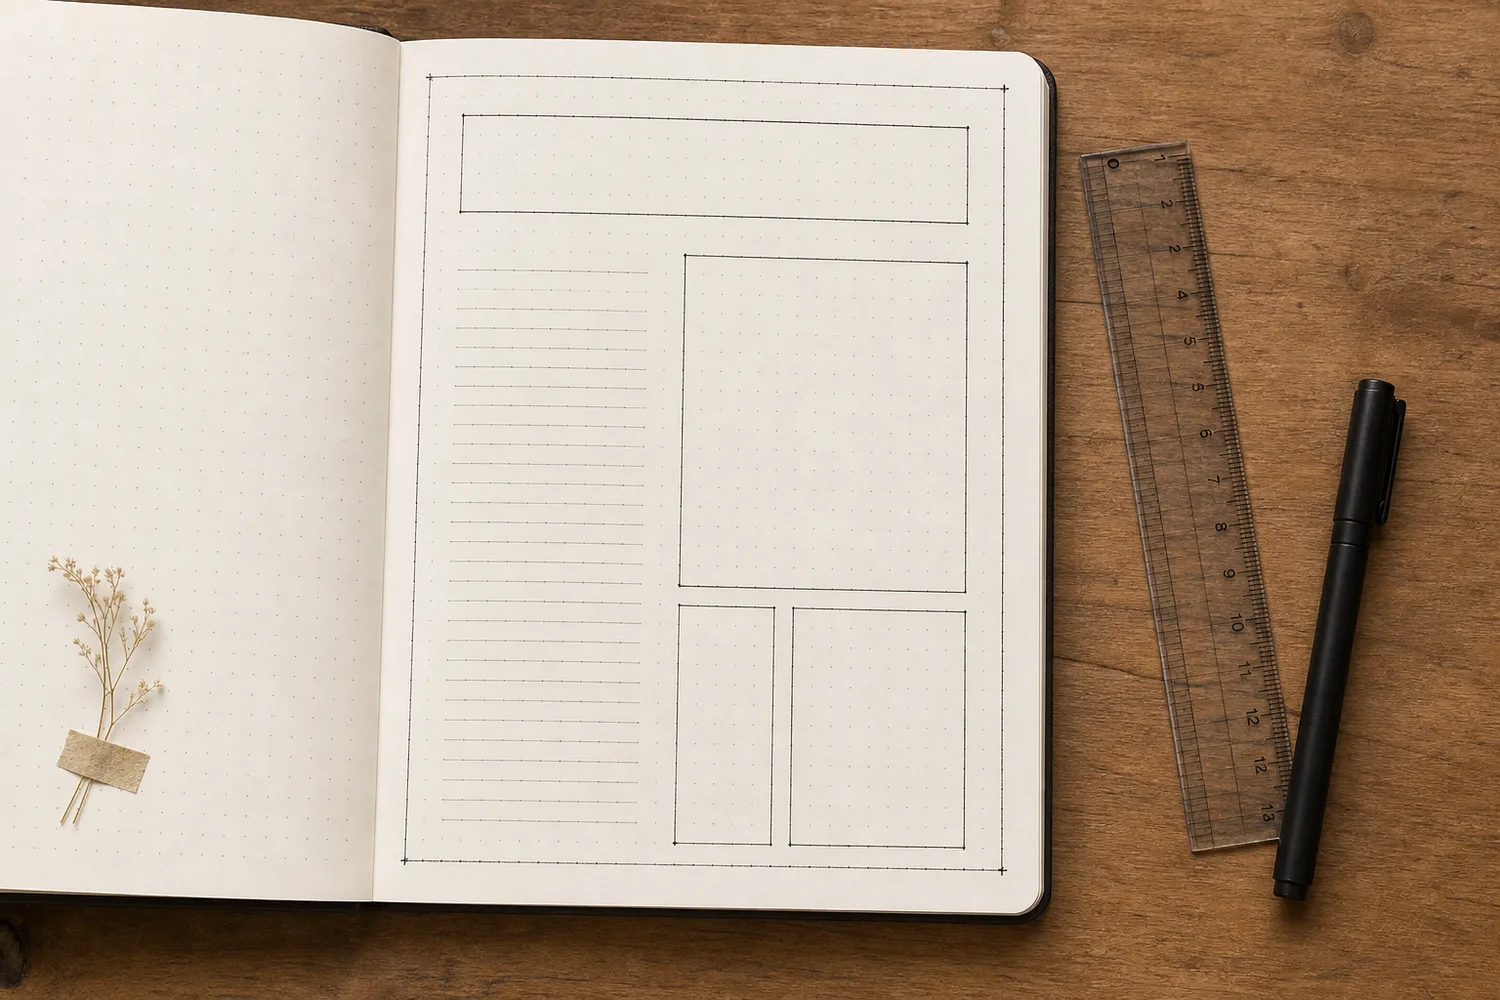
For the familiar fallback page, draw a small frame, add a pale title bar, place a memo with your record inside, and finish with one bracket or short shadow. You can leave out any part you don't need. If the memo already has a printed heading, skip the title bar. If the frame makes the page feel crowded, use two corner marks instead. The sequence is there to help you start.
Try a what-ifThe tab lost its sticky end
The tab lost its sticky end
Cut the part that can still attach.
You cut a narrow flag from the lower, nonsticky part of a loose sticky note. It looks right at the page edge but falls away when the book moves.
Compare the three choices
What should you change?
- Let more of the flag stick beyond the page
A larger visible tab will not create adhesive where the strip has none, and it may catch more easily.
- Fold the whole strip in half before placing it
Folding can give a tab more body, but both sides of this strip are still nonsticky.
- Cut a fresh strip across the adhesive band, or use a ready-made flag
The strip needs to retain an adhesive end. Cut on a separate surface and leave only a small part projecting from the page.
A useful combination keeps the real working part of each material.
What would you try?
Choose an option to see what it would do. You can explore all three.
When it gets busy, make one part quieter
If the page feels crowded, look at the things around the writing. A colored memo with a border, tape corners, a shadow, and a big title may need fewer finishes. Remove a loose decoration or leave the next one out. If the pieces seem unrelated, line up one edge or repeat one small color rather than adding another paper layer.
Close the journal with the memo in place, then open it and read the memory. If a corner catches, fix that attachment before adding a flourish. When the note stays put and the words feel like the reason for the page, leave the remaining supplies on the desk.
A little tape for your next page?
The Washi Tape ShopAffiliate links: we may earn a commission if you buy through these links.
Where this idea began
Katie Smith's mixed-media page moves from patterned paper and color to a vellum layer, then ends with correction tape as a white writing area. The other sources informed short records, visual hierarchy, proximity, white space, and marker dry-time checks.
Want to explore the techniques a little further? Here are the maker tutorials and references behind this guide.
- Maker exampleKatie Smith: How to Art Journal with Scrapbook Supplies
Katie Smith’s layered page includes vellum and a correction-tape writing area.
- Method referenceBullet Journal: what rapid logging, bullets, and signifiers mean in the official method
Official meanings for tasks, events, notes, status changes, and signifiers; decorative variants remain optional.
- Method referenceTiny Ray of Sunshine: rapid logging, bullets, and signifiers
Tiny Ray of Sunshine’s practitioner guide explains Bullet Journal notation with credit to the method.
- Design principleNielsen Norman Group: visual hierarchy and guiding the eye
Visual hierarchy supplies a background principle for clear focal content and supporting details.
- Design principleNielsen Norman Group: proximity and grouping
Proximity supplies the principle of grouping related content with smaller gaps.
- Design principleNielsen Norman Group: whitespace and scanability
Whitespace supplies a background principle for leaving readable space around content.
- Product referenceSharpie FAQ: preventing highlighter smearing and choosing smear-resistant ink
Sharpie’s FAQ supplies product-specific smearing guidance; the guide’s exact-material check remains necessary.