Gather a few things See what you’ll need
- Lightweight paper and scrap paper for trials
- One thin insert if needed
- Scissors
- A ruler and pencil
- Narrow adhesive
- Optional: a craft knife and cutting mat for a slider slot
Choose an exercise 4 things to try as you read
Choose what you want your hand to do
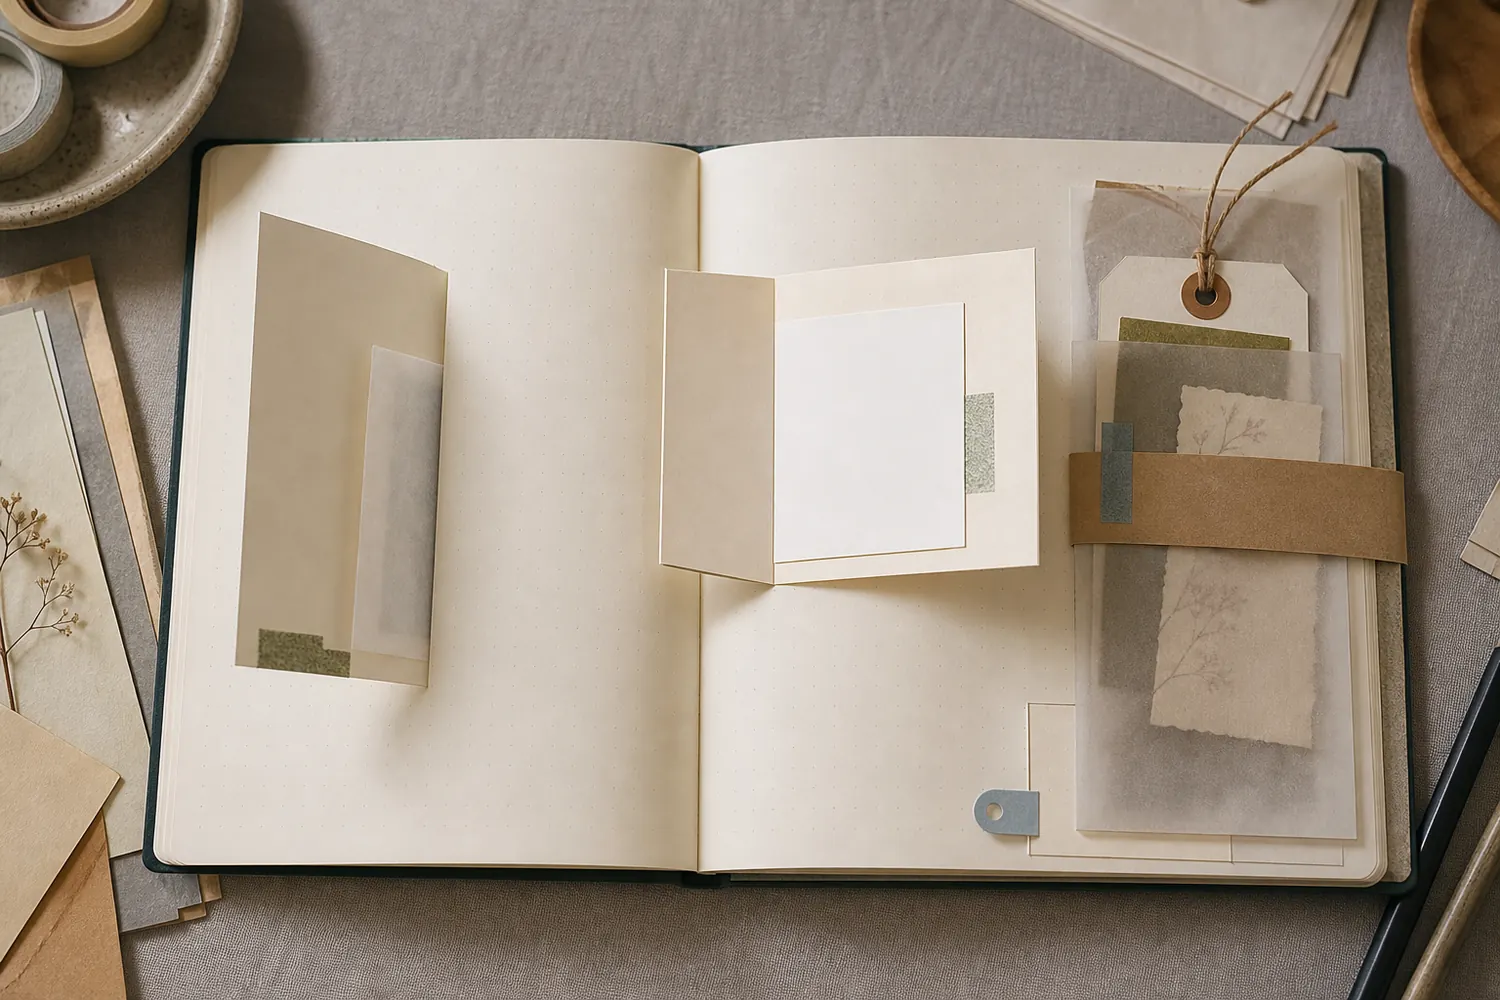
Begin with the action the note needs. A tip-in turns like a page; a flap lifts; a foldout opens into a larger sheet. A belly band or tuck lets you remove the note, while a slider keeps a small card on a guided path. Choose one for the first trial so you can tell which part causes a catch.
Keep the first version light. Count the layers where the piece will rest when closed, including folded ridges and inserts. There’s no universal safe layer count; thin paper and a roomy binding behave differently from thick card in a tight notebook. Leave decoration until the ordinary page turn still feels comfortable.
Try a what-ifThe second fold closes against the first
The second fold closes against the first
Look at the clearance inside this paper foldout.
A two-fold trial uses equal-width panels. The inner panel’s free edge meets the outer crease, so the piece will not settle closed even without decoration.
Compare the three choices
Which fresh trial addresses that collision?
- Make the inner panel slightly narrower before attaching the foldout
The inner panel needs room inside the outer fold. Test the closed paper shape while the fixed panel is still loose.
- Press a sharper crease into both equal panels
A neater crease does not remove the edge-to-fold collision. Increasing force may strain the paper without creating clearance.
- Shorten both panels by the same amount
The relative widths would remain equal, so the same fit problem could remain. Change the panel that must tuck inside.
A panel that folds inside another needs its own clearance.
What would you try?
Choose an option to see what it would do. You can explore all three.
ONE WORKED EXAMPLE
A first lift beside the photograph
You have a photograph and one sentence you want to read only when you lift a cover. The rest of the spread can stay still.
Before
The first plan adds a flap, a pocket and a sliding tag around the same short note, making it hard to see which movement is useful.
After
One light rectangle covers the sentence. A folded-paper strip joins its top back edge to the page, with adhesive only on the hinge halves. The sides and bottom remain free; the note sits below the hinge’s shadow and the dry assembly closes comfortably.
What changed—and what to check
One clear movement answers the job and makes the first trial easier to inspect. The note does not need several ways to reach it.
Try this check. Lift from the free bottom edge with the book partly open, then lower the cover without catching the sentence.
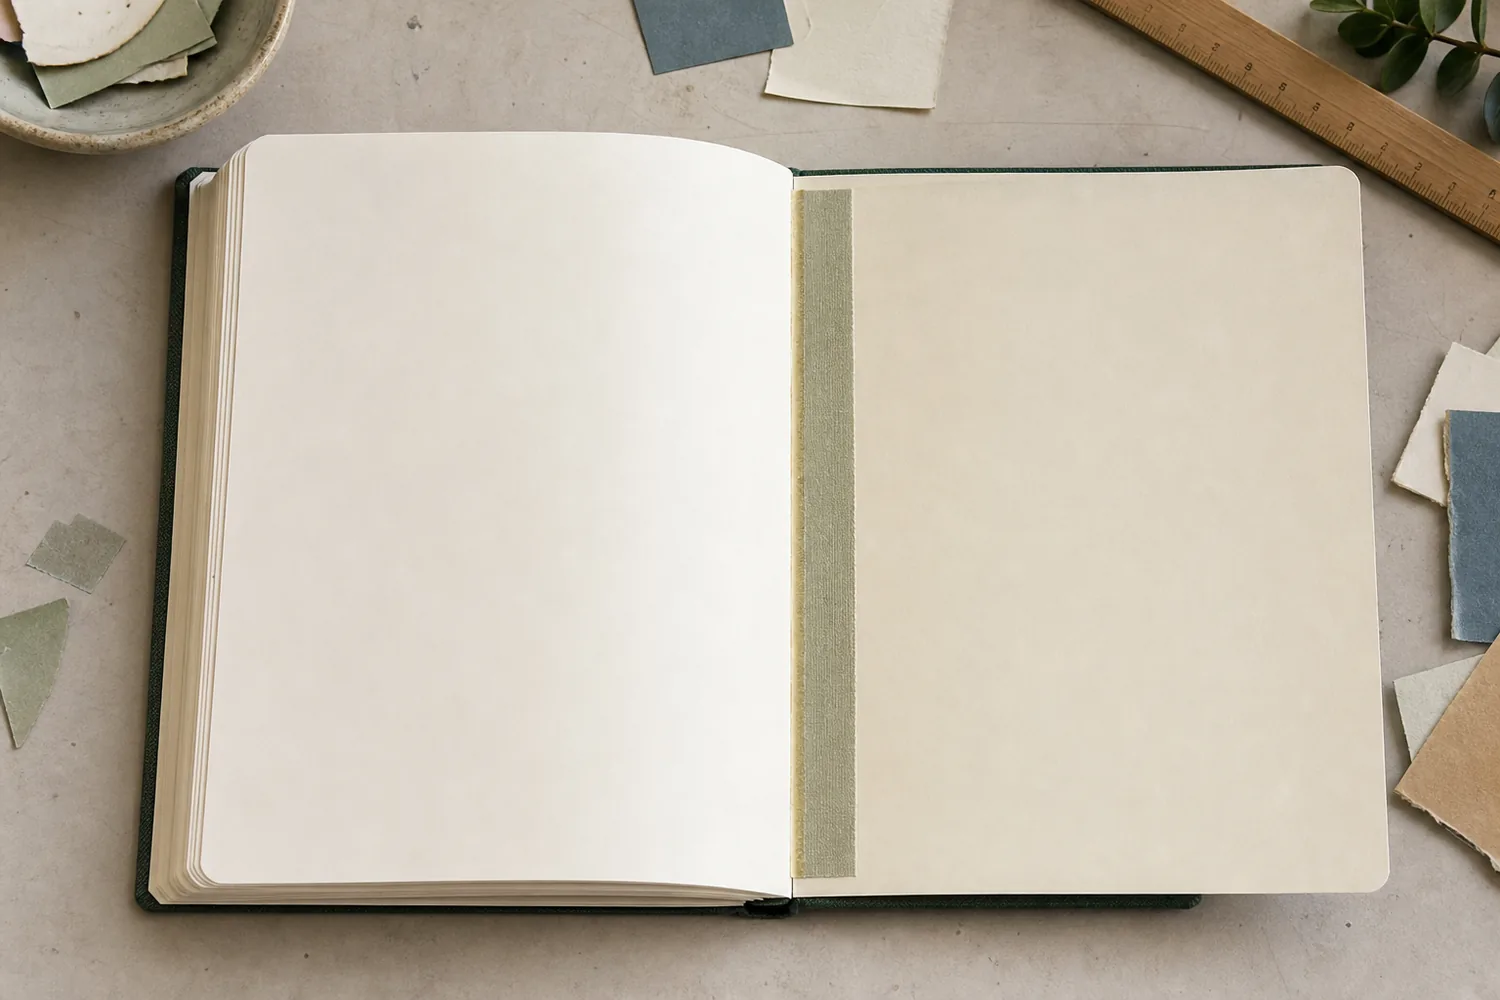
Add one lightweight leaf with a narrow hinge
Cut your extra leaf slightly smaller than the journal page. Fold a thin paper strip lengthwise. Attach one half along the back of the leaf’s left edge and the other half to the base page beside it. Keep adhesive on those attachment areas and out of the folded crease.
Position the hinge a little outside the curved gutter, rather than pushing it into the spine. Lift the leaf from its free right edge and turn it toward the left. It should move before the base page starts pulling upward. A hinge that feels stiff needs thinner paper, a narrower attachment, or more gutter clearance.
For hinge dimensions and binding clearance, use the small tip-in walkthrough.
Try the exampleFind the free edge of your new leaf
Find the free edge of your new leaf
Change the hinge edge and opening angle. Read the covered area as the leaf turns.
Read the words in this example
- Fold projection
- Your words
- Wine = fixed hinge
- Side profile
- 60° from closed
Left hinge stays fixed; the flap lifts 60° from closed.
Lifting the flap can reveal more of the story beneath its closed footprint. Gold is the moving flap and wine is its attached edge. The side profile shows the lift angle; the upper view is an oblique geometric projection. These are rigid-paper schematics, not predictions of bending, clearance, or collisions. Try the motion: extra leaf. This is a projected paper-hinge diagram. The article’s right-page tip-in has a left hinge outside the gutter and turns left from its free right edge; try the actual book for clearance.
- Lift angle
- 60°
- Fixed hinge
- Left edge
- Model
- Oblique projection + side profile
Hide a line, or unfold a longer one
For a simple flip-up note, put that narrow hinge along the top of a small paper rectangle instead. Attach only the hinge; leave the sides and bottom free. Lift from the bottom to read the page beneath it. Write low enough that the hinge’s shadow won’t cover the first line.
For a foldout, use lightweight paper and choose the opening direction before attaching the fixed panel. Crease a closed piece smaller than the journal page. With a second fold, make the inner panel slightly narrower: it needs to fit inside the outer fold, not meet it edge to edge. Keep decoration off the ridges and the free edge inside the book.
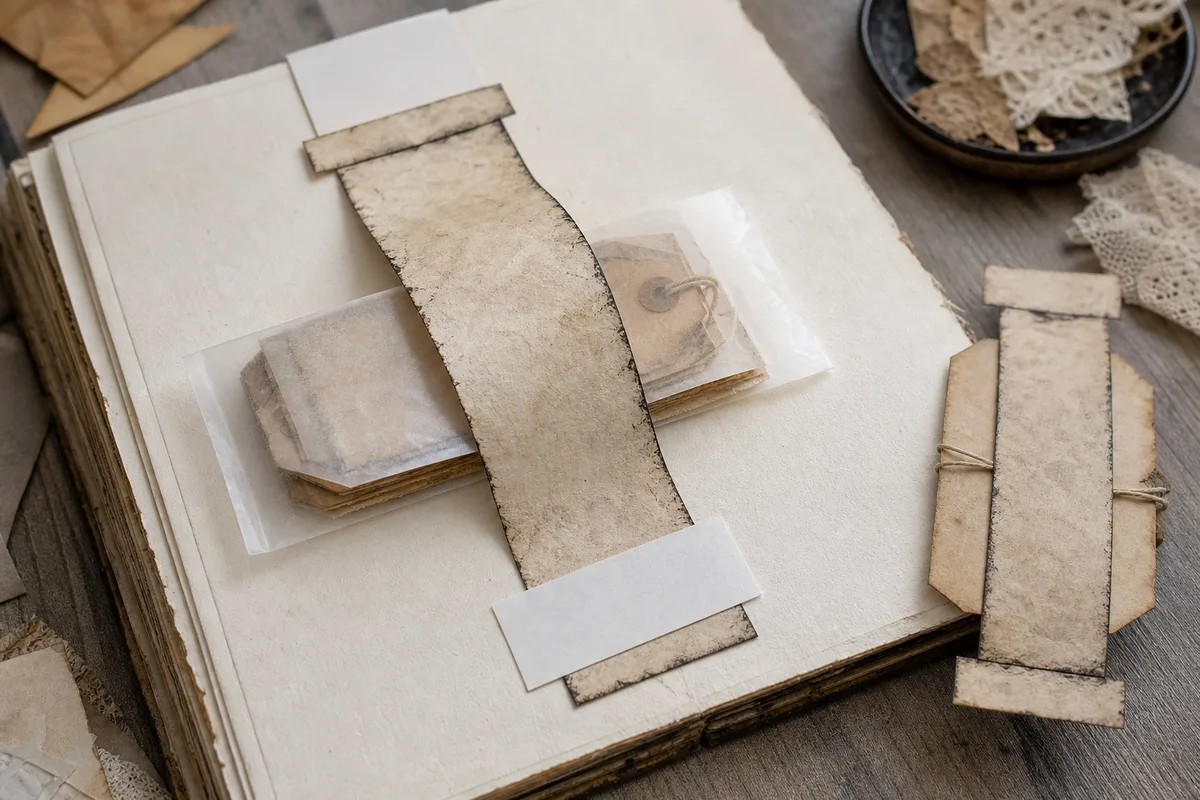
Hold one card under a loose band
Lay a paper strip across your page with the actual card beneath it as a temporary spacer. For a horizontal band, attach only the left and right ends; the card slides up or down through the open middle. A vertical band attaches at its top and bottom, allowing a card to slide sideways.
Remove the spacer while the adhesive sets, then try the card again. It should stay put without needing a hard pull. If the page bows, narrow or thin the insert, or rebuild the band with slightly more room. Never glue the center to fix a loose band; that closes the space the card needs.
GO A LITTLE FURTHERUse a corner when you only need a little hold
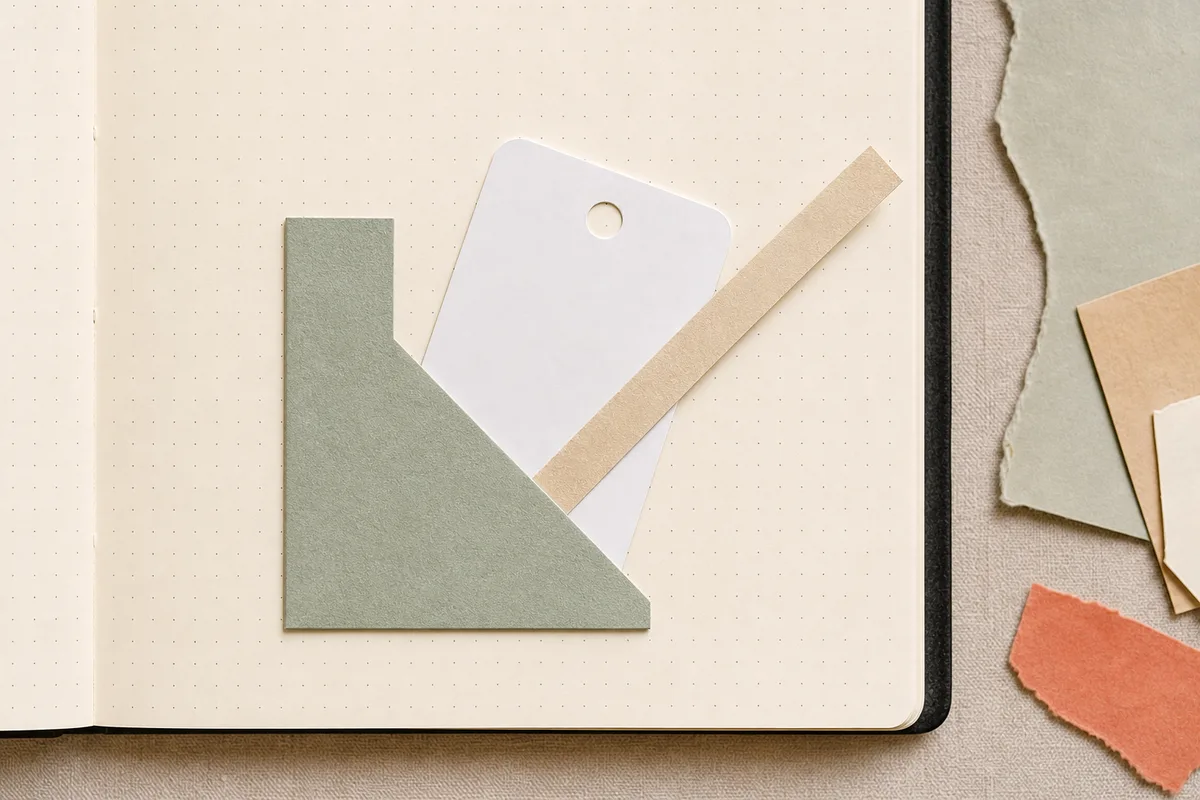
Use a corner when you only need a little hold
Cut a paper triangle and place it in a bottom page corner. Attach the horizontal bottom and vertical side edges, leaving the diagonal open. Slide a light note behind the diagonal and let part of it remain visible.
A side tuck can use a rectangular scrap attached along one side and the bottom instead. Keep its other edges open. Choose a full pocket if the note needs more protection; a tuck intentionally leaves more of the insert exposed.
GO A LITTLE FURTHERKeep a first slider small and visible
Keep a first slider small and visible
Build this on loose scrap, where you can reach both sides. Use a flat backing, a narrow moving card, and a cover panel. Put thin guide strips beside the card, leaving a little side clearance, and attach the cover to the guides rather than to the moving card. Keep the exit end open.
If a narrow pull handle comes through a slot in the cover, cut the slot on a mat before assembly, slightly wider than the handle. Thread the handle through and test the full intended movement before gluing the cover down. Double only the exposed grip if it needs strengthening. Keep the sliding length single-layered and free of adhesive. A simple open-ended sleeve is a useful first trial if the slot version catches.
Put the steps in orderTest the slider before hiding its path
Test the slider before hiding its path
Reorder the build so you can still reach the moving parts when you need to adjust them.
One workable order
- Cut the handle slot on loose scrapThe slot is easier to cut accurately on a mat before the cover is attached.
- Place guides beside the moving cardThe card establishes the channel; guide strips must leave its sides room to travel.
- Thread the handle and test its full travelThe handle must already pass through the slot before the cover closes the assembly.
- Bond the cover to the guidesThe cover attaches to guides, leaving the moving card and its exit free.
- Retest after the adhesive setsA wet trial cannot reveal a dried glue ridge inside the finished channel.
Which check needs to come first?
The example shows one workable order. The slot and the guide preparation may happen in either order. The full movement test belongs before final closure.
Try it the way you’ll actually read it
Let adhesive set, load the real note, and move the piece with the journal fully open and partly open. Close the cover slowly. Check for rubbing at the gutter, a bent free edge, or a mark on the facing page, then pretend to write on the next sheet.
Notice when the catch happens. A piece that works flat on the desk may still rub at the gutter when the book is partly open. Adjust the path, position, or one excess layer on a loose trial; replace paper whose crease has cracked. Finish with an exposed grip or small lift cue once the real note moves and the cover closes comfortably.
Try the exampleCount what meets when the moving piece closes
Count what meets when the moving piece closes
Change the layers and their position. Include folded ridges and the insert in your own count.
Read the words in this example
- Position on facing pages
- 4
- Left page
- Right page
- Spine
- Nominal section
- Gold: left page
- No facing stack
- 0.8 mm added
4 layers add a nominal 0.8 mm at the outer edge.
4 × 0.2 mm = 0.8 mm for one stack.Changing the position moves the addition but does not change this arithmetic. A matching stack on the facing page would double the nominal addition at that position. The section adds only the selected paper layers at a fixed drawing scale of 10 pixels per millimeter; page stock, glue and fasteners are excluded. Real compression, binding and closure vary, so test the assembled journal without treating this total as a safe limit. This adds nominal paper thickness only. It cannot predict binding strain, adhesive stiffness, or whether a particular mechanism clears its neighbors. Test writing on the next sheet as well as closing the cover.
- One stack
- 0.8 mm
- Added layers at this position
- 4
- Nominal combined addition
- 0.8 mm
- Position
- Outer edge
Something for a future page?
The Washi Tape ShopAffiliate links: we may earn a commission if you buy through these links.
Where this idea began
These sources support the movable-paper vocabulary, practitioner example, hinge logic, and closing tests used above.
Want to explore the techniques a little further? Here are the maker tutorials and references behind this guide.
- Paper mechanism contextSmithsonian Libraries: Paper Engineering, Fold, Pull, Pop and Turn
A museum paper-engineering overview supplies fold, pull, and turning vocabulary; guide dimensions are adaptations.
- Maker exampleHelen Hiebert interview: 25 Years of Works in Paper
An interview with Helen Hiebert supplies the named paper-art practitioner example.
- Paper mechanism contextRobert C. Williams Museum of Papermaking: Movable Mechanisms
A museum overview explains movable-paper mechanisms; practice dimensions and clearances are editorial.