Gather a few things See what you’ll need
- Two plain 3 × 9-inch practice strips
- Two thin decorative strips with the same 1:3 ratio
- Ruler and scissors
- Pencil and bone folder
- Small test tags
- Optional mounting adhesive and release paper
Choose an exercise 4 things to try as you read
Begin with two identical strips
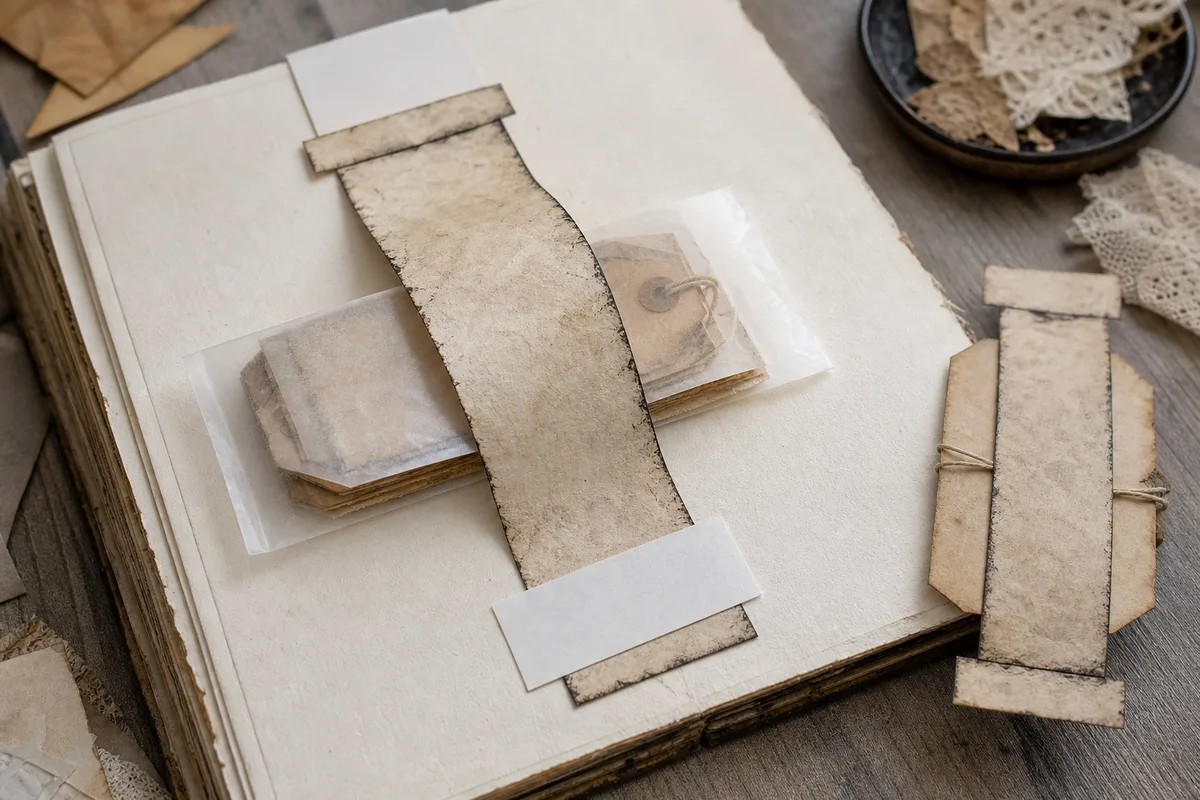
Cut two straight, square-edged rectangles exactly 3 × 9 inches. The length is three times the width; keep that proportion when trying another size later. A bowed edge can make the final flap seem too short even when the nominal dimensions match.
Use thin paper that creases without cracking. Several layers meet at the center, so stiff cardstock can make the square hard against the facing page. Save that print for a light accent if it will not fold comfortably.
ONE WORKED EXAMPLE
A visible slit that belongs to the lock
Your completed practice square holds its pinwheel shape when lifted. One opening accepts a narrow tag easily, while a second starts lifting the final locking triangle as the tag enters.
Before
You treat all visible slits as equivalent pockets and keep widening the troublesome one with the tag, loosening the square each time.
After
Only the first mouth receives the note, with at least 1/4 inch held inside and a visible grip outside. The locking slit stays empty. The square is tested with the tag loaded before choosing a mounting position or adding a label.
What changed—and what to check
The test distinguishes storage openings from structural folds. Using fewer mouths preserves the mechanism instead of turning the lock into an unreliable pocket.
Try this check. Insert and remove the tag gently; the locking triangles and square outline should keep their positions throughout the movement.
Something for a future page?
The Washi Tape ShopAffiliate links: we may earn a commission if you buy through these links.
Give both strips the same beginning
Lay both strips horizontally, with their eventual decorated faces down. Mark a small pencil dot at the right end of each. On the first strip, fold the top-right corner down to meet the lower long edge. Fold the bottom-left corner up to meet the upper long edge.
Repeat those exact corner choices on the second strip. Don't mirror it to make the pair look symmetrical. The pencil dots help you remember that both began facing the same way. Use a smooth ruler edge or bone folder gently enough that the creases stay clean rather than whitened.
See the differenceRepeat the corner choices instead of mirroring them
Repeat the corner choices instead of mirroring them
Compare the corner-score directions on two matching strips. The dots mark their right ends.
Read the words in this example
Second strip mirrored
- strip
- strip
Second strip mirrored
Mirroring the second strip changes how its triangular ends meet the lock, even though the pair may look pleasingly symmetrical.
“It should tuck with light paper-on-paper resistance and stay closed when you lift the square.”
Cross the strips and follow one direction
Turn the first strip vertically and lay the second horizontally across its center, with the folded triangular ends directed toward the crossing. Follow the accompanying fold diagram while keeping those matching starting folds in mind.
Wrap the flaps in order: right over, bottom up, left over, then top down. The four front triangles should turn around the middle like a pinwheel. Slide the last triangular flap beneath the first flap's pocket. It should tuck with light paper-on-paper resistance and stay closed when you lift the square.
Put the steps in orderClose the pinwheel in the order that leaves a lock
Close the pinwheel in the order that leaves a lock
Arrange the four wrapping moves for the article’s already-crossed practice strips.
One workable order
- Wrap the right flap overThis first flap provides the pocket that will receive the final triangular end.
- Bring the bottom flap upIt overlaps the first wrapped flap in the specified pinwheel direction.
- Wrap the left flap overThe third overlap continues the same direction around the center.
- Bring the top down and tuck its tip under the first flapThe final triangular tip locks beneath the first flap instead of needing glue.
Which check needs to come first?
The example shows one workable order. Start from the article’s correctly oriented crossed strips: first vertical, second horizontal across its center, with the folded triangular ends toward the crossing. This ordering exercise does not replace that starting geometry.
Discover which openings are useful
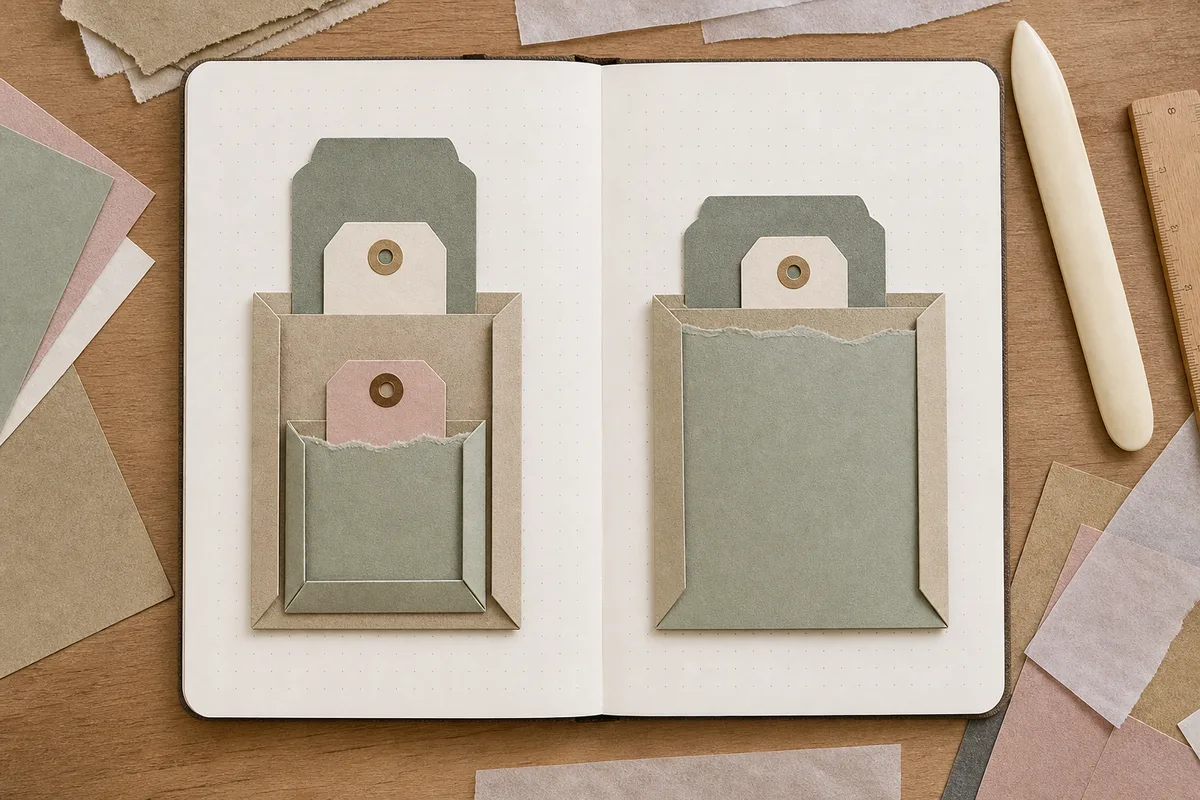
Offer a narrow scrap gently to each visible mouth. Keep only openings where it enters and leaves without lifting a locking triangle or changing the square’s shape. A visible slit is not automatically a storage space.
Try three small dummy tags in separate usable mouths, each at least 1/4 inch inside with a grip outside. Remove them in different orders. If a tag needs prying, make it shorter or narrower, or leave that mouth unused.
Compare the optionsWhich visible opening should actually hold a tag?
Which visible opening should actually hold a tag?
Choose what happens when you gently offer a narrow test scrap to a slit.
Read the words in this example
- folded unit
- tag
Mark it as a usable tuck.
Keep this opening if a small tag enters and leaves without lifting a triangular flap or changing the unit’s shape. Let the tag sit at least ¼ inch inside with an exposed grip, then try it alongside the other intended tags and remove them in different orders.
Decide whether anything will slide behind it
Rotate the folded unit on a loose backing card until the easiest opening faces your hand rather than the gutter. For front-only use, glue the broad back face to the page, keeping adhesive clear of the folded mouths.
For an optional space behind the square, glue only two opposite back edges and leave the middle unglued. A left-right pair leaves a top-bottom passage; a top-bottom pair leaves a side passage. Protect that space with silicone-coated release paper while the adhesive dries. Choose one mounting method, rather than combining both and accidentally closing the rear opening.
Try a what-ifWhich back attachment preserves that route?
Which back attachment preserves that route?
Choose the route behind the square before deciding which back edges to attach.
You want a separate passage behind the mounted square so a card can slide in from the top and out below. The front tucks already work.
Compare the three choices
Which back attachment preserves that route?
- Glue the full broad back
That suits front-only use, but closes the space you want behind the square.
- Glue the top and bottom back edges
Those opposing edges leave a side passage, not the top-to-bottom route in this plan.
- Glue only the left and right back edges
This leaves the middle open from top to bottom. Protect the passage with release paper and keep adhesive away from the front mouths.
Choose the rear passage direction before choosing its two attached edges.
What would you try?
Choose an option to see what it would do. You can explore all three.
GO A LITTLE FURTHERLet the fold stay light and readable
Let the fold stay light and readable
Close the journal with the test tags loaded before decorating. Keep the square out of the spine-side third when the binding does not open flat, and away from a thick structure opposite it. Mark a useful mouth with a small label only if the label leaves it visible.
If the center is hard or a tag repeatedly loosens the lock, remake the unit with thinner paper or choose a simpler tuck. Do not trim into a mounted fold. Leave unused slits alone once you have enough reliable places for the notes.
Where this idea began
This guide follows Mary Anne Walters’s two-strip journal pocket. Accessible Origami starts with two squares folded into thirds; Origami Spirit and Notes for Learning describe one-square envelopes. Those related variants are separate constructions.
The history survey and museum record explain the Menko name. Our 3 × 9 inch practice strips preserve Walters’s 1:3 ratio; her illustrated example uses 4 × 12 inch strips.
Want to explore the techniques a little further? Here are the maker tutorials and references behind this guide.
- Construction referenceMary Anne Walters: Junk Journal Investigations—A Unique Pocket
Mary Anne Walters’s two-strip journal pocket supplies the ratio, clockwise lock, and rear-band idea.
Walters demonstrates 4 × 12 inch strips. The guide’s 3 × 9 inch size and tag-engagement allowance are editorial practice choices.
Source checked 2026-09-05.
- Related construction variantAccessible Origami: Traditional Modular Menko from Two Squares
Two square sheets are first folded into thirds to make the modular units; these are not two cut strips.
This describes a modular fold made from two squares folded into thirds. We read the article earlier on September 5; it was unavailable when we tried to open it again.
Source read earlier on 2026-09-05; unavailable on the later visit.
- Related construction variantOrigami Spirit: How to Make a Traditional Origami Envelope
Leyla Torres presents a one-square traditional envelope whose finished side is one third of the starting square.
The text and size explanation were read; the embedded video was not played. This is a related variant, not the two-strip journal build.
Source checked 2026-09-05.
- Related construction variantNotes for Learning: Menko Envelope
Douglas G. Pratt describes a one-square Menko envelope, a different build from this guide’s two strips.
His personal use is attributed to him. It does not establish use by Tiny Systems Co. or validate the two-strip pocket.
Source checked 2026-09-05.
- Historical contextDavid Mitchell's Origami Heaven: Thread Container, Puzzle Purse, and Menko History
David Mitchell surveys the names and documentary history of the puzzle purse/thread container; the two-strip journal pocket is separate.
Historical interpretation and cited documentary examples; it does not establish an inventor or the origin of the modern two-strip journal adaptation.
Source checked 2026-09-05.
- Historical contextTokyo Museum Collection: Menko Game Card
The museum catalogs a Menko game card; it does not document the journal pocket’s folds.
Object-name context only. No fold instructions or evidence connecting that object to the journal construction.
Source checked 2026-09-05.