Gather a few things See what you’ll need
- Journal and pen
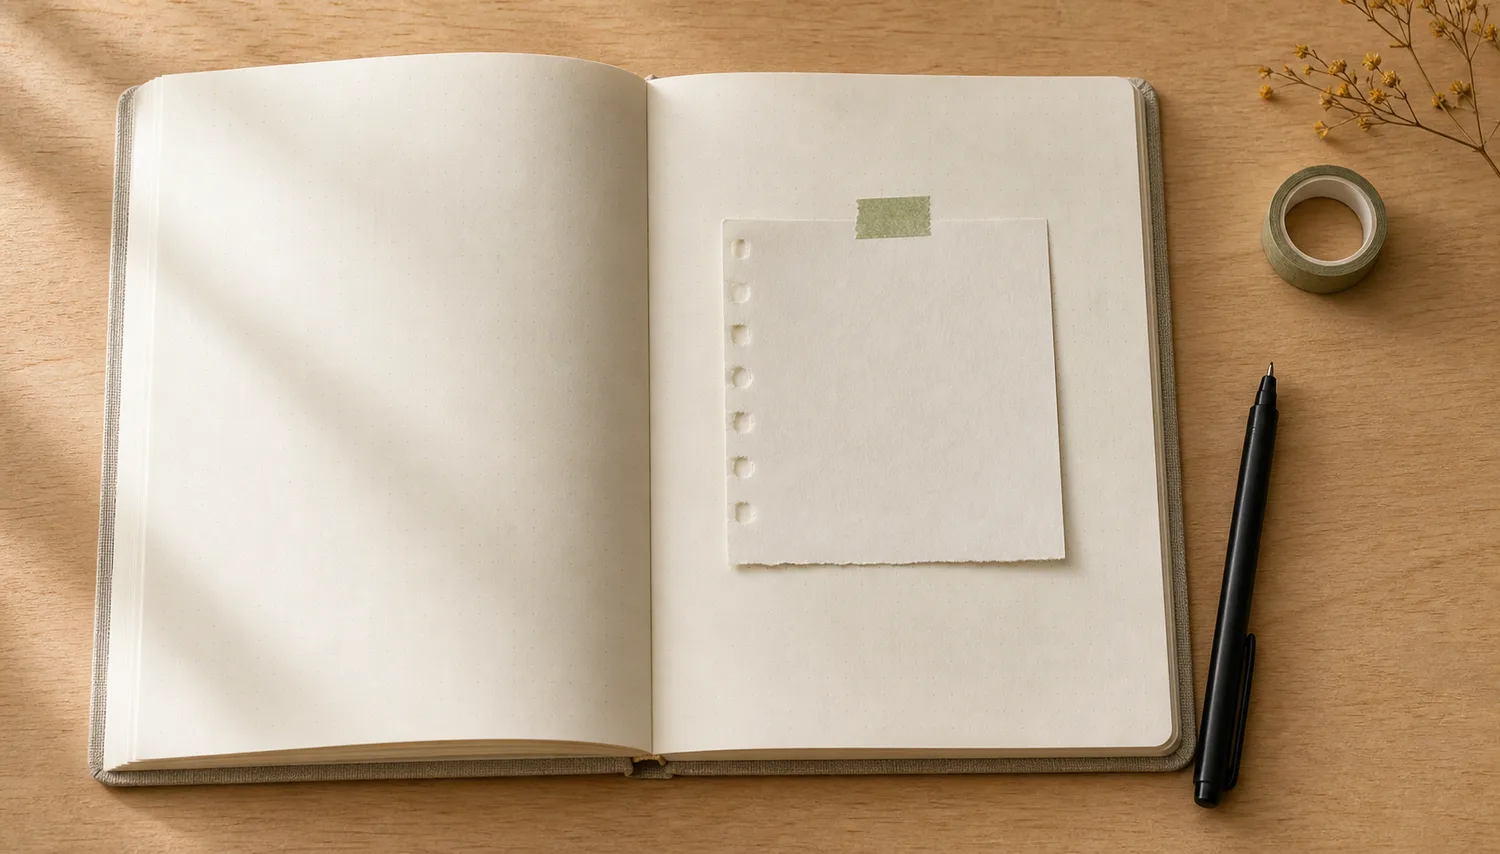
- Plain memo or paper scrap
- Optional fresh sticky note
- Optional ruler and tested highlighter
- Small amount of suitable paper adhesive
Choose an exercise 4 things to try as you read
Let the mark dry, then decide what bothers you
Is the problem that the words are wrong, that they're hard to read, or that you simply dislike how they look? A wrong date might need a new label. Useful but untidy writing might only need a little space around it. You don't have to hide both in the same way.
Choose the smallest change that lets you keep writing. For a wrong date, try a little label; for useful untidy notes, try space or a light frame. Let the original ink dry before handling the area. A repair does not have to match every awkward edge of the mark it is helping.
Compare the optionsName the problem before choosing the repair
Name the problem before choosing the repair
Choose what bothers you about the mark, then inspect the smallest useful response.
Read the words in this example
- new date
- entry
Give the corrected date a fresh small surface.
Let the original ink dry, then test a plain label just larger than the error. Write the correct information clearly on the patch. The rest of the page can remain as it is; the repair only needs to make the dated record understandable.
ONE WORKED EXAMPLE
The correction fits; the cover does not
You wrote the wrong month above an entry you want to keep. A thin memo covers the area physically, but the dark original date shows through the new words.
Before
Adding a larger outline around the thin patch makes the repair more noticeable while the two dates still overlap through the paper.
After
An opaque scrap, held over the dry date first, hides the original mark. The correct month is written at a comfortable size before attachment. One edge follows the entry’s left margin, and the next sentence continues below.
What changed—and what to check
The repair needed opacity and writing room, not more ink around its edge. Testing the cover loose avoids committing to another unreadable layer.
Try this check. Hold your chosen patch over the dry error and read the replacement words before applying adhesive.
Something for a future page?
The Washi Tape ShopAffiliate links: we may earn a commission if you buy through these links.
Give yourself a fresh little surface
Hold an opaque plain-paper scrap over the dried scribble before cutting its final shape. Can you still read the old mark through it? Can the new wording fit comfortably? Make the patch slightly larger than the area, write the correction, and attach it with one edge aligned to nearby writing or a photo. Drawn tape corners can wait.
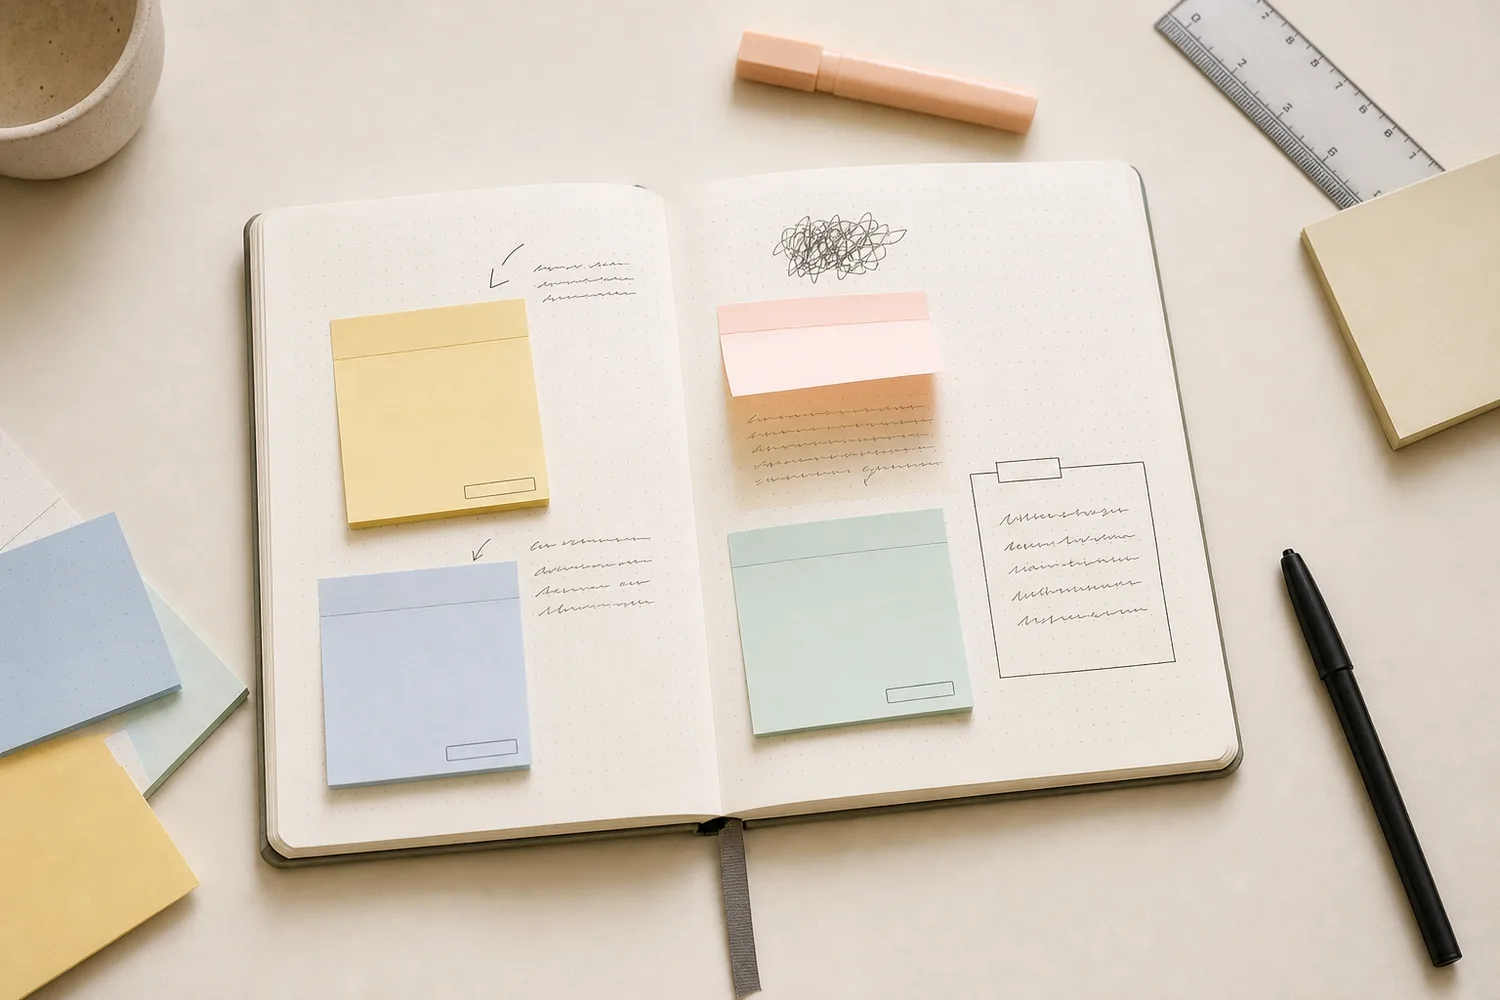
A sticky-note correction keeps the earlier version underneath. Place a fresh note over the part you want to revise, with its adhesive edge attached and the opposite edge loose. Write 'update' and the new wording outside. This suits a thought you've changed your mind about. Try peeling a spare note from an inconspicuous spot first if the journal paper seems delicate.
See the differenceGive the patch a little room around the error
Give the patch a little room around the error
Switch from an undersized cover to a plain patch with an aligned edge.
Read the words in this example
Too small a patch
- old title
- update
- entry
Too small a patch
A cover cut too closely leaves part of the dark mistake exposed and gives the replacement wording little margin. More outlines would add ink without increasing the cover’s area.
“A repaired page can show its repair and still be a page you're glad you kept.”
For a small word or a stray mark
A pale highlight can draw attention to the corrected wording, but it won't erase dark ink. Test your pen, highlighter, and paper together elsewhere: let the pen dry, highlight once, let that dry, and try the correction. If it stays clear, cross out the wrong word once and put the corrected word beside it on a pale bar. If it smears or looks crowded, use a paper label instead.
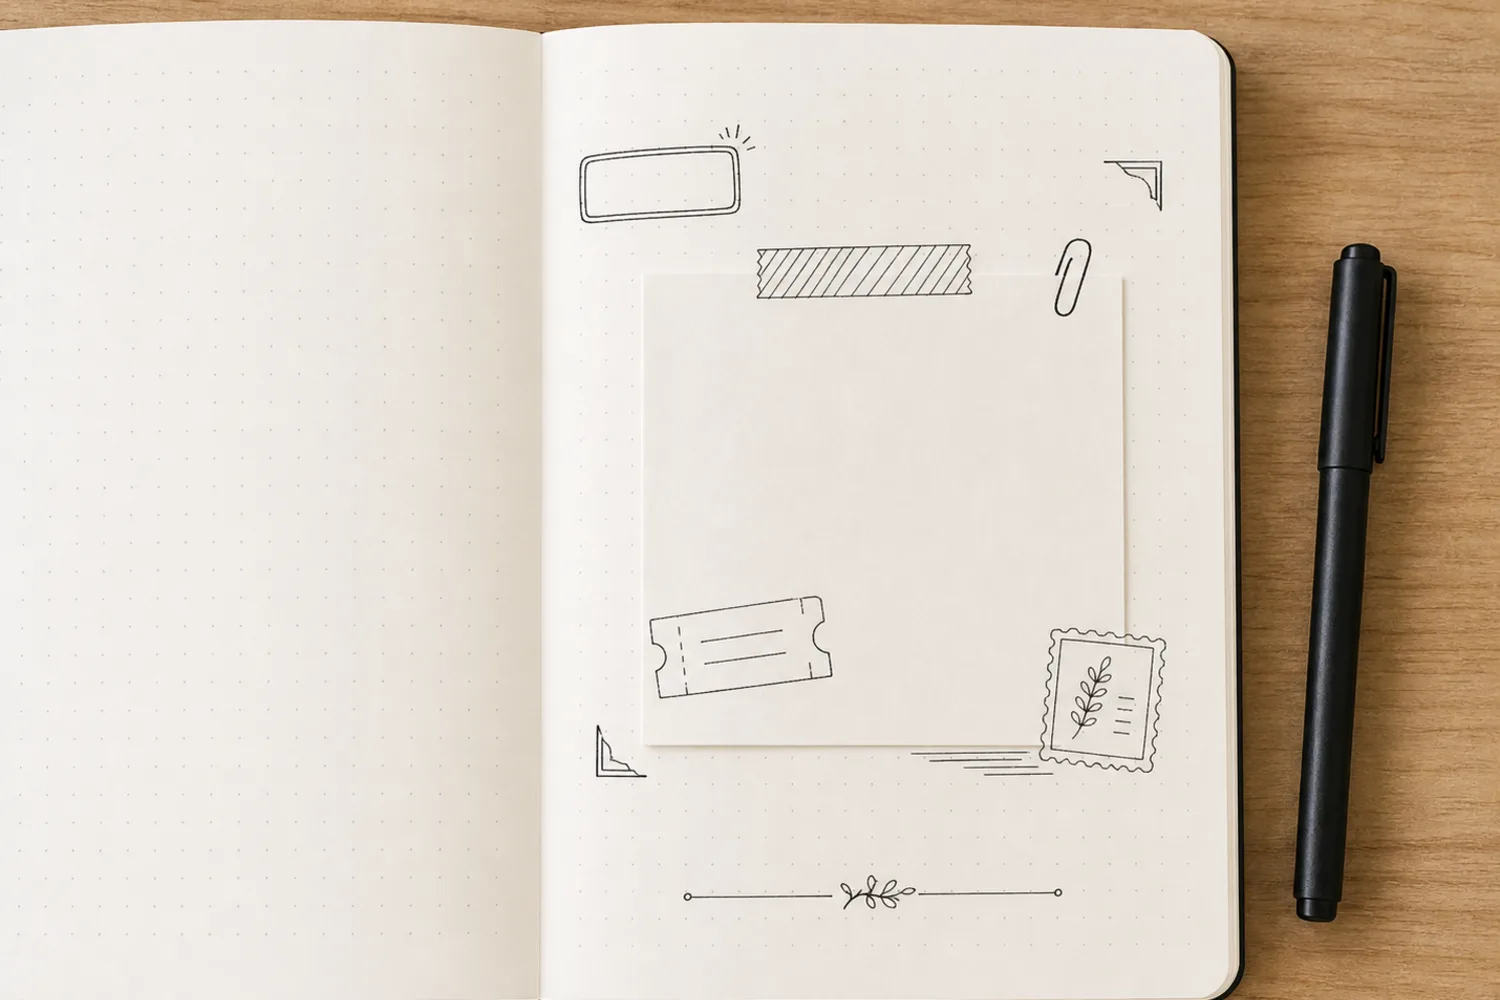
A drawn label works when a small mark is already in a useful place. Draw a rectangle or ticket shape around a stray dot near the top of the page, then add the date beside the dot. Let the mark become part of the label. Avoid filling the whole shape with ink just to make the original disappear.
Try the exampleWill the corrected words stand out?
Will the corrected words stand out?
Try the sample words on different gray backgrounds, then add a pale backing. Look for a clear place to write the correction.
Read the words in this example
- Ink against paper
- Keep one small
- memory.
- Words on the paper
- Digital samples; test your actual pen.
Ink and plain paper have a digital contrast ratio of 13.21:1.
Sample text: “Keep one small memory.” With no pattern, the words sit on one uniform background tone. The ratios use actual sRGB sample colors. They cannot predict paper texture, ink bleed, handwriting, or individual vision. The screen compares fresh lettering on each background. On paper, a pale highlighter leaves the old ink visible; an opaque label can give you a fresh writing surface. Test your real pen and marker together before making a correction.
- Ink color
- #1f1f1f
- Background under words
- #e6e6e6
- Plain patch ratio
- 13.21:1
- Two-tone ratio range
- 13.21–13.21:1
Keep the part that's still useful
A pattern can absorb a little smudge. Draw a small shape around it, leaving some extra room, then add dots or short diagonal strokes throughout that shape. The smudge becomes one darker part of the pattern. This is easiest with a small corner or label-sized area. Covering half a page with more ink usually creates a bigger problem.
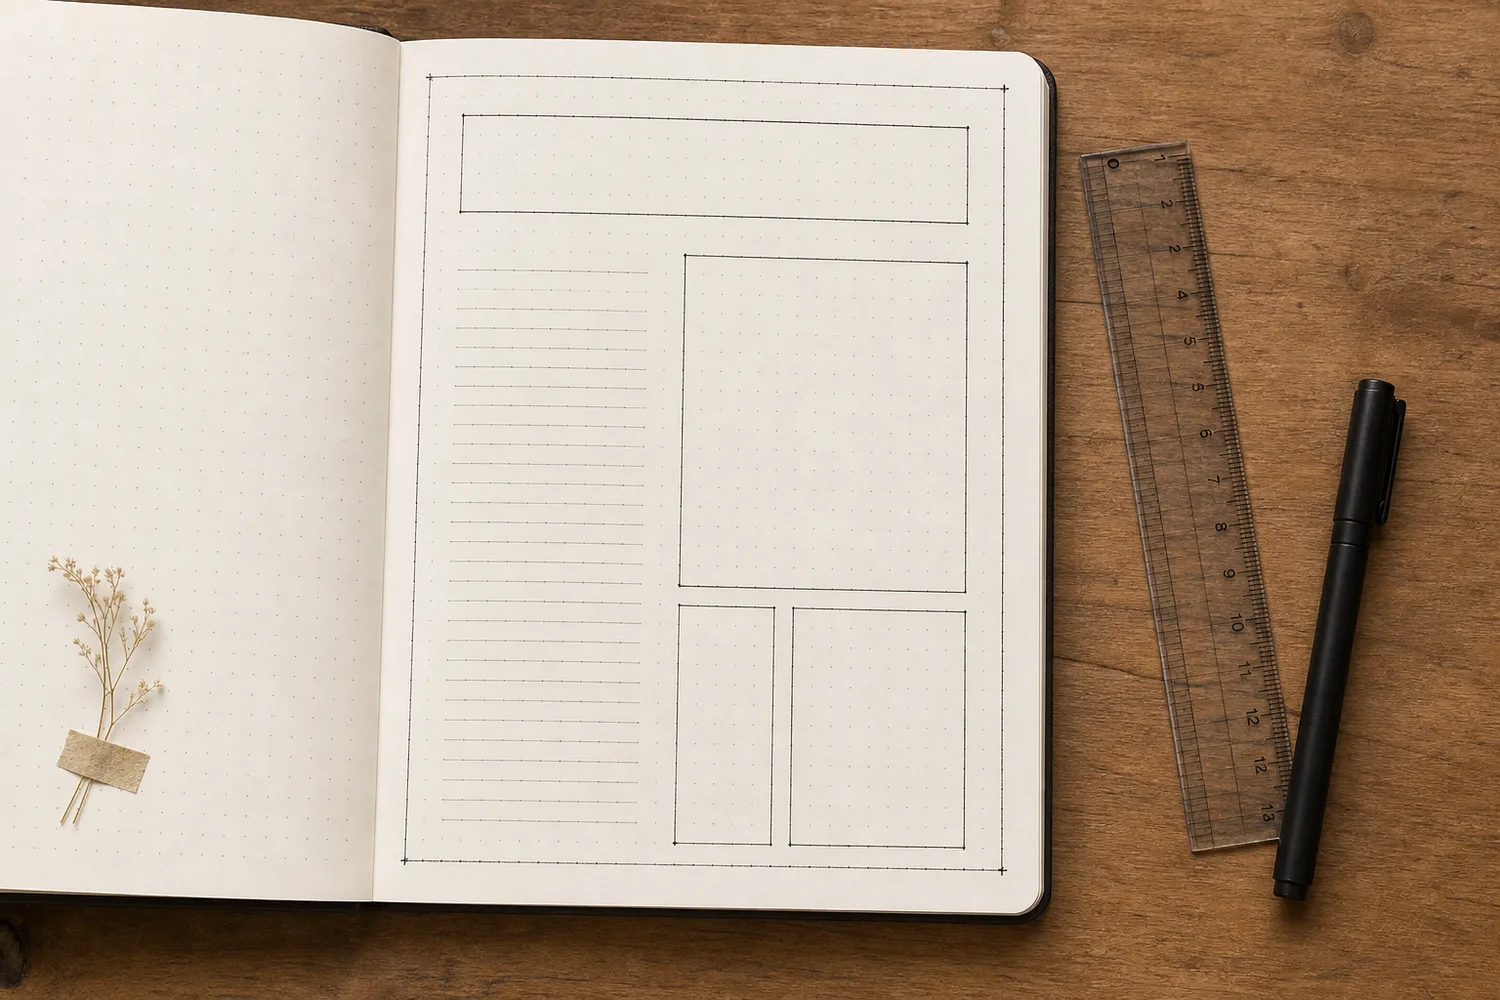
A ruler box helps when the writing matters but the arrangement is untidy. Draw a light box outside the notes, leaving room between the words and the line. Add a title such as 'afterthoughts' or 'rough notes.' You've given the writing its own place without losing anything. Resist the urge to rewrite all the sentences just because the box is now straighter than they are.
GO A LITTLE FURTHERTurn the awkward spot into another part of the page
Turn the awkward spot into another part of the page
A sticky-note door can cover a crossed-out sentence while keeping it available. Attach only the sticky edge, write 'what changed?' on the front, and put your answer on a clear patch of page beneath the flap. Make sure a finger can reach the loose corner. If there's no room left underneath, put the answer on the note's back before attaching it.
A small cluster helps with a mark sitting between other elements. Place two or three thin scraps around it: perhaps a tiny date label, a torn paper corner, and a small color piece. Keep them close enough to read together and align one edge. The mark can sit within the group. Stop before the cluster covers the writing you wanted to keep.
Try a what-ifThe earlier wording should still be readable later
The earlier wording should still be readable later
Choose the repair for what you want to keep.
Your old note contains a thought you have changed your mind about. You want the update visible today and the earlier wording available to reread.
Compare the three choices
Which repair fits that intention?
- Use a lifting sticky note with the update on its front
The old words remain beneath it. Keep the opposite edge reachable and test a spare note’s release first on delicate paper.
- Glue an opaque patch across the whole sentence
That gives a clean new surface, but it hides the earlier wording you specifically want to return to.
- Thicken the old sentence into a patterned block
A pattern can absorb a small unwanted mark. Here it would make the earlier thought harder to recover.
Choose a cover that opens when the old version still belongs in the story.
What would you try?
Choose an option to see what it would do. You can explore all three.
You can stop before the mistake disappears
If the patch looks conspicuous, try one tiny repeat of its color elsewhere before building a bigger cluster. If wet highlighter has smeared, leave it to dry and use a paper cover. When a loose cluster spreads toward a sentence, lift away the last piece and see whether the words regain their space.
And if the page still bothers you, you're allowed to close it as it is. Keep the sentence you came to write, even if the lettering beside it went wrong. A repaired page can show its repair and still be a page you're glad you kept.
Where this idea began
Joy Margot documents several mistakes and repairs, including the peach paper patch over her “to do” lettering. The other sources informed removable layers, dry-time checks, and one-edge flaps for ordinary creative journal pages. For a valuable original, do not improvise a craft repair.
Want to explore the techniques a little further? Here are the maker tutorials and references behind this guide.
- Maker exampleJoy Margot: Correcting Bullet Journal Mistakes
Joy Margot’s documented peach-paper patch supplies the named lettering repair example.
- Product referenceSharpie: Gel highlighter product notes on smearing and bleed-through
Sharpie Gel Highlighter claims apply to that product; they do not establish behavior on every journal paper.
- Construction referenceMad Paper Crush: How to add tip-ins to your journal
Journal tip-in methods inform one-edge attachment and leaving a paper flap free to move.
- Material careLibrary of Congress: Care, Handling, and Storage of Works on Paper
Works-on-paper care informs the boundary between an ordinary craft repair and treatment of a valuable original.