Gather a few things See what you’ll need
- An ordinary pen
- Your journal or planner
- A short list of real plans
Choose an exercise 3 things to try as you read
Give yourself an action you can understand later
Read the entry as if you no longer remember the conversation. “Mina” could mean a call, a gift, or lunch. “Call Mina about Saturday” gives the little phone something specific to point to.
Add only the missing detail that changes the action: which Saturday, which number, or what needs agreeing. For an appointment, keep the confirmed date, time, and place in words. A picture helps you locate a usable line; it cannot supply facts you have not recorded.
Write your versionTurn a name into an action you can use
Turn a name into an action you can use
Replace the sample with a real plan. Keep the action explicit and add only the time, place, or quantity that changes what you need to do.
Call Mina about Saturday.
Thursday, after 6 p.m.
Ask which station to meet at.
Your words have a place now.
A planning icon helps you locate the entry. The sentence should still make sense without the picture.
- Words on this card
- 14
ONE WORKED EXAMPLE
One clock, one current time
Your notebook has a clock beside a Thursday appointment. A message moves the appointment from 3:30 p.m. to 4:15 p.m., and you also keep a monthly calendar.
Before
You change the clock hands on today’s page, but the monthly calendar still contains the old time you may consult tomorrow.
After
The monthly calendar now says “Thu, 4:15 p.m., clinic.” Today’s note has 3:30 lightly crossed out and 4:15 written beside it. The little clock remains a cue for the appointment, rather than its time record.
What changed—and what to check
The dependable calendar and its daily copy now agree. Keeping the actual time in writing avoids asking a small doodle to carry precise information.
Try this check. Check the same appointment in both places and read its date, time, and location aloud.
Use a picture your eye already knows
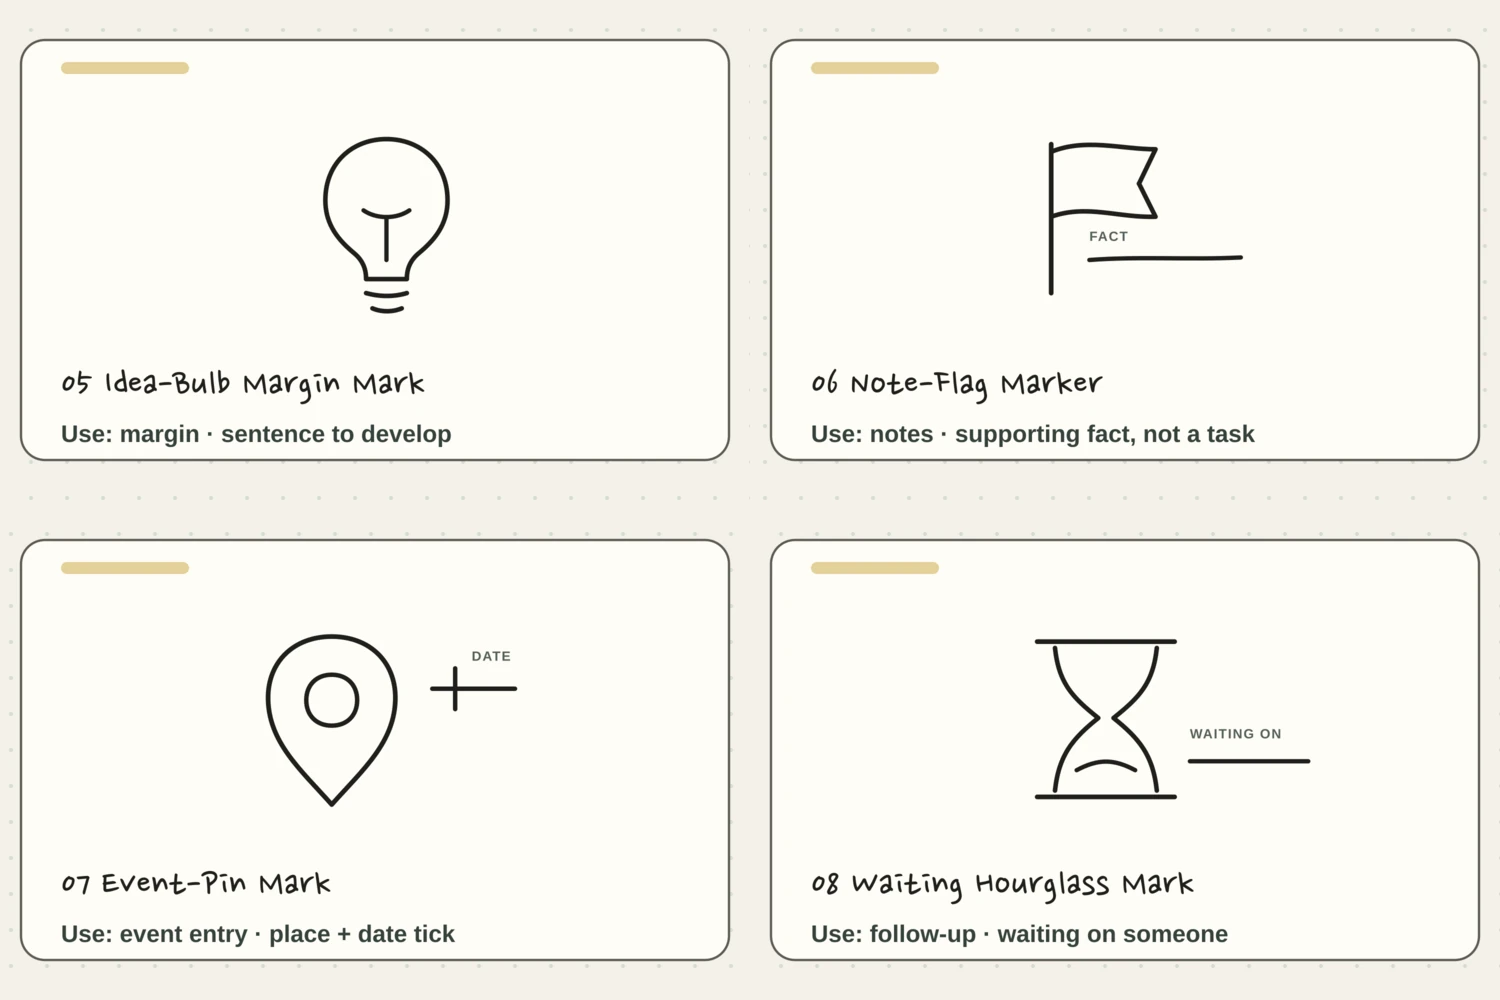
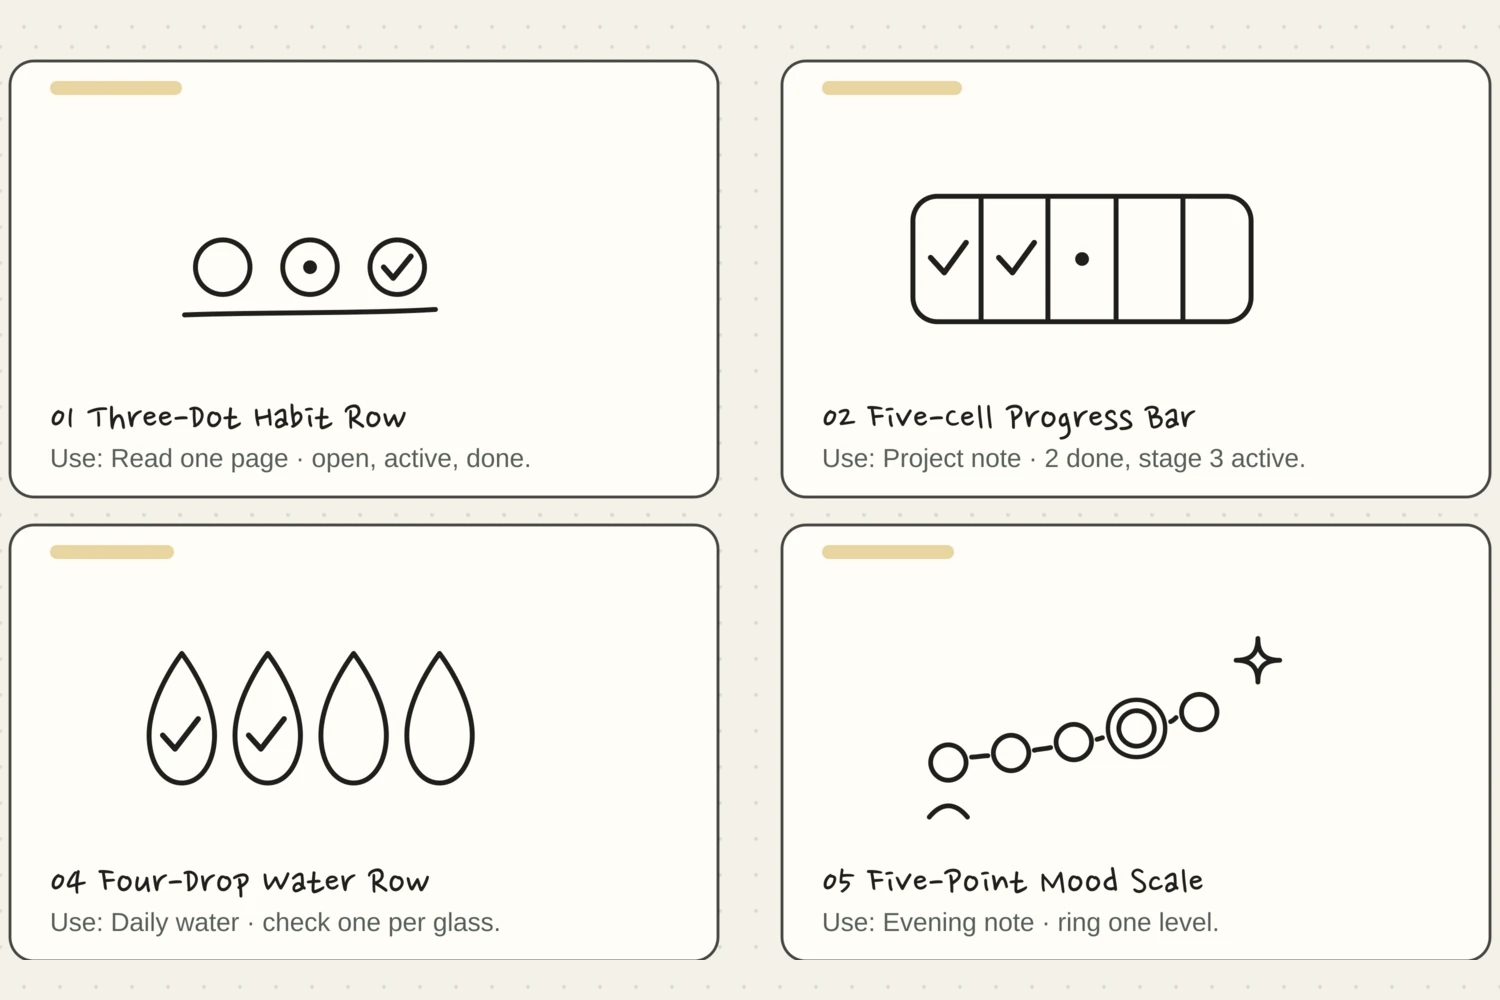
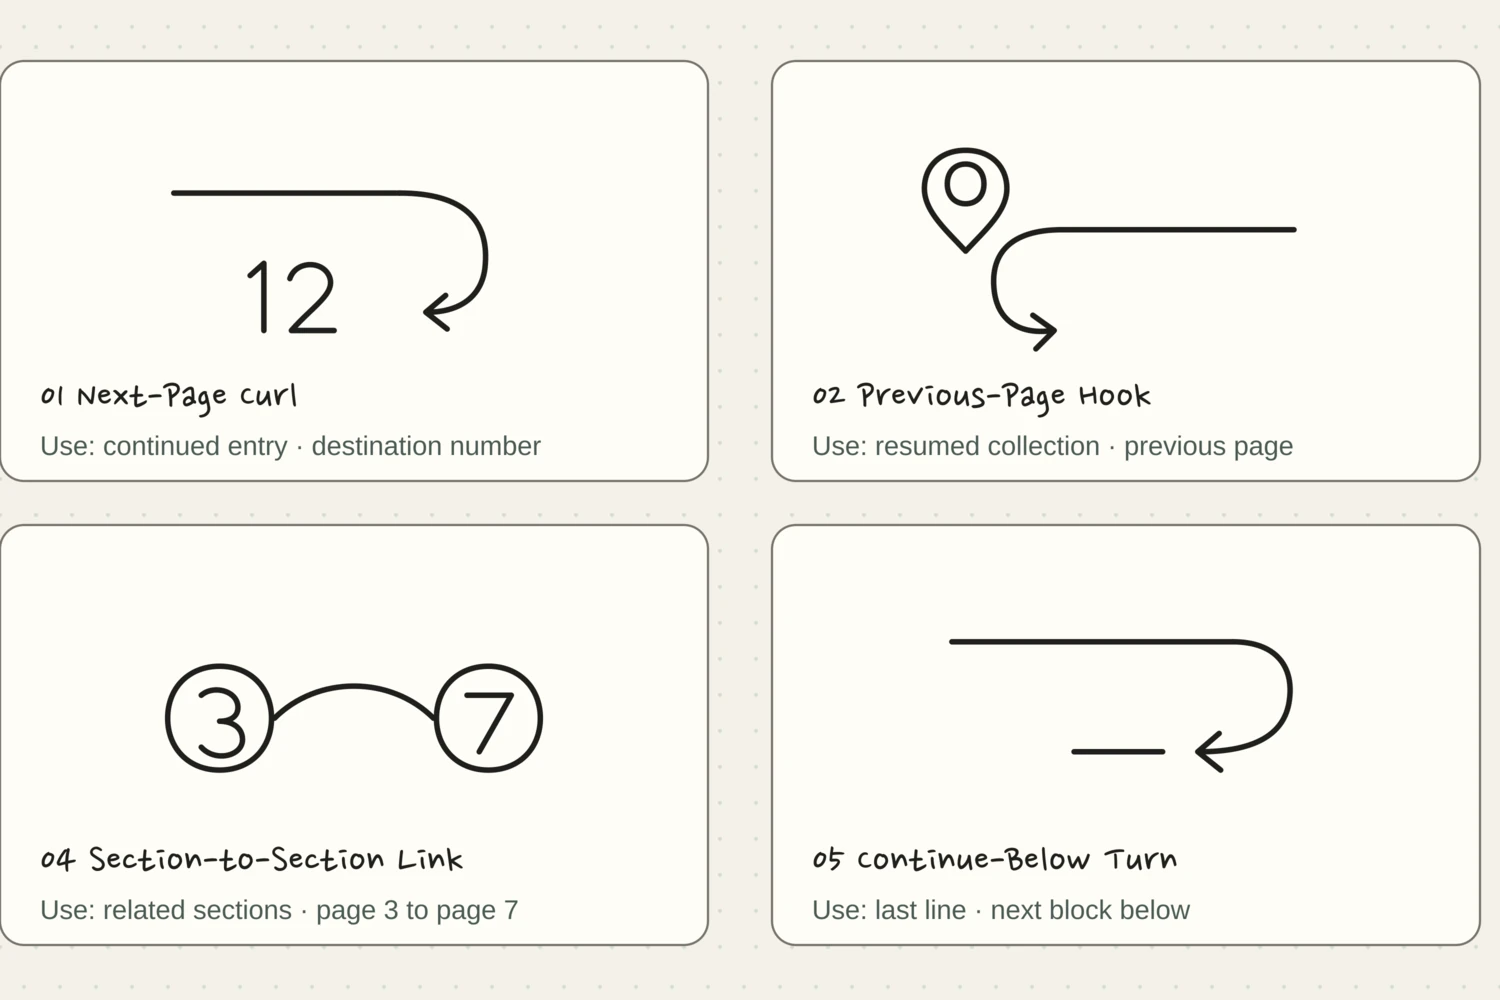
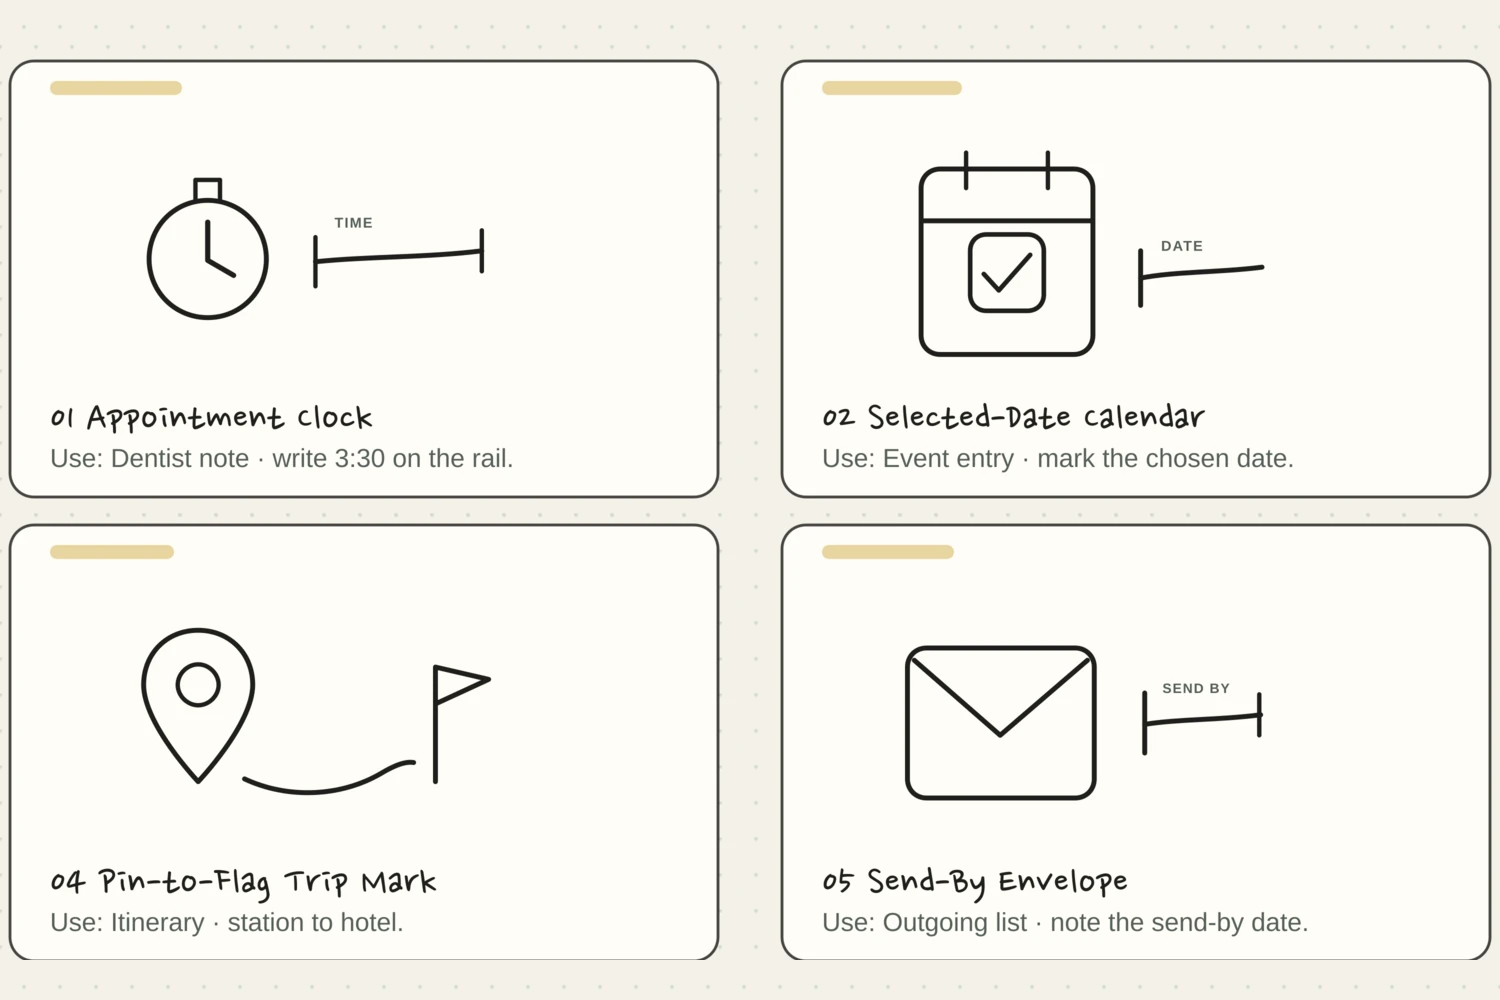
The twelve examples below include clocks, calendars, a phone, an envelope, a shopping bag, and other familiar objects. Choose one that matches the entry you keep overlooking. An appointment clock can help you find a timed commitment; an envelope can mark something that needs sending.
If you use one symbol for your usual task status, keep it. These drawings are optional additions beside your notes. A little phone can catch your attention while your existing check or cross still tells you whether the call is finished. You don’t need two competing sets of task marks.
“Keep whatever makes the entry easy to read at a glance.”
Copy the useful outline first
Press Draw it on one example and watch the main shape appear. Pause or use the step controls whenever you want to copy a particular turn. On a scrap, start around 35–45 mm wide so the handle, hands, or arrow has room to stay clear.
Some examples include a short writing line and a label such as TIME or NAME. Fill that space with your own detail. You can put the detail in the adjacent journal sentence instead if that fits your page better. Keep whatever makes the entry easy to read at a glance.
Try the exampleMake one kind of plan easy to spot
Make one kind of plan easy to spot
Choose a clock, phone, or bag and adjust its size beside the list. Keep the action and exact detail in the writing area.
Read the words in this example
- A drawing beside words
- Your words
- Separate drawing and writing areas
- Dashed box shows the drawing footprint.
The drawing footprint stays clear of the reserved writing area.
The longer side of “Appointment Clock” uses 33% of the inner page width; its proportions stay intact. The reserved area still contains four sample writing rules. The dashed footprint includes empty space around the strokes; it flags layout overlap, not an exact ink collision or handwritten capacity. A clock outline need not show your actual appointment time. Keep the time, person, item, and quantity in ordinary writing; your existing task mark still records completion.
- Drawing, longer side
- 33%
- Drawing footprint width
- 33%
- Gap across inner page
- 8.3%
- Reserved sample rules
- 4
Write the real time beside the little clock
A doodled clock can suggest “appointment” without accurately showing 3:30. Write 3:30 beside it, including a.m. or p.m. when needed. The same goes for a calendar: keep the real date visible rather than trusting a tiny checked square to explain it.
For a shopping bag, write the thing and quantity you need. For a meal, note what you’re preparing. If you use the small prep checkbox in the meal drawing, decide which part counts as prepared. A clear sentence keeps the picture useful when you return to it in a hurry.
Let the note change when the plan changes
When an appointment changes, correct the calendar you rely on for commitments first. Then amend any daily copy, keeping the old detail readable if it explains the change. Redrawing the clock is optional; correcting the actual time is the useful part.
If a task moves to another day, put its wording there before marking the old line moved, and add the destination. Give recurring work a fresh entry for each occasion. A tick beside last Tuesday’s call does not tell you whether this Tuesday’s call happened.
Try a what-ifWhat does the meal checkbox mean?
What does the meal checkbox mean?
Read the small promise beside the picture.
You use the meal icon’s prep checkbox to mean “lunch packed for tomorrow.” The vegetables are chopped, but the lunch is not packed.
Compare the three choices
Which update keeps the checkbox useful?
- Keep it open and note that packing remains.
Chopping is progress; it does not yet meet your chosen meaning. A short note can acknowledge the progress without changing the checkbox.
- Tick it because a preparation step is finished.
That silently changes “packed” into “started.” Tomorrow’s glance would no longer tell you whether lunch is ready.
- Add another meal icon beside the same checkbox.
A second picture adds emphasis but does not clarify the unfinished part. State what remains in words.
Define the event a checkbox records before using its tick as a shortcut.
What would you try?
Choose an option to see what it would do. You can explore all three.
GO A LITTLE FURTHERChoose tomorrow’s useful cue
Choose tomorrow’s useful cue
Look at the next page you will use before leaving home. Which entry would be costly or inconvenient to overlook? Try one familiar picture beside that line, leaving the exact details clear.
On the next visit, notice whether you find the entry or stop to interpret the icon. Keep, simplify, or replace that one cue with a word. The rest of the drawings can stay on your practice page until you have a use for them.
Pick a drawing and follow along
Choose a drawing below. Watch the whole shape appear, or tap a numbered step to see just that part. The faint outline is there if you’d like a little guidance.
Pick a drawing. We’ll take it one stroke at a time.
Appointment Clock
A clean round clock has four hour marks and two easy-to-read hands.
The finished drawing. Watch it once, then try one step at a time.
Let’s draw it together.
Give it a place.Draw it beside an appointment and write the actual time in your entry.
If the line wandersLeave the hour marks short and the hands different lengths.
Spot the mistake and try the repair
Make the two hands easy to tell apart
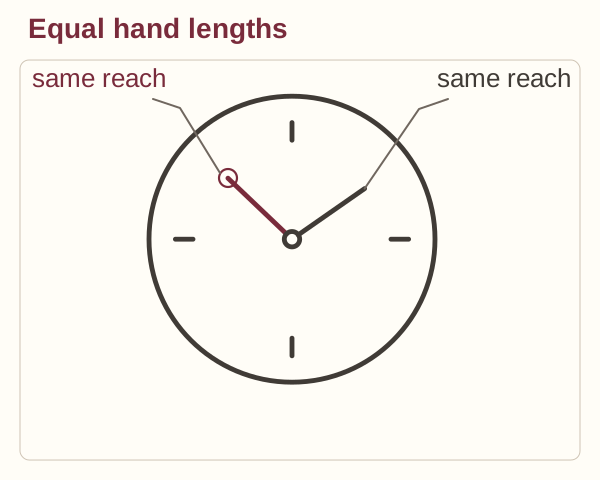
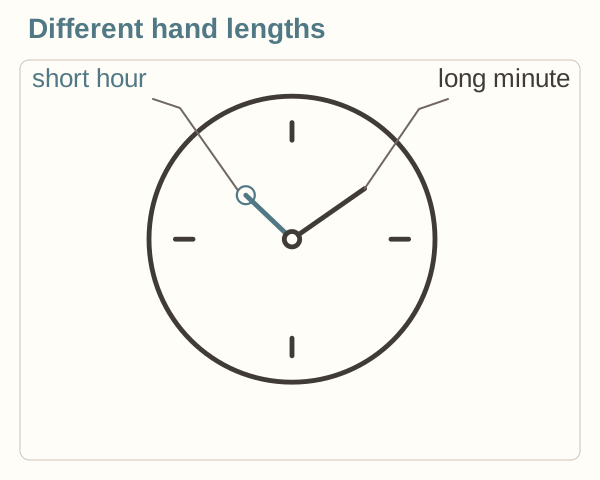
Keep one hand shorter and one longer. Keep the hour marks shorter than either hand.
Selected-Date Calendar
A bound calendar page highlights one roomy checked date square.
The finished drawing. Watch it once, then try one step at a time.
Let’s draw it together.
Give it a place.Place it beside a chosen date, booked ticket, or event you have confirmed.
If the line wandersKeep the selected square large. The small surrounding dashes only suggest other dates.
Deadline Bell
A full bell silhouette and three short alert strokes make a due date easy to spot.
The finished drawing. Watch it once, then try one step at a time.
Let’s draw it together.
Give it a place.Use it beside a deadline, then write the due day in ordinary words.
If the line wandersMake the bell broad at the bottom and keep the alert strokes outside its outline.
Pin-to-Flag Trip Mark
A location pin leads along one gently winding route to a destination flag.
The finished drawing. Watch it once, then try one step at a time.
Let’s draw it together.
Give it a place.Use it beside a route such as station to hotel or home to trailhead.
If the line wandersStop the route before the flagpole. That small gap makes the destination easy to see.
Send-By Envelope
A folded envelope sits below a simple outgoing arrow.
The finished drawing. Watch it once, then try one step at a time.
Let’s draw it together.
Give it a place.Place it beside an email, invoice, letter, or document you need to send.
If the line wandersLet the lower seams meet the flap; stop there so the folds do not cross.
Call-Back Phone
A curved telephone receiver sits below a returning arrow.
The finished drawing. Watch it once, then try one step at a time.
Let’s draw it together.
Give it a place.Mark a call to return and write the person’s name beside it.
If the line wandersKeep the two ends broader than the curved grip, with a gap around the arrow.
Two-Person Meeting
Two simple figures share a small conversation bubble.
The finished drawing. Watch it once, then try one step at a time.
Let’s draw it together.
Give it a place.Put it beside a one-to-one meeting, a catch-up, or notes from a conversation.
If the line wandersLeave a clear gap between the shoulders. The figures can be slightly different sizes.
Room-and-Broom Mark
A diagonal broom with a broad bristle head sits beside a small room corner.
The finished drawing. Watch it once, then try one step at a time.
Let’s draw it together.
Give it a place.Use it for sweeping, a room reset, or one manageable cleaning task.
If the line wandersFan the bristles out from the handle and keep the room corner separate.
Work-Block Clock
A compact timer shows one open quarter of its dial as a planned focus block.
The finished drawing. Watch it once, then try one step at a time.
Let’s draw it together.
Give it a place.Place it beside focused work and write the start and finish in your entry.
If the line wandersKeep the quarter wedge inside the dial, with a clear gap to the outside circle.
Shopping-Bag Quantity
A roomy shopping bag carries a small tag with two tally marks.
The finished drawing. Watch it once, then try one step at a time.
Let’s draw it together.
Give it a place.Use it beside an errand and change the tally count to match what you need.
If the line wandersKeep the tag clear of the bag edge, connected by a short, loose string.
Meal-and-Prep Mark
A plate and spoon sit beside a roomy checkbox for finished meal preparation.
The finished drawing. Watch it once, then try one step at a time.
Let’s draw it together.
Give it a place.Add it beside a meal plan and check the box once chopping or prep is done.
If the line wandersLeave space between the spoon and checkbox so the check has room to rise.
Repeat-Task Arrow
Two open circular arrows surround a checked circle for the current round.
The finished drawing. Watch it once, then try one step at a time.
Let’s draw it together.
Give it a place.Use it beside a recurring task such as watering plants or a weekly desk reset.
If the line wandersKeep the arrows outside the center circle; shorten a curve if the gap gets tight.
Something for a future page?
The Washi Tape ShopAffiliate links: we may earn a commission if you buy through these links.
Where this idea began
All doodle geometry is original to Tiny Systems Co. Bullet Journal’s Rapid Logging guidance informed the emphasis on concise entries and readable marks. The twelve decorative planning doodles on this page are optional additions; they are not official Bullet Journal bullets or signifiers.
Want to explore the techniques a little further? Here are the maker tutorials and references behind this guide.
- Method referenceBullet Journal: What Is Rapid Logging? Bullets and Signifiers
Official meanings for tasks, events, notes, status changes, and signifiers; decorative variants remain optional.