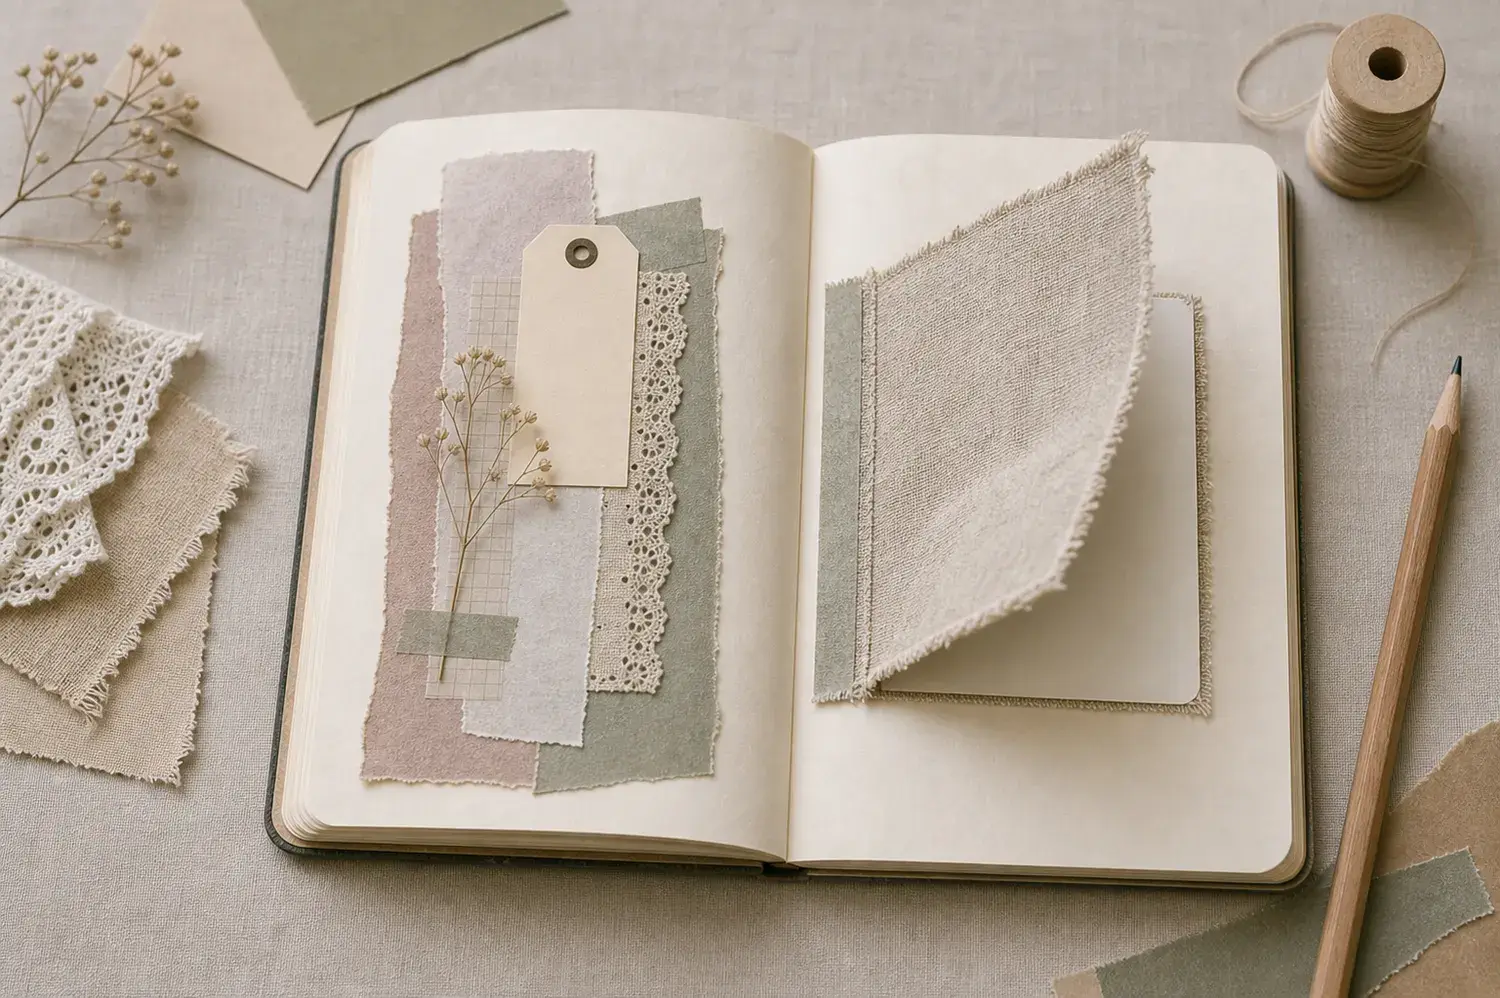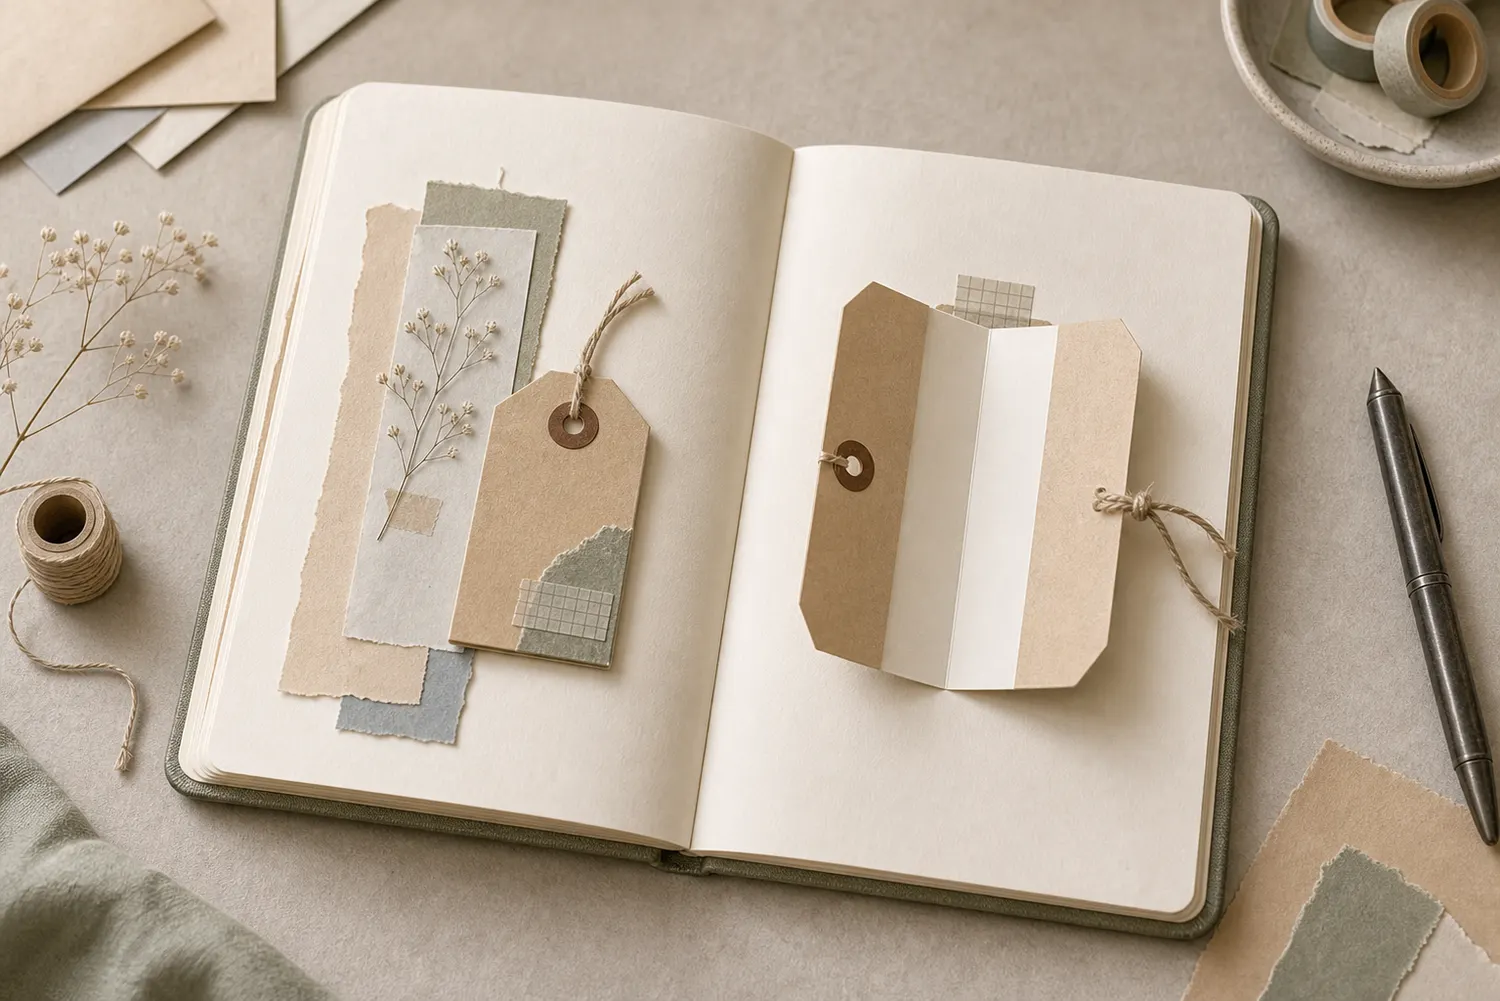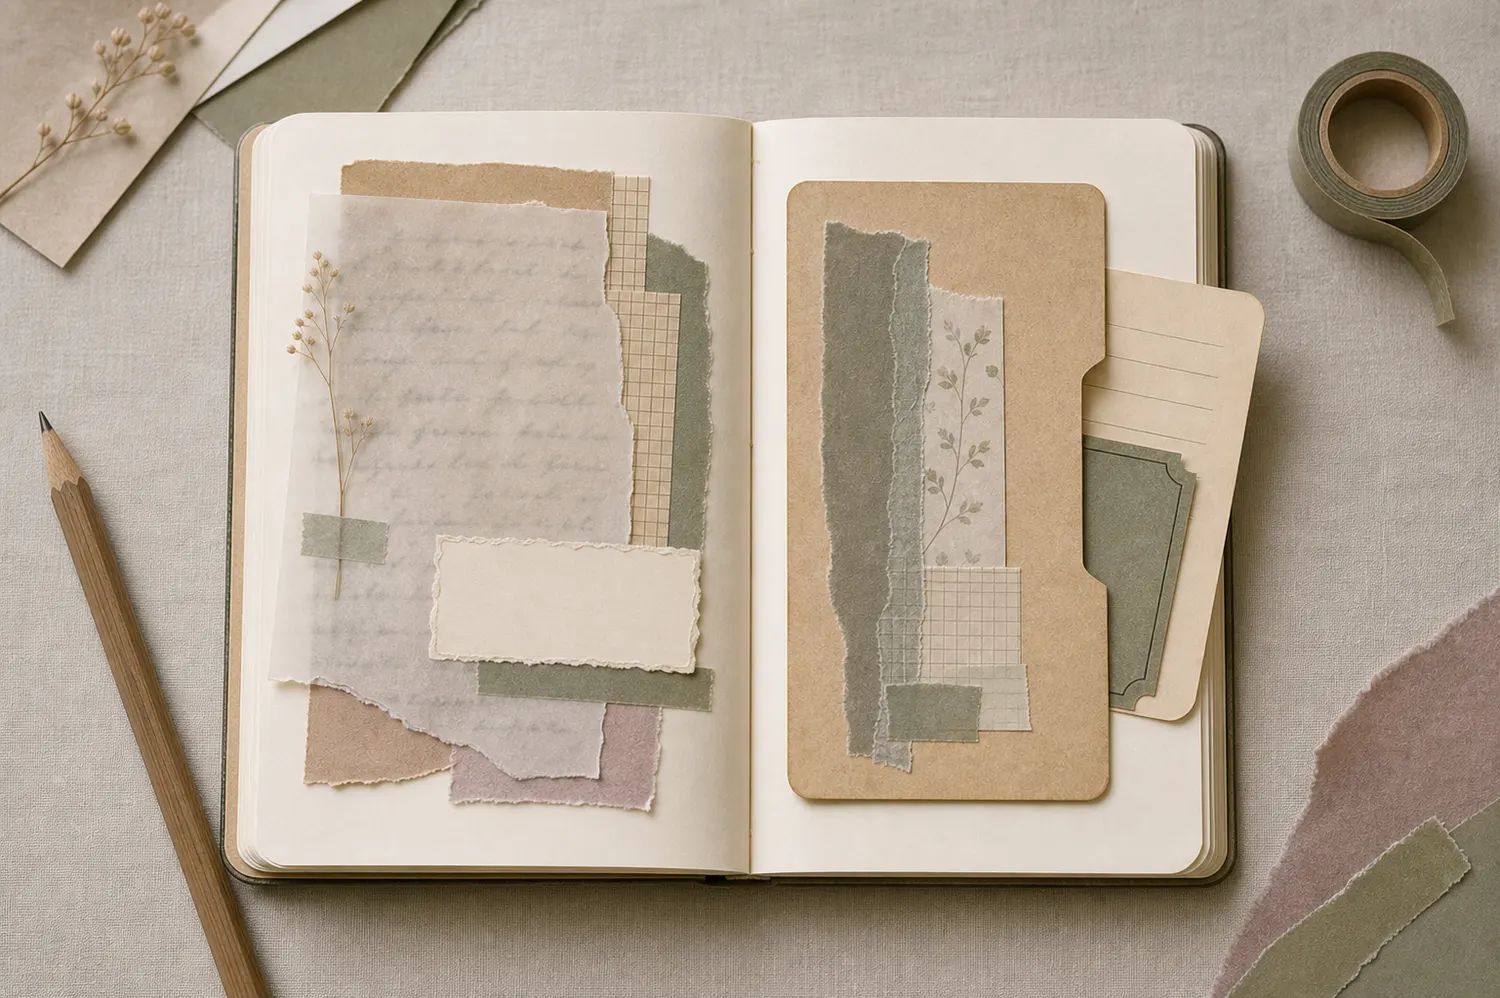
Gather a few things See what you’ll need
- Journal and pen
- Thin opaque paper scraps
- Paper tape or a folded paper hinge
- Pencil, ruler, scissors, and a little adhesive
Choose an exercise 4 things to try as you read
Let the sentence choose the size
Lightly mark a writing space about 55 × 75 mm. Try one to four short lines, leaving a little breathing room around them. If you're covering existing writing, measure its actual edges instead. You don't need to rewrite something that already says what you meant.
Make the cover 3–5 mm larger on every side. For the suggested field, a 65 × 85 mm panel gives a 5 mm border all round. Lay it over the words before attaching anything. Check the last line and any tall letters; those are the bits most likely to peek out.
See the differenceCover the last letter as well as the first
Cover the last letter as well as the first
Switch between an exact-size cover and one with a border around the whole writing field.
Read the words in this example
No spare border
- cover
- your words
No spare border
A cover exactly as large as the writing has no allowance for tall letters or imperfect positioning.
ONE WORKED EXAMPLE
A walk beneath a small collage
You have written a short conversation memory below a photograph and want a light cover over it. A patterned tissue scrap is attractive but allows the words to show through.
Before
Adding more tissue makes the cover stiffer without hiding the writing to the degree you want. The lettering is still readable through the stacked layers.
After
A thin opaque 65 × 85 mm base covers the 55 × 75 mm writing field with a 5 mm border. The same tissue becomes one surface accent. With the loose cover lowered over the dry note, the lettering no longer shows through.
What changed—and what to check
The base now supplies opacity, so decorative tissue can stay light. One material does the covering instead of asking several translucent layers to do that job.
Try this check. Lower the loose cover over the dry note and check its last line before attaching the hinge.
A little tape for your next page?
The Washi Tape ShopAffiliate links: we may earn a commission if you buy through these links.
See what the paper actually hides
Lay one scrap over the actual dry writing before building its collage. Test the final reading position, not just the pattern you like on top. If the words remain clearer than you want, change the base paper; several decorative layers may add stiffness without solving the show-through.
Vellum or tracing paper gives a different effect: you may still see the rhythm of the handwriting, and some words may remain readable. Use that if you want a softer view of the entry. Choose opaque paper if you want the closed flap to cover the words fully. A patterned surface isn't automatically an opaque one.
Try the exampleA pattern can distract without hiding the words
A pattern can distract without hiding the words
Change digital opacity and layer count. Look for the difference between a soft glimpse and full visual cover.
Read the words in this example
- Writing below the sheets
- One sentence
- worth keeping.
- 1 sheet at 40% each
- Digital opacity, not measured vellum.
The writing sits below 1 sheet; combined digital opacity is 40%.
In the shared overlap, combined opacity is 1 − (1 − 0.4)^1, or 40%. Increasing opacity or adding sheets hides more of the words in this digital model. Actual vellum varies with material, lighting, and ink; this diagram does not establish readability or privacy. Digital opacity does not measure vellum, tissue, or actual paper. Several translucent layers may still reveal words and add bulk. Test one thin opaque scrap if you want the closed view covered.
- Sheets
- 1
- Each sheet, digital opacity
- 40%
- Overlap, digital opacity
- 40%
- Writing position
- Underneath
“Try one to four short lines, leaving a little breathing room around them.”
Decide where the flap will go when it opens
For an outward-opening cover on a right-hand page, hinge the right edge and lift from the left; the cover swings toward the outside of the book. On a left-hand page, hinge the left edge and lift from the right. Leave enough space beside the journal for that movement.
A top hinge is useful lower down a page: lift from the bottom and the panel opens upward. Hold your loose panel in the chosen position and move it through that whole turn. If it runs into a photo, pocket, or the binding, choose a different edge now.
Try the exampleWhich edge sends the cover outward?
Which edge sends the cover outward?
Move the hinge from left to right and try a top lift. Notice that you lift the opposite free edge.
Read the words in this example
- Fold projection
- Your words
- Wine = fixed hinge
- Side profile
- 60° from closed
Right hinge stays fixed; the flap lifts 60° from closed.
Lifting the flap can reveal original sentence beneath its closed footprint. Gold is the moving flap and wine is its attached edge. The side profile shows the lift angle; the upper view is an oblique geometric projection. These are rigid-paper schematics, not predictions of bending, clearance, or collisions. Try the motion: collage cover. On a right-hand page, a right hinge opens outward; mirror it on a left page. The projection shows direction only. Dry-fit the whole turn beside the real photo, pocket, and binding.
- Lift angle
- 60°
- Fixed hinge
- Right edge
- Model
- Oblique projection + side profile
Give one edge the job of holding on
Attach the chosen edge with paper tape, or use a narrow strip of strong paper folded lengthwise. With a paper hinge, bond one side to the back of the cover and the other to the journal. Keep the crease free of glue and allow a small 1–2 mm unglued bending space instead of pulling the join tight.
Keep adhesive at least 3 mm from the writing and leave the other three edges free. Let the bond set before lifting. If low-tack washi helped you choose the position, check its hold after a few openings; a frequently used cover may need a stronger folded-paper hinge rather than more tape stretched across the fold.
GO A LITTLE FURTHERLet the outside say something quieter
Let the outside say something quieter
Now add a few thin scraps to the cover. A larger piece you love, a smaller overlap, and a handwritten date may be plenty. Keep the decoration on the panel itself so it doesn't accidentally join the flap to the page underneath. Leave a clear edge for your fingers.
The outside could say 'After the rain,' while the inside records the conversation on the walk home. Or put a small question on the cover and its answer underneath. Add a tiny paper tab opposite the hinge if the lifting edge is hard to find. If one plain scrap already looks right, you don't have to collage over it.
The flap should cover the words without a fight
Open it, read the entry, and let it close. If the panel scrapes, check whether the hinge is too tight or a decorative edge is catching. If it curls upward, remove a stiff layer or try a lighter panel. More glue across the underside would stop the opening rather than fix it.
Close the journal with the finished light collage in place and check for a hard bump. Keep the cover when it hides as much as you intended and still opens comfortably. If you want the words to travel elsewhere, put them on a removable card in a pocket; this hinged version deliberately keeps the note on the page.
Try a what-ifA decorative scrap pins the opening edge
A decorative scrap pins the opening edge
Consider this page before choosing your next move.
The plain flap opened well. After decorating, a strip overlaps its lower edge and bonds to the journal page, so the cover no longer lifts.
Compare the three choices
Where should the repair begin?
- Pull upward more firmly to loosen the hinge.
The hinge is not the new attachment. Pulling harder would strain it while the decorative bridge still holds the cover down.
- Release or replace the bridging decoration while protecting the page.
Restore the intended free edge, then keep the replacement entirely on the cover. Check the lift again before adding anything else.
- Add another hinge along the bottom edge.
A second attached edge would further constrain the cover instead of restoring its top-hinged movement.
Decoration must stay on the moving piece if its other edges are meant to remain free.
What would you try?
Choose an option to see what it would do. You can explore all three.
A little tape for your next page?
The Washi Tape ShopAffiliate links: we may earn a commission if you buy through these links.
Where this idea began
These sources support the named maker example, the one-edge hidden-writing flap, and the asemic-mark option used above.
Want to explore the techniques a little further? Here are the maker tutorials and references behind this guide.
- Maker exampleNikki Kann: Hidden stories under paper flaps
Nikki Kann’s concealed stories under paper flaps supply the named hidden-writing example.
- Construction referencePoppiwinkle: Hidden Journaling Spots
Hidden journaling formats provide related lifting, folding, and concealed-writing examples.
- Creative contextHeather Neilson Art: Asemic Writing
Heather Neilson’s asemic-writing discussion informs nonverbal marks as an optional creative approach.