Gather a few things See what you’ll need
- Envelope or other simple subject
- Pencil and eraser
- Scrap paper
- Ruler
- Journal
Measure the space you actually have
Choose a final drawing area 90 mm wide and 60 mm high, or measure a different area on your page. The example has a width-to-height ratio of three to two. Draw three thumbnails 30 mm wide and 20 mm high, preserving that ratio. HelloArtsy's thumbnail tutorial describes small simplified drawings for composition, and community drawing questions specifically recommend matching the thumbnail's proportions to the final surface. A square thumbnail won't answer a rectangular placement question reliably unless changing the frame itself is the decision you're testing.
Choose scale inside a fixed frame
Compare half-width, two-thirds-width, and near-edge versions.
Envelope occupies about half the frame width
A half-width envelope leaves a large amount of the matching frame available around it.
Reduce the subject to its outer mass
Look at the envelope you intend to draw and mark its widest and tallest points. In the thumbnails, represent it with a simple four-sided outer shape and a single flap line if needed. Omit printing, stamps, texture, and shadows. Those details can make a tiny study feel finished while hiding its basic placement problem. Keep the same orientation in all three versions. If you rotate the envelope as well as changing its size, you'll have two different composition experiments and less clarity about which change you prefer.
“Stop thumbnailing when one version leaves room for the subject and required page content.”
Make small, middle, and near-edge versions
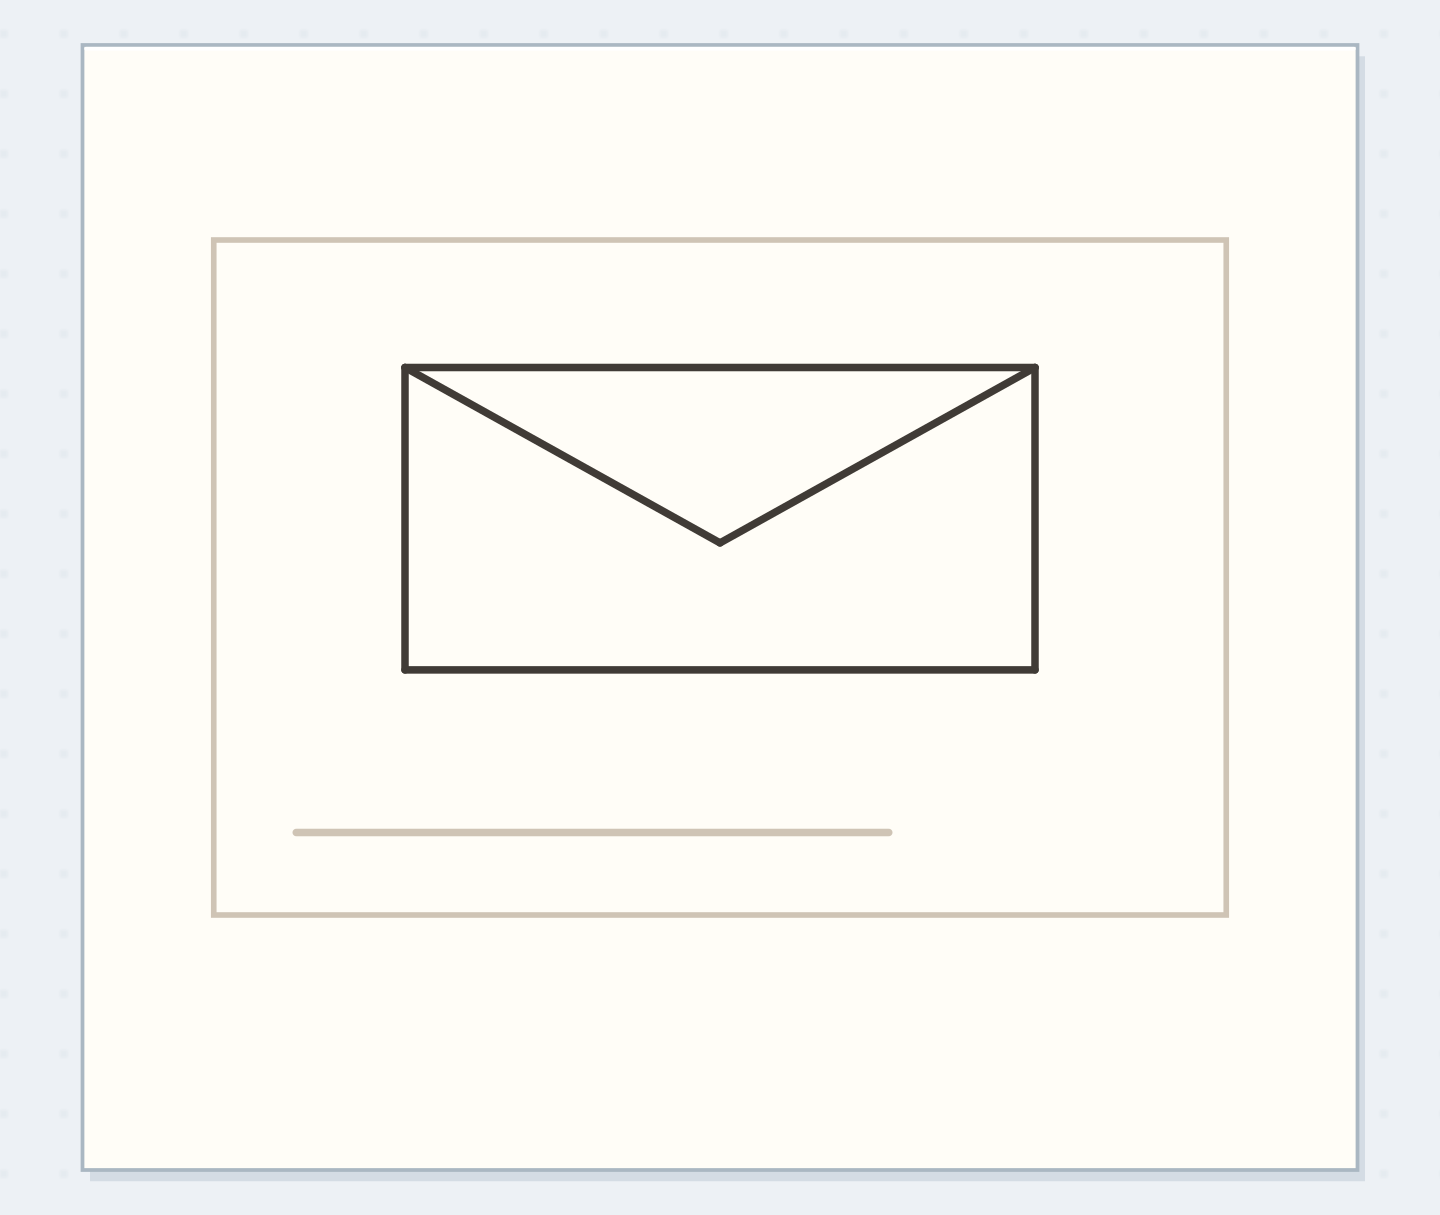
In the first thumbnail, let the envelope occupy roughly half the frame's width. In the second, use about two-thirds. In the third, place it close to both side boundaries while keeping the entire silhouette inside. These fractions are illustrative choices, not rules for pleasing composition. Add a small rectangle where a caption or date needs to sit. Now compare the actual available space around the drawing. The largest envelope may show more detail later, but it also gives the caption and page margins less room.
Keep the complete subject inside
Move the reveal control to inspect this specific change.
Overgrown subject
The enlarged outer shape exceeds the frame and crowds the caption.
Enlarge the middle version deliberately
For the worked example, choose the two-thirds-width envelope, leaving an open strip below it for a one-line caption. In the 90 mm final frame, that makes its overall width about 60 mm. Mark its left, right, top, and bottom extents lightly before connecting any edges. Use the thumbnail to locate the mass, then look back at the real envelope to draw its shape. A thumbnail supplies a placement decision; it isn't a detailed reference whose every crooked corner needs enlarging three times.
Check the perimeter before interior detail
Pause after penciling the outer shape. Compare the four extremity marks with the intended frame and make sure the caption area still exists. Place a few small pencil dots for important internal corners, then add the flap. Only after that should you draw printing, crease lines, or other chosen details. This is a genuine dependency: the overall fit is easier to revise before small inked details lock your attention onto one section. You can still adjust a finished drawing, but the thumbnail is meant to reduce that avoidable rework.
Write your scale plan
A 30 × 20 mm thumbnail preserves the 3:2 frame ratio.
Final drawing area:90 × 60 mm
Chosen subject width:About 60 mm, with a caption below
Your words have a place now.
A 30 × 20 mm thumbnail preserves the 3:2 frame ratio.
- Words on this card
- 17
Recover when the large sketch still grows
If the pencil drawing reaches too far, erase its outer placement and re-mark all four extents before correcting individual edges. Shrinking only the last corner may distort the envelope. If the drawing is already inked, consider an intentional crop if the remaining shape still reads, or omit the planned caption within that panel and place it below. For the next attempt, use slightly smaller extents. Community thumbnail discussions note that small studies simplify decisions rather than guaranteeing identical mark-making at a larger scale; a final-size perimeter check remains useful.
Before adding drawing details
Order the preparation before the operation that needs its result.
One workable order
- Match the thumbnail frame ratioMatching frame proportions makes the small scale comparison relevant to the final area.
- Choose a scale from small trialsThe selected scale determines the four final-size outer extent marks.
- Mark final-size outer extentsCheck those extents before adding details that make the drawing harder to revise.
- Add details after the fit checkStop thumbnailing when one version leaves room for the subject and required page content.
Which check needs to come first?
The example shows one workable order. A 30 × 20 mm thumbnail preserves the 3:2 frame ratio.
Let the thumbnail finish its job
Stop thumbnailing when one version leaves room for the subject and required page content. Three alternatives are enough for this particular comparison; you don't need a sheet of nearly identical boxes. Keep the chosen thumbnail until the larger sketch is placed, then retain it only if you enjoy seeing the planning beside the result. For another drawing, test a different single variable such as left-versus-right placement. A quick scale study earns its time when it answers a real fit question before you begin the details you care about.
Where this idea began
Want to follow the idea further? These community discussions and maker references are a good place to start.
- How do you make sure your drawing fits on the page?
The search excerpt discusses running out of room and recommends a small sketch with the final frame’s proportions.
- Thumbnail Sketches
Explains small simplified sketches as a way to plan the composition of a larger drawing.