Gather a few things See what you’ll need
- Pen
- Pencil and eraser
- Ruler
- Scrap paper
Reserve the writing area first
Pencil a rectangle 80 mm wide and 50 mm high on scrap, leaving enough page margin around it. This will frame a short quotation or observation, so reserve the inside for writing before adding any border marks. An unfinished-cover discussion captures the question a border can answer: does this open area need more structure? Enclosing a page is one possible response, so decide what the frame would contribute. If the writing already has a strong edge and enough separation, a border may have no useful job on this entry.
Count intervals before the ticks
See the measured frame become a repeated border.
Reserve the frame and 5 mm corner zones
The 80 by 50 mm frame reserves 5 mm at each side of every corner before any ticks are placed.
Choose a repeat with a visible interval
Use one short tick about 2 mm long as your basic mark. Place tick centers 5 mm apart along a spare straight line, keeping their length steady. The empty interval is part of the repeat. D'Source's design-principles lesson identifies repetition as an element of rhythm; this exercise makes that principle measurable with a small mark and gap. You can later alternate a long tick and a short one, but first test a single-unit rhythm. It is easier to see an accidental spacing change when the marks themselves remain consistent.
“Stop when the marks form a recognizable repeat, the corner treatment agrees on all four sides, and the writing has room to breathe.”
Leave turning room on all four sides
On each side of the penciled frame, mark a corner zone extending 5 mm from each end. Keep the ticks out of those zones for the first version. The top side now has a 70 mm span between its first and last tick centers. At 5 mm spacing, that span contains 14 intervals and therefore 15 tick positions. Each vertical side has a 40 mm span, giving eight intervals and nine positions. Counting intervals separately from marks prevents the common off-by-one mistake that leaves the final tick crowded.
Resolve the last corner
Move the reveal control to inspect this specific change.
Crowded final ticks
Extra ticks squeeze the final gaps.
Complete the measured frame
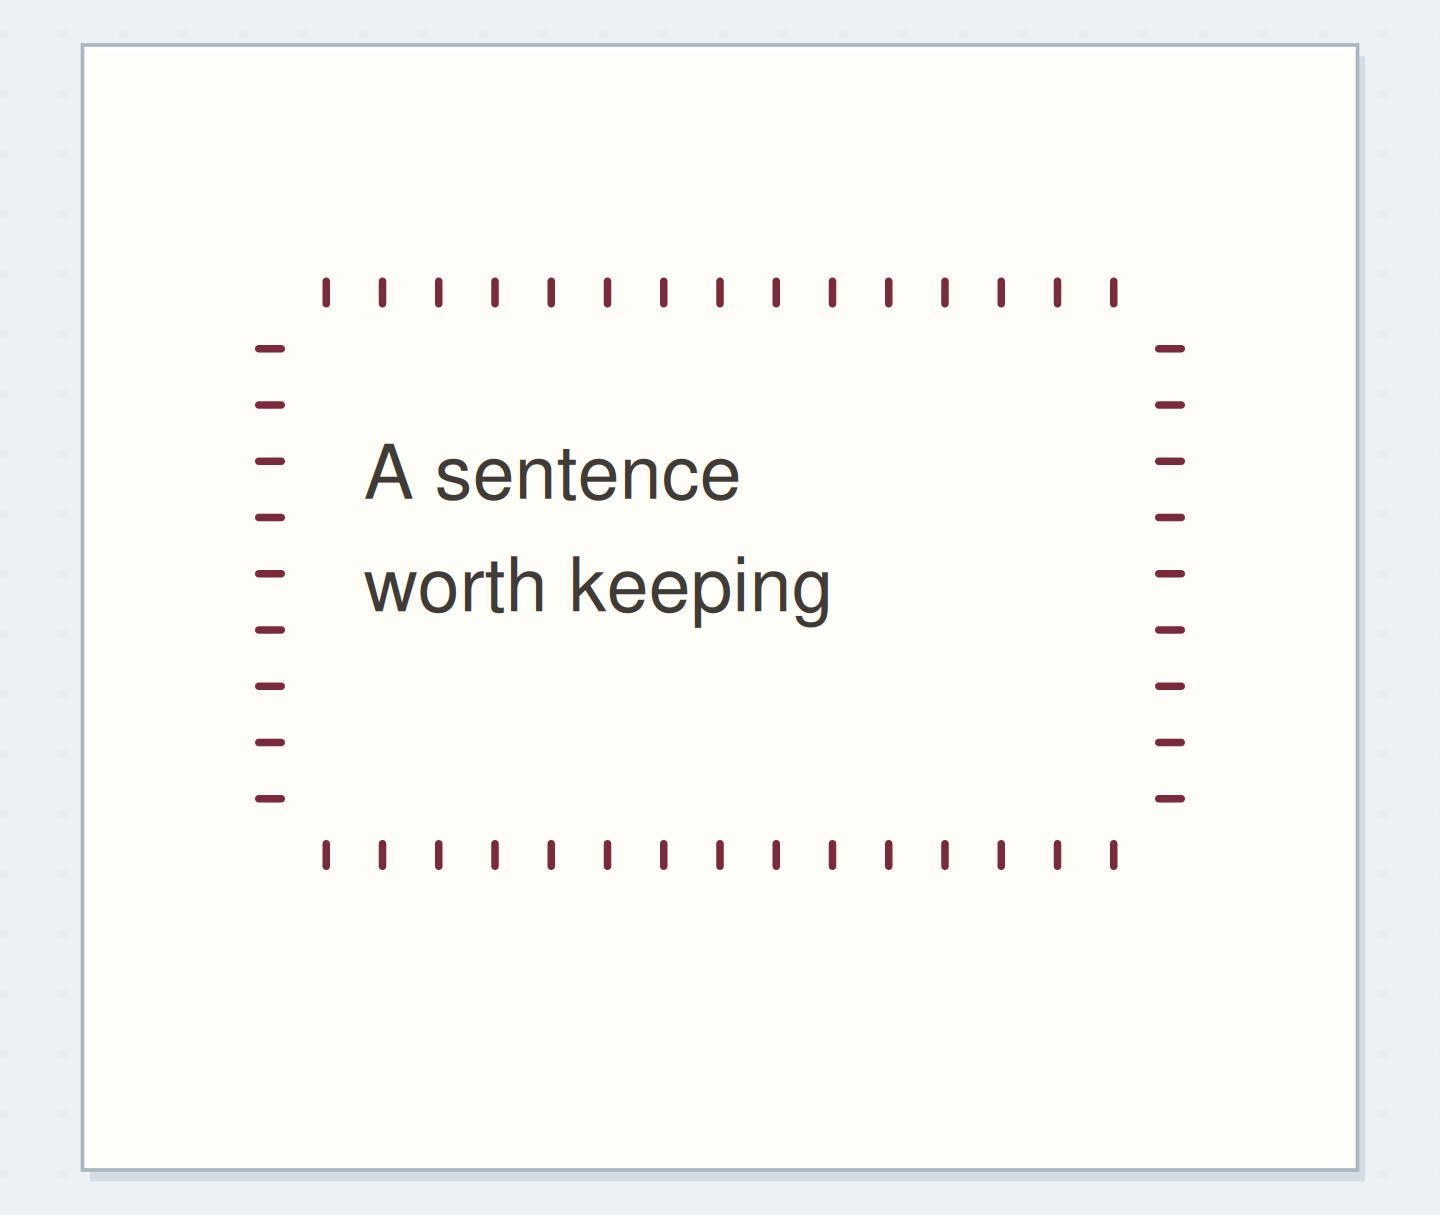
Place tiny pencil dots at the tick centers, then ink a 2 mm tick across the implied border line at each dot. Turn the paper for the vertical edges if that makes the repeated movement easier. Keep all four corner zones empty. Erase the pale rectangle and dots after the ink is dry. Write “A sentence worth keeping” inside as a placement test, using several short lines if necessary. The finished border should feel continuous through its repeated spacing even though the corners contain deliberate breaks rather than joined ornaments.
Compare grouped and even beats
On another short strip, place pairs of ticks 2 mm apart within each pair and leave 6 mm between pairs. Compare that grouped rhythm with the even 5 mm interval. Both can be coherent, but the paired version needs its own fitting calculation if you carry it around a rectangle. Don't splice it into one side of the original frame without planning the transition. For a real page, choose either even ticks or paired groups and repeat that choice. A deliberate exception at a title gap can be added once the underlying pattern is clear.
Write your border calculation
A 70 mm horizontal span has 14 intervals and 15 tick positions.
Frame dimensions:80 × 50 mm
Tick recipe:2 mm ticks; 5 mm centers; 5 mm corner zones
Your words have a place now.
A 70 mm horizontal span has 14 intervals and 15 tick positions.
- Words on this card
- 18
Fix the spacing before the last corner
If the pencil positions don't fit the available side, change the interval slightly across the entire span or increase the two corner gaps equally. Don't make only the final two gaps much smaller. If you discover the problem after inking half a side, end the repeat before the corner and use a matching deliberate break on the opposite side. Keep that adaptation simple. Adding a dense flourish over the mismatch may draw more attention to the crowded spot than leaving a small, balanced interruption in the border.
Before inking the border
Order the preparation before the operation that needs its result.
One workable order
- Reserve frame and corner zonesAvailable spans depend on the frame and reserved corner zones.
- Calculate intervals and positionsCalculated intervals give the tick-center positions to pencil.
- Pencil the tick centersInk after the pencil positions fit the full span.
- Ink the fitted repeatStop when the marks form a recognizable repeat, the corner treatment agrees on all four sides, and the writing has room to breathe.
Which check needs to come first?
The example shows one workable order. A 70 mm horizontal span has 14 intervals and 15 tick positions.
Judge the frame with writing inside
Stop when the marks form a recognizable repeat, the corner treatment agrees on all four sides, and the writing has room to breathe. Inspect the actual words inside the frame before filling any remaining gap with more ticks. Save the unit length, center spacing, and corner-zone measurements beside the scrap. Those three details are enough to recreate the idea at another size after recalculating the intervals. The border is finished when it supports the content; it doesn't need to become a densely patterned object in its own right.
Where this idea began
Want to follow the idea further? These community discussions and maker references are a good place to start.
- First cover page. Not sure what to add…
The search excerpt suggests a thin border as one possible way to organize the page’s remaining space.
- Colour in Design Principles
Identifies repetition as a component of visual rhythm.