Gather a few things See what you’ll need
- Pen
- Pencil and eraser
- Scrap paper
- Ruler
- Small folded scrap
Start with a shape that has distinct turns
Pencil a 35 mm square on scrap. Inside it, imagine a simple staircase silhouette with three equal rises and three equal runs, connected down its right side and across its bottom. Give each step about 6 mm of height and width. You can sketch a pale boundary for the first attempt, keeping the form comfortably away from the outer square. The motif is deliberately angular so each edge is easy to locate. Once the method is clear, a shape observed from a real object can replace this constructed practice form.
Let the surrounding marks draw
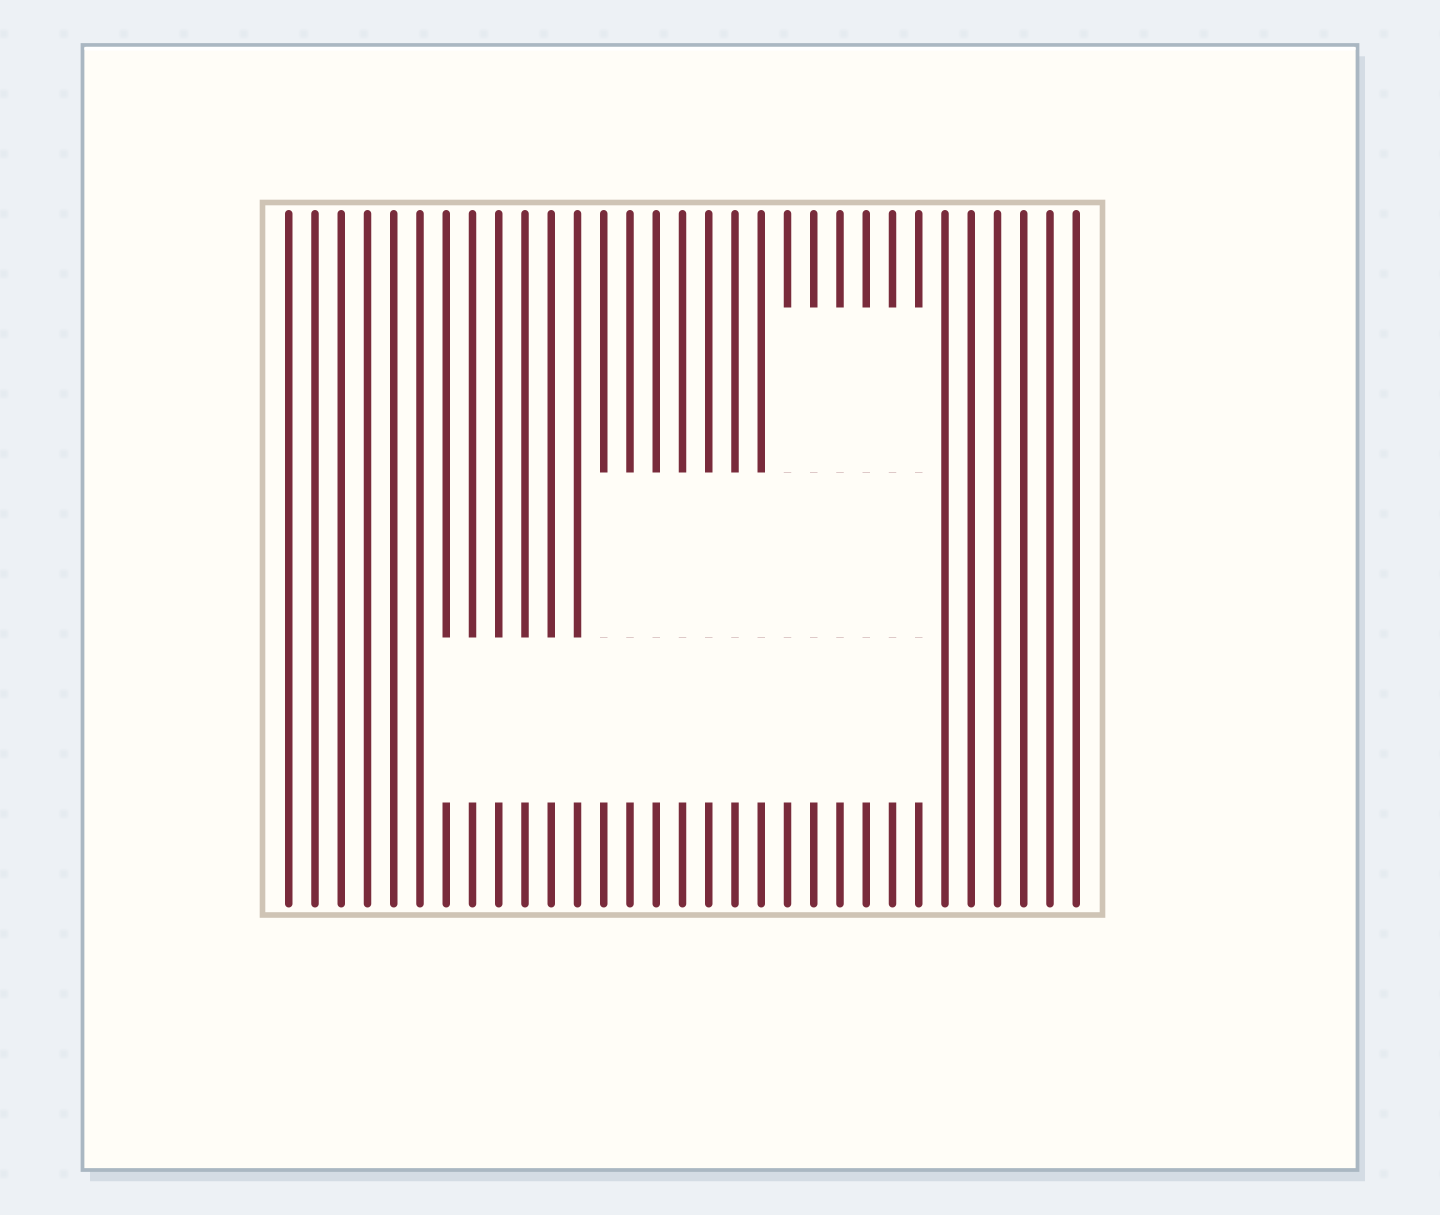
Follow a continuous reserved shape through the hatched field.
Reserve one continuous stepped paper shape
The three equal rises and runs form one connected shape that will remain paper.
Assign the background before making marks
Point to the part that should remain paper and then to the surrounding field. The stair shape stays untouched; the field receives the hatching. WetCanvas's negative-drawing lesson distinguishes deliberately building around a shape from simply noticing the spaces between objects. Community negative-space practice posts show interest in using surrounding areas as the drawing subject. Here you are designing a reserved motif, so the field's boundary matters as much as the imagined object. Keep the paper region continuous across all three steps rather than accidentally treating each step as a separate box.
“Stop when the untouched paper reads as a continuous silhouette and the surrounding field feels consistent enough to define it.”
Bring short lines up to the boundary
Choose a direction for the background hatching, such as vertical. Begin near one outer corner and draw short parallel lines toward the reserved form, stopping just before its penciled boundary. Resume the lines on the other side wherever background continues beyond the shape. Keep a visible gap between neighboring hatch lines. You are not coloring the stair form with dark strokes; you are interrupting the surrounding pattern where the paper needs to remain. Turn the scrap if that helps you end each mark cleanly without crossing into the reserved area.
Keep the paper silhouette unbroken
Move the reveal control to inspect this specific change.
Crossing marks
Lines crossing the paper area interrupt the silhouette.
Complete a stepped corner detail
Continue the hatching across the 35 mm field, keeping its density reasonably similar on both sides of the reserved form. Erase the faint construction boundary only after the pen is dry and your test shows the eraser doesn't smear it. The three white steps should now appear without a dark perimeter. Place a small date outside the field, leaving a clear gap between writing and hatching. The worked detail is a compact corner accent; it doesn't need to expand into a border or fill a whole journal background to demonstrate the method.
Restore clarity with fewer surrounding marks
If the stairs are difficult to see, check the hatch density near their edges before outlining them. A large accidental gap in the field can blur the boundary, while a few lines crossing the reserved region can break its silhouette. On a new attempt, enlarge the steps or use shorter hatch strokes near the corners. If ink has crossed the paper shape, accept the specimen and redraw rather than continually shrinking the motif around each intrusion. The point is to reserve an intentional area, not salvage every millimeter of one test.
Write your negative-space plan
The motif stays paper-colored; the field receives the ink.
Reserved shape:Three-step silhouette
Background mark:Vertical hatching with open intervals
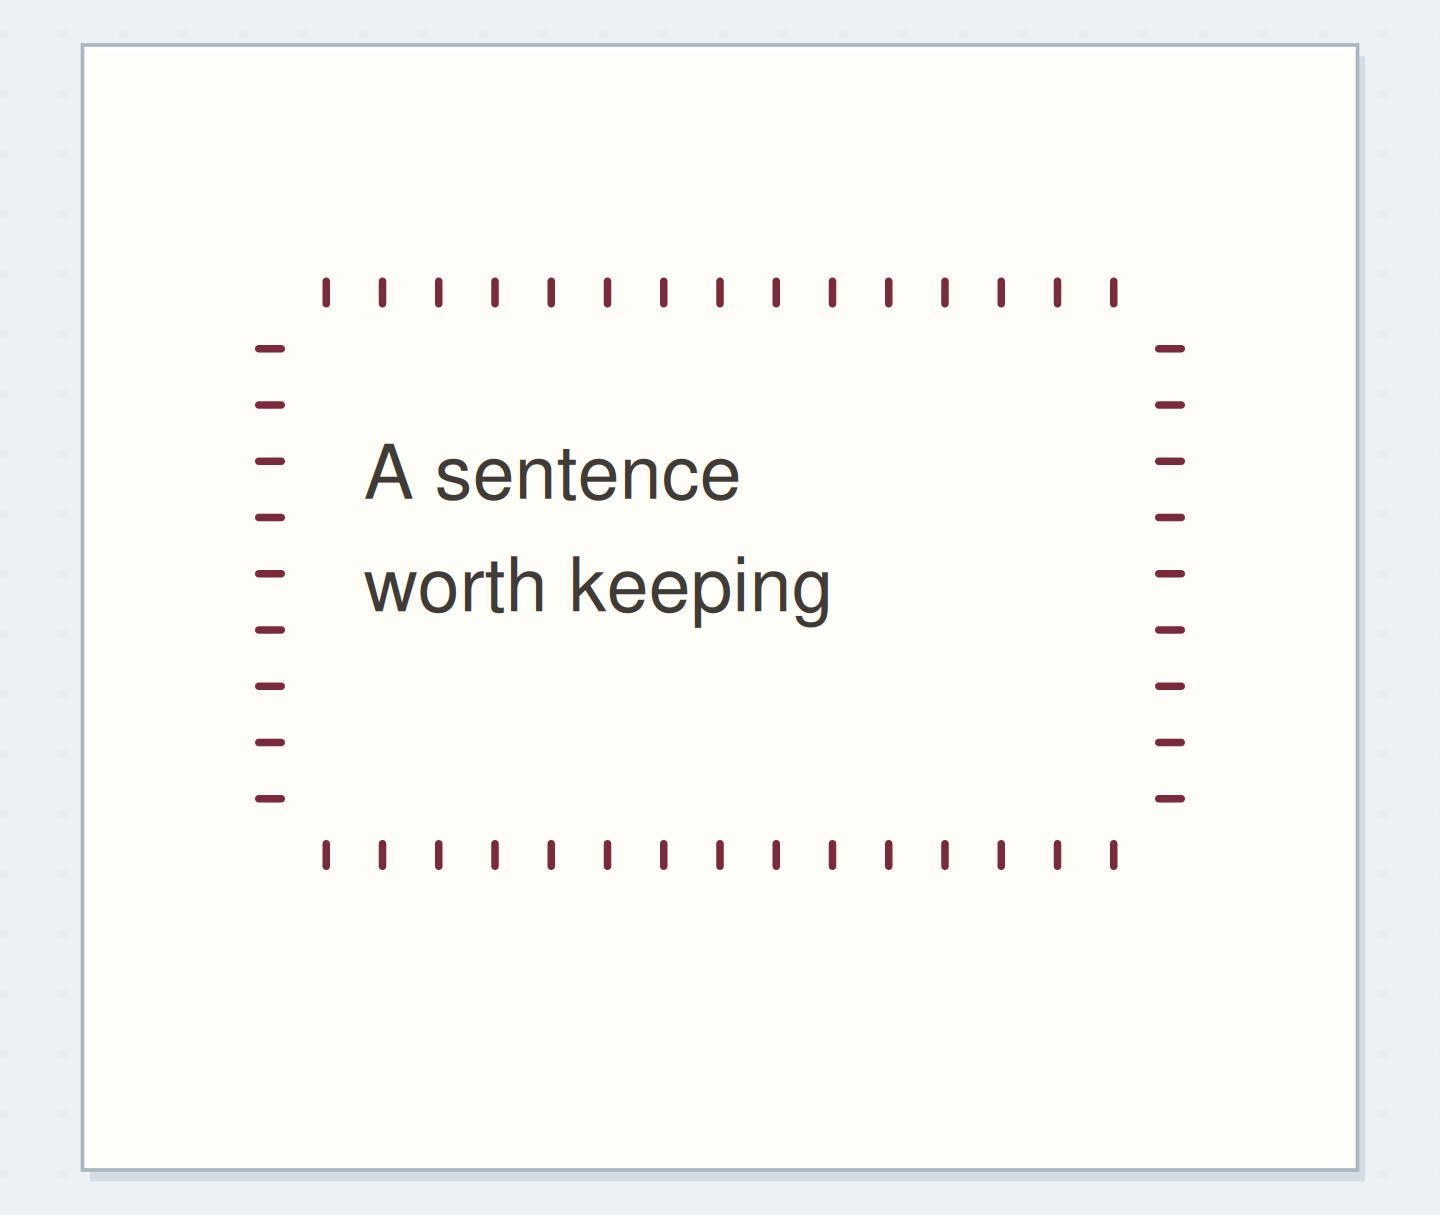
Your words have a place now.
The motif stays paper-colored; the field receives the ink.
- Words on this card
- 11
Borrow a real outline without copying its details
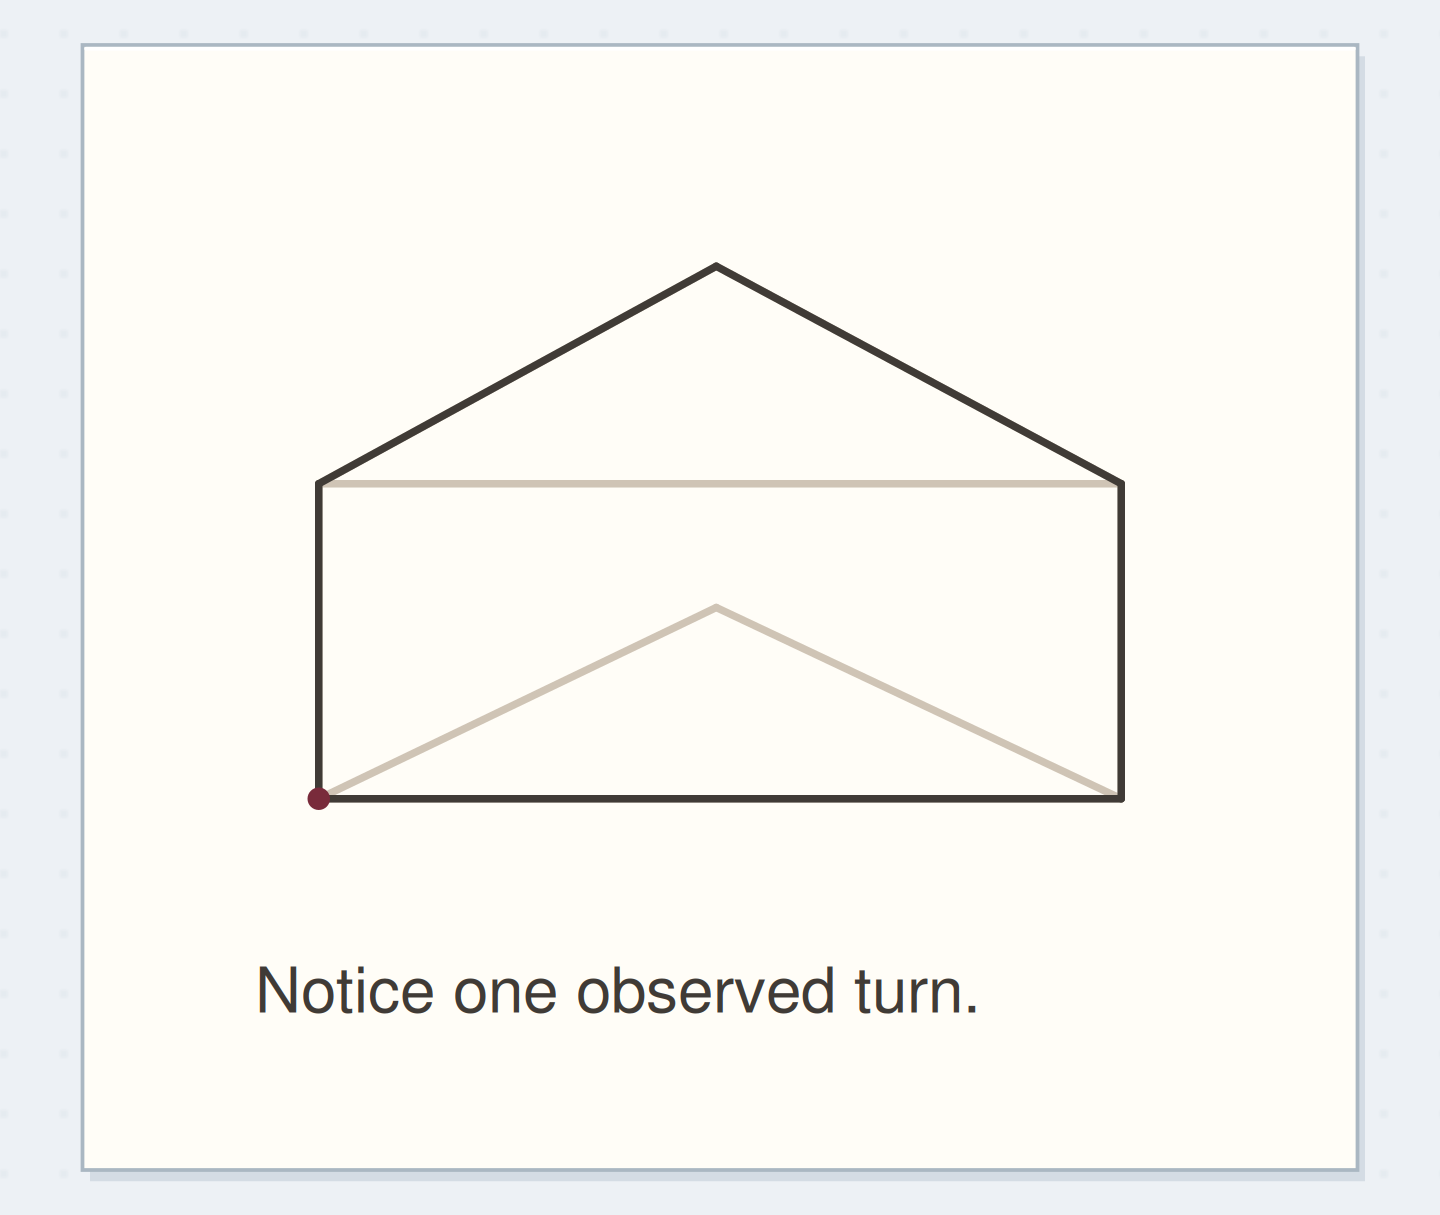
Place a small folded scrap on the table and observe its outer silhouette. Ignore its printed text, texture, and interior fold lines for this exercise. Sketch a simplified boundary in a new field, then build hatching around it as before. This makes the technique useful beyond the staircase example. You can keep only the turns needed to identify the shape at journal size. If a tiny notch disappears, enlarge the whole form or omit the notch deliberately rather than loading the background with darker marks to force recognition.
Before erasing the motif guides
Order the preparation before the operation that needs its result.
One workable order
- Define the reserved silhouetteThe reserved silhouette determines which surrounding regions receive hatching.
- Identify the background areaThe hatch strokes must stay in the identified background area.
- Hatch around the boundaryErase guides only after the ink and tested eraser can be handled without smearing.
- Erase guides after dry testingStop when the untouched paper reads as a continuous silhouette and the surrounding field feels consistent enough to define it.
Which check needs to come first?
The example shows one workable order. The motif stays paper-colored; the field receives the ink.
Check the reserved area as one shape
Stop when the untouched paper reads as a continuous silhouette and the surrounding field feels consistent enough to define it. Cover the rest of the page for a moment to inspect the small detail alone, then uncover it to confirm it doesn't compete with the writing. Keep the hatching direction and step size noted on the scrap if you want another version. For the next test, change either the silhouette or the background mark, not both. That makes it easier to see which decision changed the motif's clarity.
Where this idea began
Want to follow the idea further? These community discussions and maker references are a good place to start.
- negative space practice
The search excerpt presents an exercise that defines a paper-colored shape by working in the surrounding space.
- Basic 102: Class 7 - Negative Drawing
Distinguishes deliberate negative drawing from observing negative spaces and describes defining a form through surrounding marks.