Gather a few things See what you’ll need
- Colored pencil
- Pencil and clean eraser
- Scrap paper
- Ruler
Decide what stays untouched
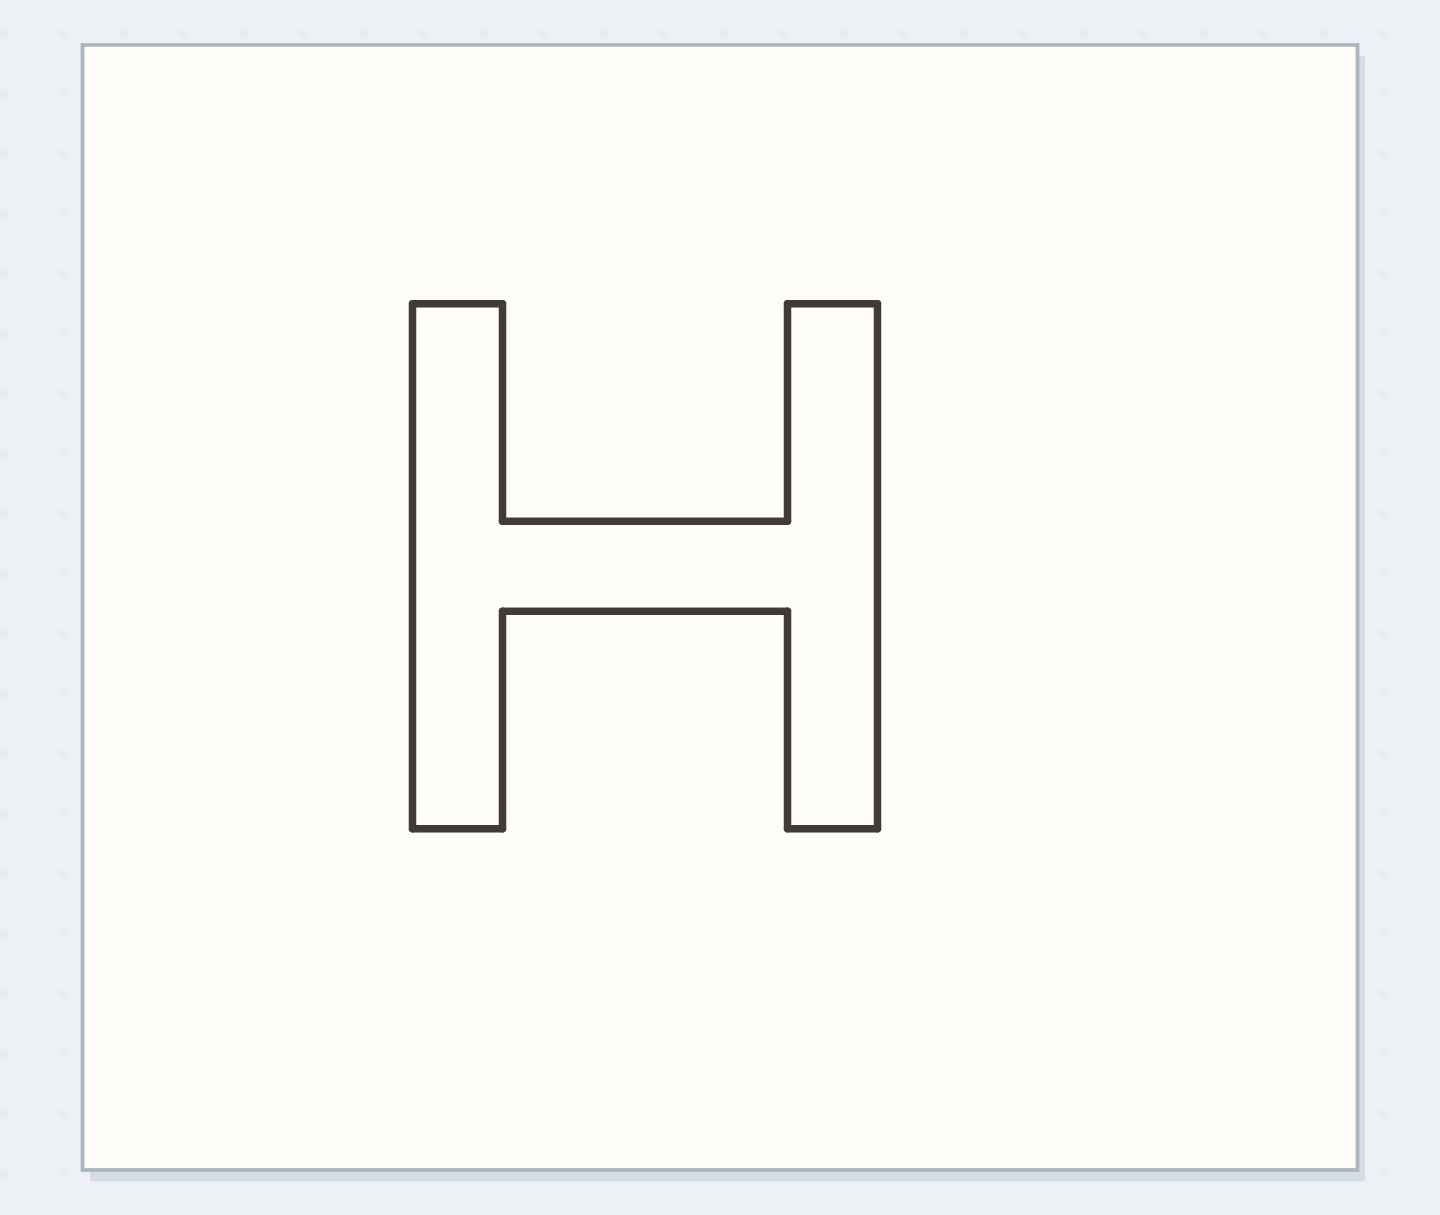
Pencil a rectangle 40 mm wide and 30 mm high. Inside it, sketch a block H about 20 mm high with 4 mm wide stems and a 4 mm thick crossbar. Leave a generous outer margin. Lightly write “leave” inside the stems on your practice scrap if you need a reminder, but omit those reminders from the final version. The colored field will surround the H and fill its open spaces. The H itself remains paper, including the crossbar that connects its two stems.
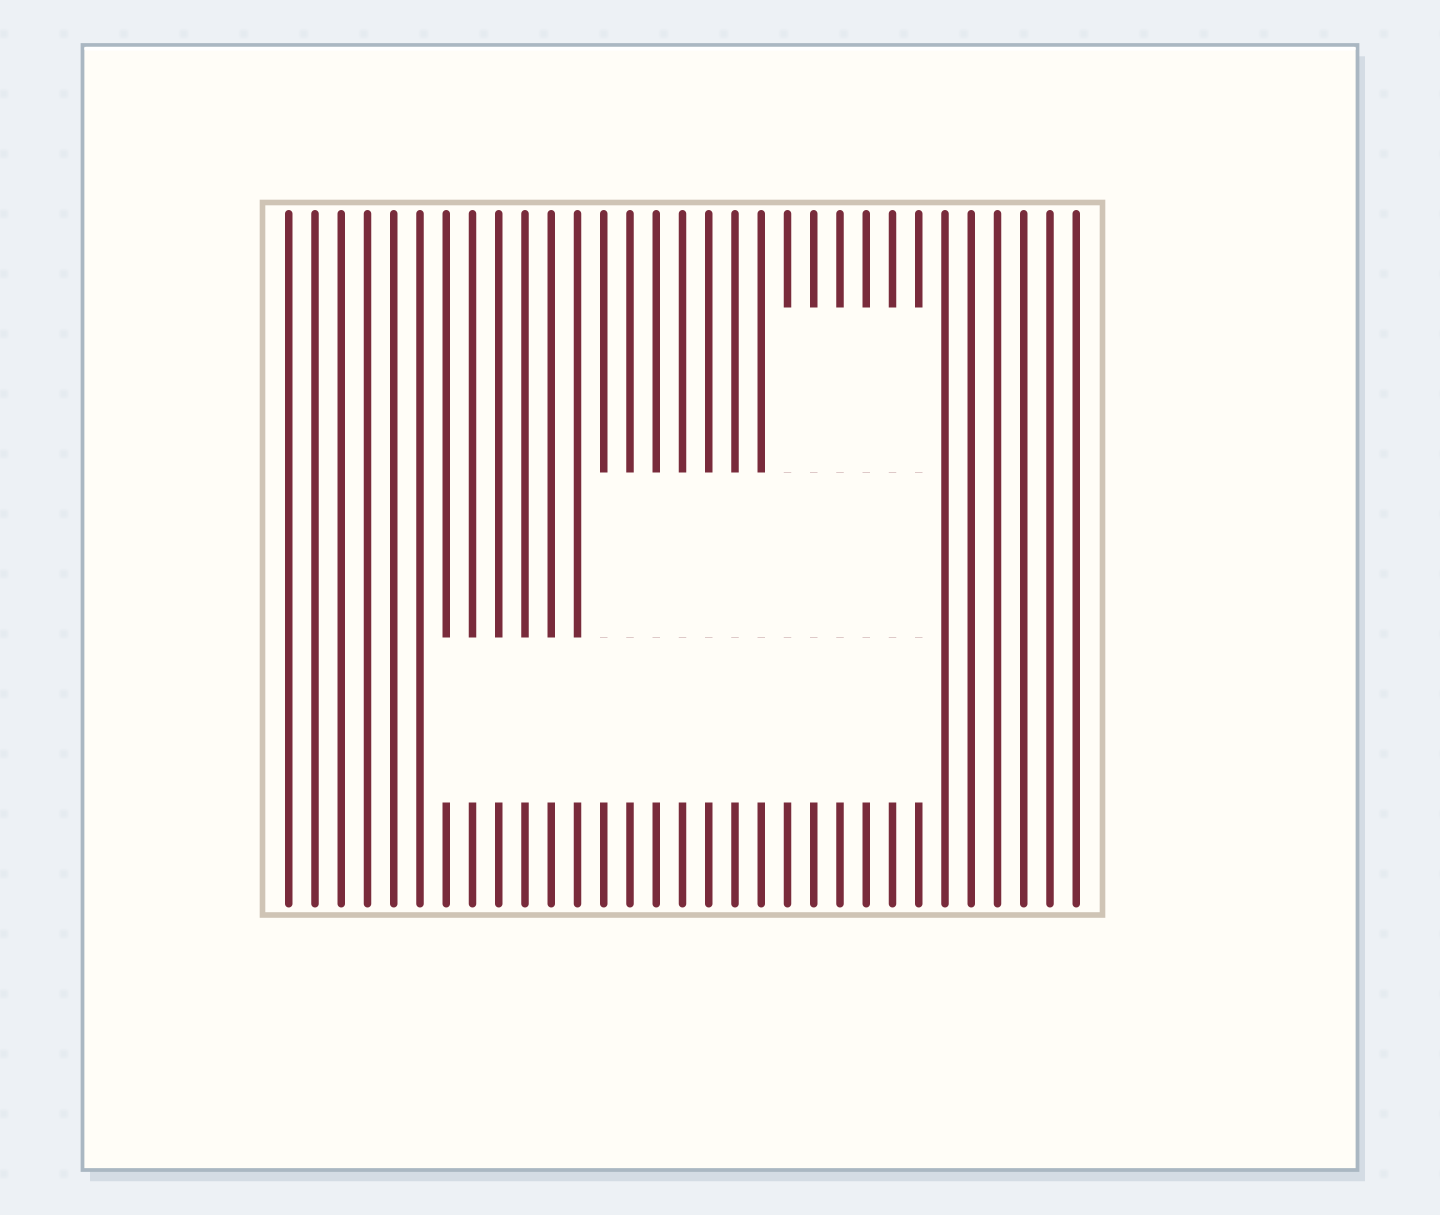
Reserve the H from the field
Watch the colored surroundings define untouched paper.
Pencil the H that will remain untouched
The penciled H identifies the area that will remain paper-colored.
Separate the letter from its surroundings
Trace the H's perimeter with your eye before coloring. Follow the top of one stem, descend into the upper opening, cross above the crossbar, and continue around the opposite stem. Notice that the open spaces above and below the crossbar belong to the background. This is negative drawing applied to lettering: the surrounding marks define the shape. WetCanvas distinguishes deliberate negative drawing from merely noticing empty spaces. Your pencil boundary is a temporary construction aid for this beginner version, not a dark outline you must retain.
“Stop when the H reads at its intended size, the paper bridges remain unbroken, and the colored field reaches the planned outer boundary.”
Establish a narrow colored collar
Choose one colored pencil and sharpen it enough to reach the inward corners. Color a narrow strip just outside the H's boundary with light strokes. Turn the paper as needed so your stroke travels along an edge rather than repeatedly overshooting it. Keep the pencil inside the upper and lower openings when filling those background areas. Don't press hard to create a solid field immediately. Establishing the boundary first makes it easier to see which little regions connect and which must stay clear.
Protect the reserved stem
Move the reveal control to inspect this specific change.
Color intrusion
A colored intrusion narrows part of the white stem.
Fill a simple H panel
Extend the colored collar outward until it reaches the penciled rectangle. Work in small overlapping patches with similar pressure, then add a second light layer where the field looks unexpectedly pale. Erase the faint construction lines only after checking that the eraser doesn't smear your pencil color. Hold the panel at reading distance. You should see a paper-colored H against a colored rectangle, not a colored H on paper. That distinction also matters in the interactive example: the letter is reserved from the background field.
Keep a small intrusion small
If color crosses into the letter, try lifting it gently with a clean eraser on the practice panel. If it doesn't lift cleanly, widen the surrounding background locally only if the H still keeps a coherent shape. Don't narrow both stems repeatedly to chase a tiny mark. A fresh panel with a slightly larger letter is a useful rescue. If the field feels streaky, accept a visible pencil texture or add one restrained layer. Heavy burnishing isn't necessary for the negative-space effect to work.
Write your reserved-letter plan
The letter area stays uncolored; background includes both H openings.
Letter to reserve:H
Field and stem dimensions:40 × 30 mm field; 4 mm stems
Your words have a place now.
The letter area stays uncolored; background includes both H openings.
- Words on this card
- 16
Add counters only when ready
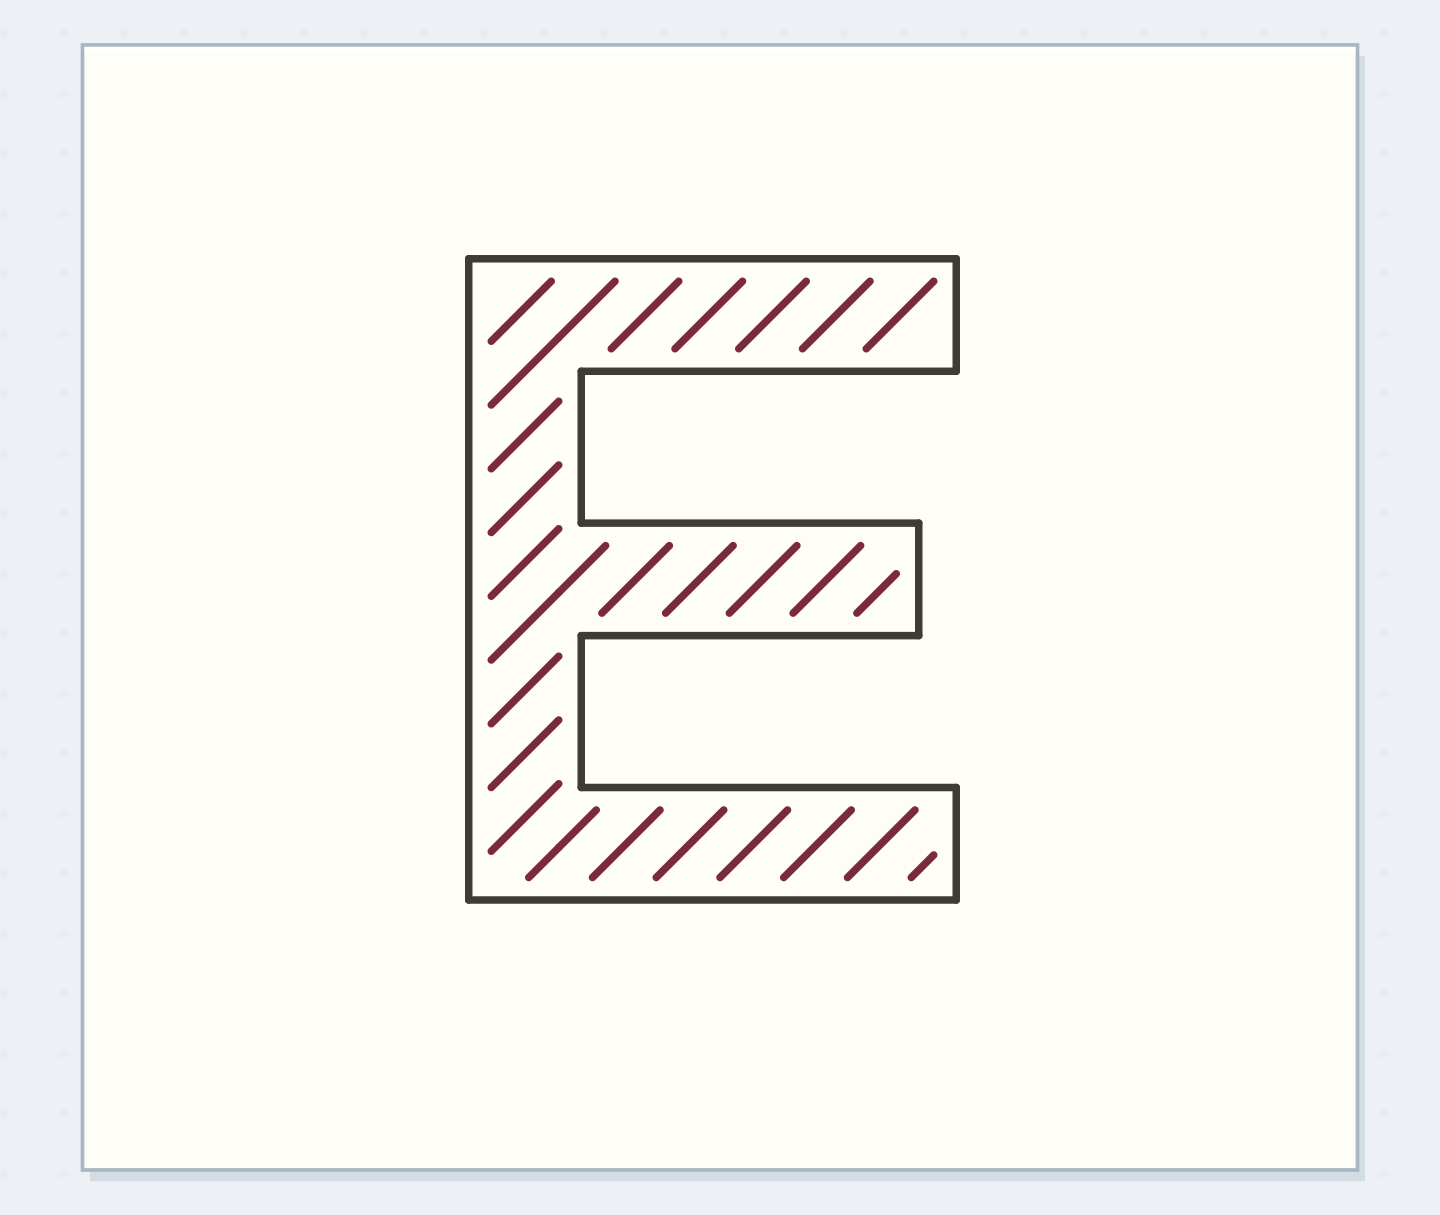
Try HI next, using a plain upright I to avoid extra corners. Then test a block A. Its small enclosed opening, called a counter, must receive the background color; leaving it blank can make the A look like a solid triangle. A community journal example uses white paint over green headings, which supplies a related visual idea but a different physical process. Here, keep reserving the paper. Don't describe the result as a white-ink technique or expect an eraser to behave like covering paint.
Before revealing the paper H
Order the preparation before the operation that needs its result.
One workable order
- Sketch the reserved letterKnowing the reserved H makes it possible to identify the field and its two open background regions.
- Identify background regionsColor belongs only in the regions identified as background.
- Color around the reserved areaRemove construction marks only after the coloring and eraser compatibility have been tested.
- Remove tested pencil guidesStop when the H reads at its intended size, the paper bridges remain unbroken, and the colored field reaches the planned outer boundary.
Which check needs to come first?
The example shows one workable order. The letter area stays uncolored; background includes both H openings.
Let the panel stay simple
Stop when the H reads at its intended size, the paper bridges remain unbroken, and the colored field reaches the planned outer boundary. A little tooth showing through the pencil doesn't undermine the method. Use one finished panel as a small entry label and leave the rest of the page available for writing. If you want several labels later, repeat the field size and letter thickness. Matching those proportions will make a family without requiring you to copy the exact texture of every colored patch.
Where this idea began
Want to follow the idea further? These community discussions and maker references are a good place to start.
- went with a simple layout this week
The search excerpt discusses white lettering on green headings; its white-paint process is explicitly distinguished from reserving paper here.
- Basic 102: Class 7 - Negative Drawing
Distinguishes deliberate negative drawing from observing negative spaces and describes defining a form through surrounding marks.